
Step 1: View the details
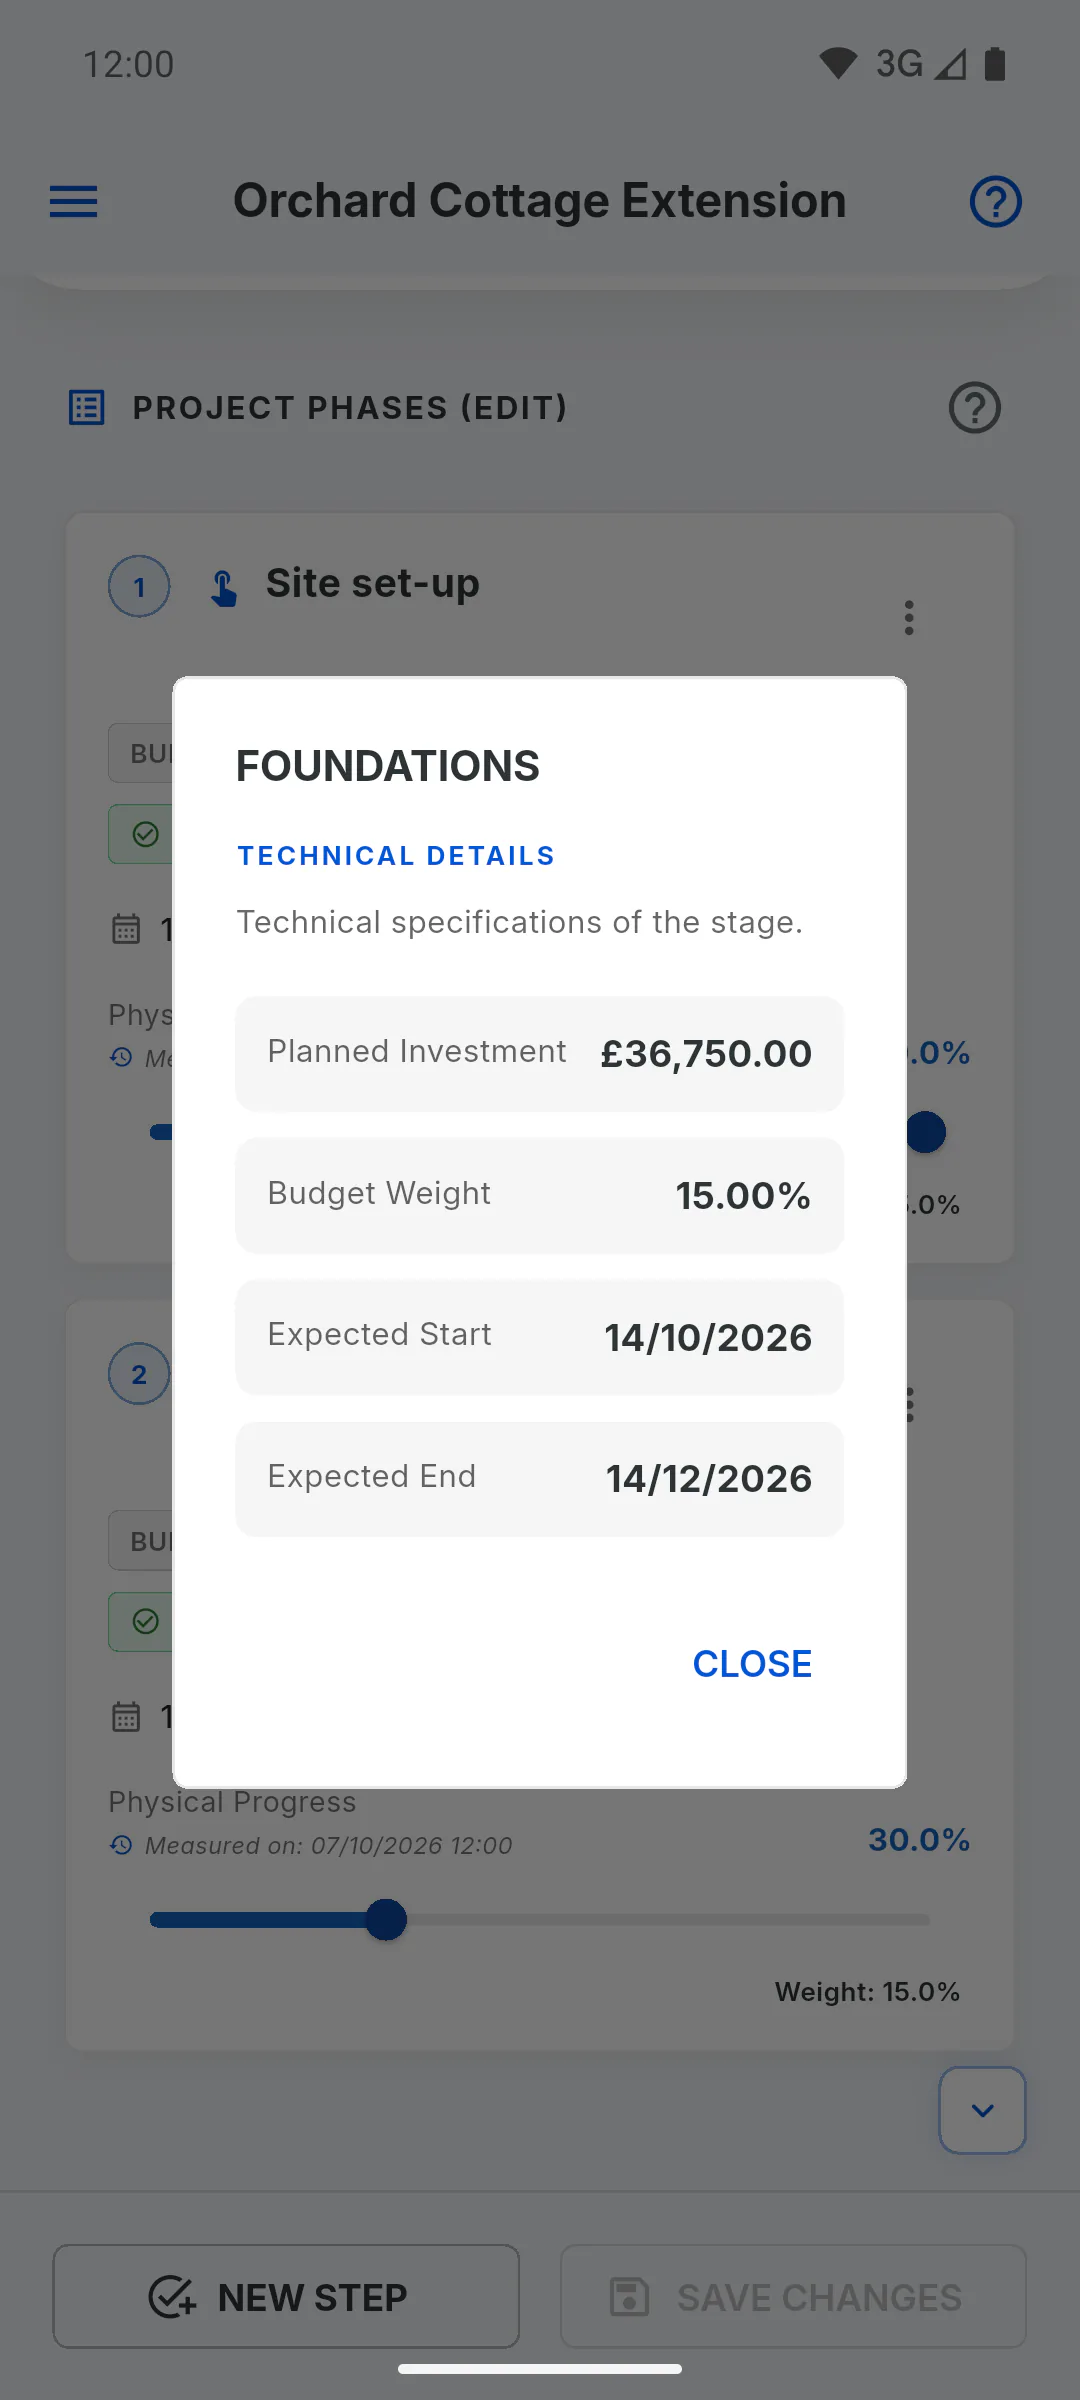
On Schedule, tap the stage's name. Technical Details opens, with Planned Investment, Budget Weight, the expected dates if there are any, and the Registered Sub-Stages. Tap Close to leave.
Step 2: Edit
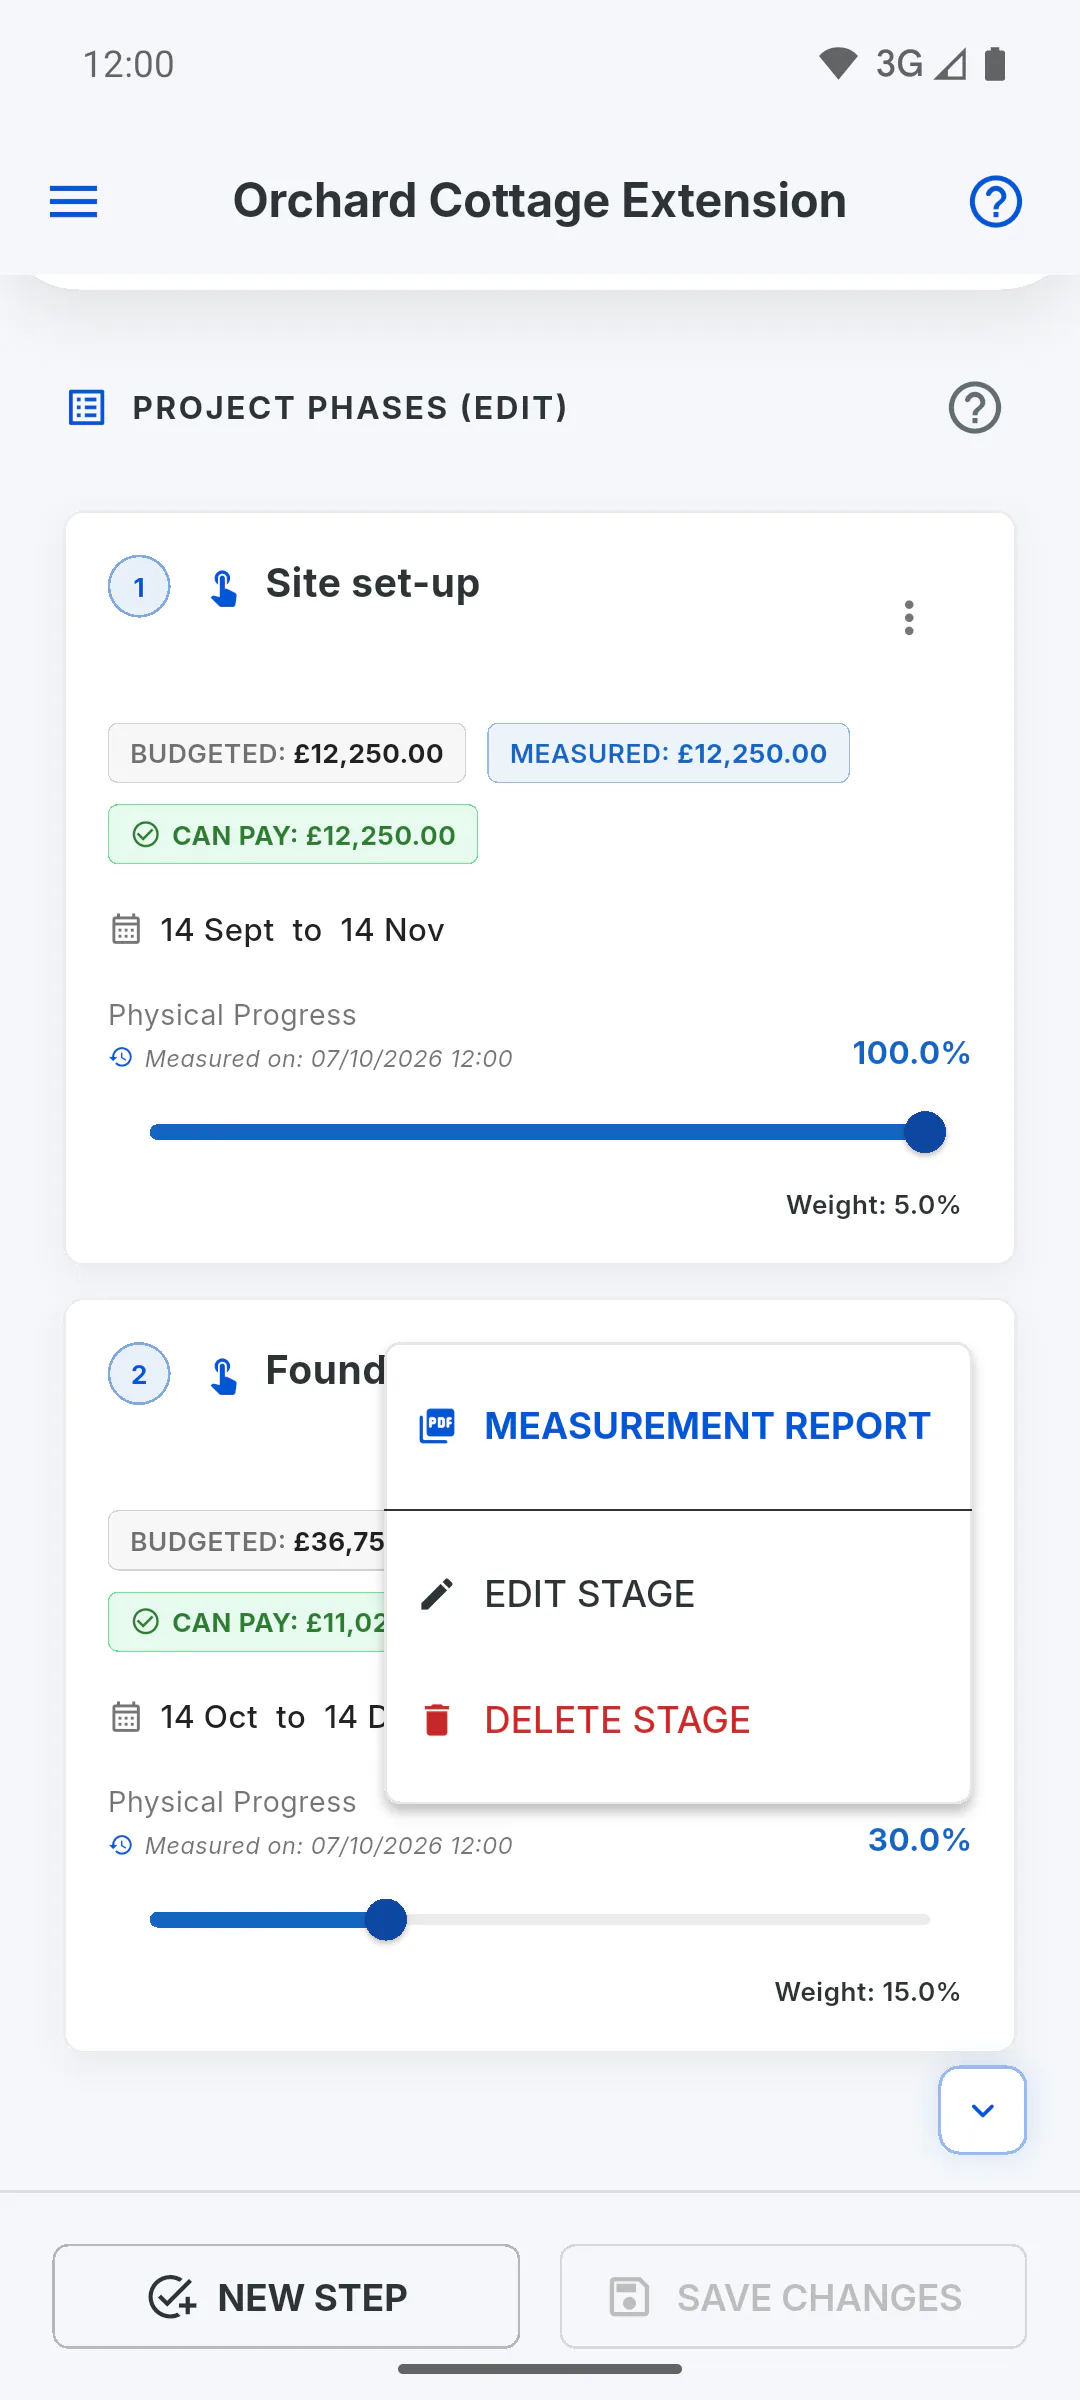
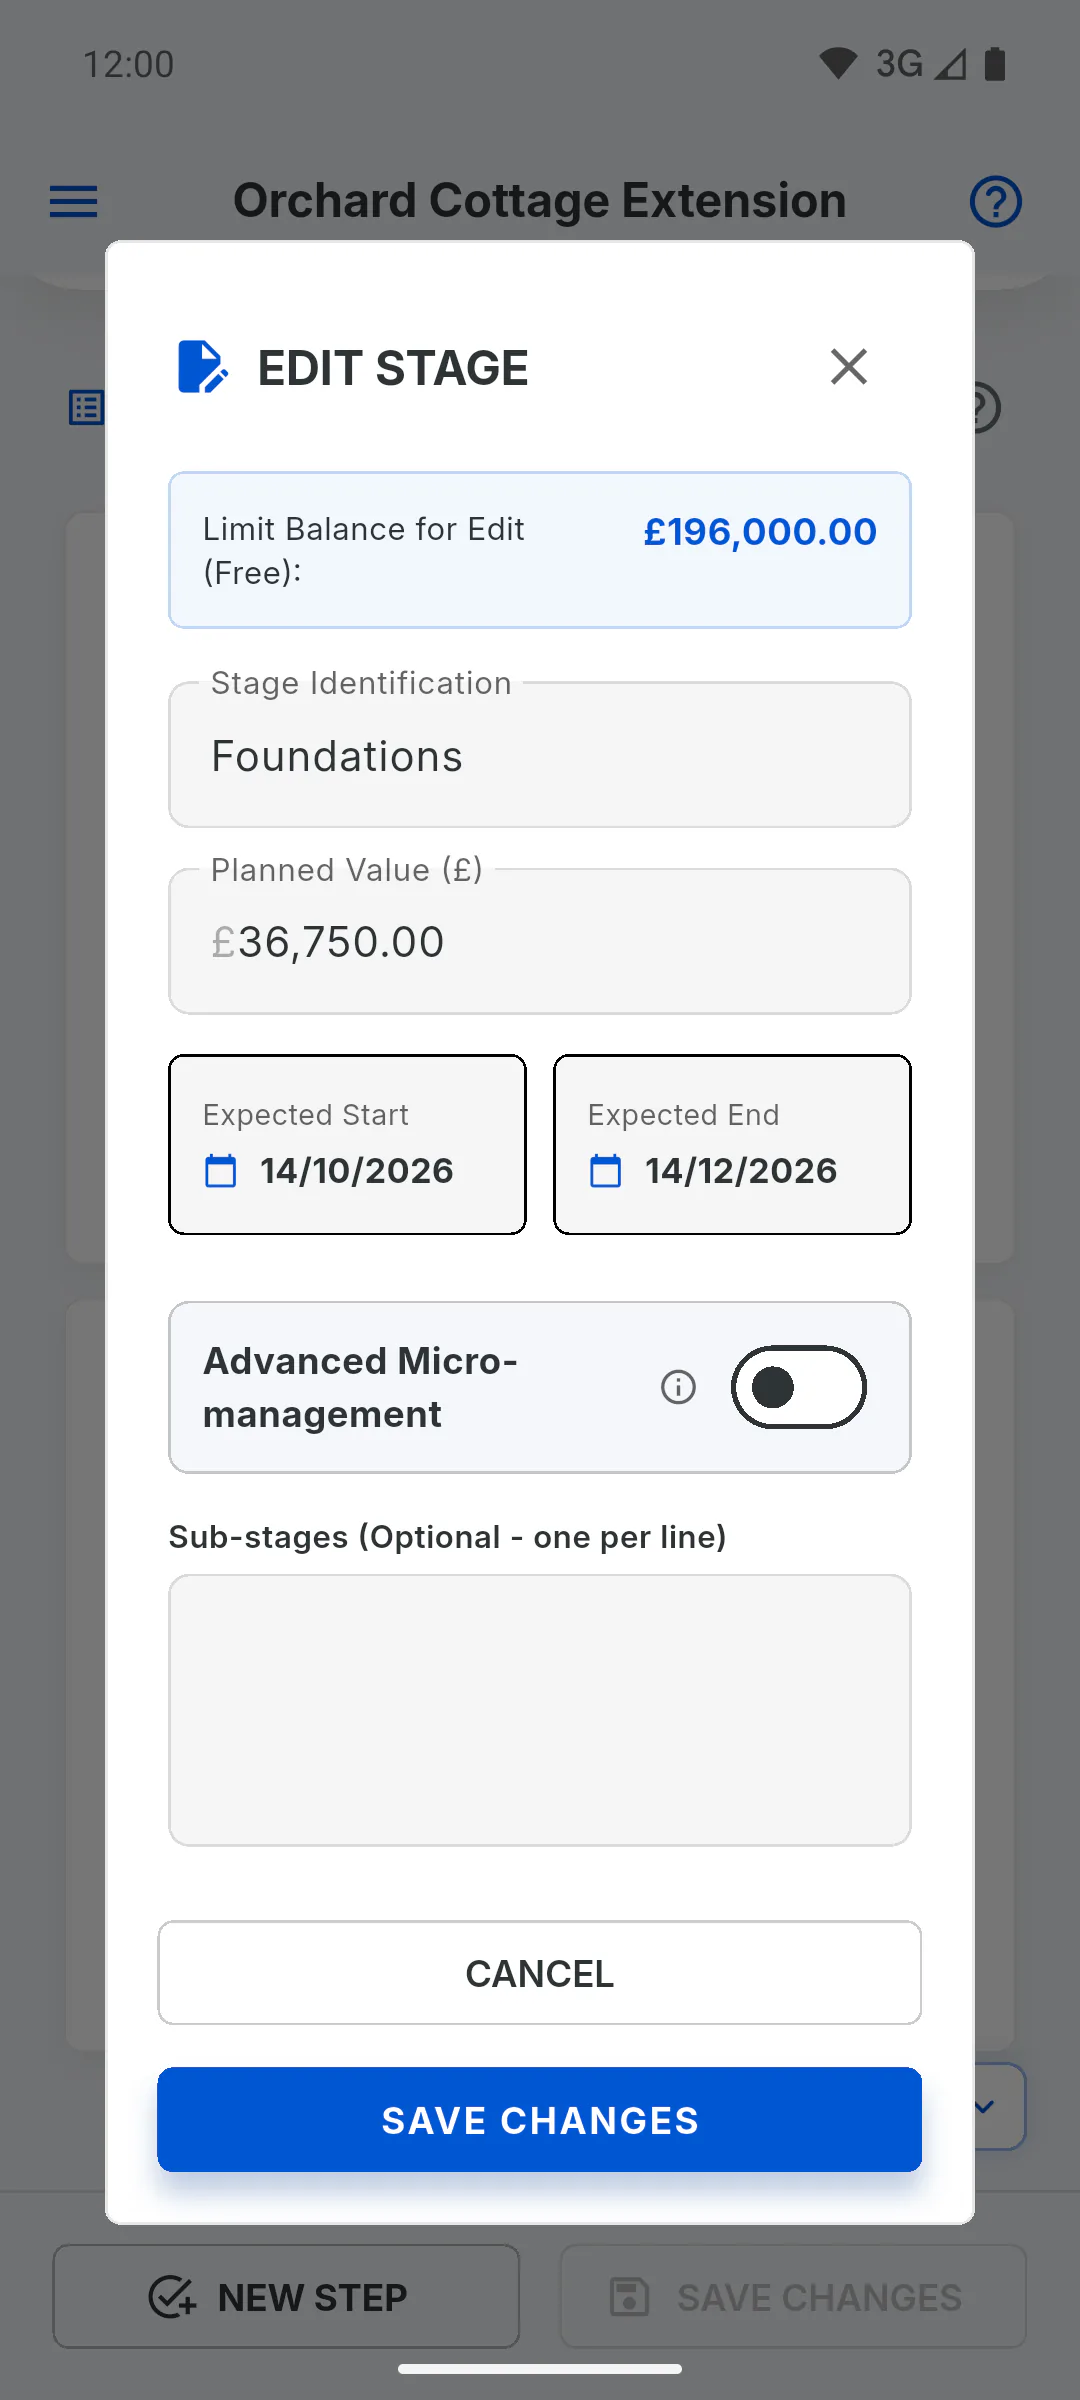
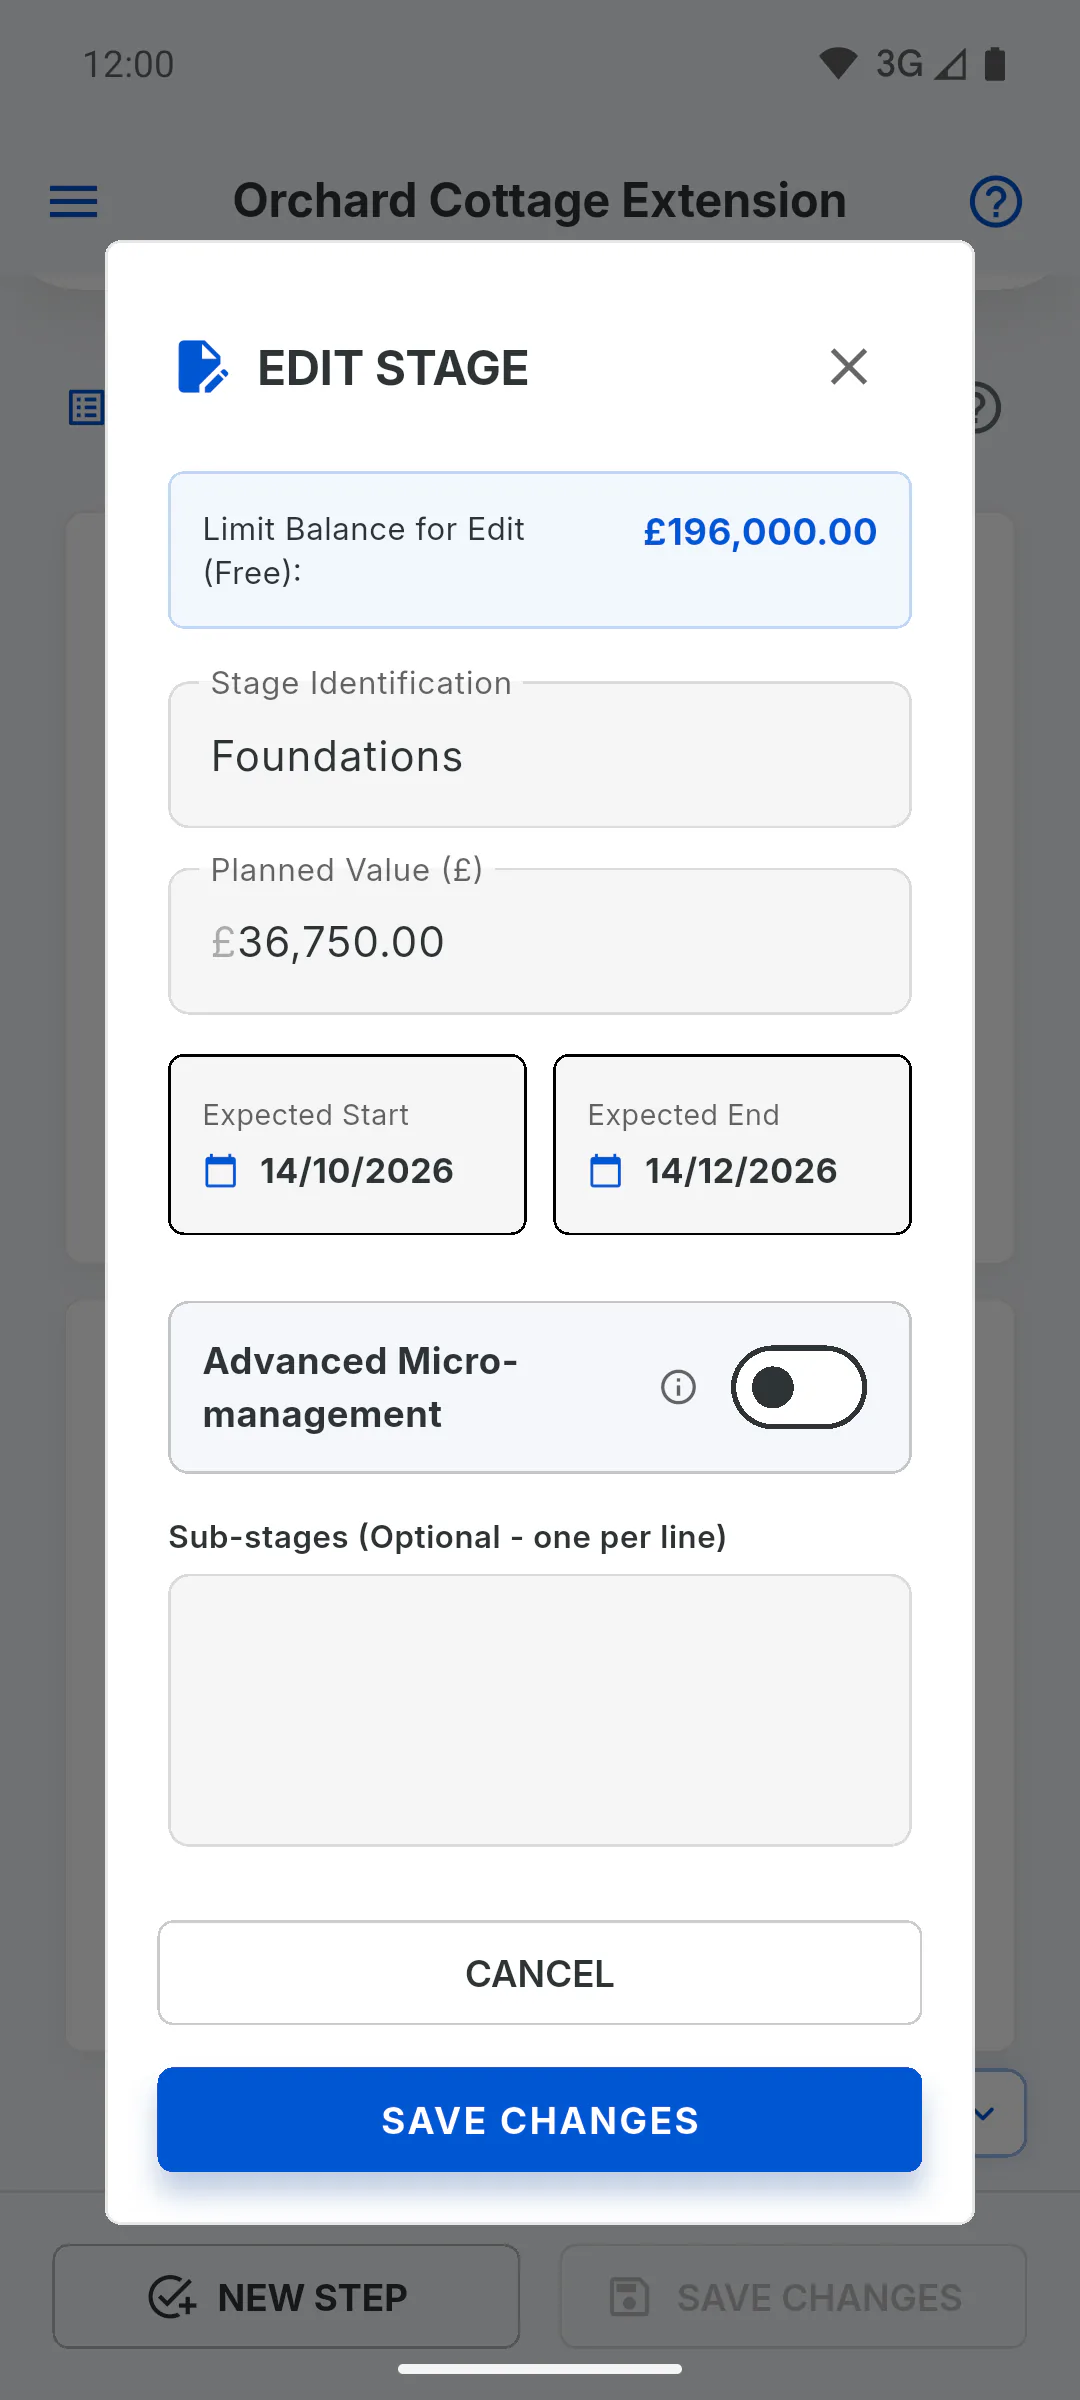
On the stage card, tap the three-dot menu, then Edit Stage. You can change Stage Identification, Planned Value, Expected Start, Expected End and the sub-stages: How to use sub-stages with weights and dates
Step 3: How high the value can go
Limit Balance for Edit (Free): shows the part of the contract that isn't assigned to any stage. The stage's value can go up to its current value plus that balance; above that, it drops back to the maximum and Balance limit reached. appears.
Step 4: Be careful when renaming
Expenses in Financial are linked to a stage by its name. If you rename the stage, expenses already entered stop counting as paid for it, in the card labels and in the Measurement Report: Why link expenses to stages
Step 5: Delete
From the three-dot menu, tap Delete Stage and confirm with Delete Permanently. The stage's value goes back to the contract balance. Expenses linked to it stay in Financial.
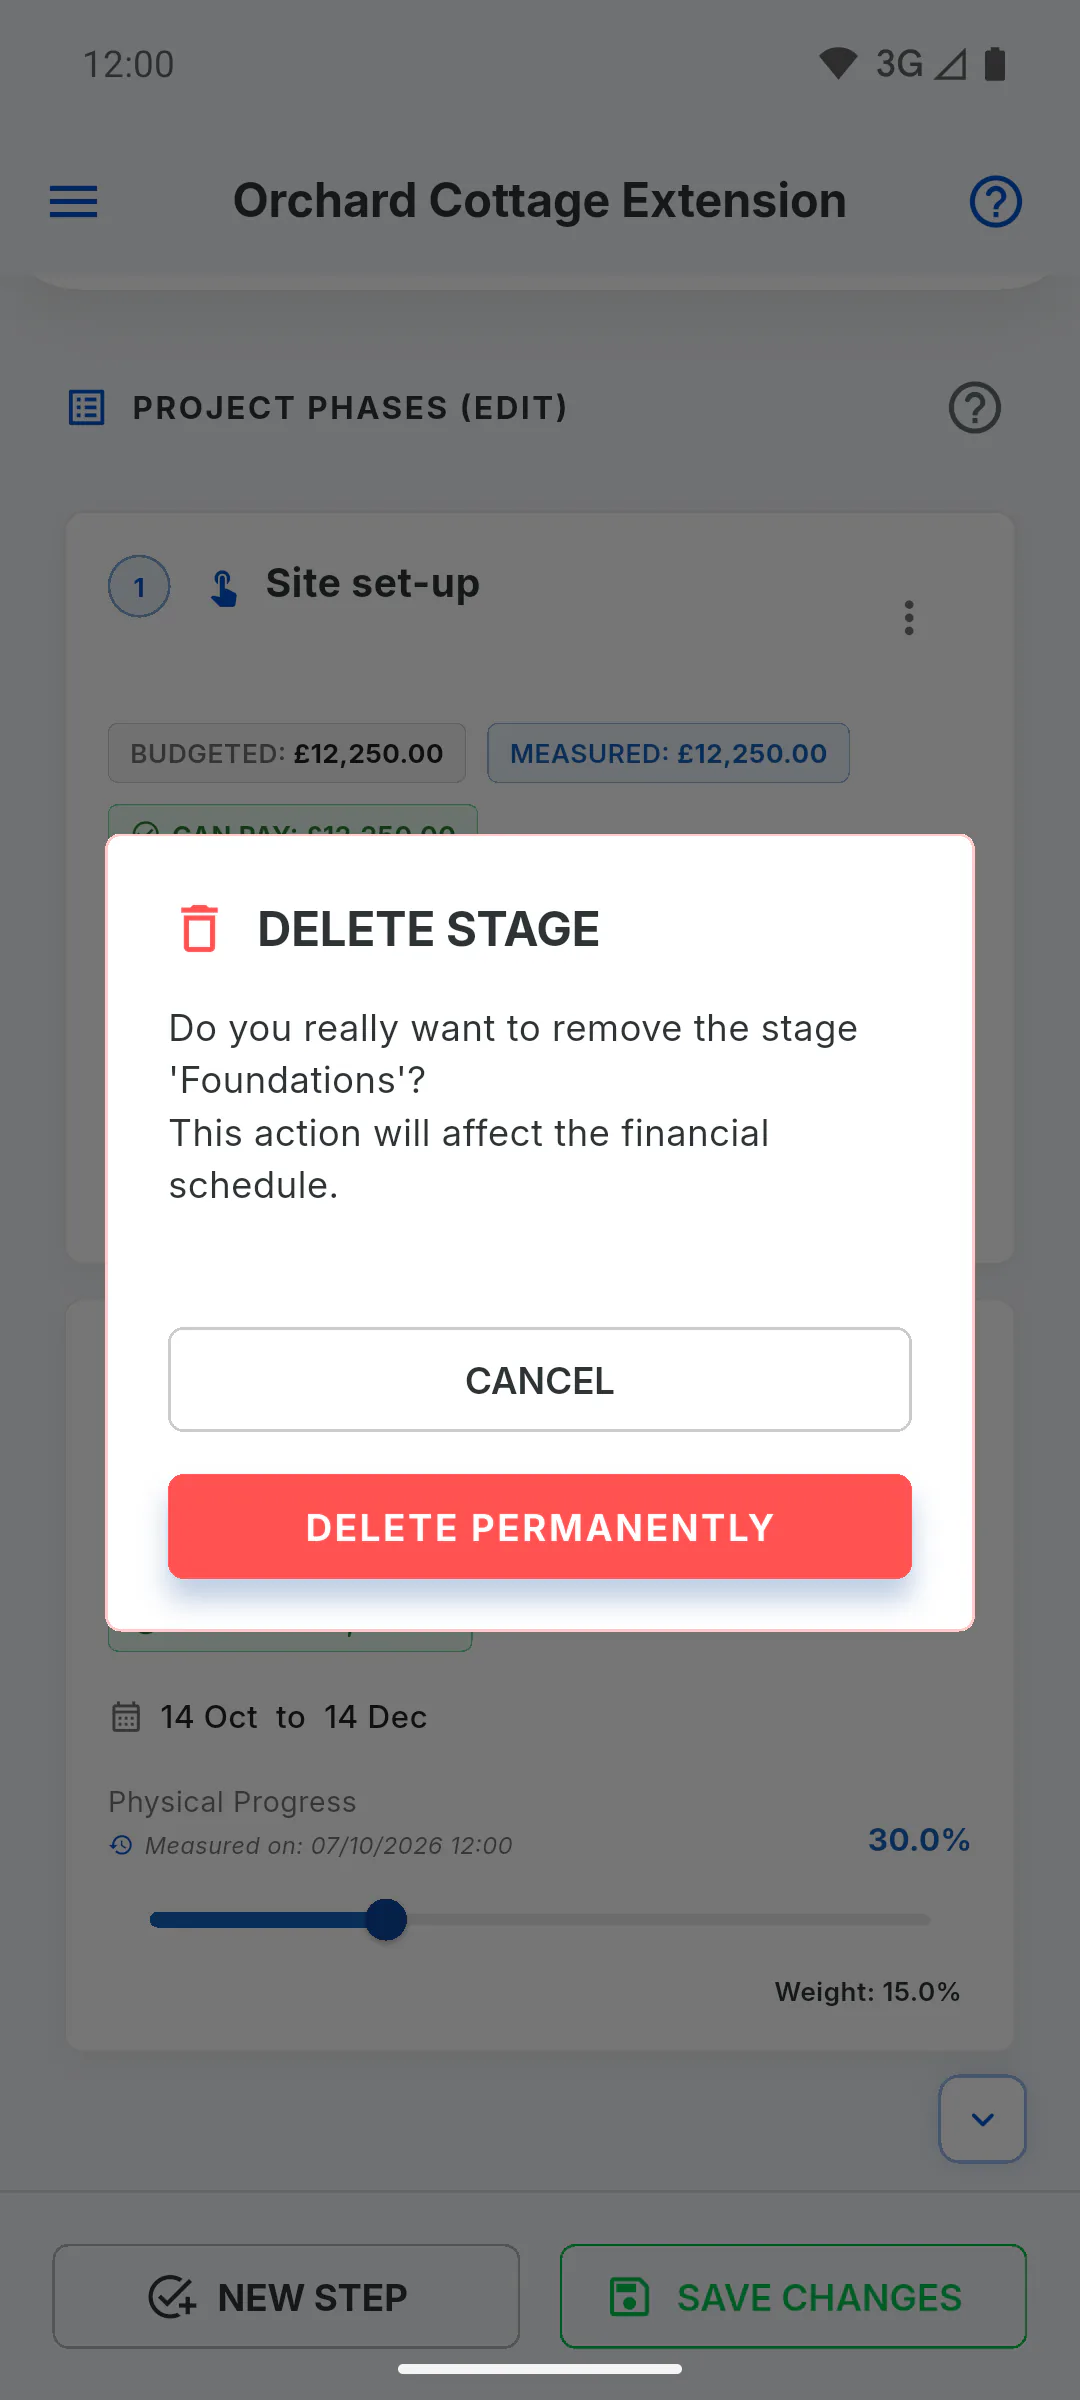
Step 6: Save or discard
After editing (Save Changes in the window) or deleting, tap Save Changes on the bottom bar to keep it. To undo before saving, switch to another area in the project menu and choose Discard.
- If the change makes overall progress drop, the app asks for a reason: Progress regression
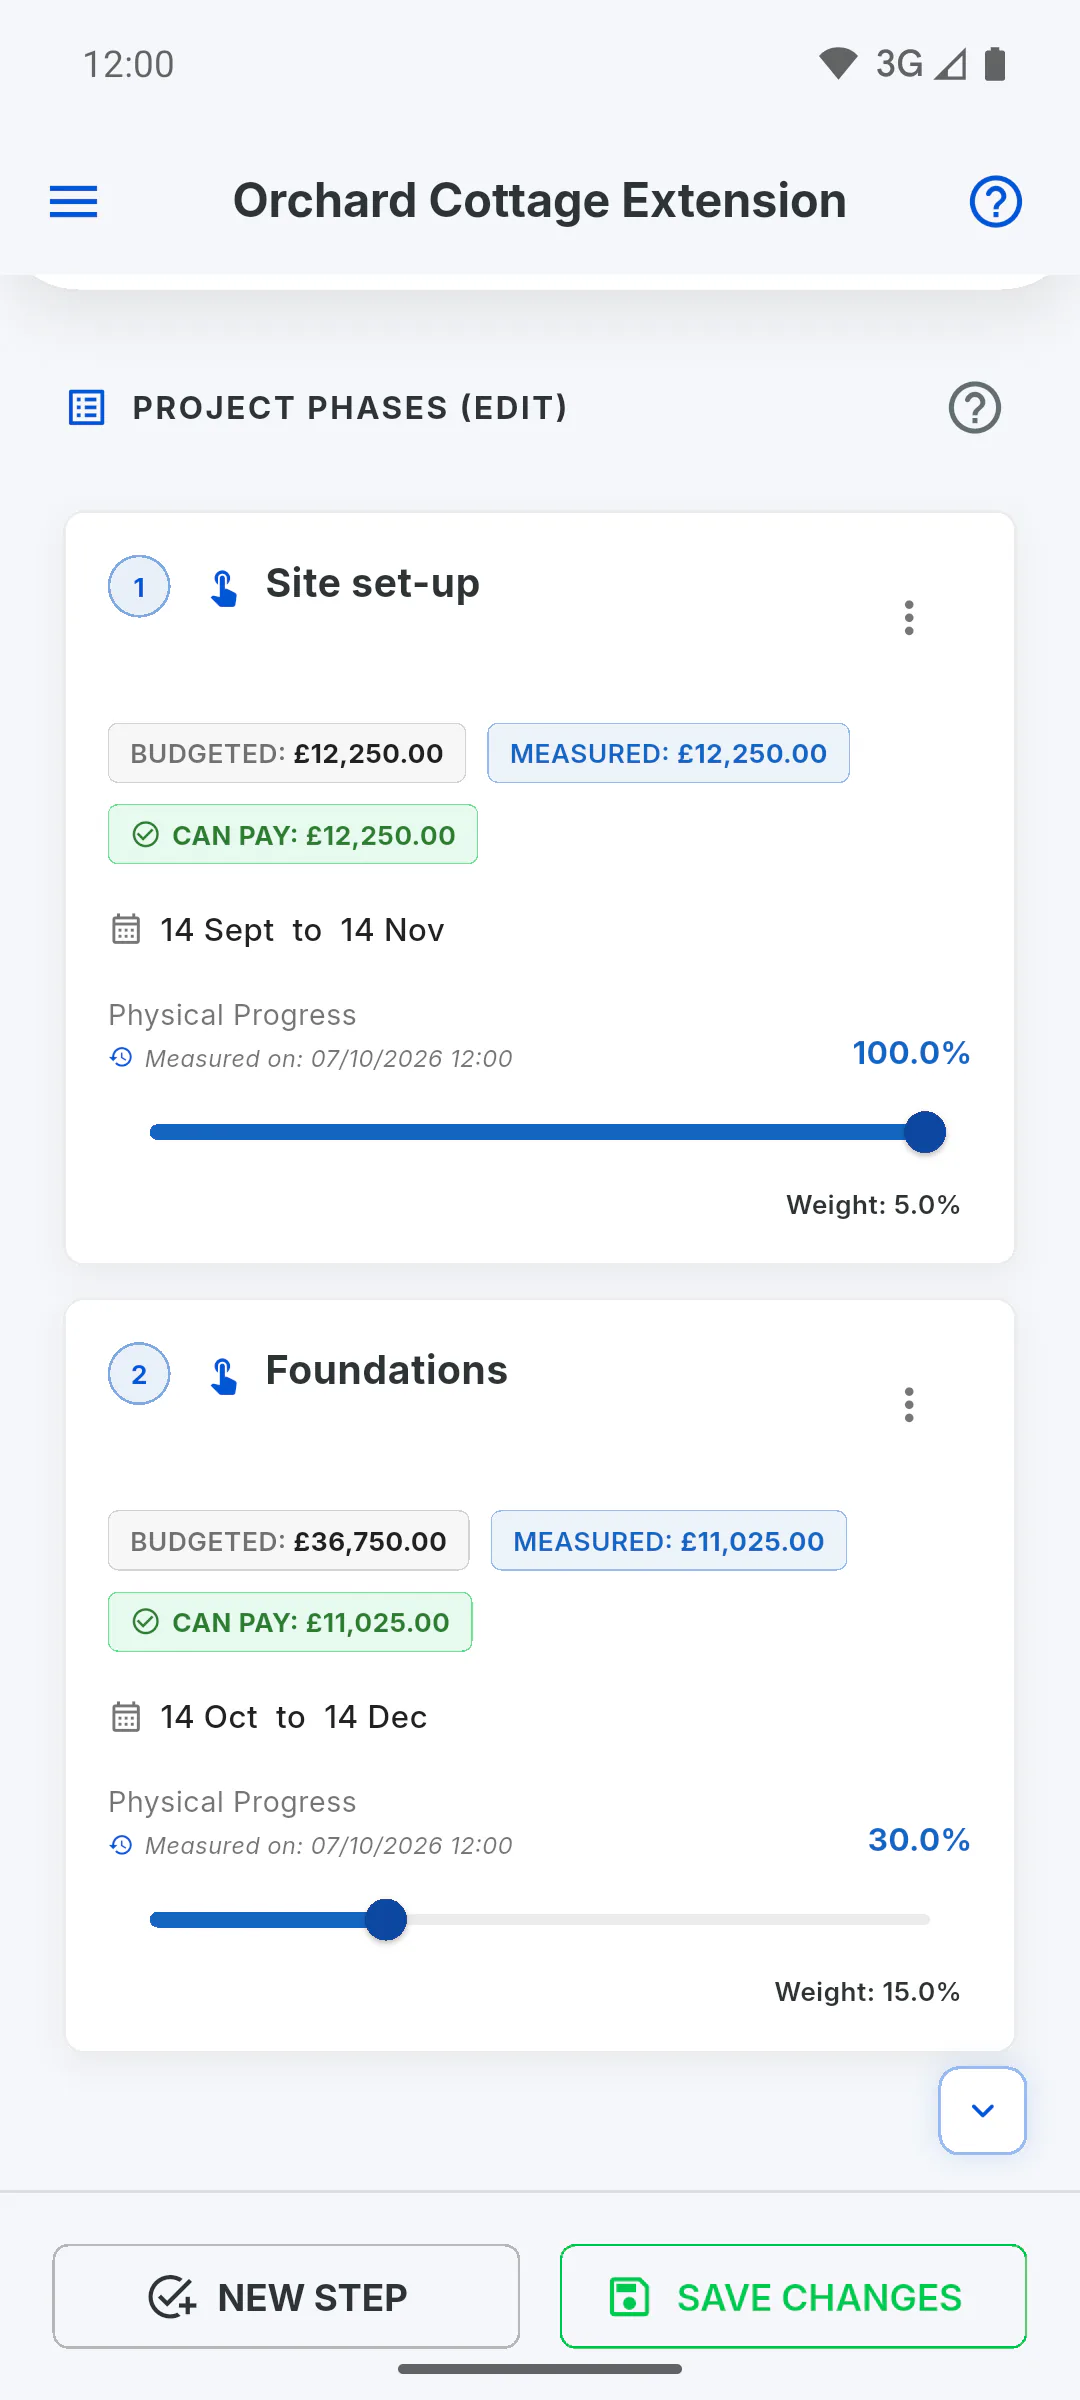
How to view, edit or delete a stage
See a stage's details, change its name, value, dates and sub-stages, or delete it and return its value to the contract balance.
For managers6 steps
Didn't find what you were looking for?
Chat with support on WhatsApp or raise a ticket in the app.