
Step 1: Where the history is
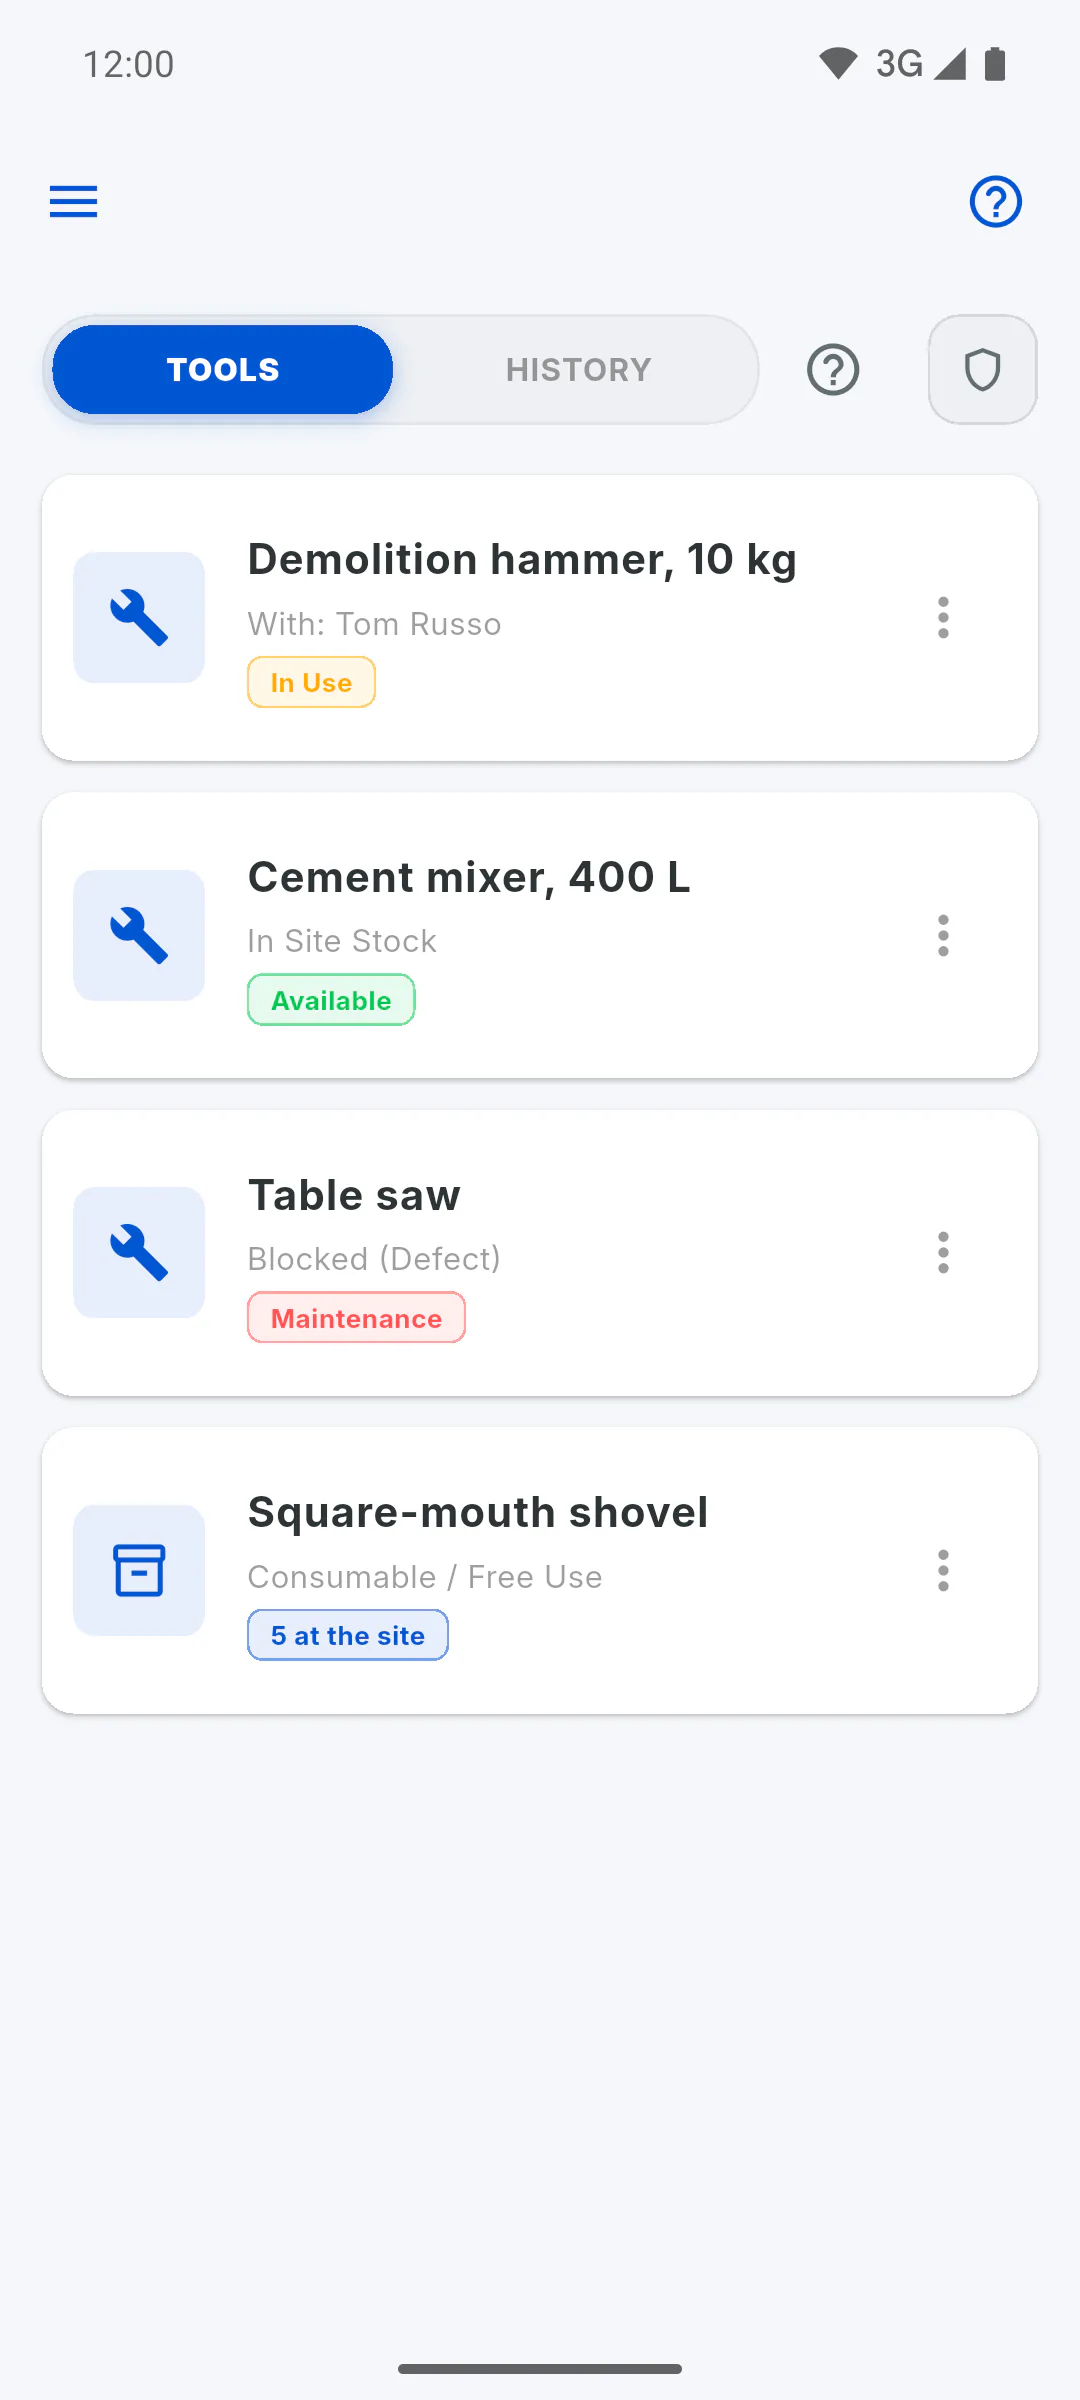
There are two. In the General Inventory, the History tab shows every movement of your tools. Inside a project, under Inventory, the History tab shows only that project's movements; the owner and anyone with inventory permission can see it.
Step 2: Read the list
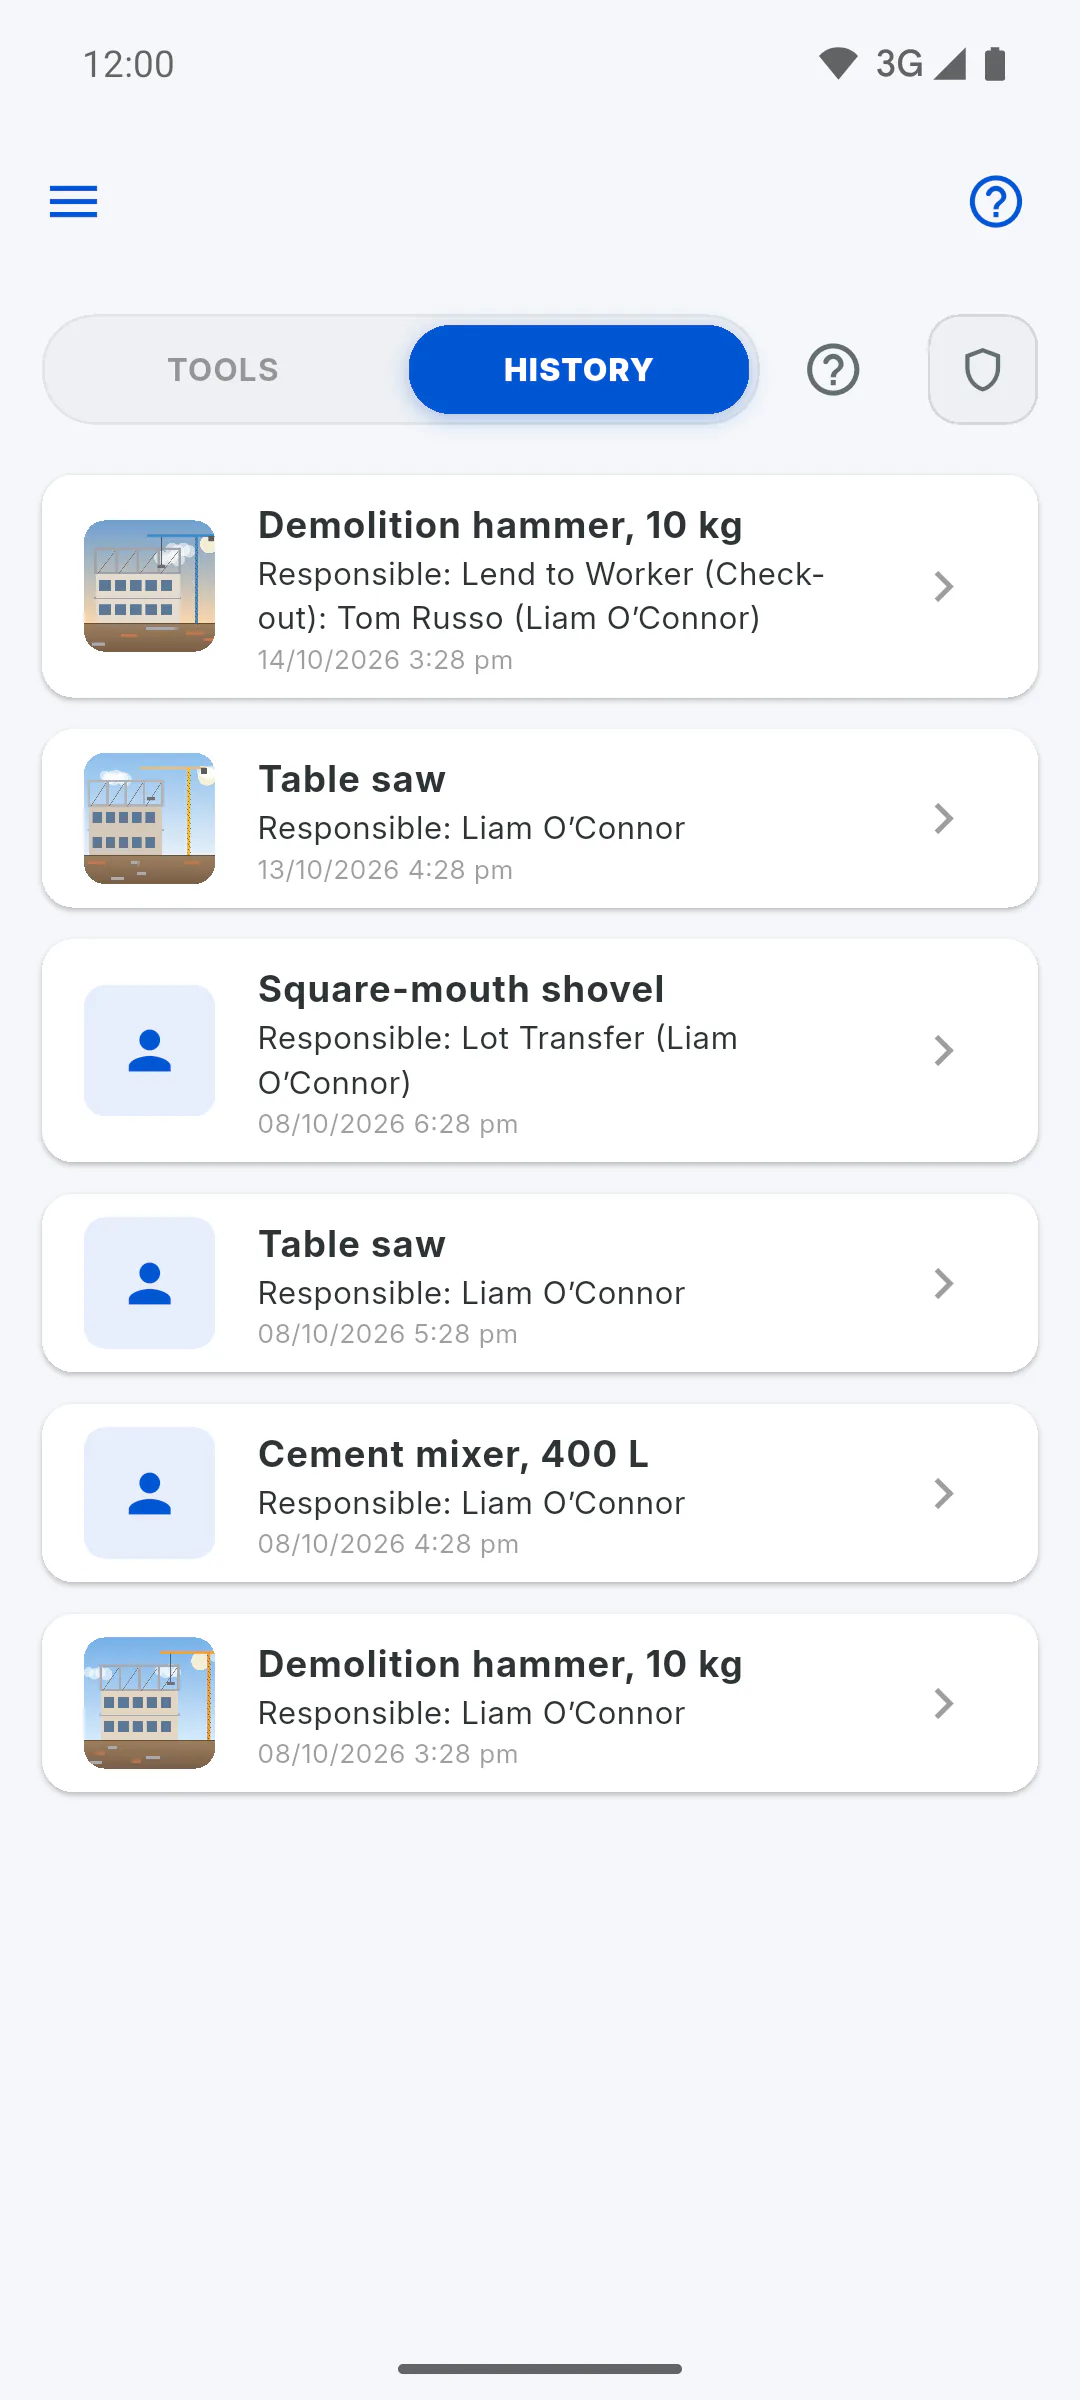
Each row shows the photo thumbnail, the tool name, Responsible: and the date and time. The newest come first; scroll down to load more. For loans, this field starts with the action name, Lend to Worker (Check-out):, followed by who took the tool and, in brackets, who logged it. When a tool is checked back in, the row shows Check-in Completed, with who logged it in brackets. Sending a tool to a project, returning it to Central and reporting a defect show only the name of who logged it.
Step 3: Open the details
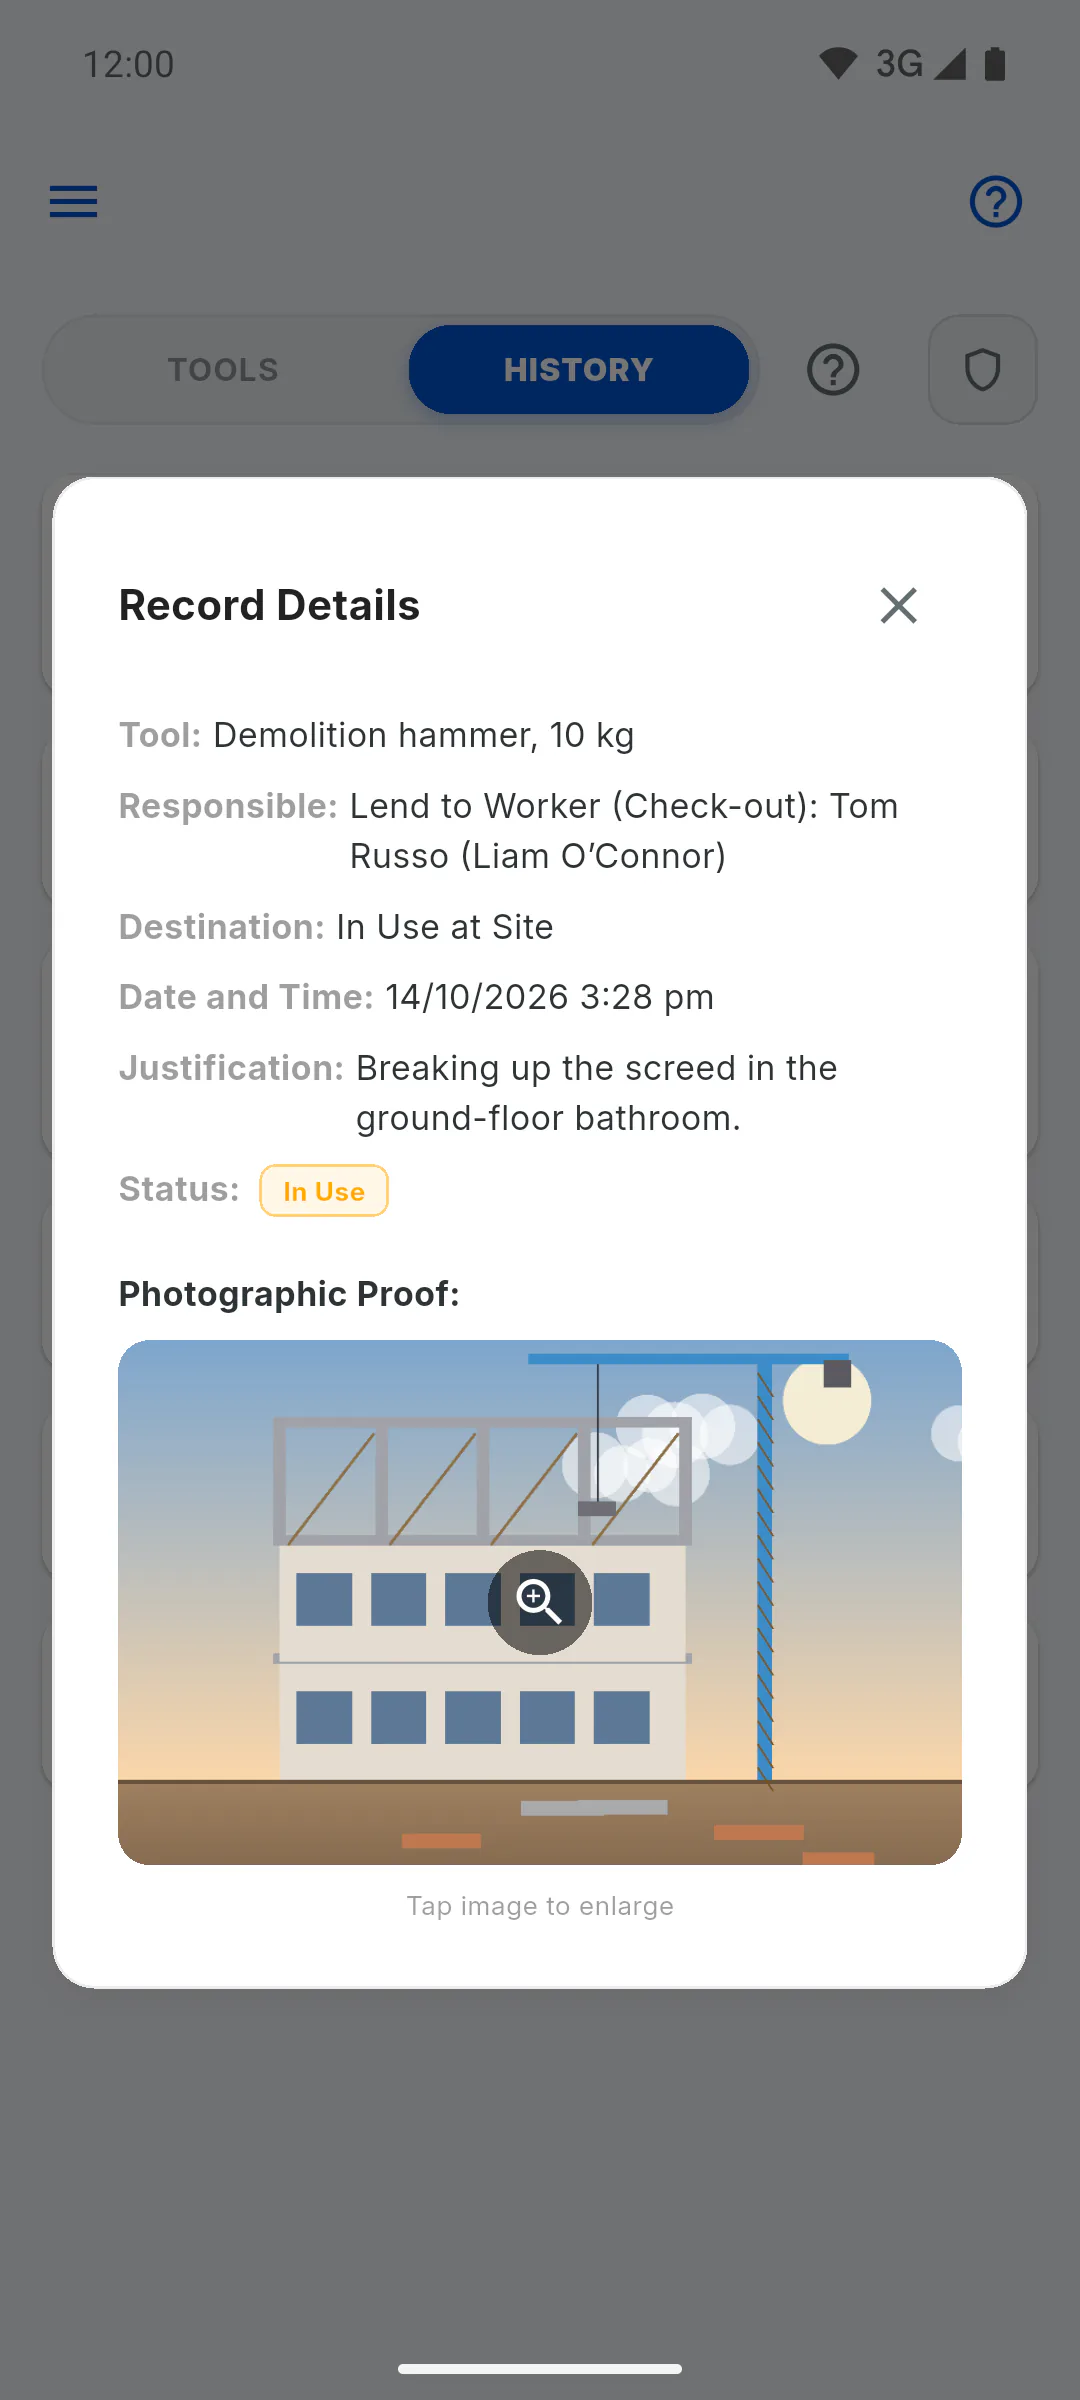
Tap a row to open Record Details, with Tool:, Responsible:, Destination:, Date and Time:, Justification: if there is one, and the status. Under Photographic Proof:, tap the image to enlarge it.
Step 4: Photos taken offline
If the movement was logged without internet, the photo stays on the device of whoever logged it and only opens there until it is uploaded, once the connection is back. On other devices and in a web browser it won't open until then. Moving tools without internet
Step 5: What can't be changed
The history can't be edited or deleted in the app. The status and destination are written in the language of whoever logged the movement.
How to see the movement history with photos
Check who took each tool, where it went, when, and with what proof, across the General Inventory or for one project only.
For managers and team members5 steps
Didn't find what you were looking for?
Chat with support on WhatsApp or raise a ticket in the app.