
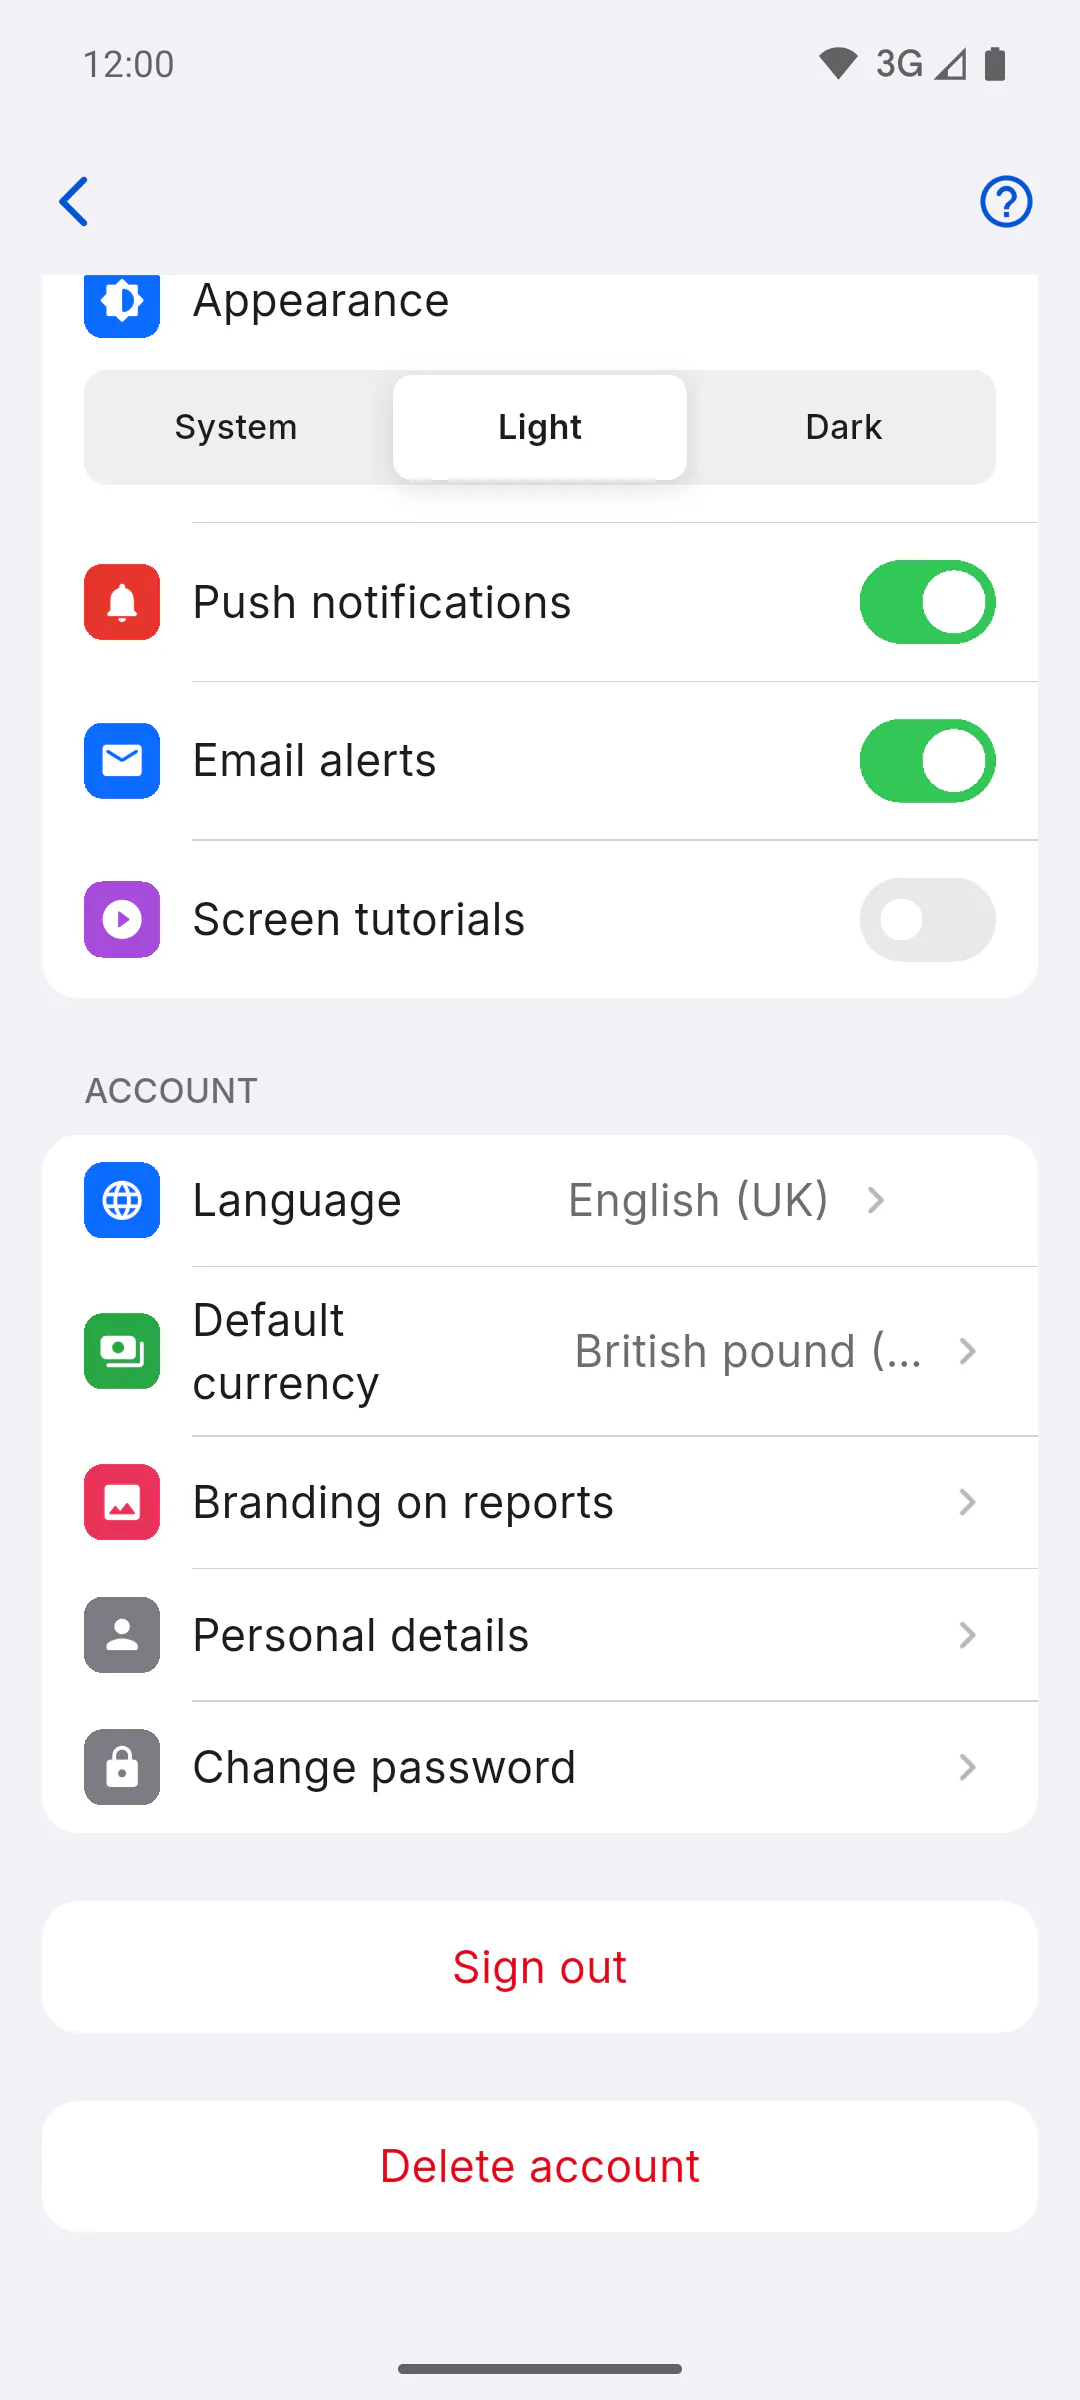
Step 1: Open Branding on reports
Open Profile and, in the Account group, tap Branding on reports. The screen opens with the Visual Identity box. This is a PRO plan feature. On the free plan, the logo box shows a padlock and the Unlock Own Brand button opens the plans screen: Free vs PRO: what changes.
Step 2: Upload your logo
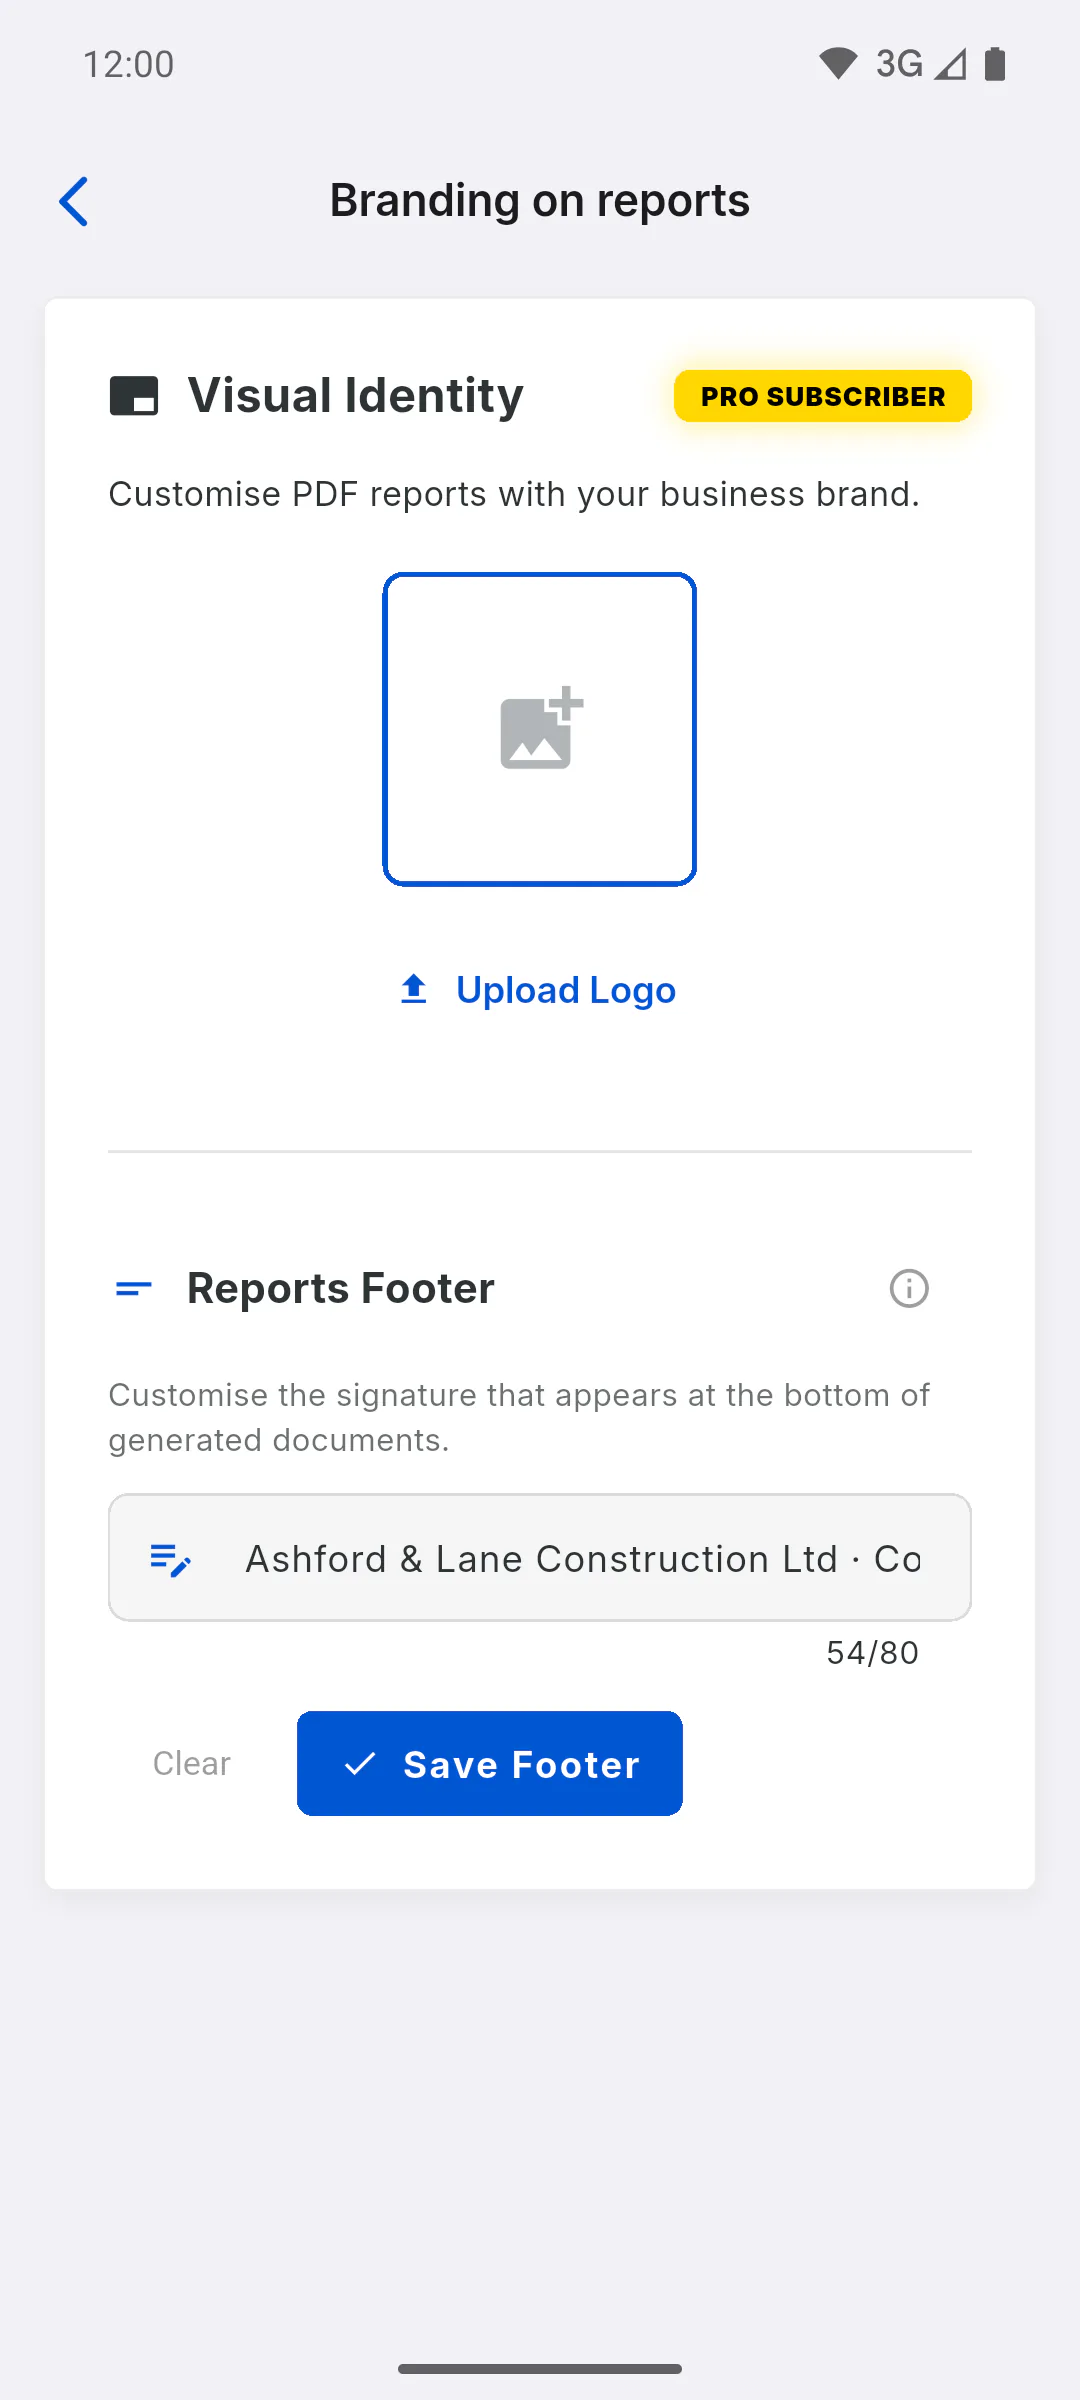
While online, tap Upload Logo (or the box) and pick the image from your device gallery. On a computer, choose the file. Logo updated successfully! appears. Later, use Change Logo to swap it or Remove to take it off. The logo uses space in your account storage.
Step 3: Write the footer
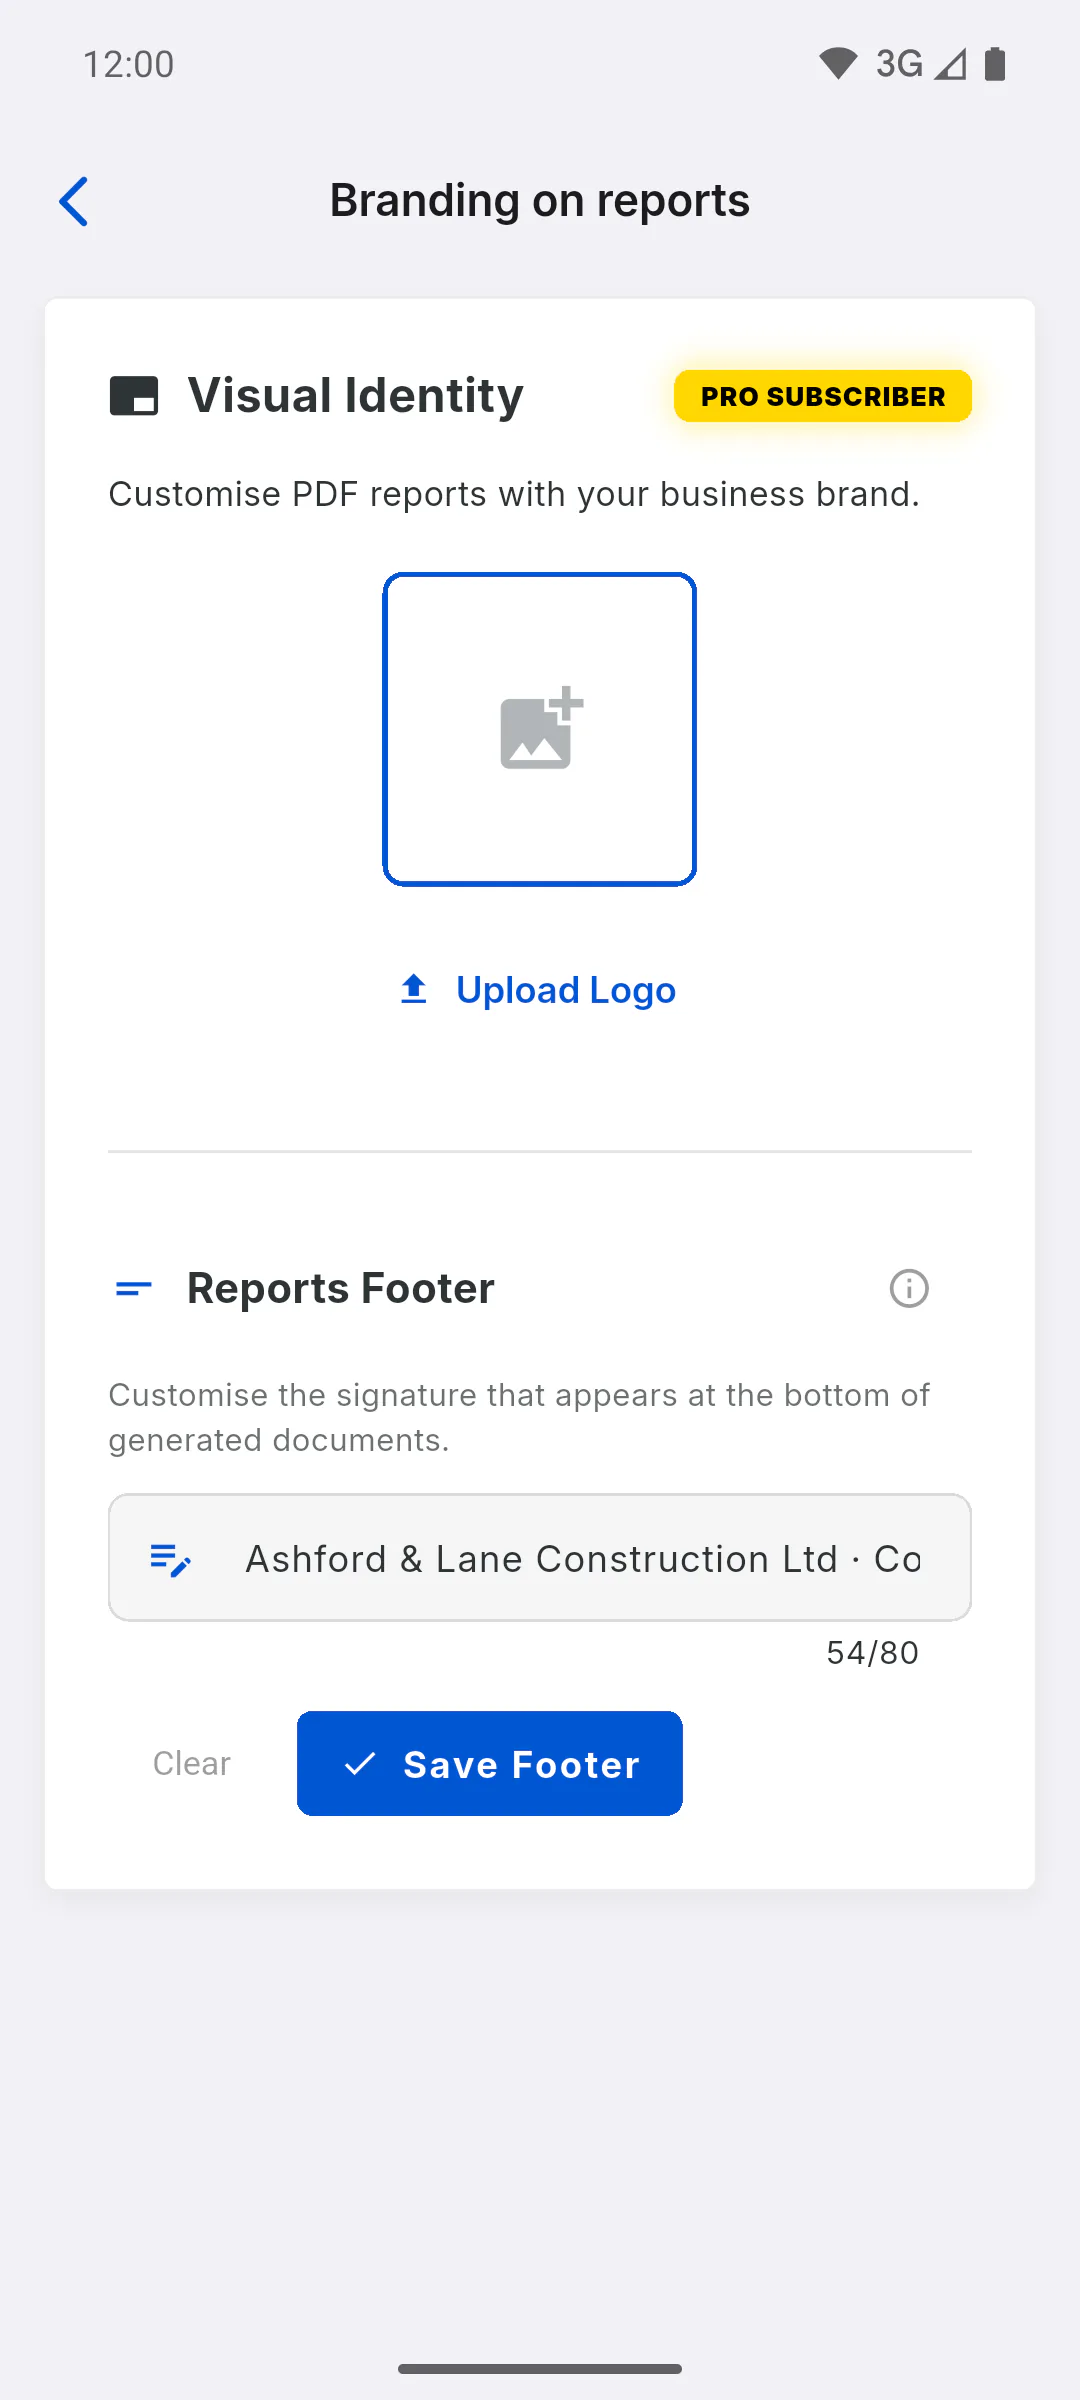
Under Reports Footer, type the footer text, up to 80 characters: for example, your company name and phone number. Tap Save Footer and Footer saved! It will appear in future PDFs. appears. The Clear button deletes the text, and PDFs go back to the default footer, with your company name or your own name.
Step 4: How it looks on the PDF
On your next PDF reports, your logo goes in the header and the footer shows in capital letters at the bottom of each page. On the free plan, PDFs come out with the app logo and the Free Version watermark: PDF report limit and watermark on the free plan.
Step 5: If the PDF didn't change
The logo and footer apply to PDFs created after the change; files you already downloaded stay the same. If you just changed them and a new PDF still shows the old version, close and reopen the app (in a browser, reload the page) and create the report again.
How to add your logo and footer to PDF reports
On the PRO plan, put your company logo in the header and your own text in the footer of every PDF report.
For managers5 steps
Didn't find what you were looking for?
Chat with support on WhatsApp or raise a ticket in the app.