
Step 1: Open Supplies
Open the project and tap Supplies. The screen has three tabs: History (each purchase, grouped by month), Invoices and Materials (the photos). More items load as you scroll.
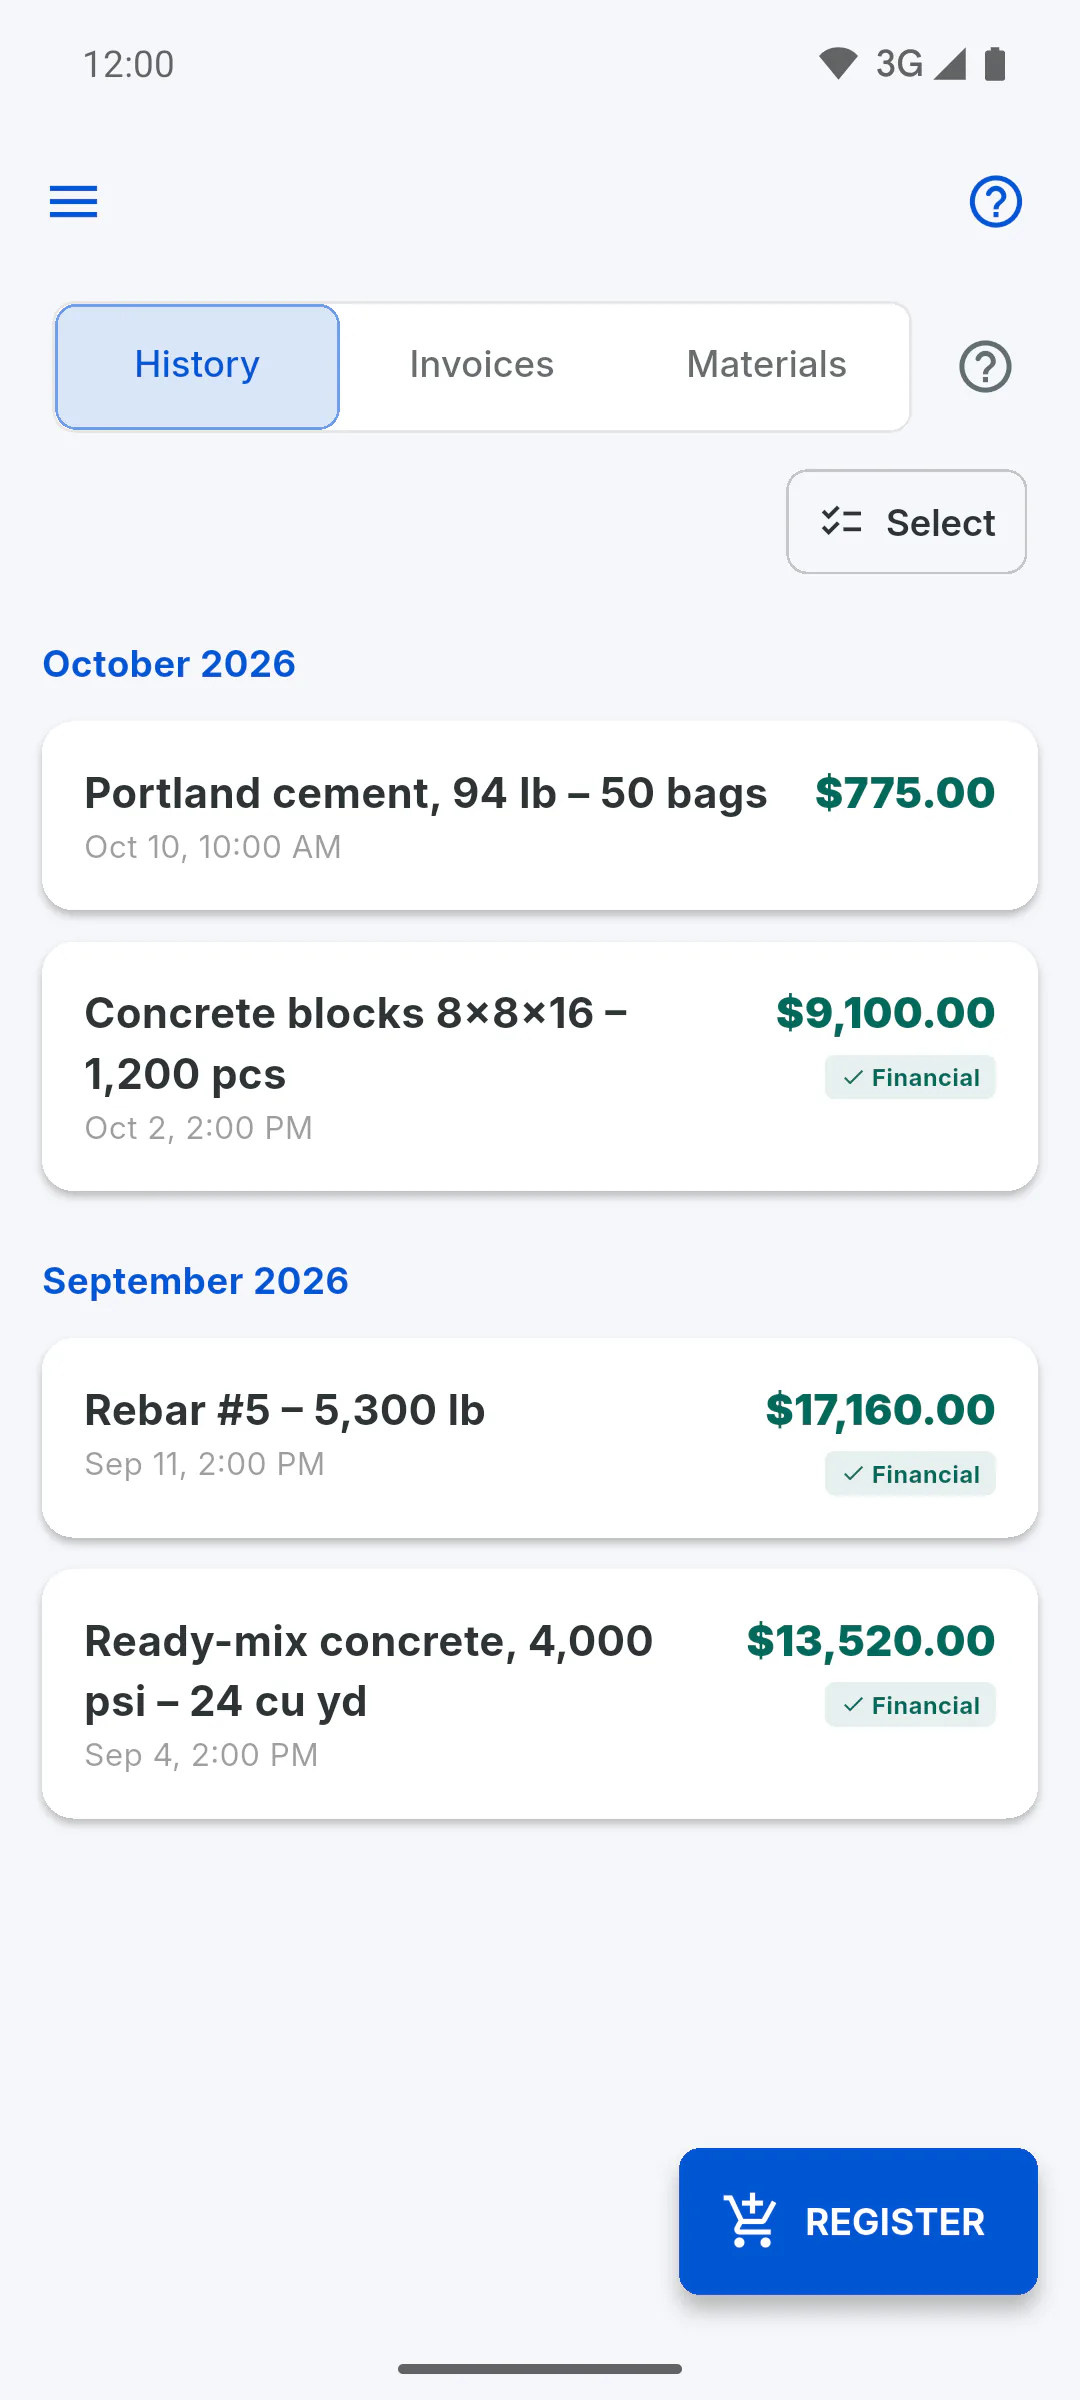
Step 2: View an invoice or photo
In the Invoices and Materials tabs, tap a thumbnail to open it full screen and swipe to move through the others. At the bottom, View Material or View Invoice shows the other side of the same purchase. An invoice saved as PDF opens with the Open PDF button.
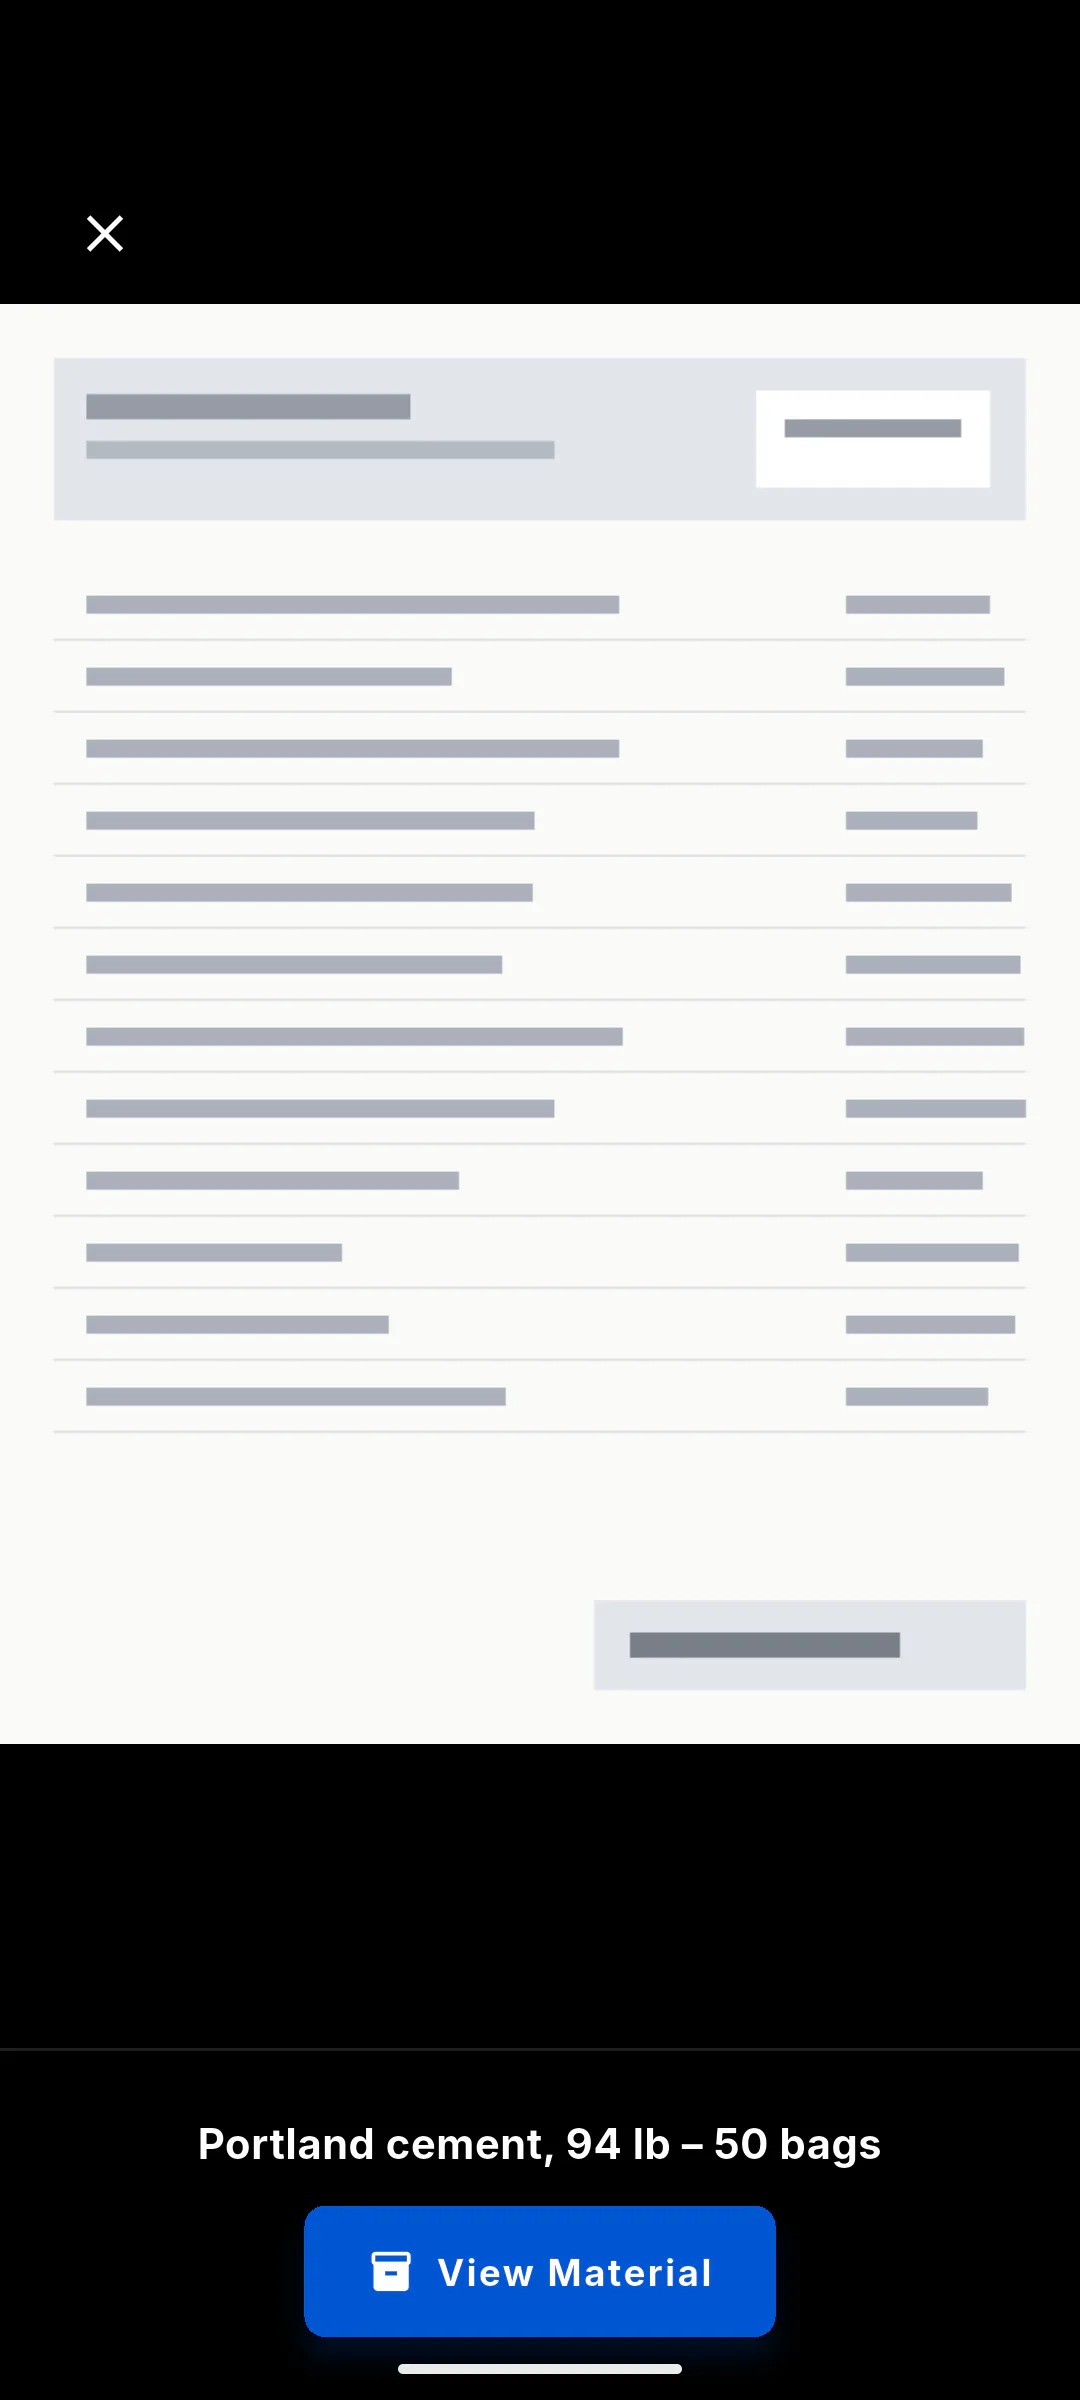
Step 3: Select the invoices
In the Invoices tab, tap Select (or press and hold an invoice) and mark what you want to export: each tap marks every invoice from that purchase. Select Month marks the whole month.
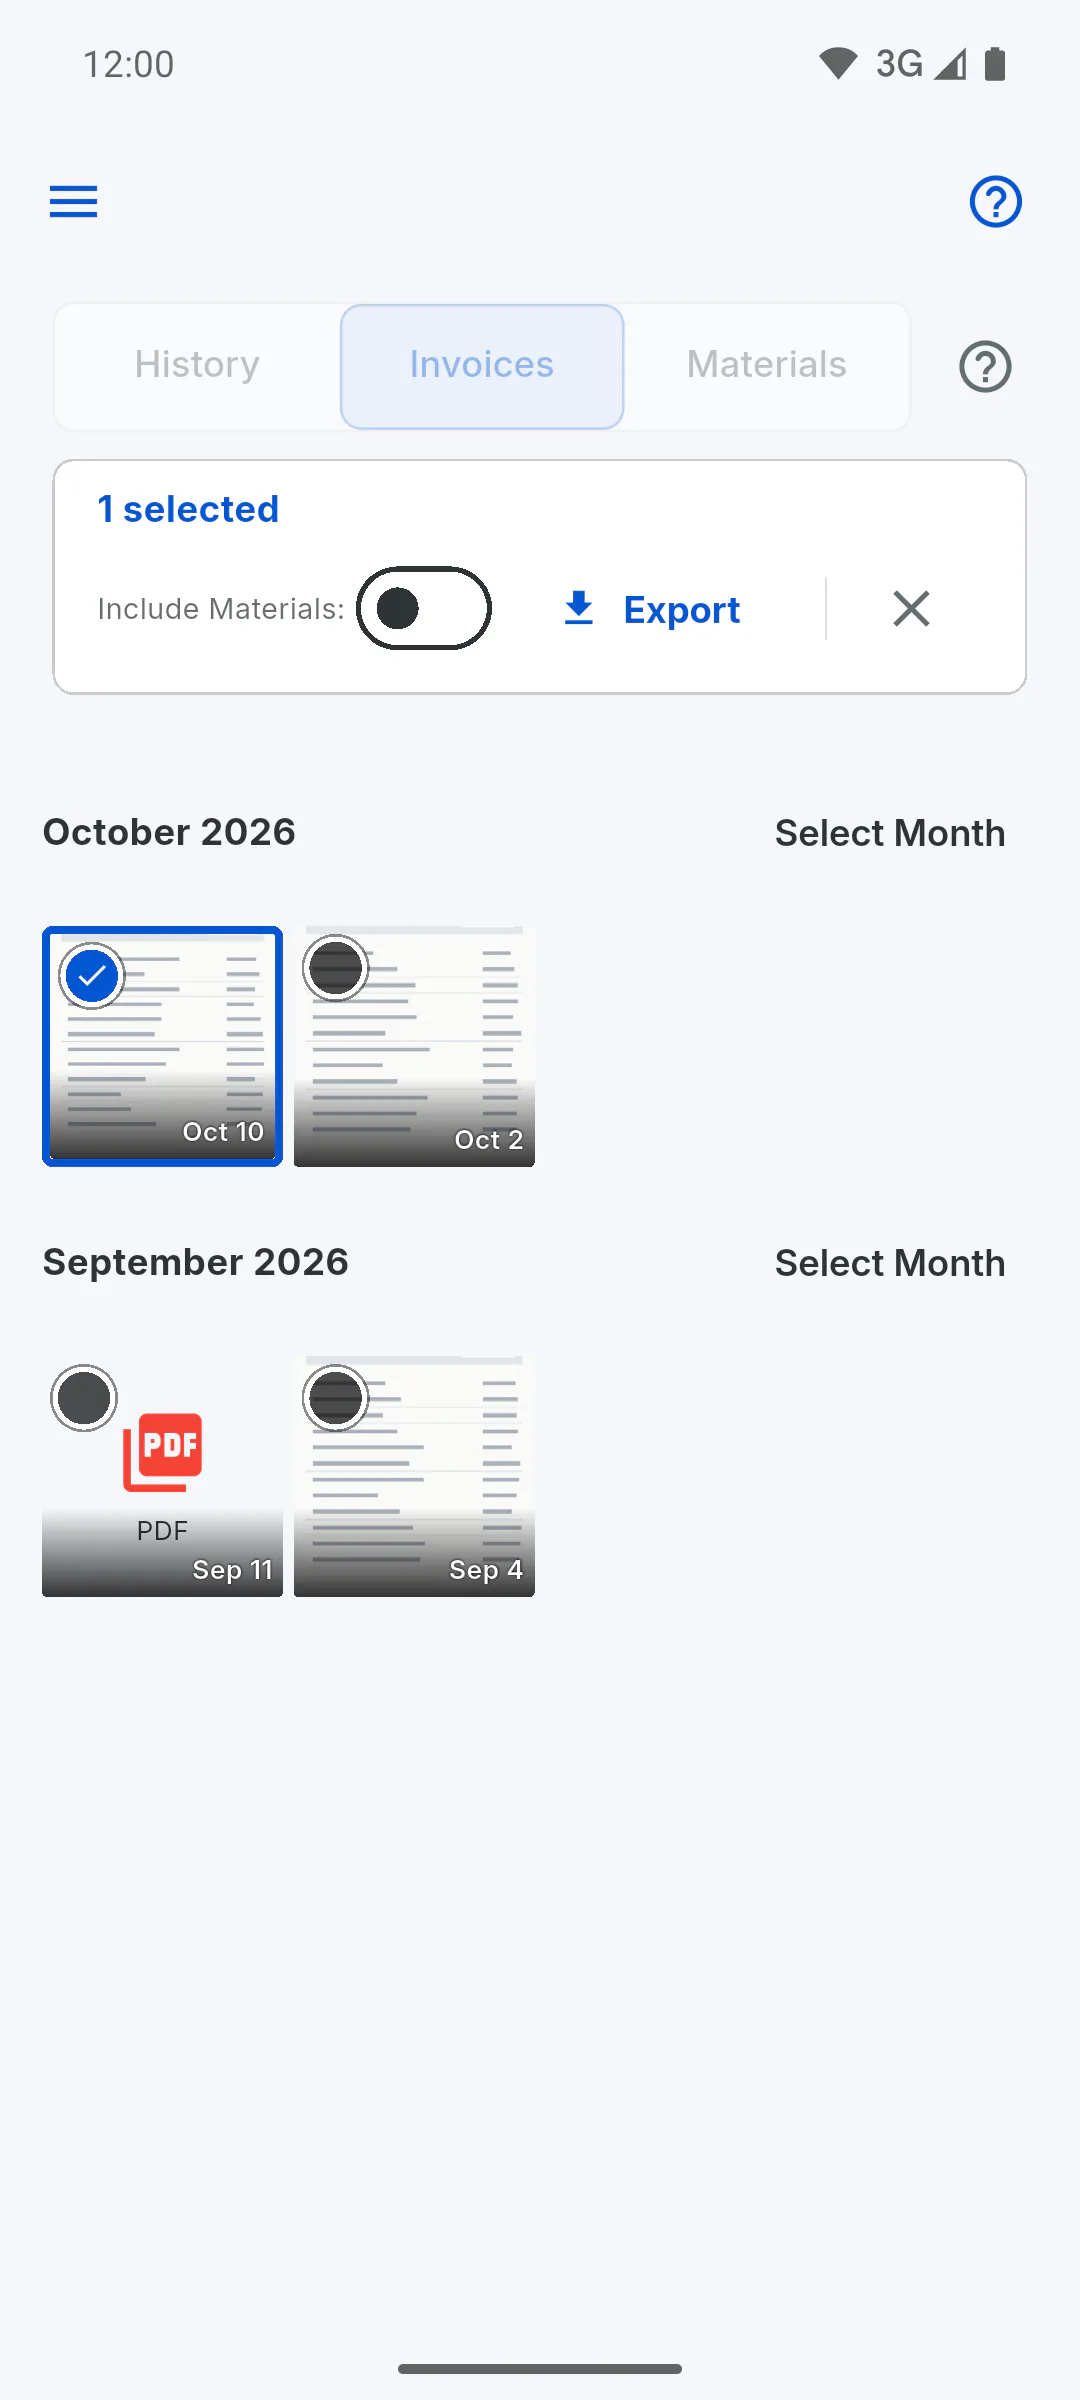
Step 4: Export as a ZIP
Turn on Include Materials: to add the material photos too, then tap Export. Wait for Processing files... Please wait.
- On a phone, the share sheet opens so you can save or send the file
- In a web browser, the download starts on its own
- On a computer, choose where to save it
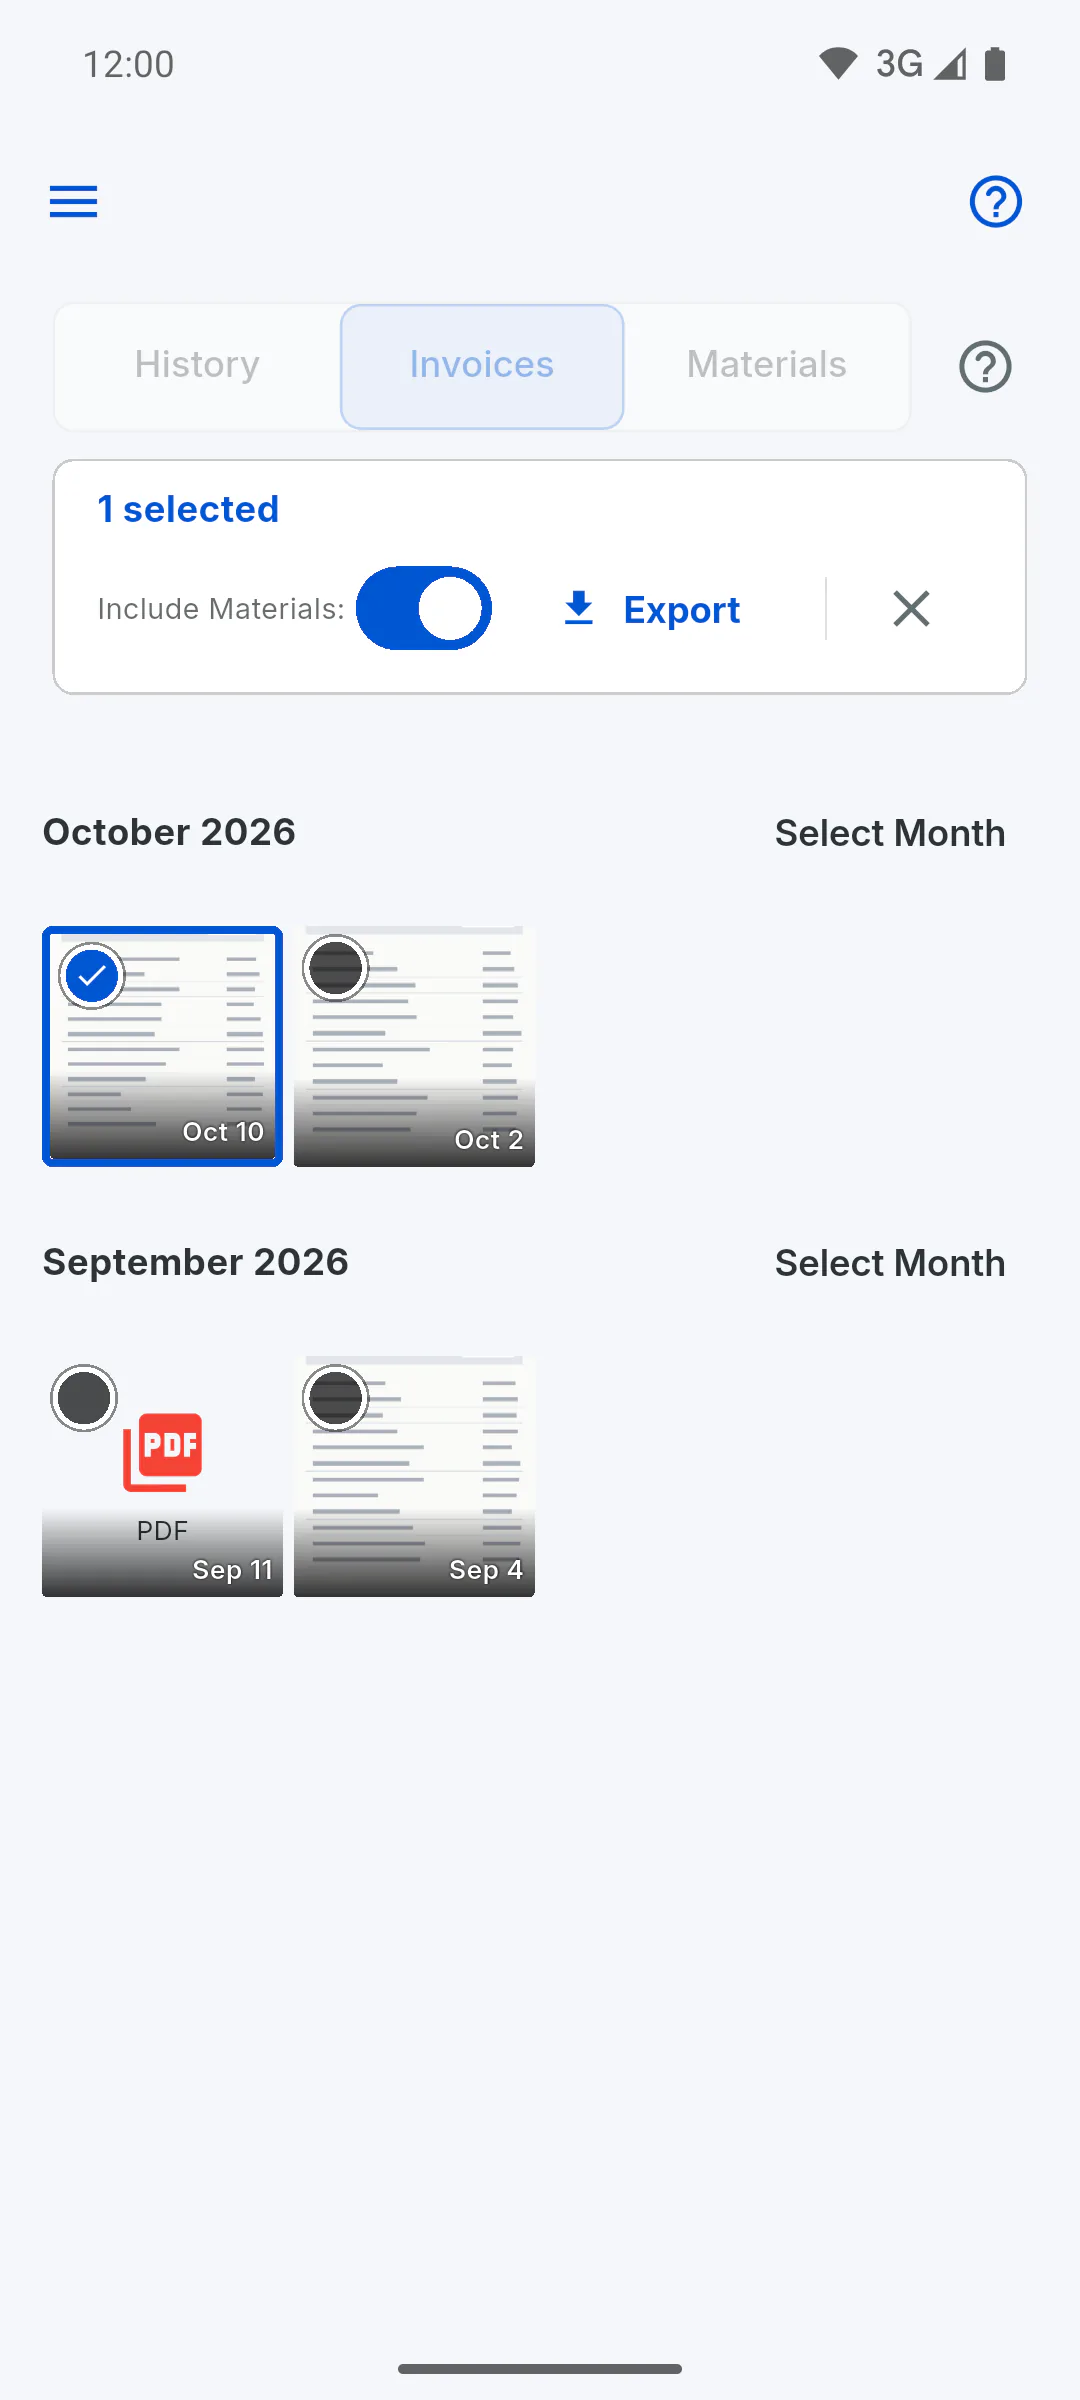
Step 5: Delete records
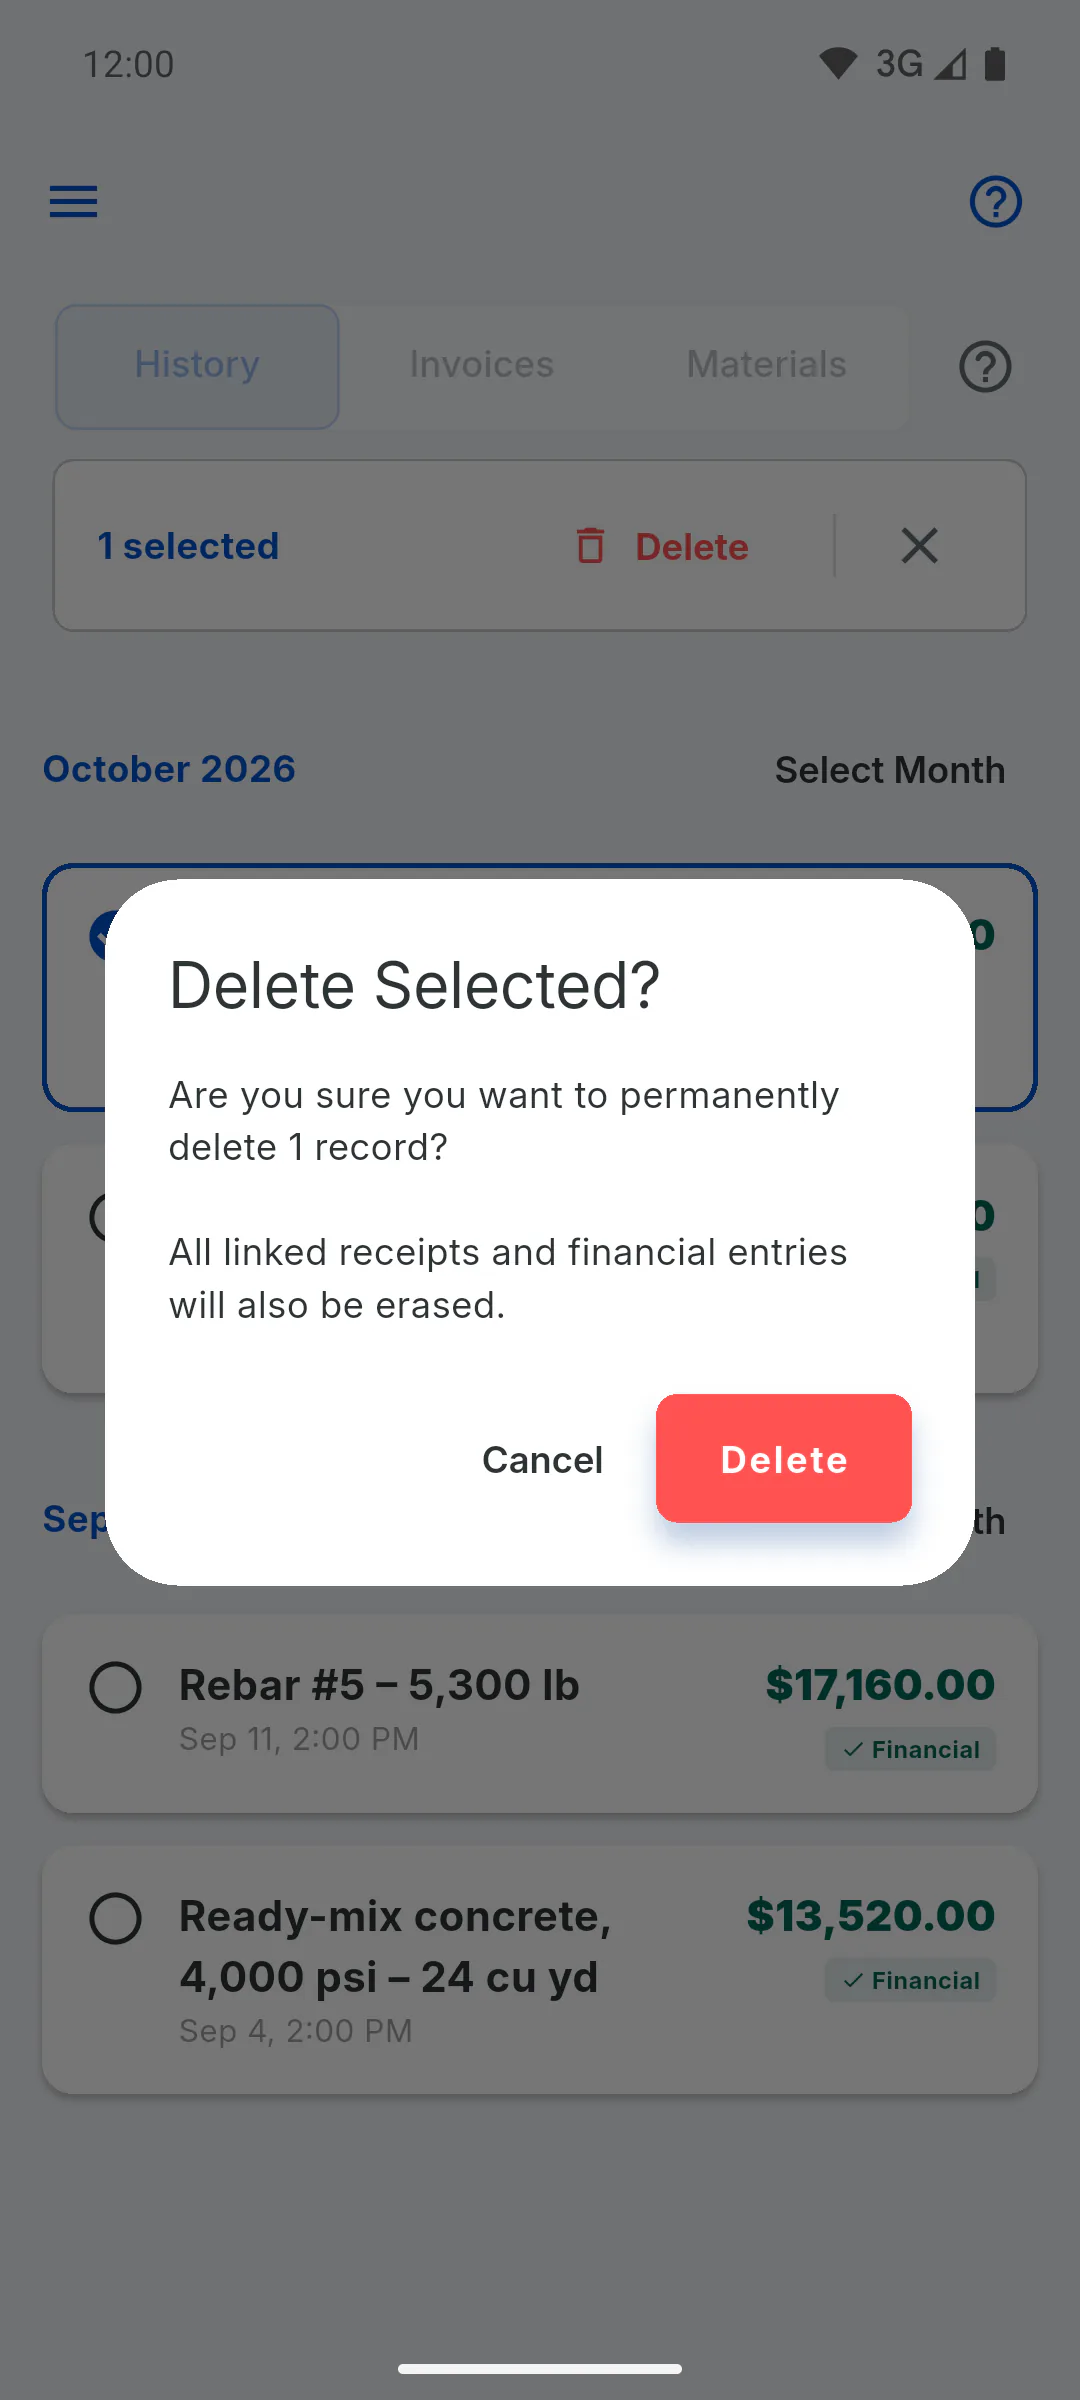
Only the project owner can delete purchases: for everyone else, Select in the History tab is grayed out with a lock icon, and tapping it opens a window showing their role on the project and who can use it. In the History tab, tap Select, mark the purchases (or use Select Month) and tap Delete. In Delete Selected?, confirm with Delete: the linked expense in Financial, the invoice and the photos are deleted too. Offline, the purchases leave the list right away and the deletion finishes when the connection comes back.
How to view, delete and export invoices as a ZIP
Find the project's purchases by month, view invoices and material photos, export the invoices in a ZIP file and delete records.
For managers and team members5 steps
Didn't find what you were looking for?
Chat with support on WhatsApp or open a ticket right in the app.