
Step 1: Open the Gallery
Open the project and, in the Project Menu, tap Gallery. The two tabs are at the top of the screen: Technical and Album (MKT). Team members can open the Gallery too.
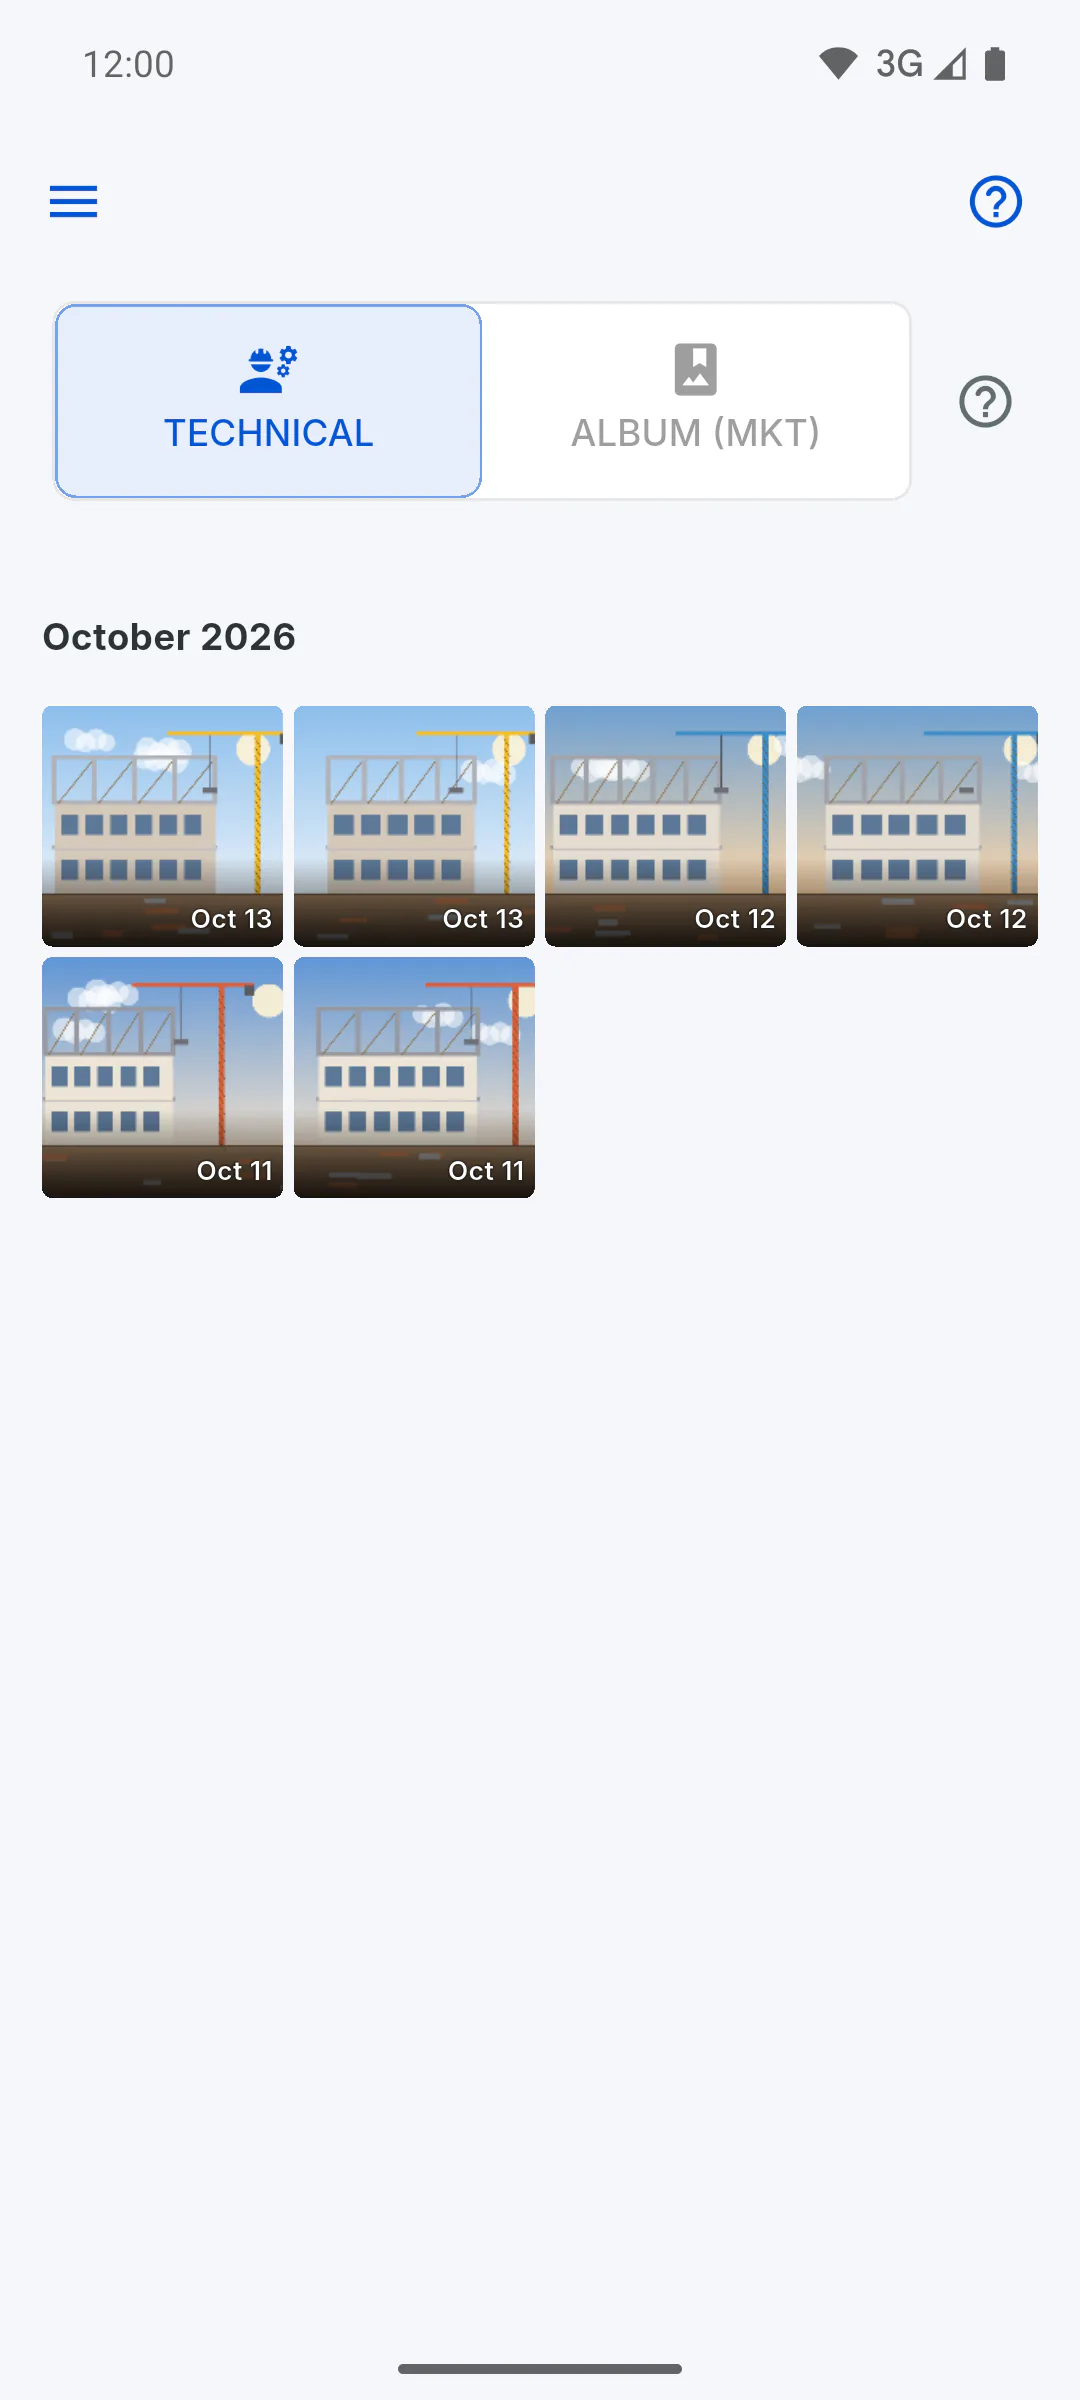
Step 2: Technical: daily report photos
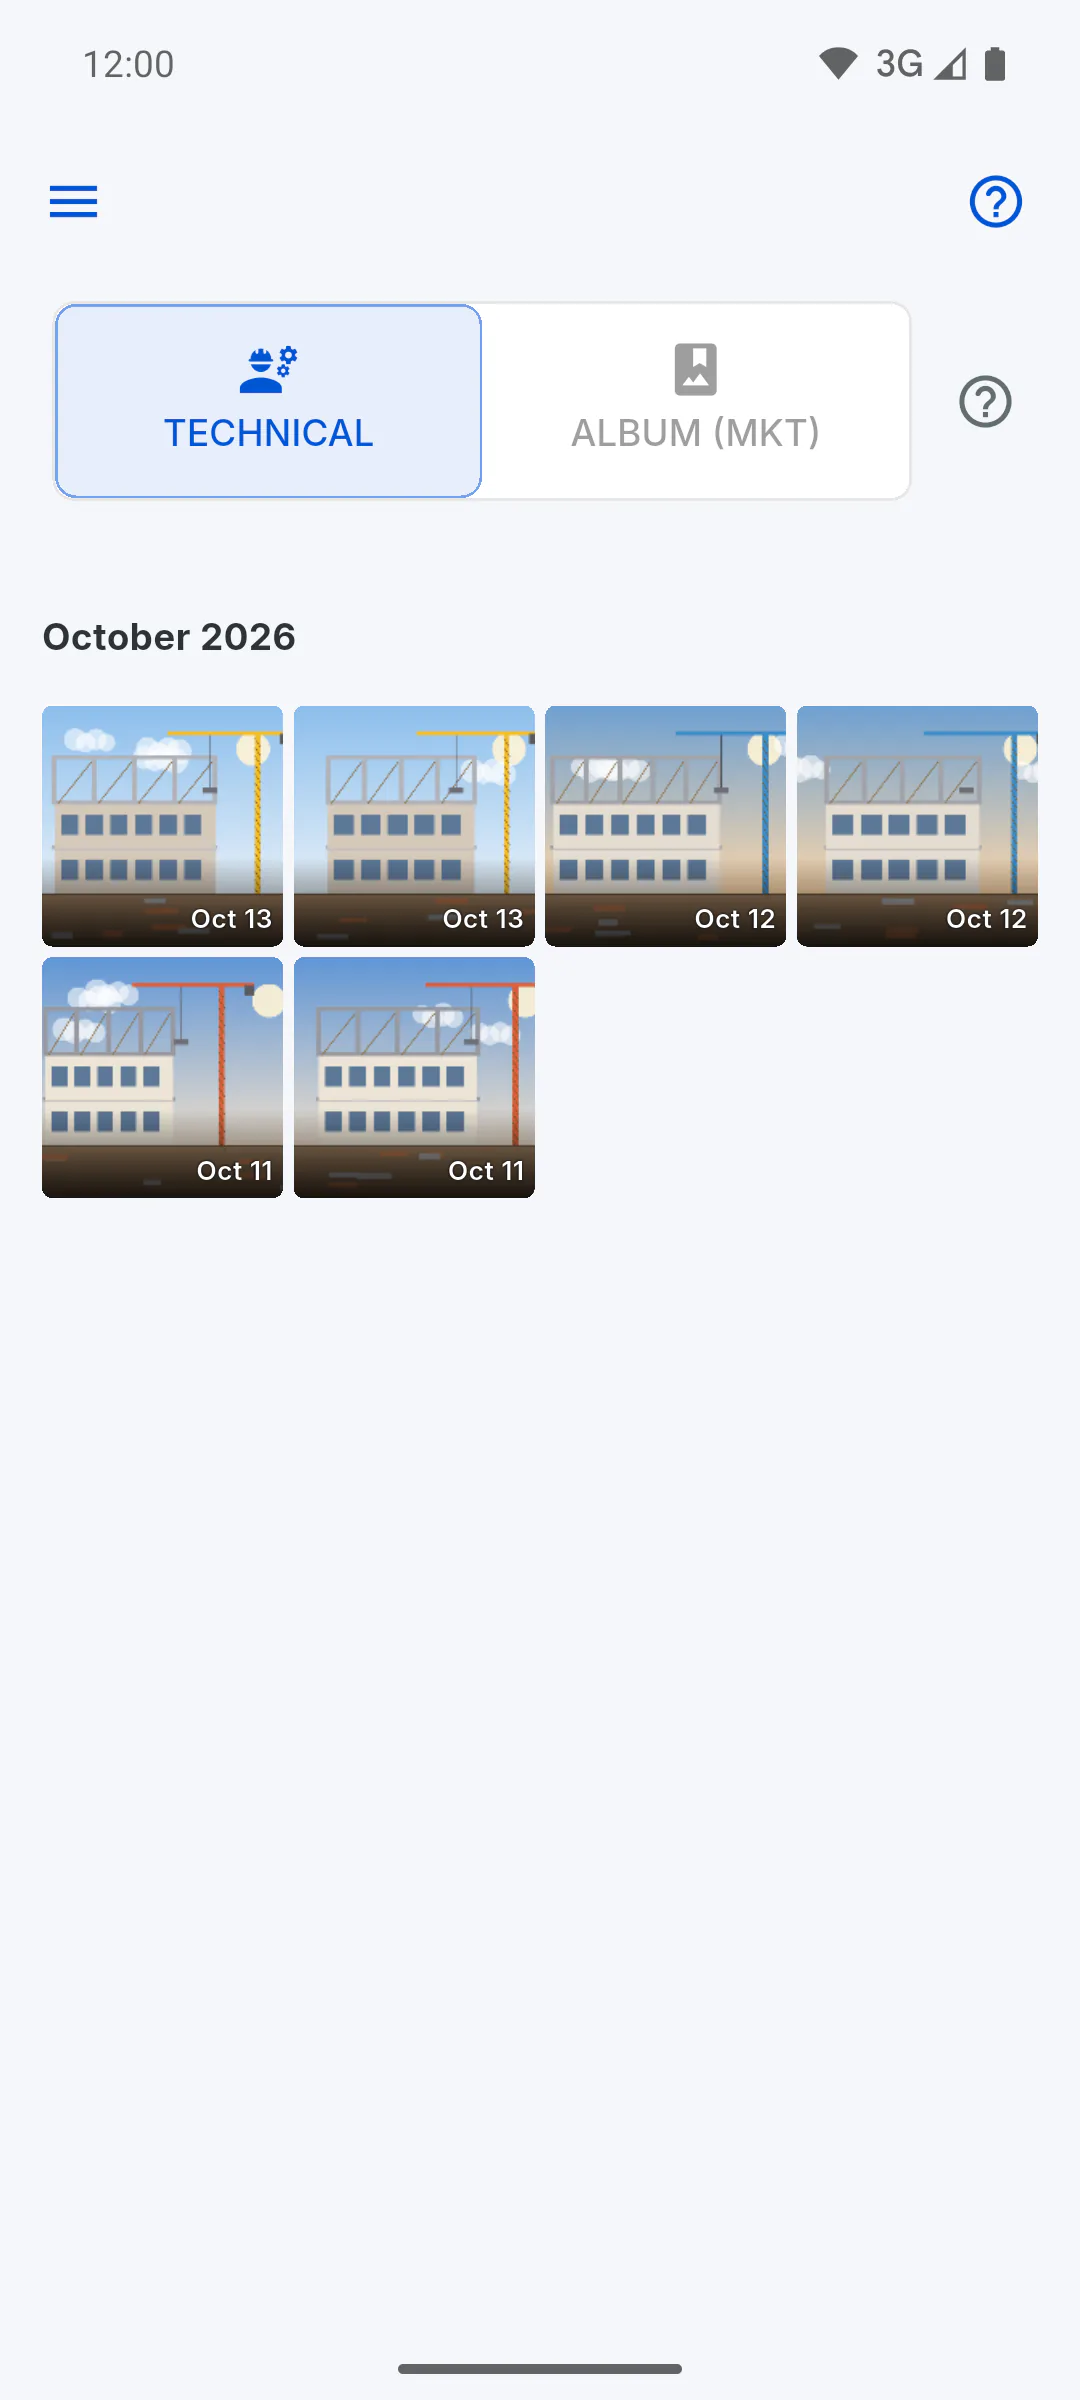
The Technical tab gathers the photos from your daily reports on its own, grouped by month, from the 50 most recent reports. It has no upload button, and photos can't be selected or deleted here: to remove or add a photo, edit the report. With no photos, you see Empty Technical Gallery.
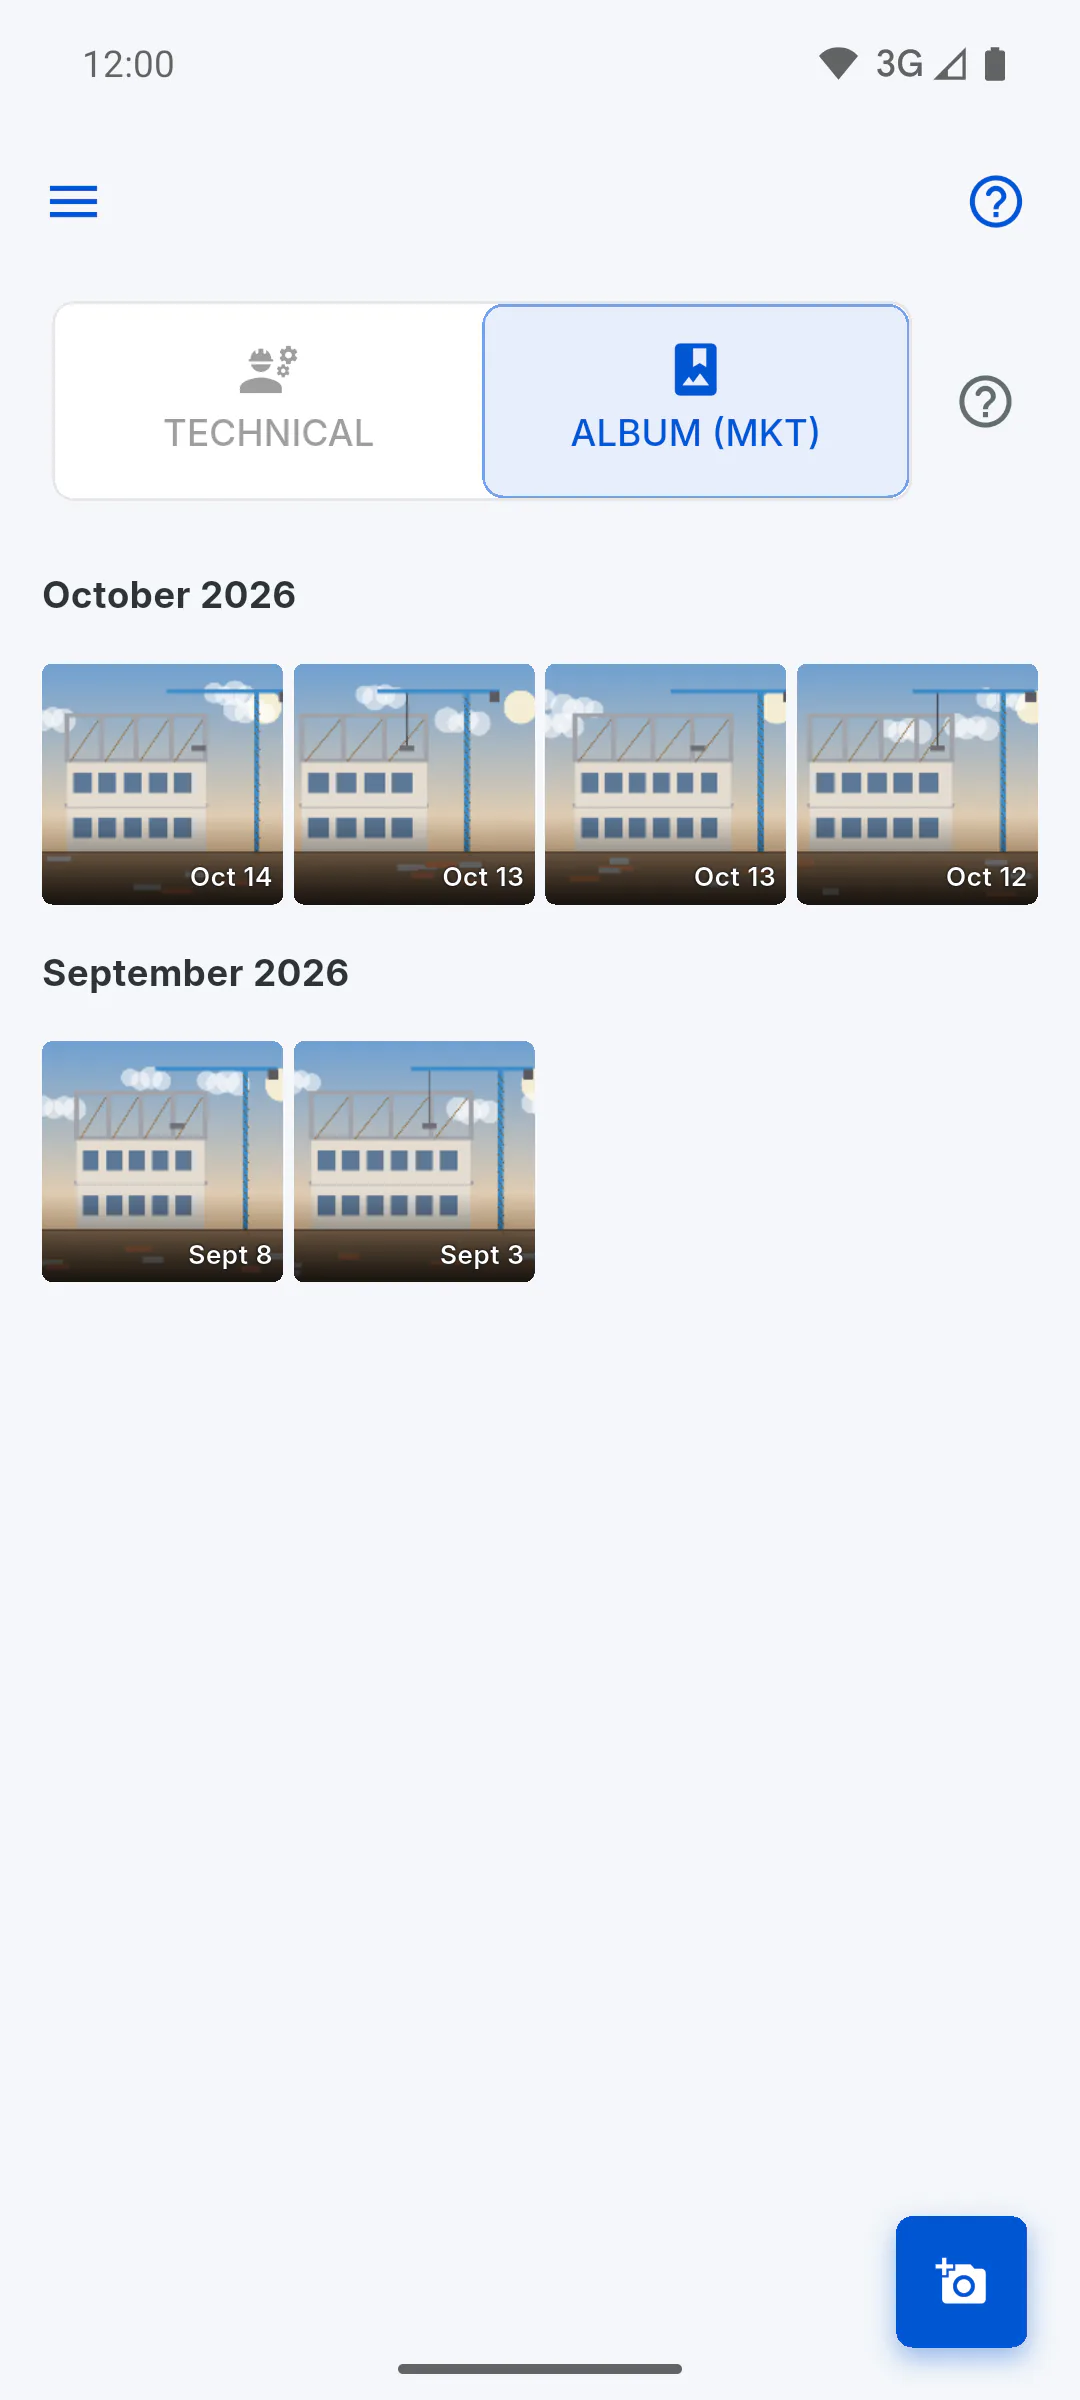
Step 3: Album: photos for your client
The Album (MKT) tab holds the photos you pick to show off the project, uploaded with the camera button in the bottom corner. With no photos, you see Highlights Album.
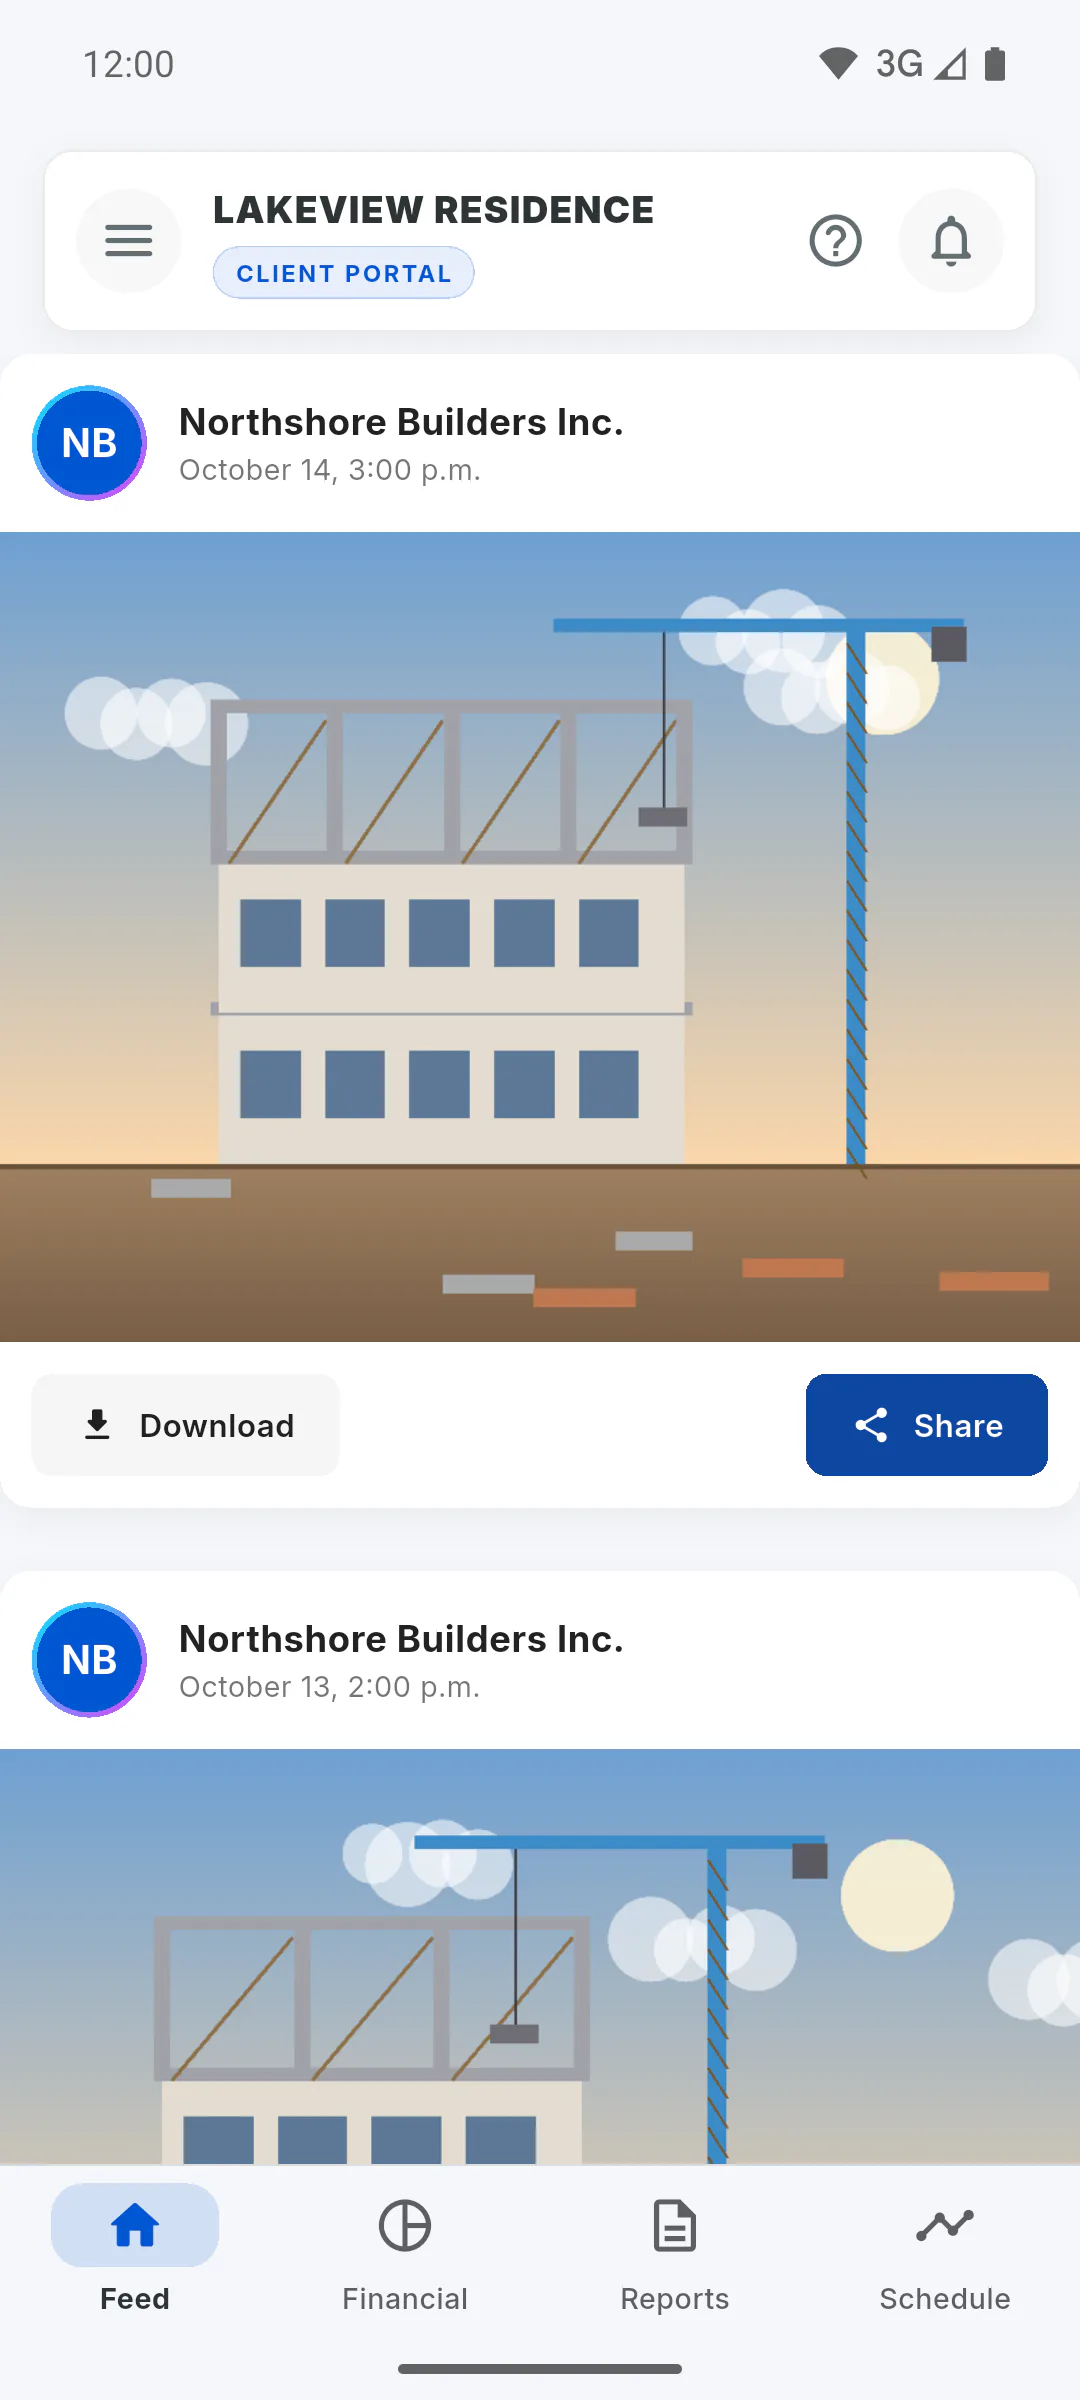
Step 4: What your client sees
Album photos are the ones your client sees in the Feed and the Project Gallery of the Client Portal. Photos from the Technical tab don't go there: the client only sees them inside each daily report. To get a report photo into the Feed, upload it to the Album as well.
Step 5: Viewing photos
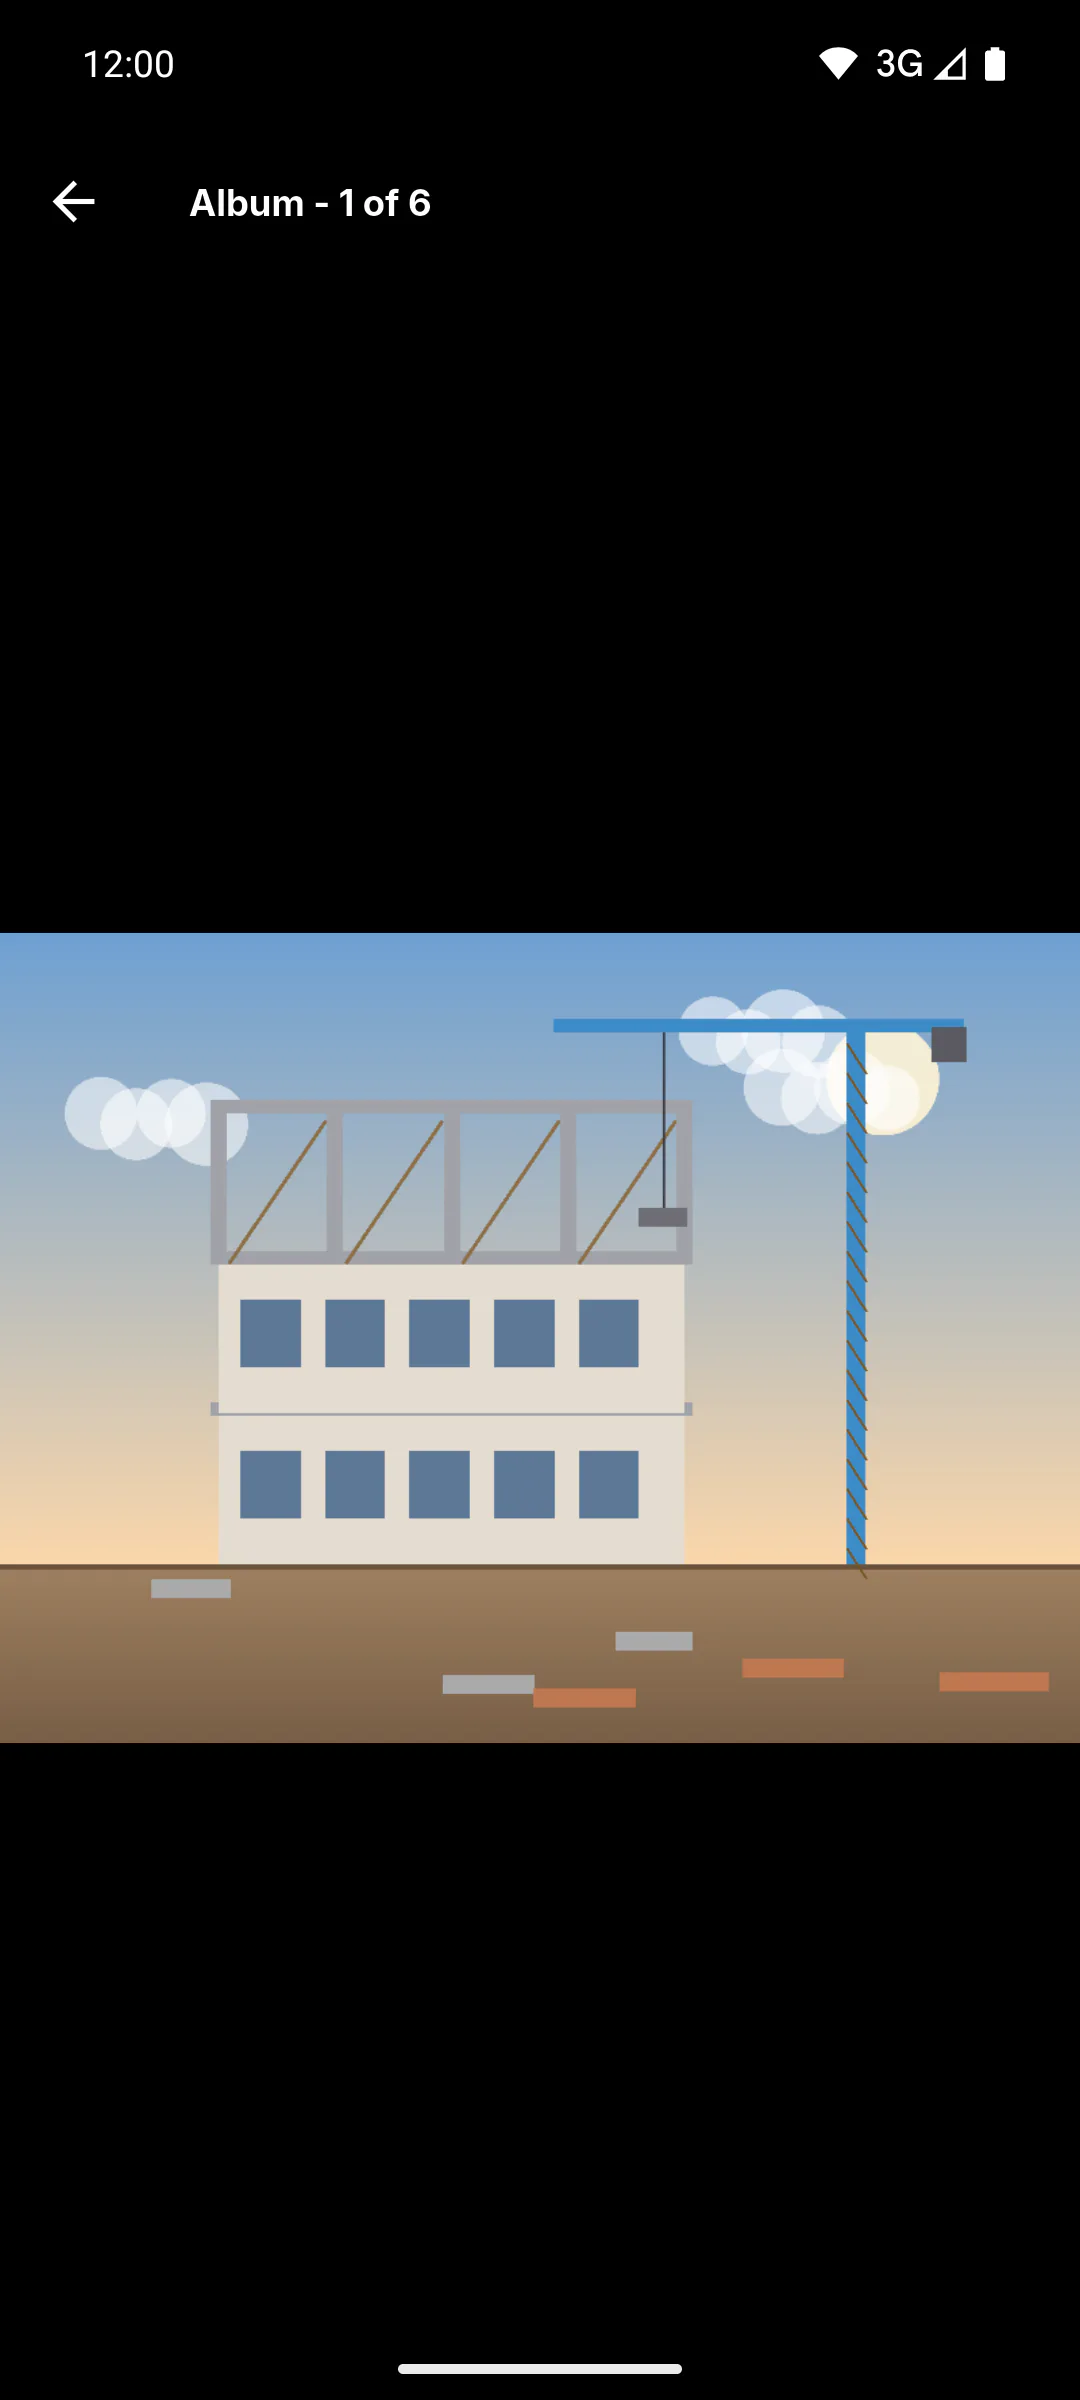
On either tab, tap a photo to open it full screen and pinch to zoom. On a phone, swipe to move between photos; in the Windows app, use the arrows on the sides. In the Album, older photos load as you scroll down.
Step 6: Who can delete
Album photos can be deleted by the project owner and by an invited engineer. Team members can upload photos to the Album but can't delete them.
What is the difference between the Technical Gallery and the Album
The project Gallery has two tabs: Technical, with the photos from your daily reports, and Album, with the photos you choose to show your client. Here is what goes where.
For managers and team members6 steps
Didn't find what you were looking for?
Chat with support on WhatsApp or raise a ticket in the app.