
Step 1: Open the tab
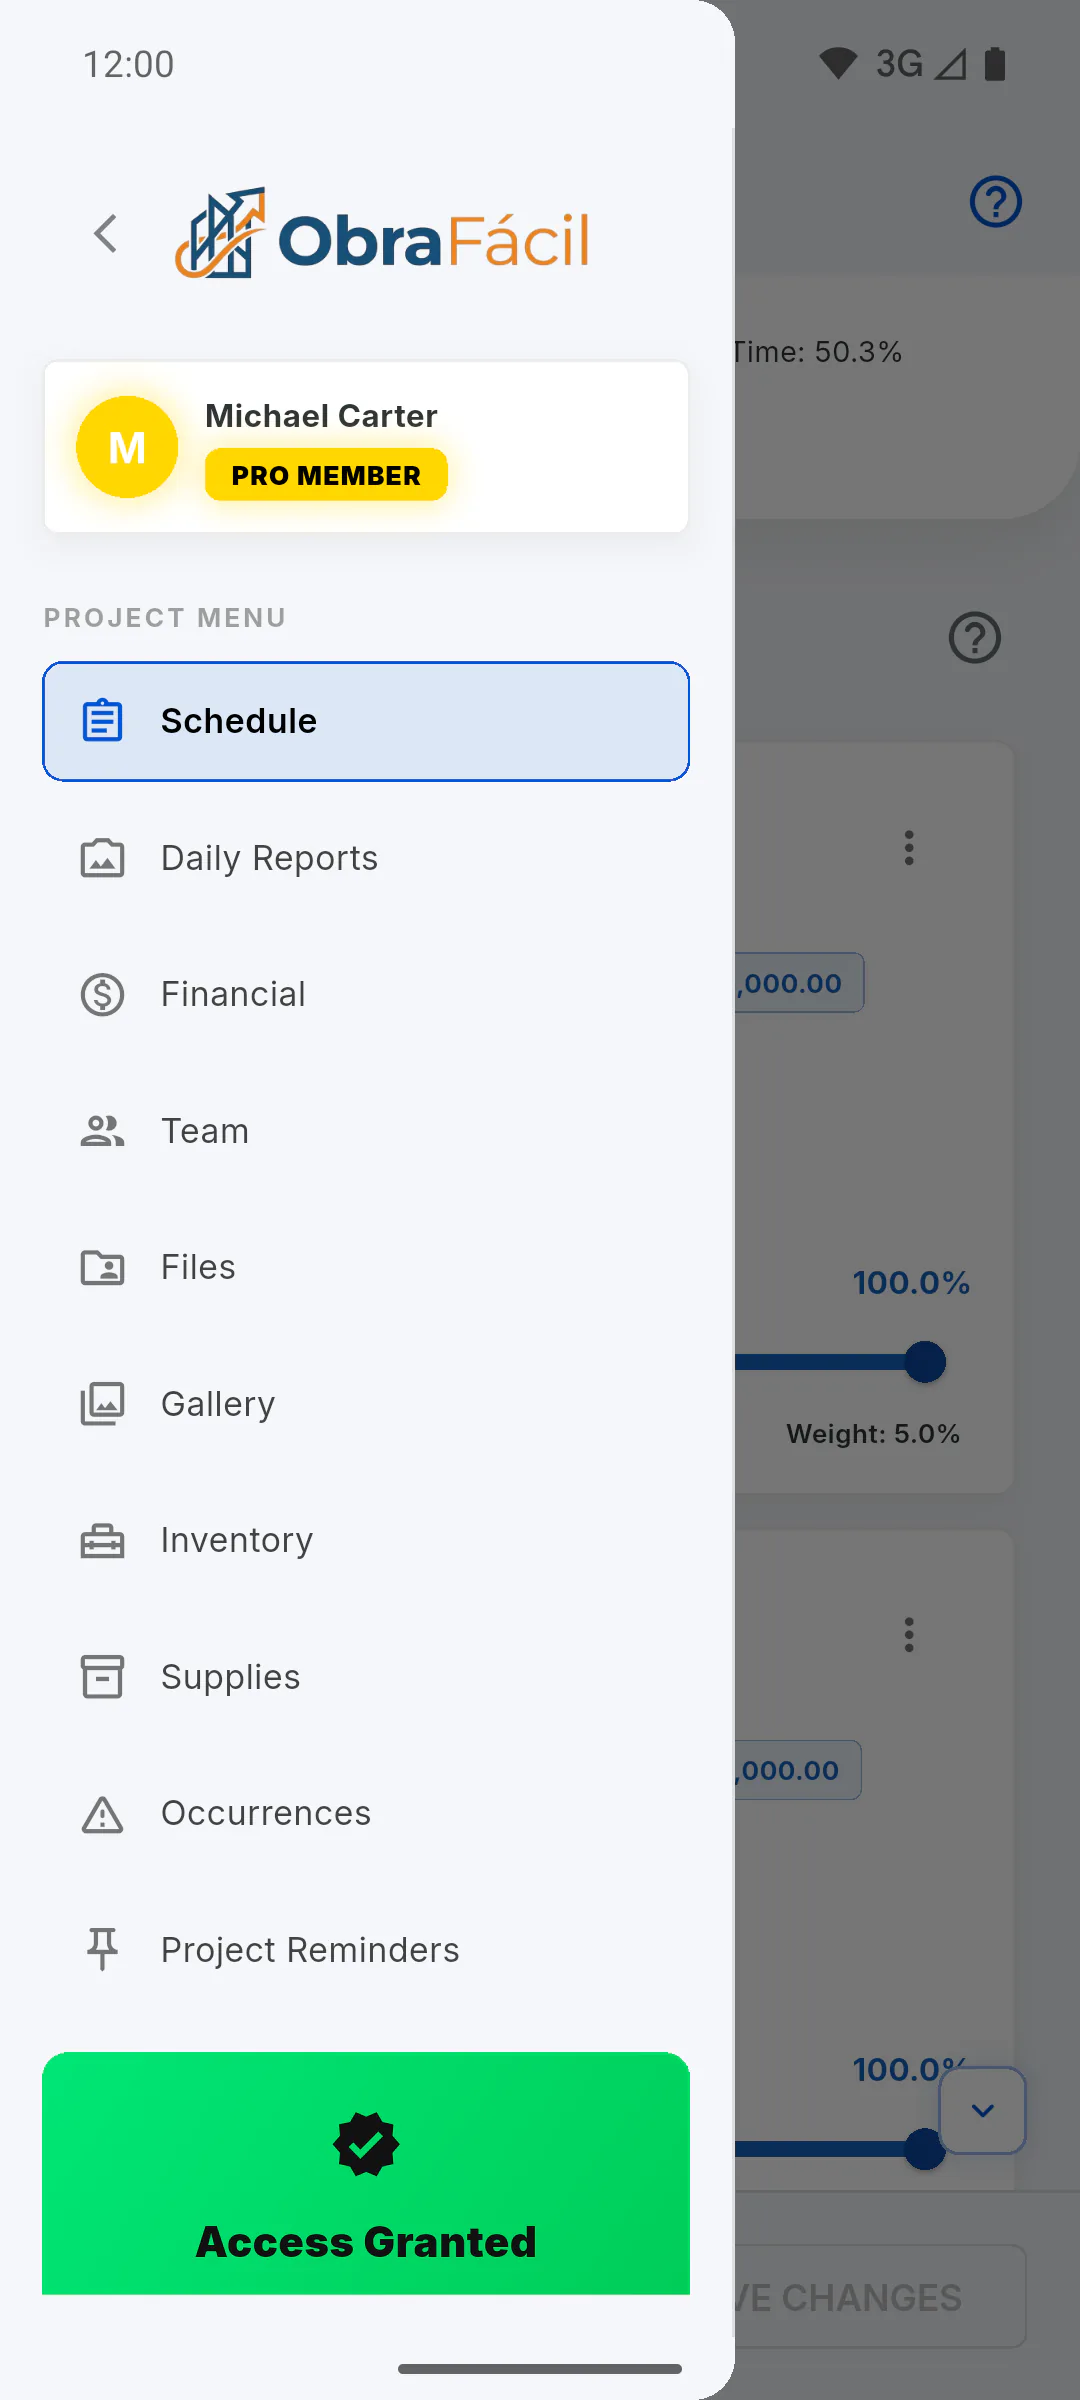
Open the project and, in the project menu, tap Inventory. Only tools sent from the General Inventory to this project appear here. You can't add or delete tools from this tab.
Step 2: Who can see it
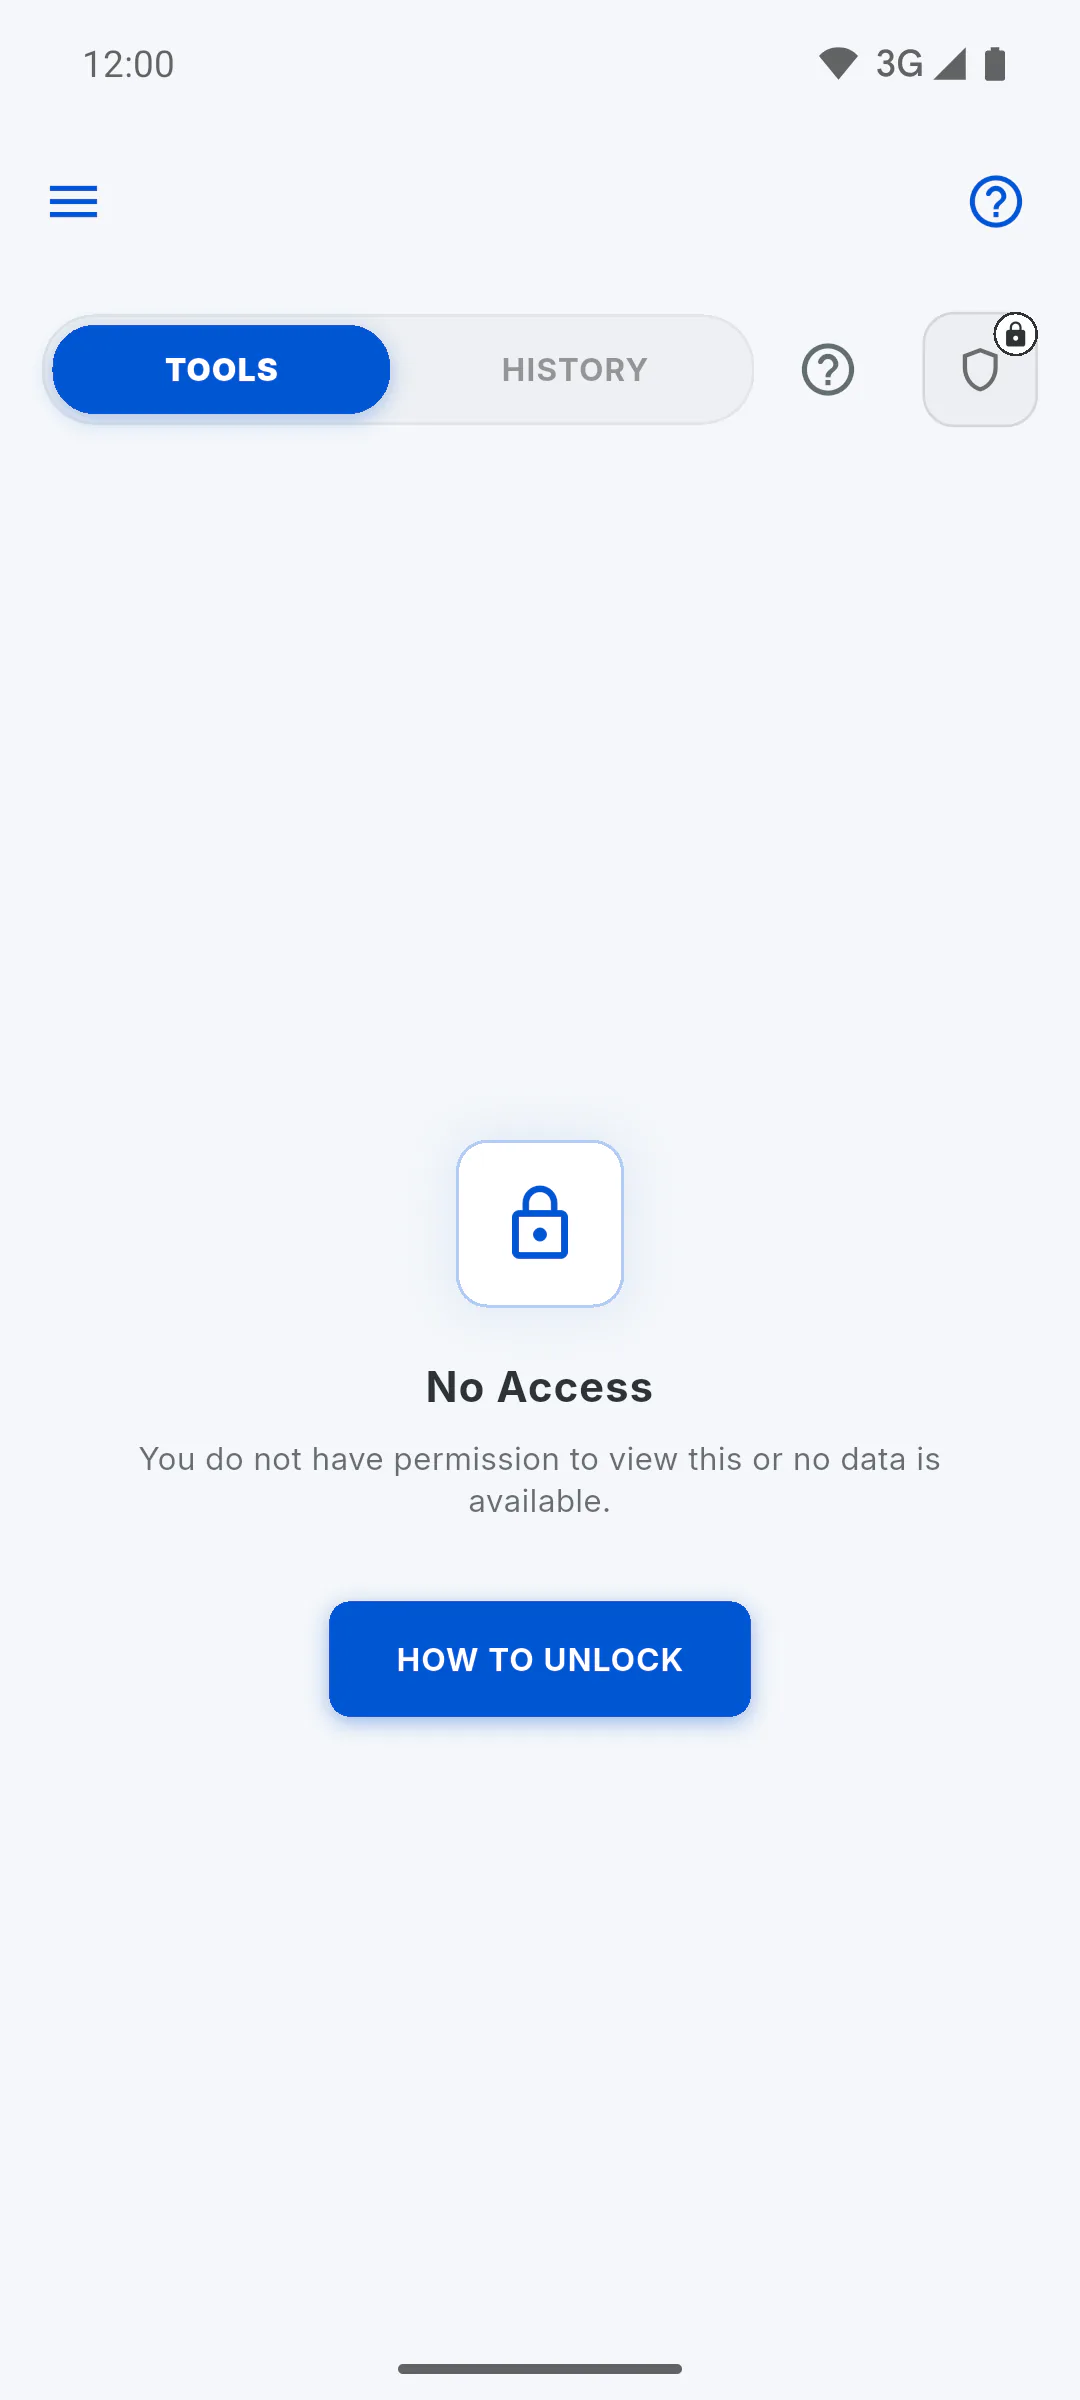
The project owner always sees it. Guests, including the engineer, only see it with inventory permission; without it, No Access appears. Tap How to unlock to open a window explaining that the owner turns on each person's switch, on each project. How to give someone on the project inventory permission
Step 3: Read each tool
In the Tools tab:
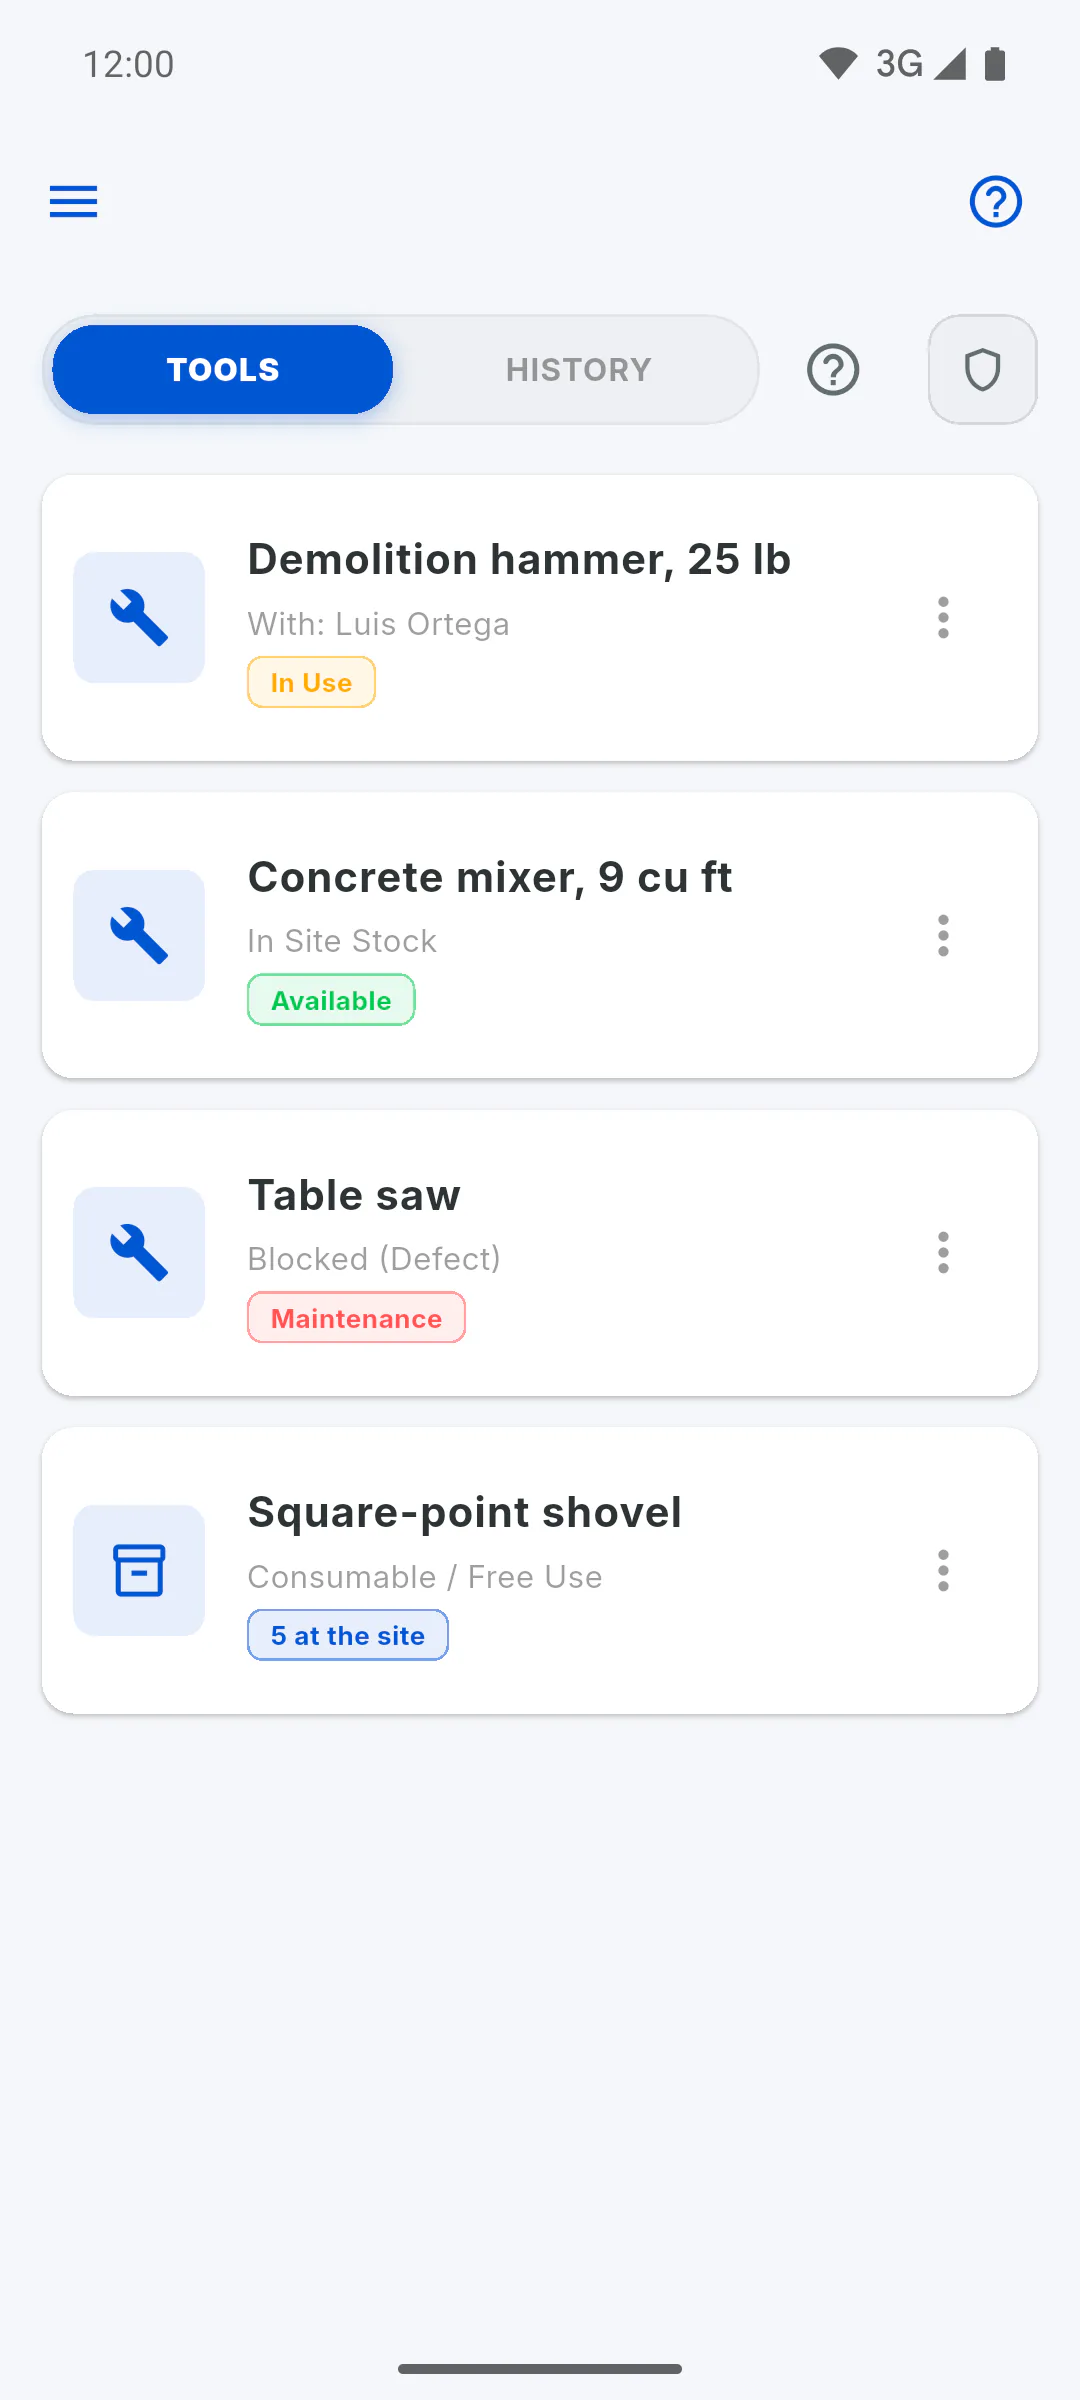
- unit tool not in use: Available and In Site Stock
- lent out: In Use and With: followed by the person's name
- with a problem: Maintenance and Blocked (Defect)
- lot: how many units are on the project (e.g. 5 at the site) and Consumable / Free Use
Tap the card to see Local Details, and the thumbnail to enlarge the photo.
Step 4: Move a tool
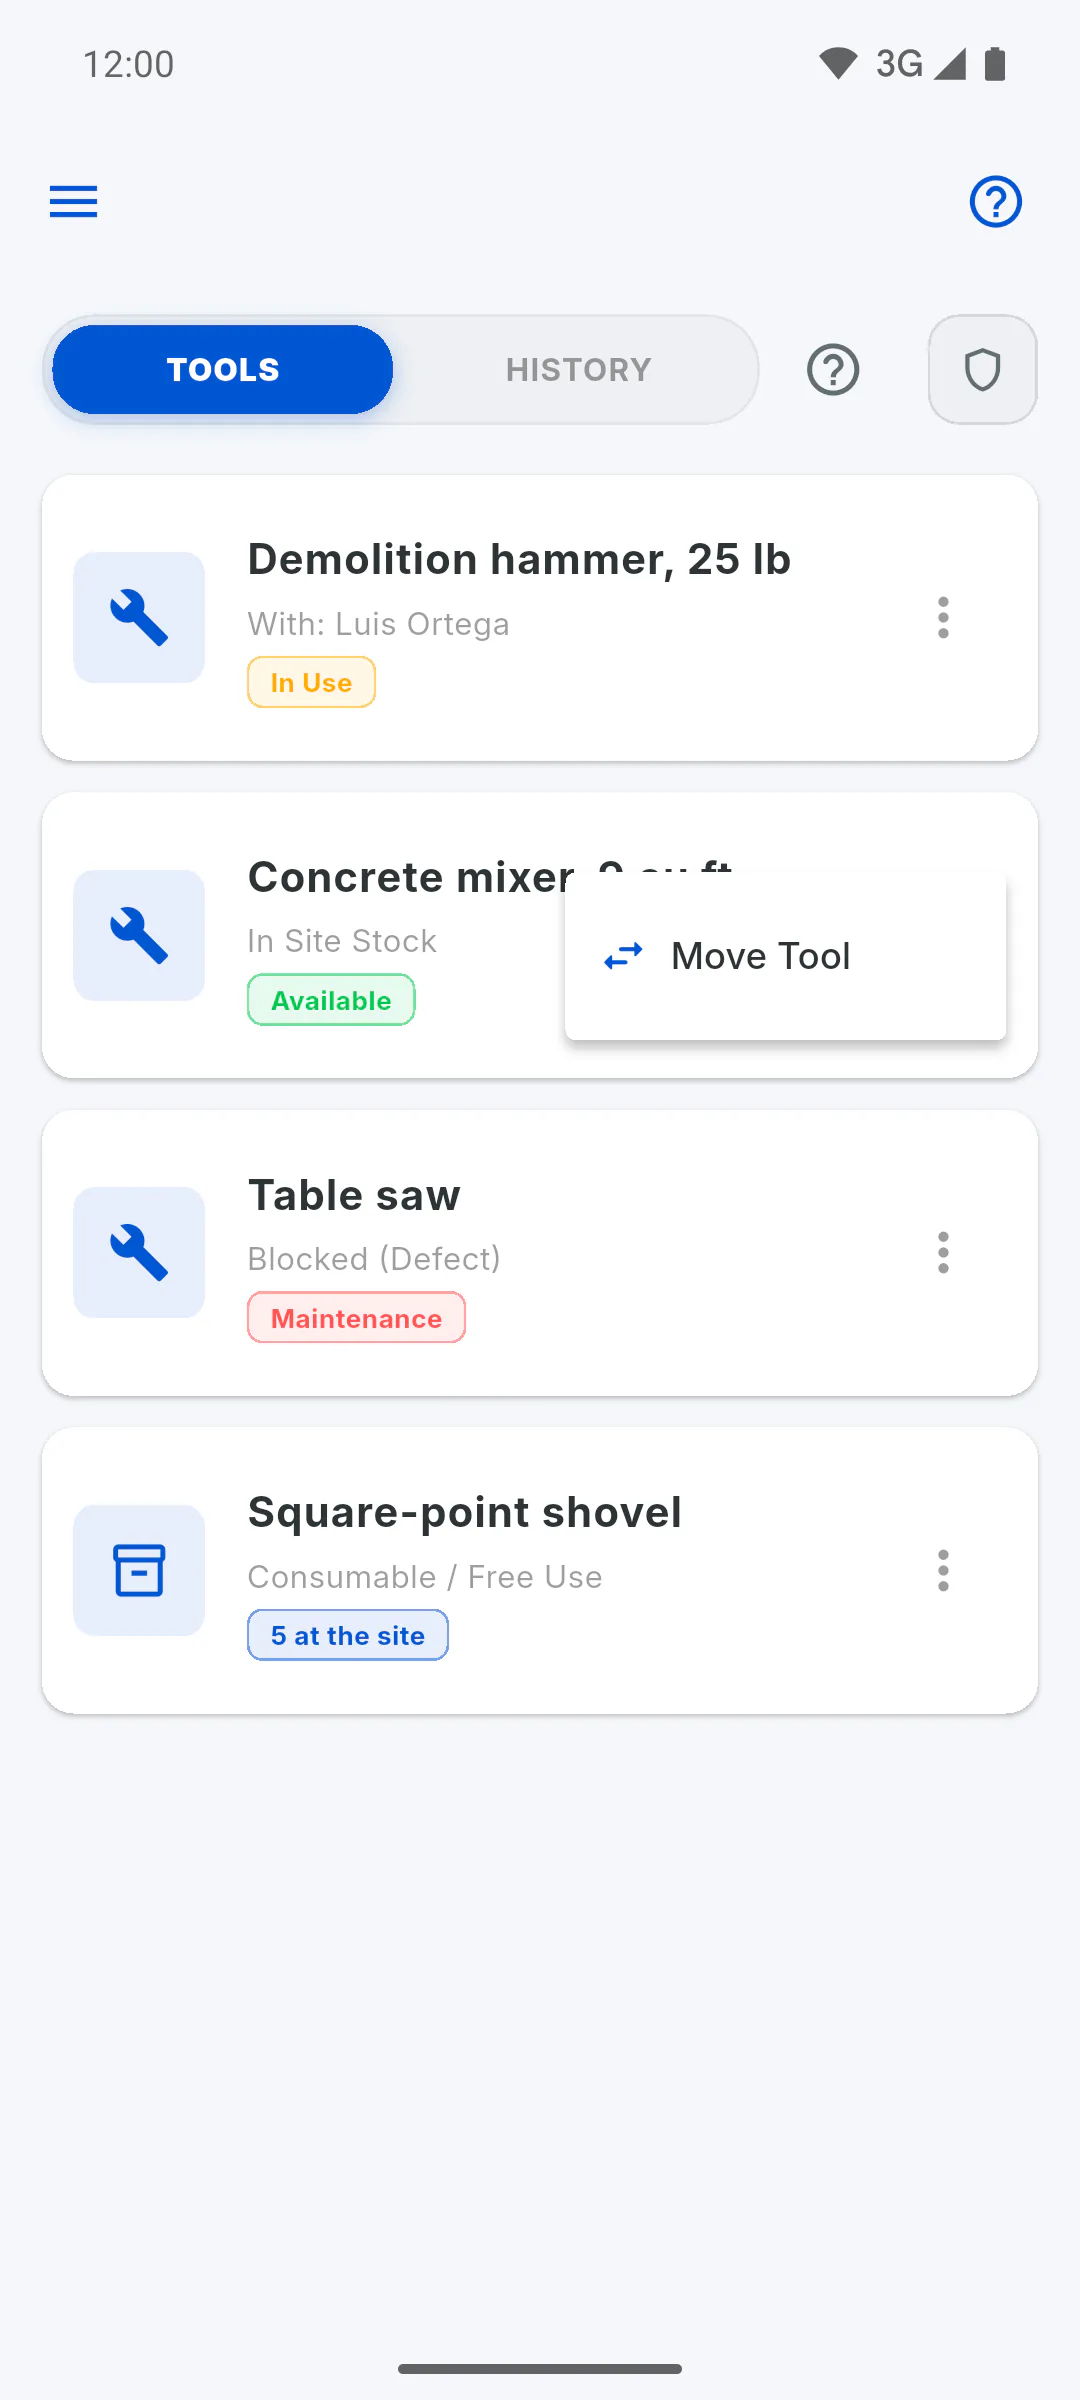
With permission, tap the three dots and Move Tool to lend, receive, report a defect, return to Central or write off lot units. How to send tools to a project and track loans
Step 5: Empty list
Site Without Tools means nothing has been sent to this project yet: tools are sent from the General Inventory. The History tab keeps this project's movements.
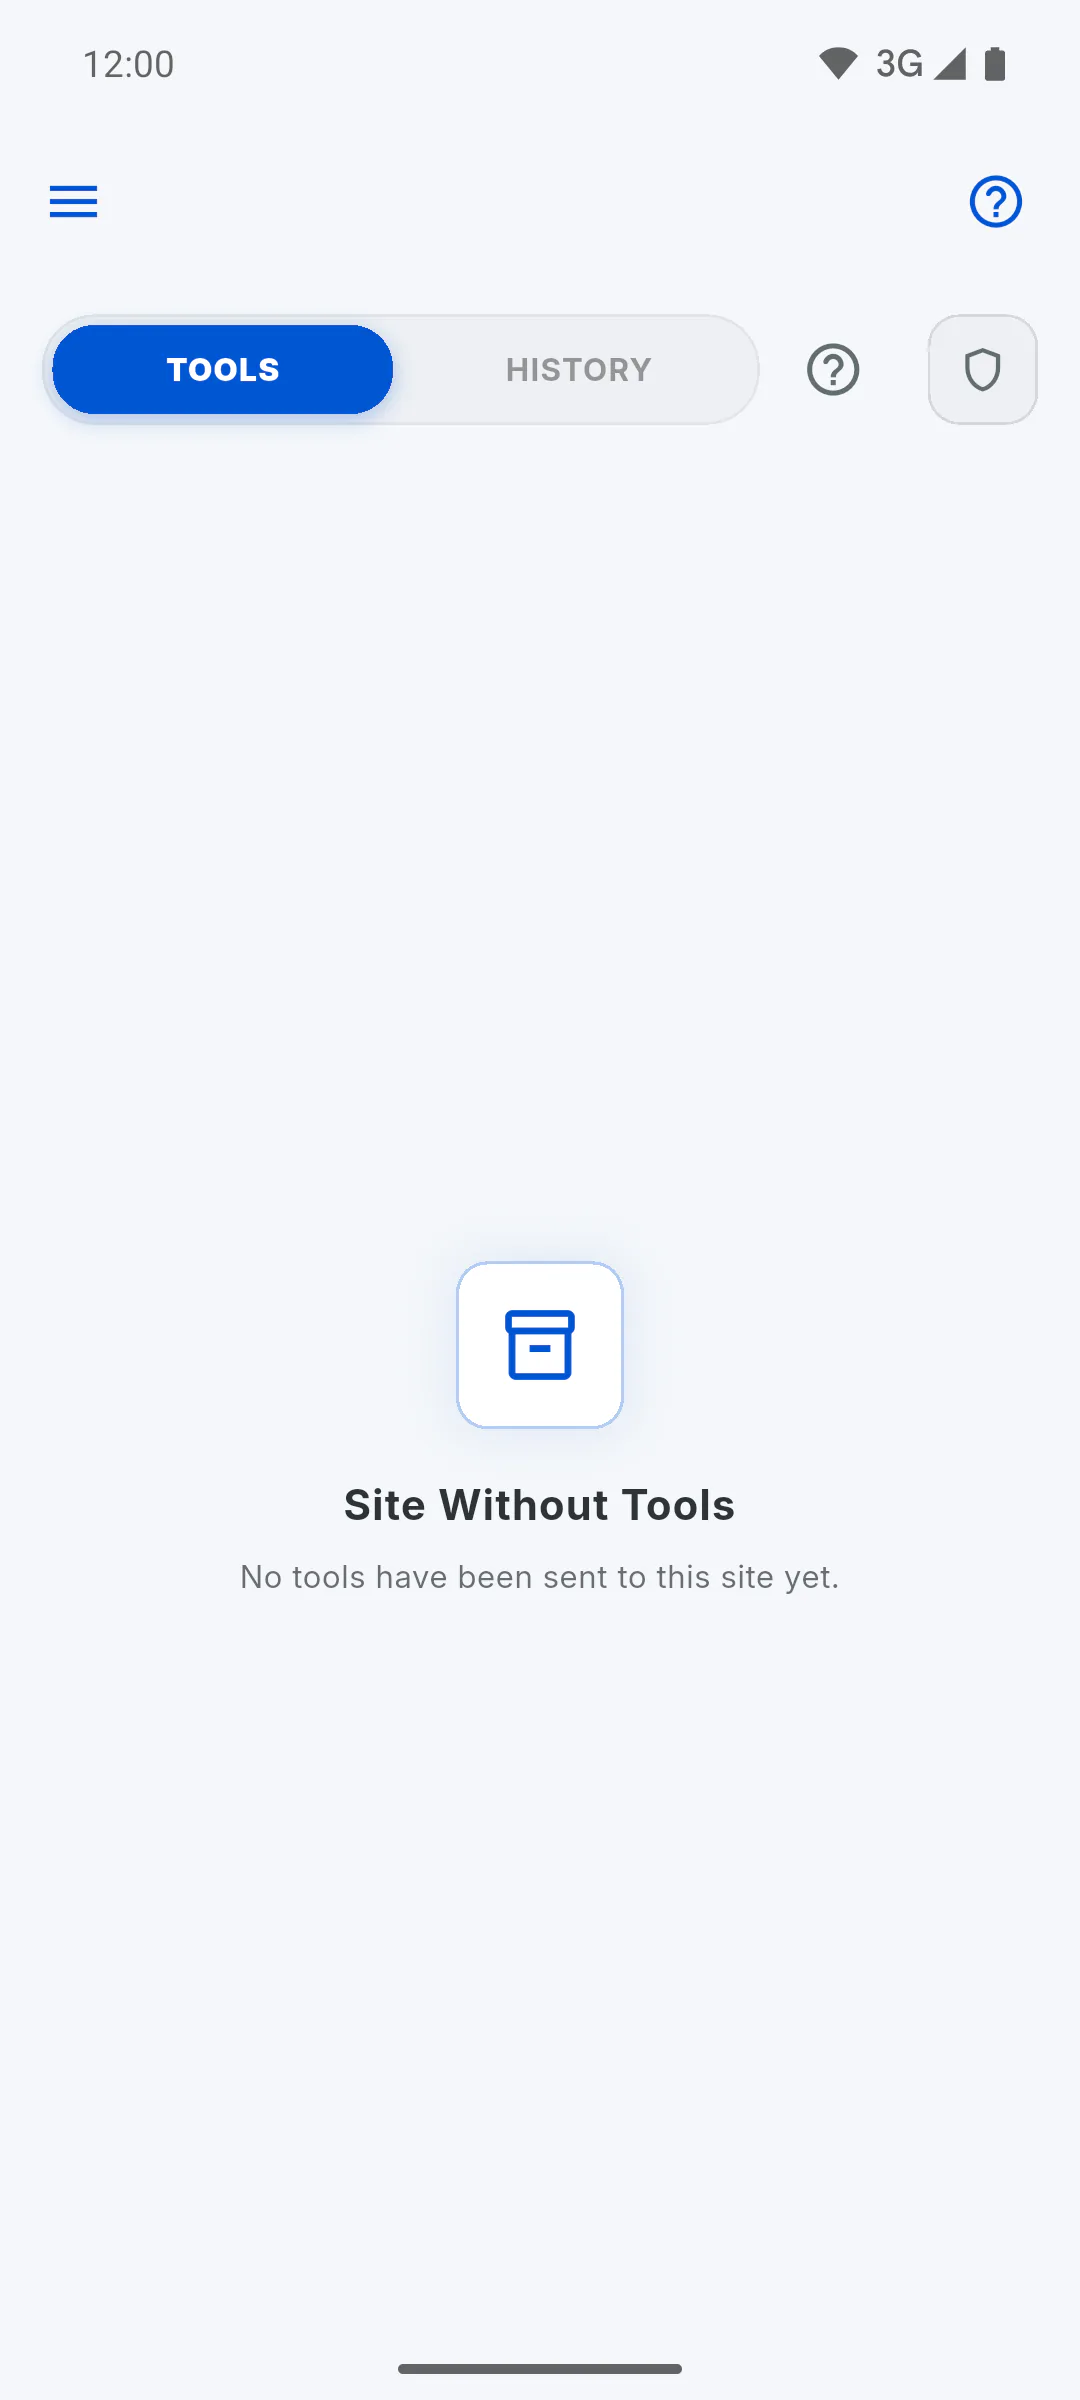
Tools on the project: the project's Inventory tab
See which tools were sent to the project, who has them and which ones are in maintenance, and move them without leaving the project.
For managers and team members5 steps
Didn't find what you were looking for?
Chat with support on WhatsApp or open a ticket right in the app.