
Step 1: Open a new entry
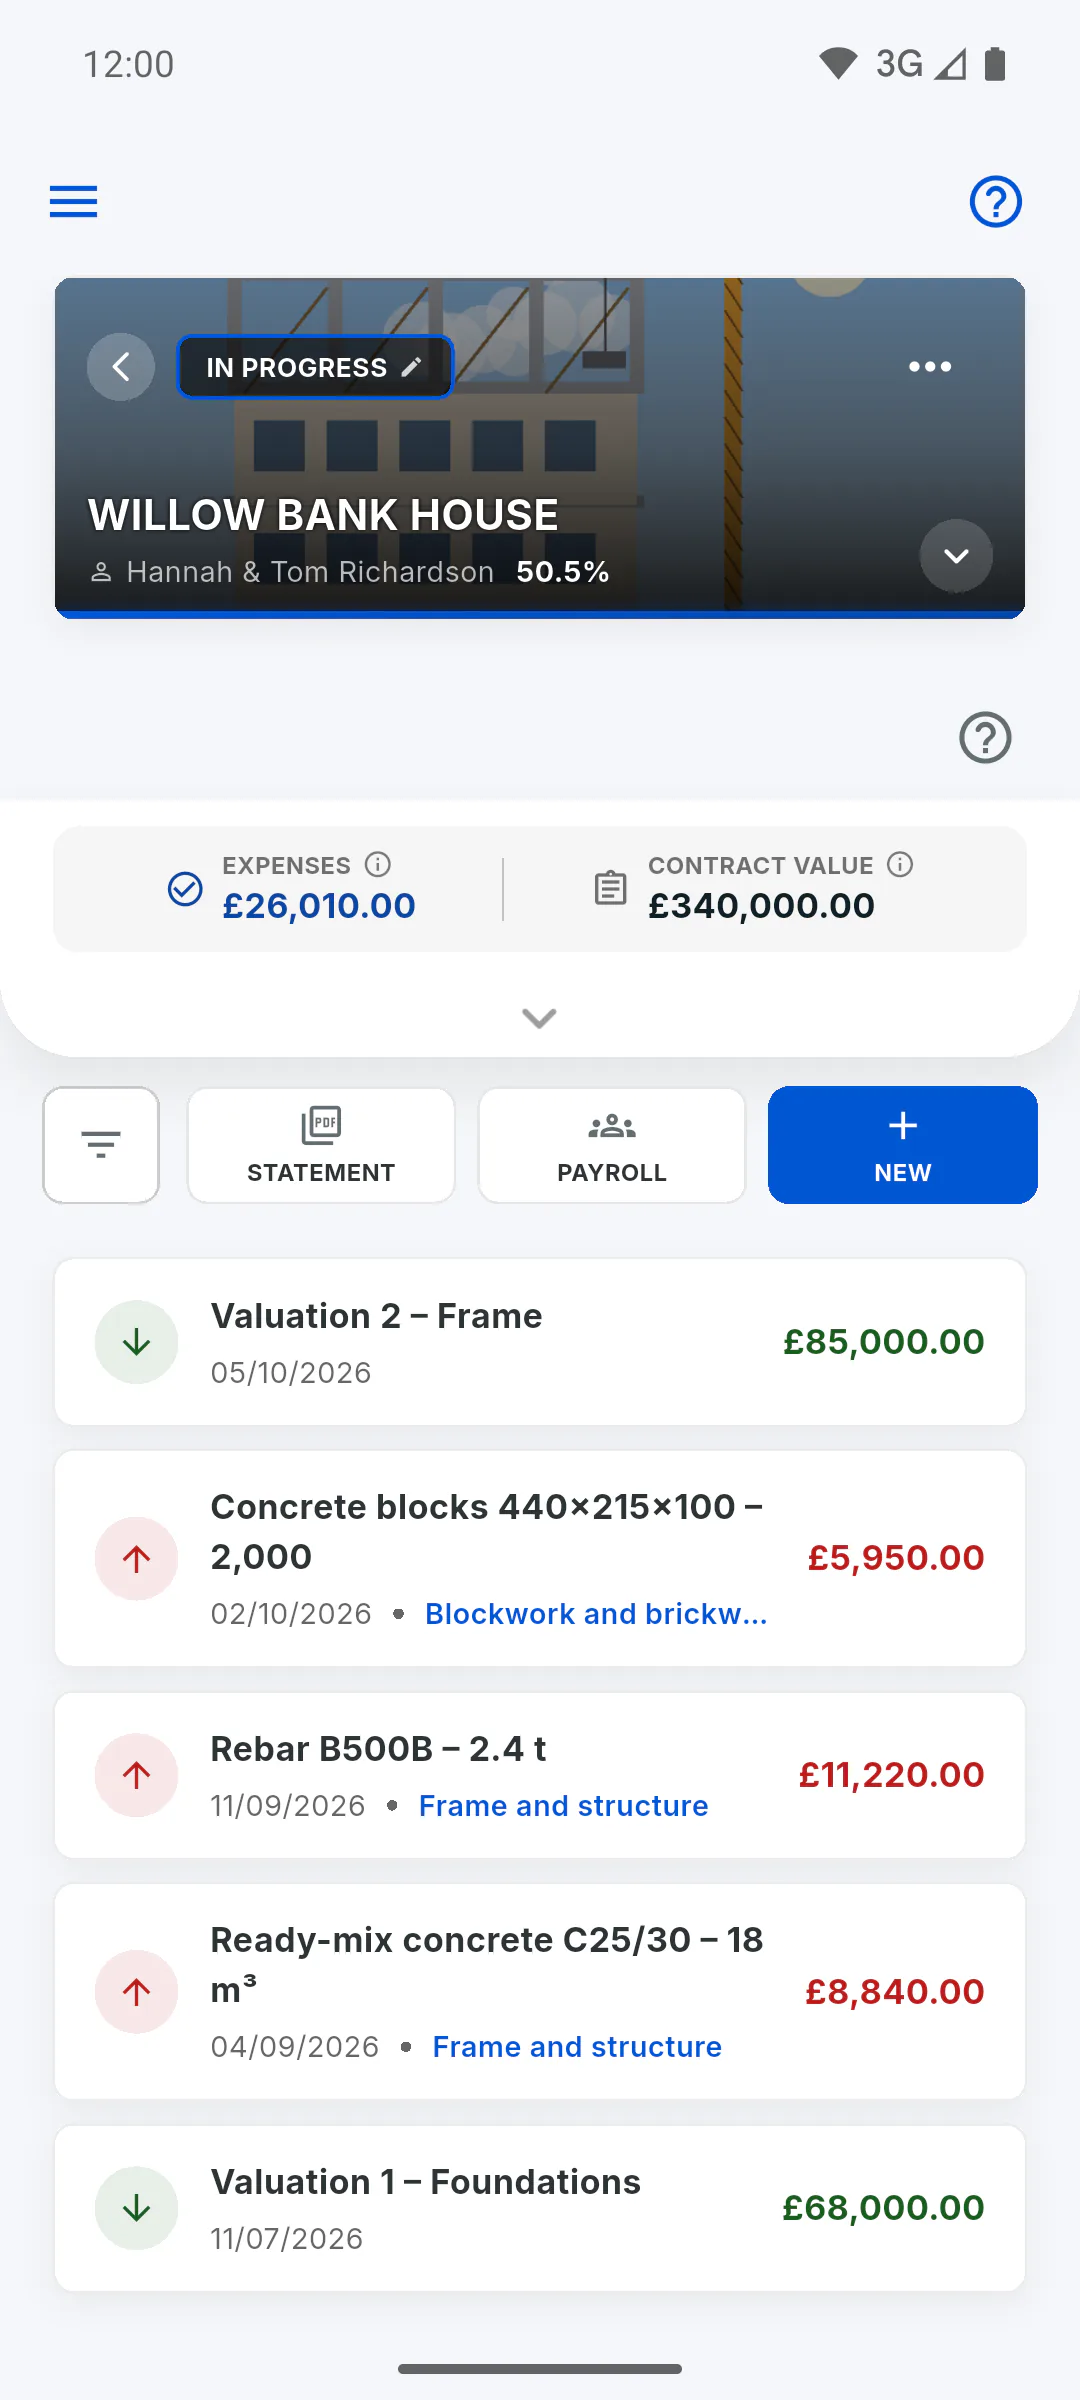
Open the project and tap Financial in the project menu. On the button bar, tap New; if the list is empty, you can also tap Add New. Financial Entry opens.
Step 2: Expense or income
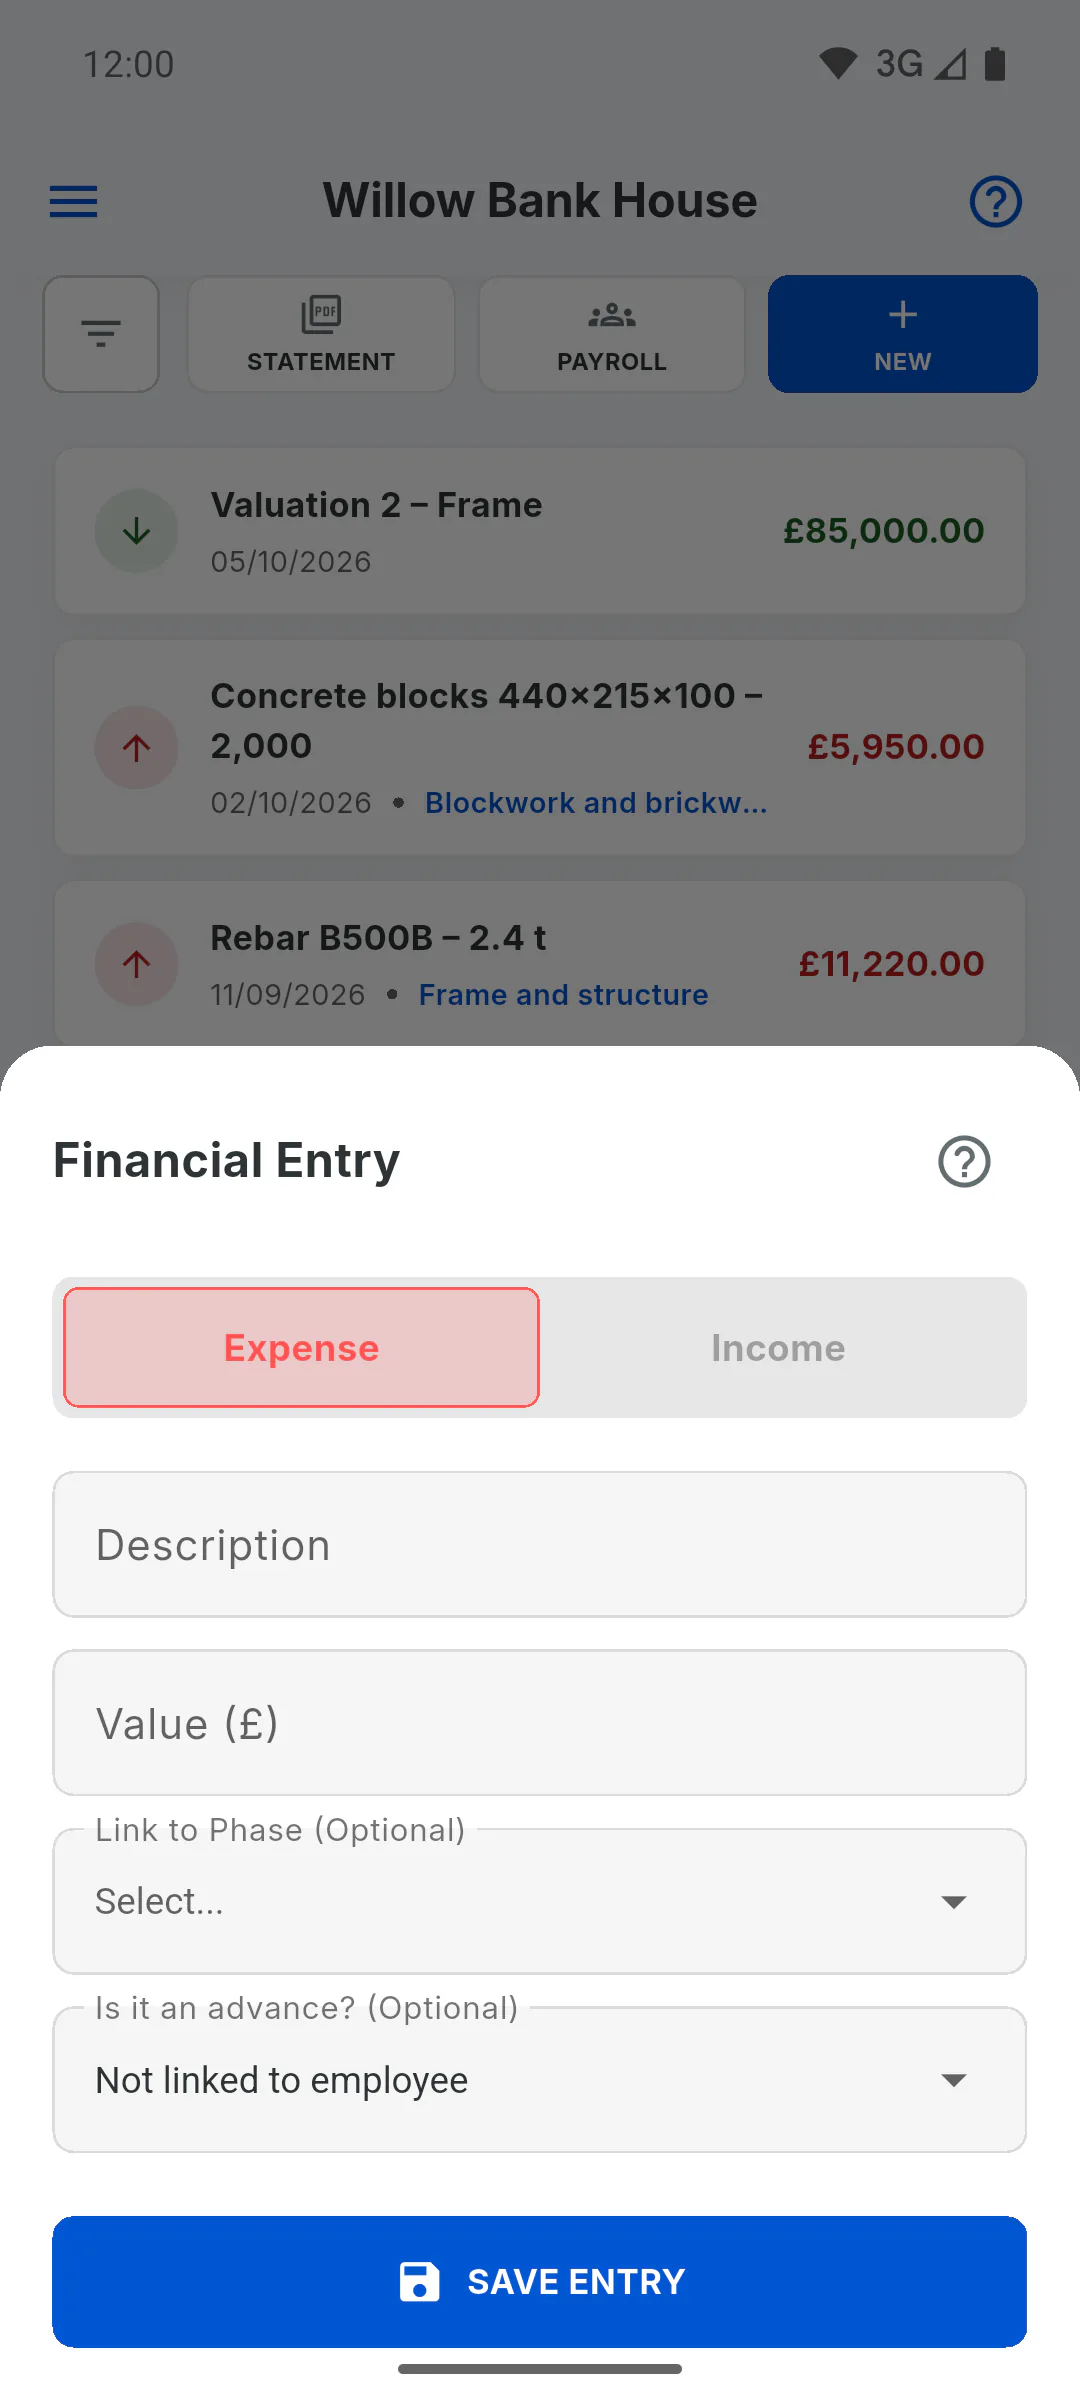
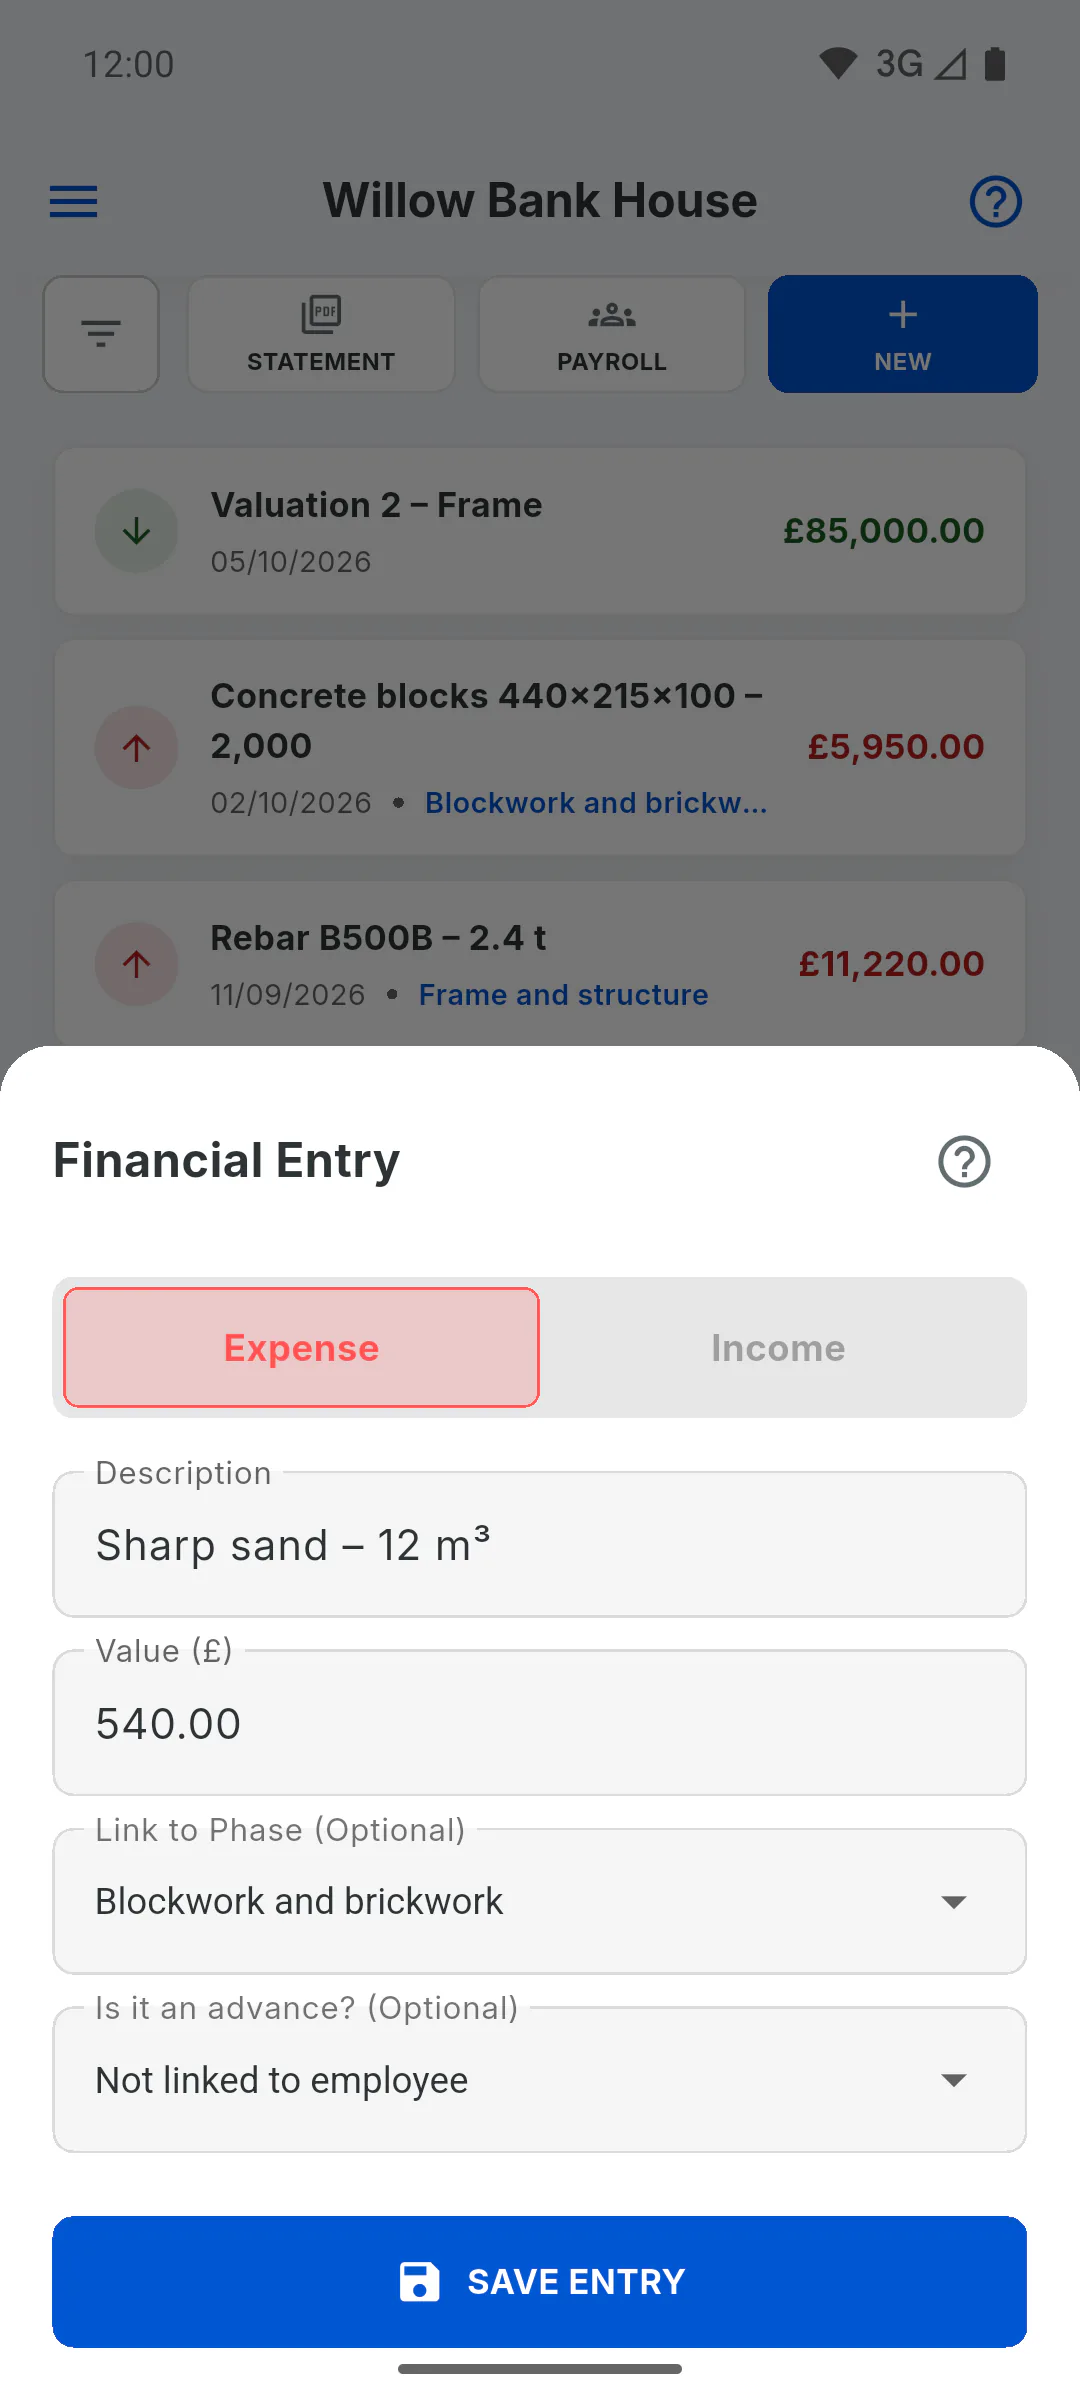
At the top, choose Expense for money going out (materials, labour, services) or Income for money coming in, such as payments from the client. Expense is selected by default.
Step 3: Description and amount
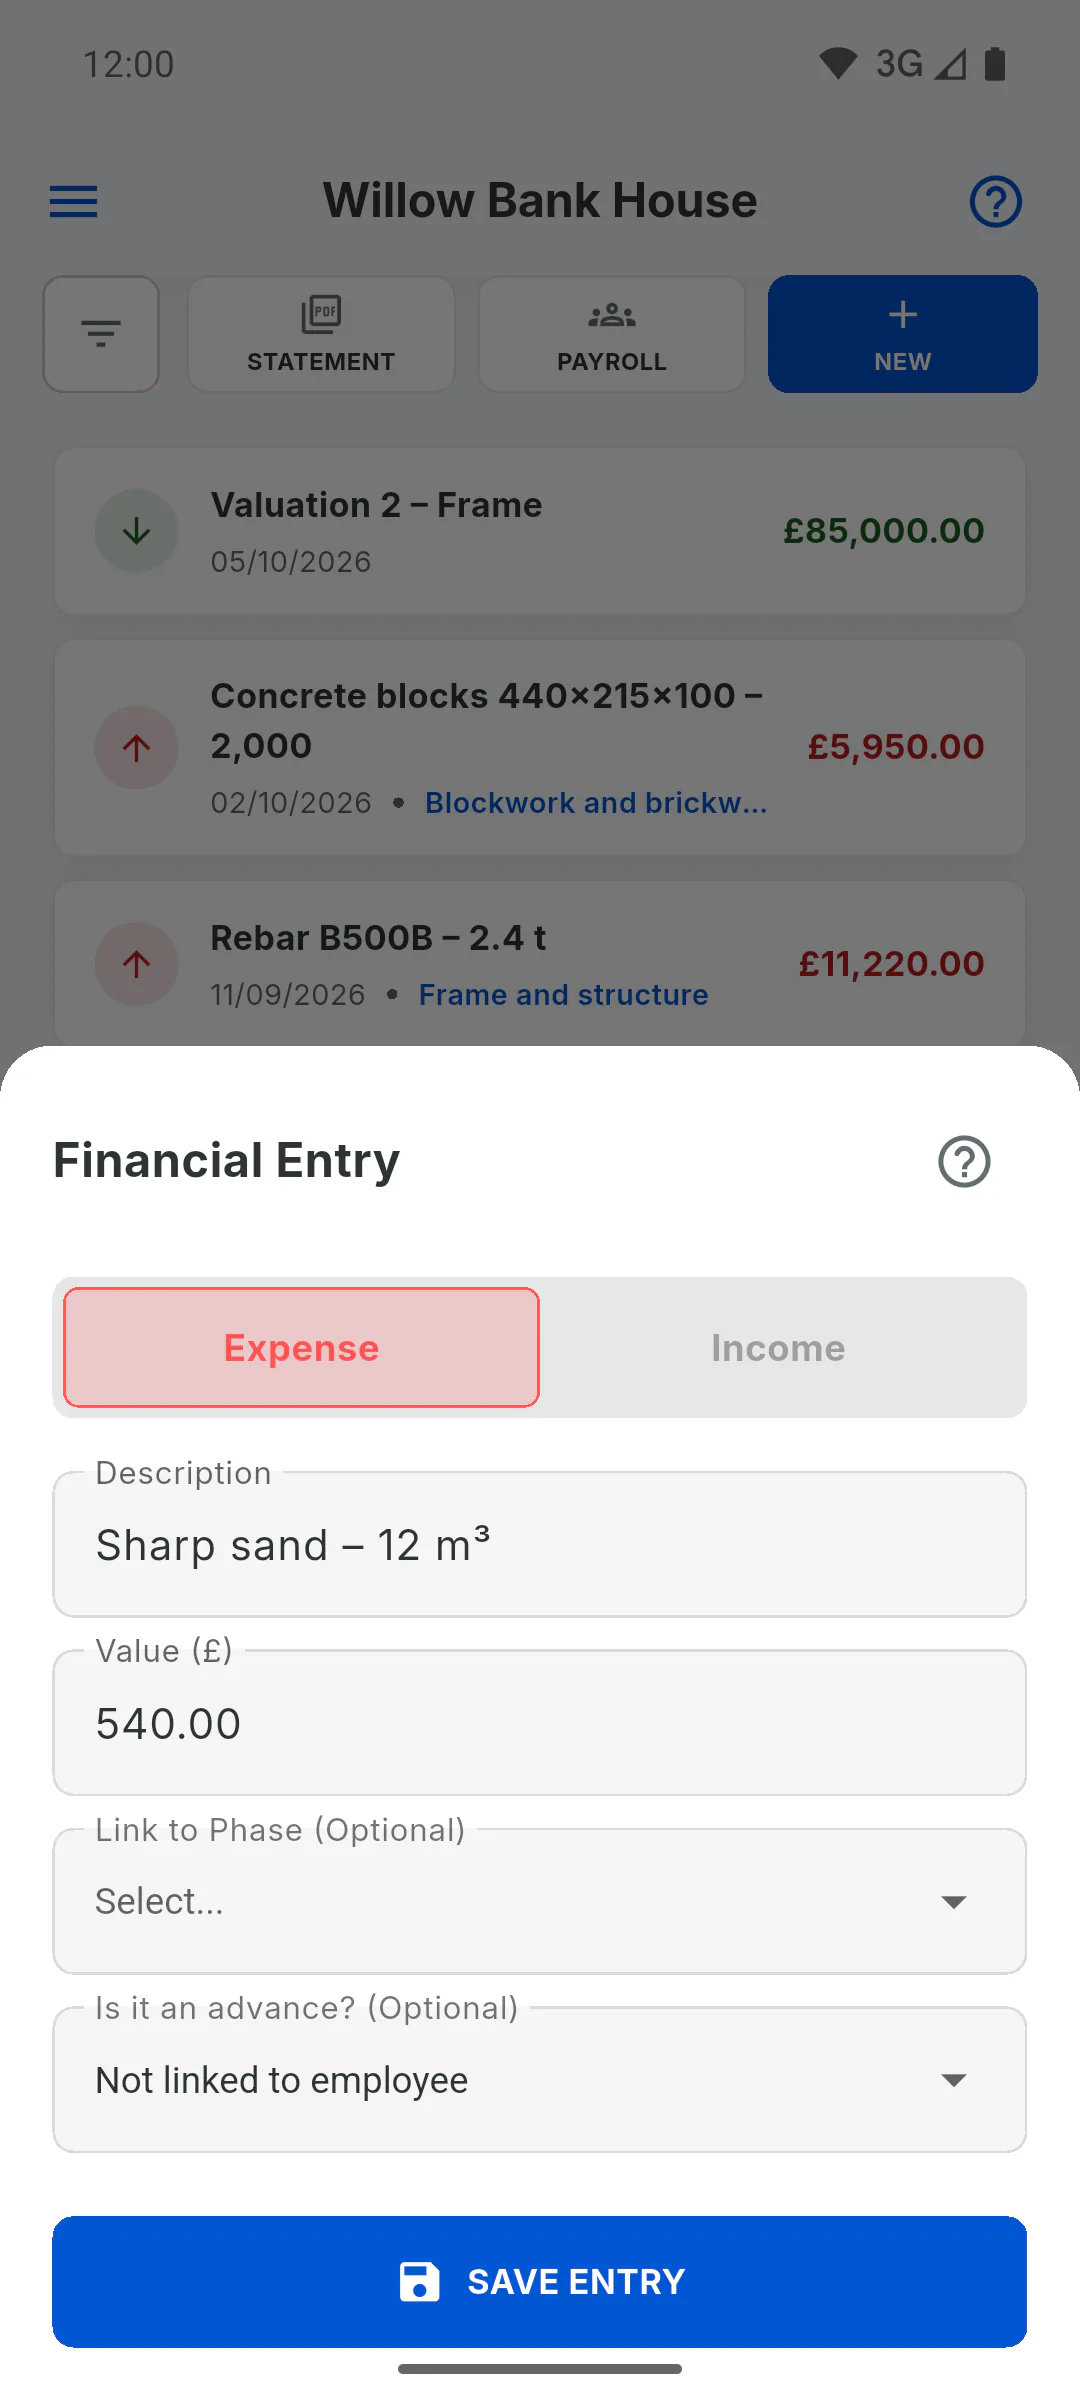
Fill in Description and Value. Type the amount using digits only, in the project currency, and the cents are filled in for you: for 150.00, type 15000. With no description or a zero amount, you'll see Fill in the description and a valid value.
Step 4: Stage and advance
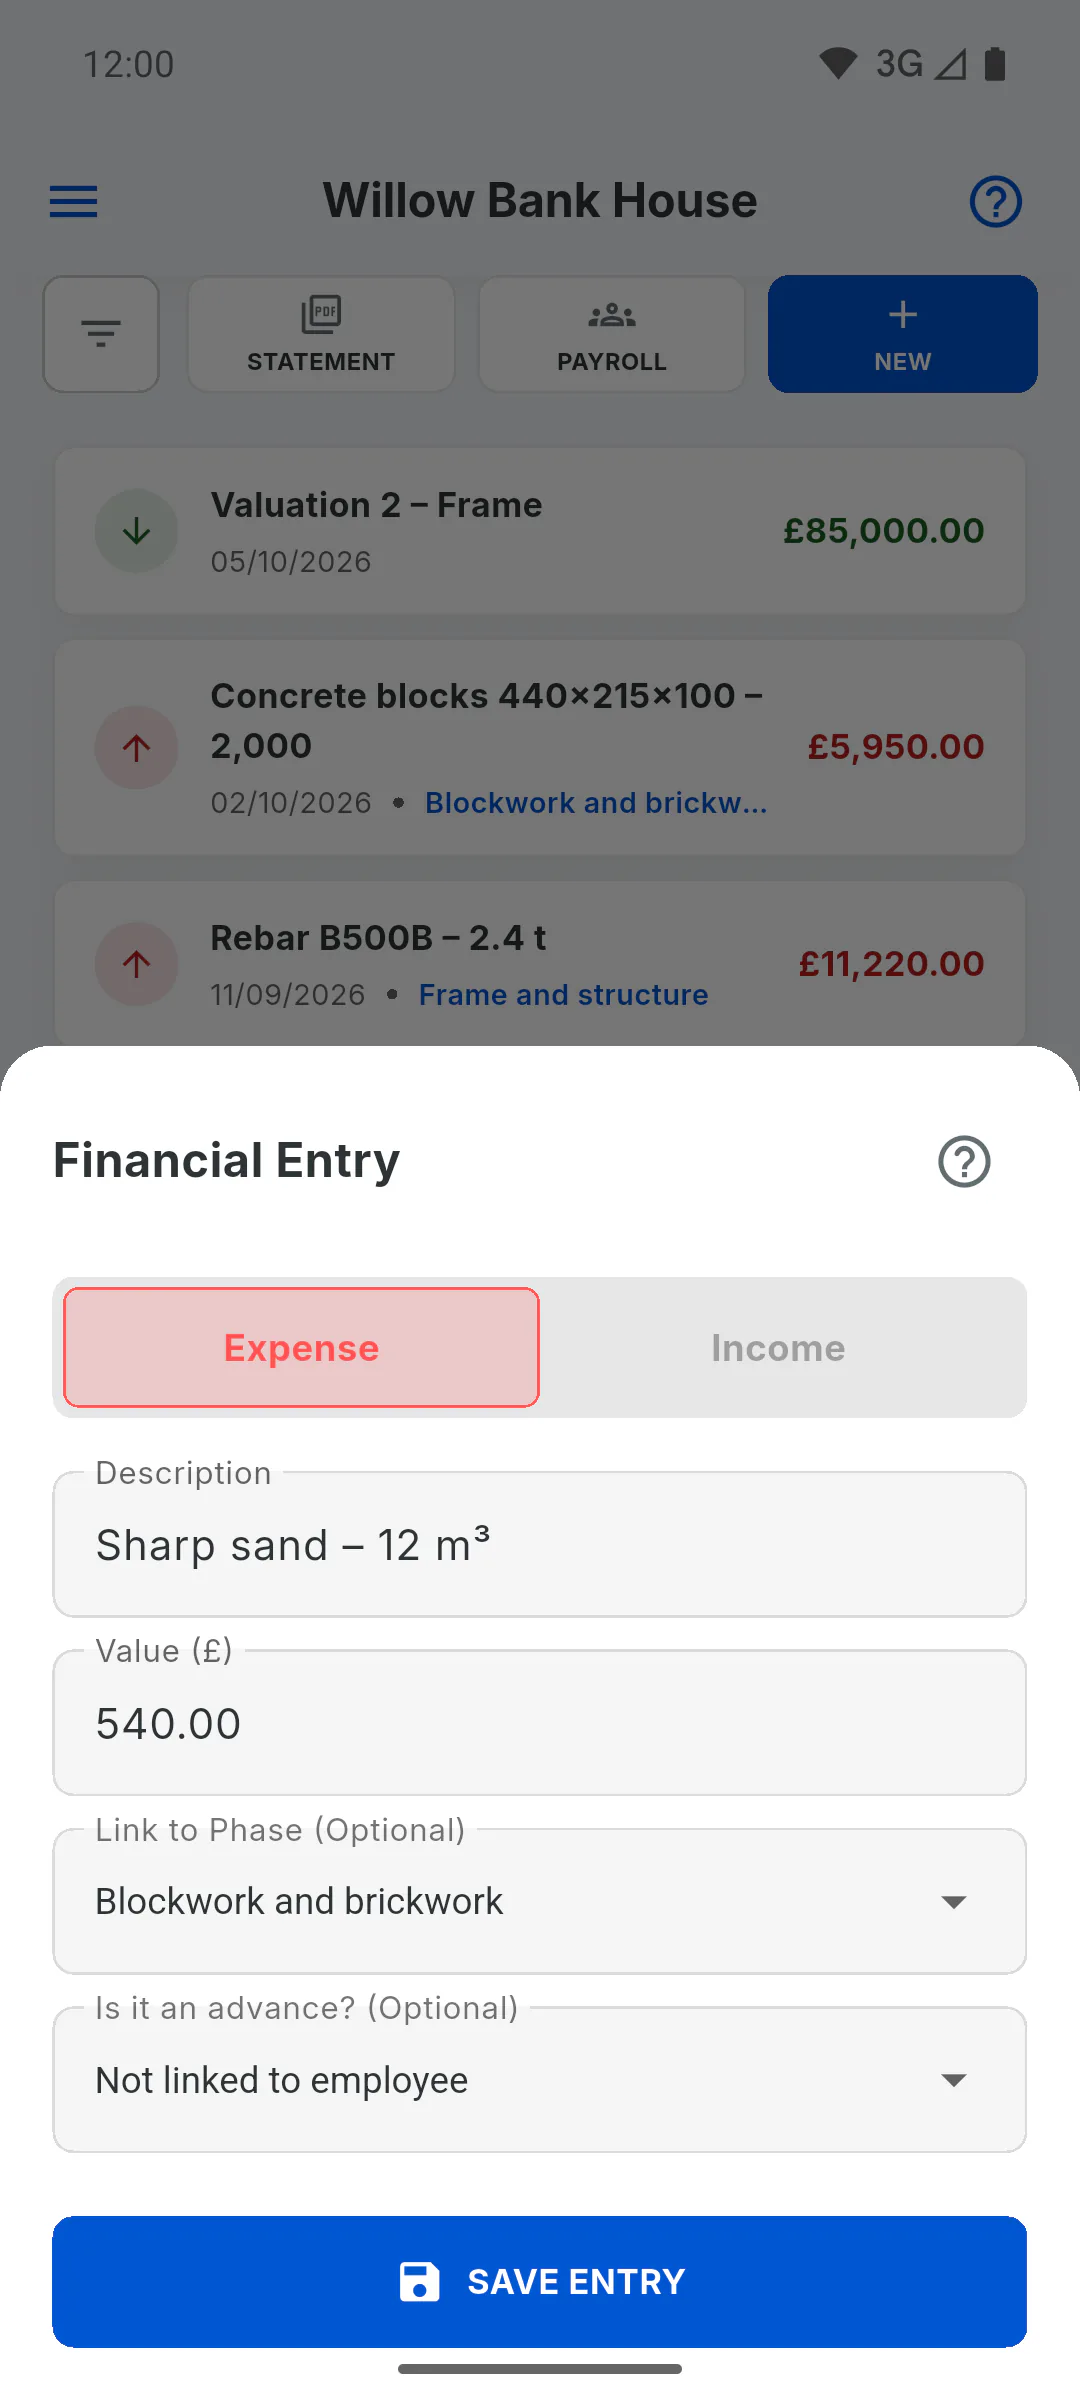
- Link to Phase (Optional): pick the schedule stage the cost belongs to. That's what shows how much has been paid on each stage: Why link expenses to schedule stages
- Is it an advance? (Optional): expenses only; links the cost to someone on your team: How to record an advance for a team member
Step 5: Save
Tap Save Entry. The entry goes on the list with today's date: there's no date field. The project's invited clients get the notice Financial Update, with the description and amount. If saving fails, you'll see Error saving entry.
Step 6: Who can log entries
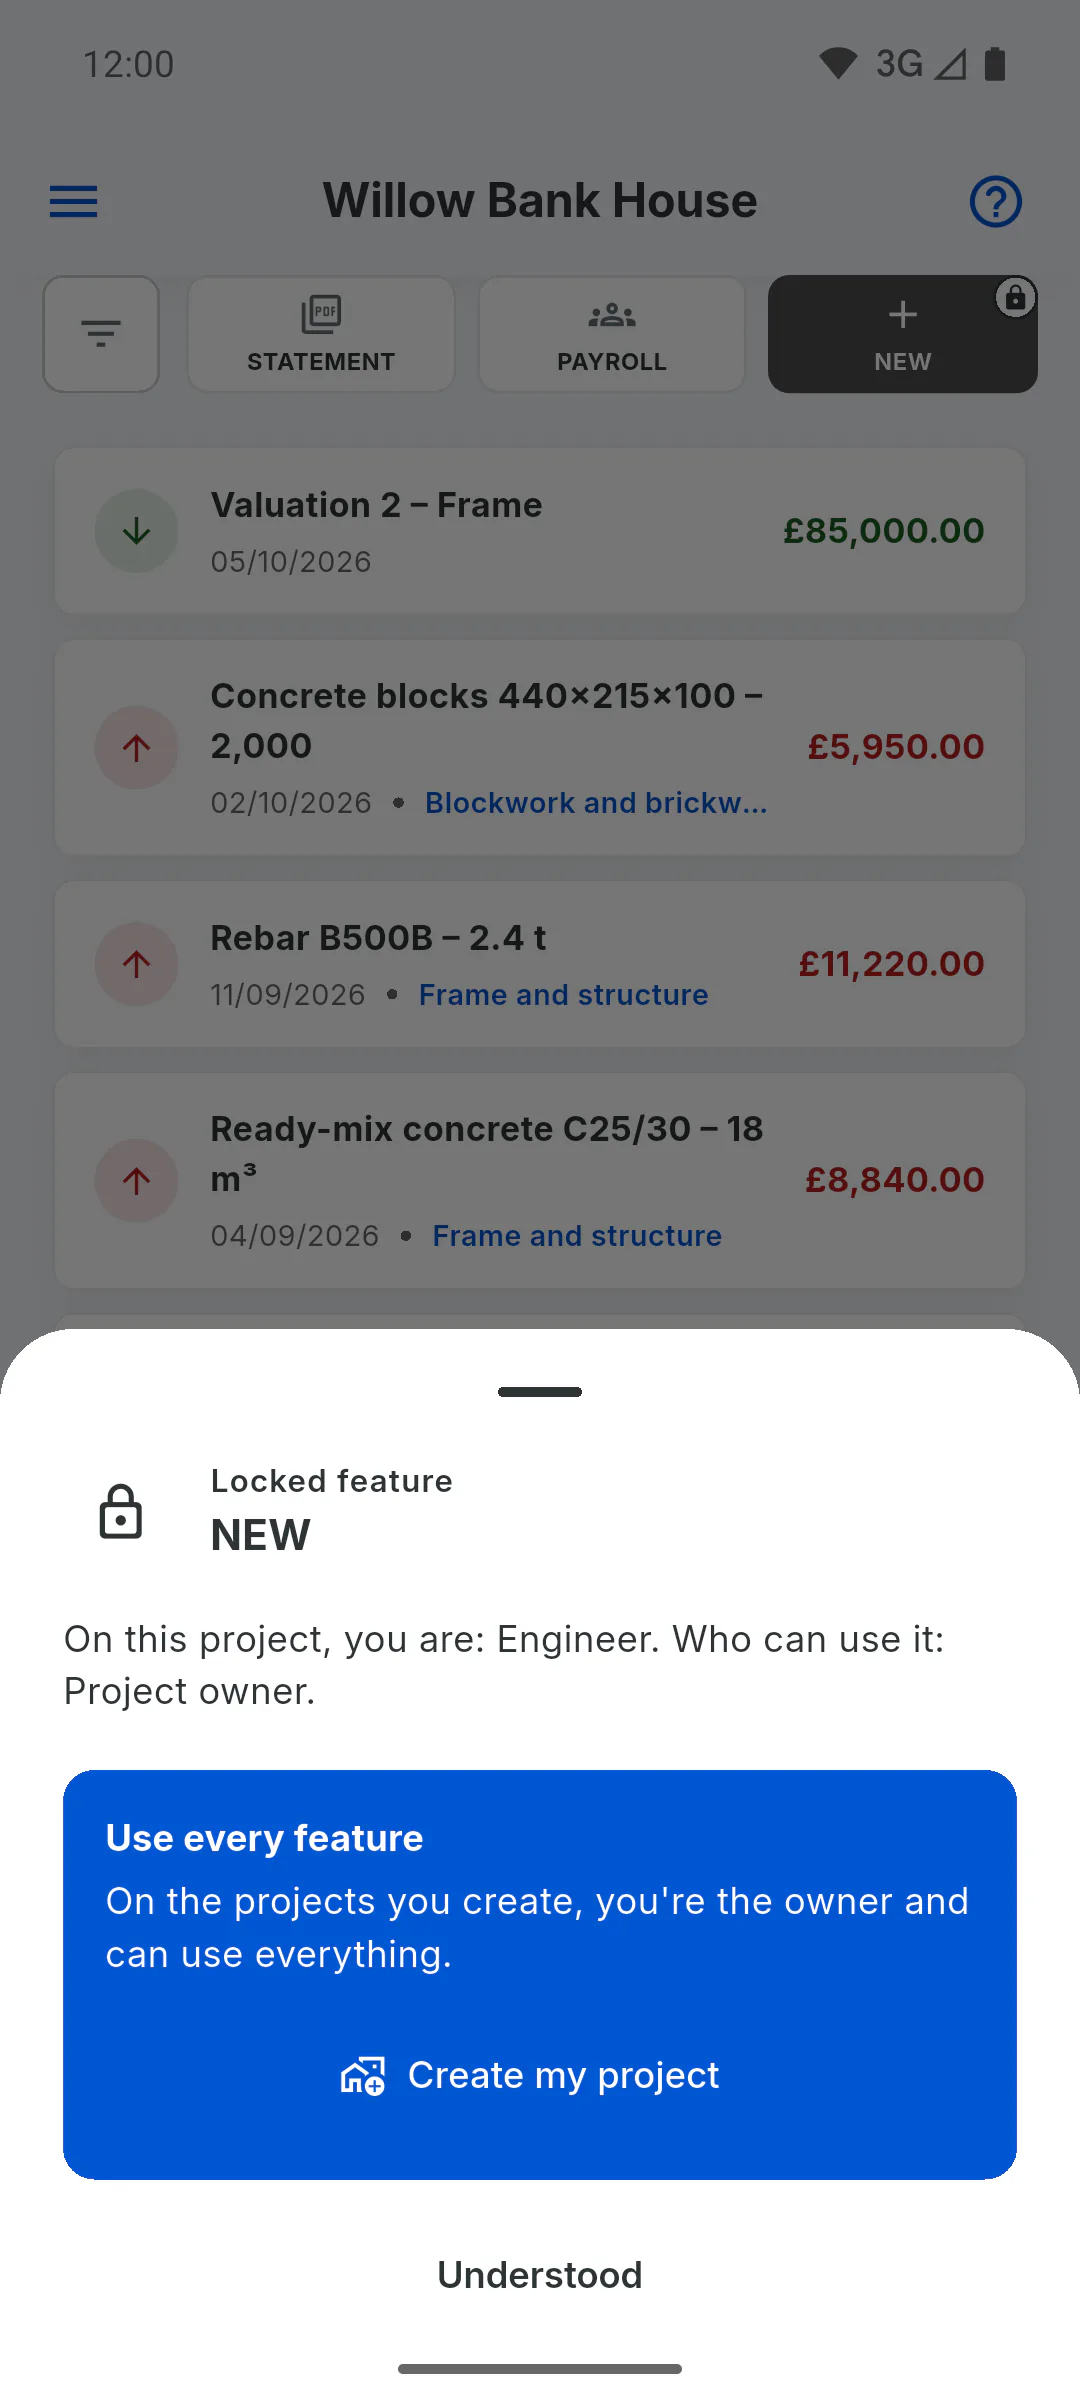
Only the project owner can save entries in Financial. An invited engineer can see Financial, but the New button appears greyed out with a padlock; if they tap it, a window shows their role on the project and who can use it. For someone invited as Team, Financial itself has a padlock in the project menu.
How to log income or an expense on a project
Record every cost and every payment received in the project's Financial area, with a description, amount and, optionally, the schedule stage.
For managers6 steps
Didn't find what you were looking for?
Chat with support on WhatsApp or raise a ticket in the app.