
Step 1: Open the entry
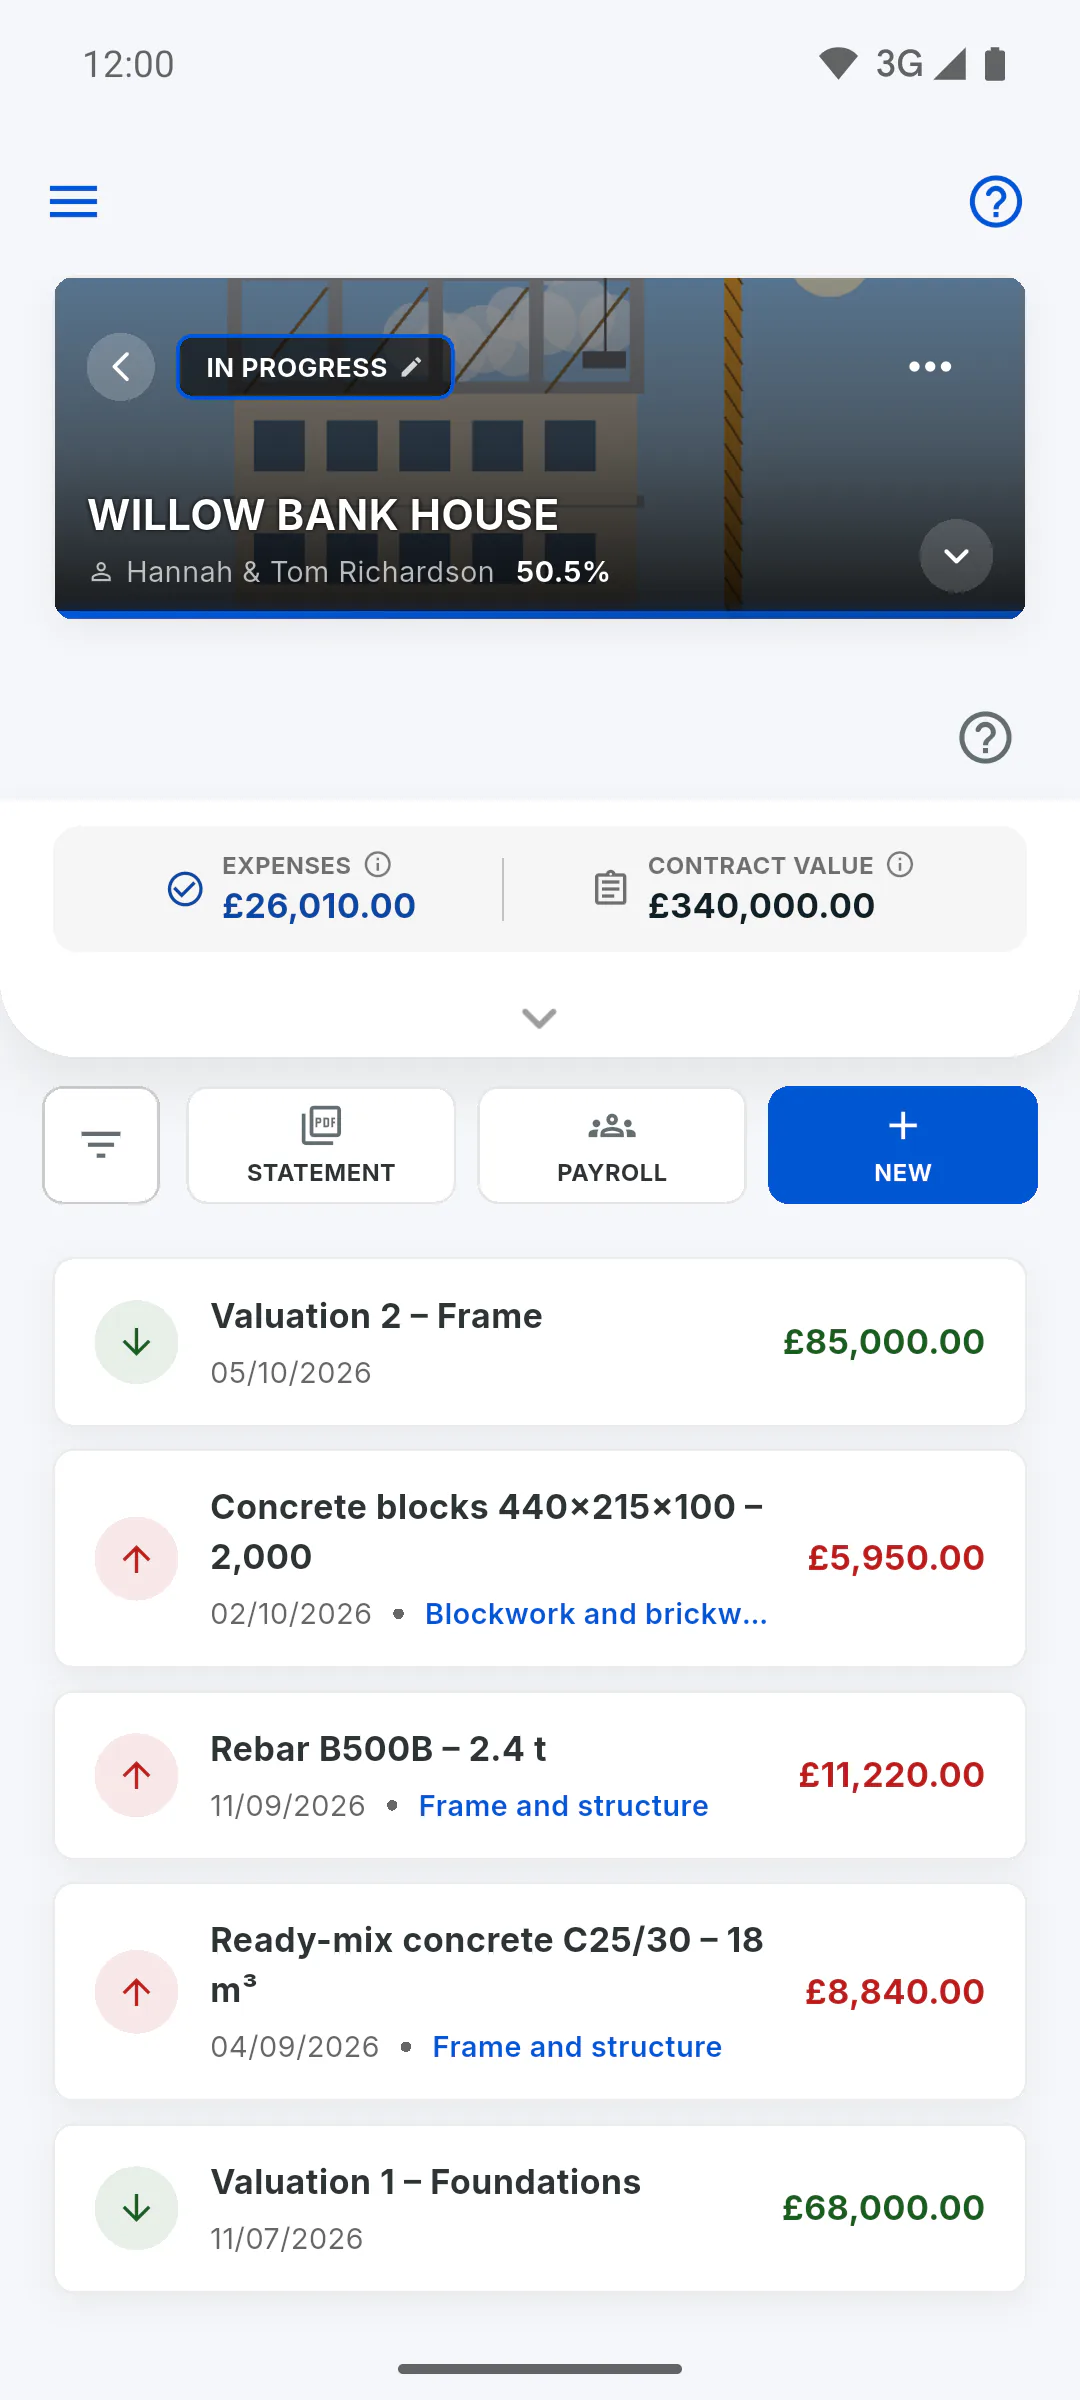
In the project's Financial area, tap the entry on the list. Edit Entry opens, already filled in. To find an entry on a long list, use search: How to filter entries
Step 2: Edit
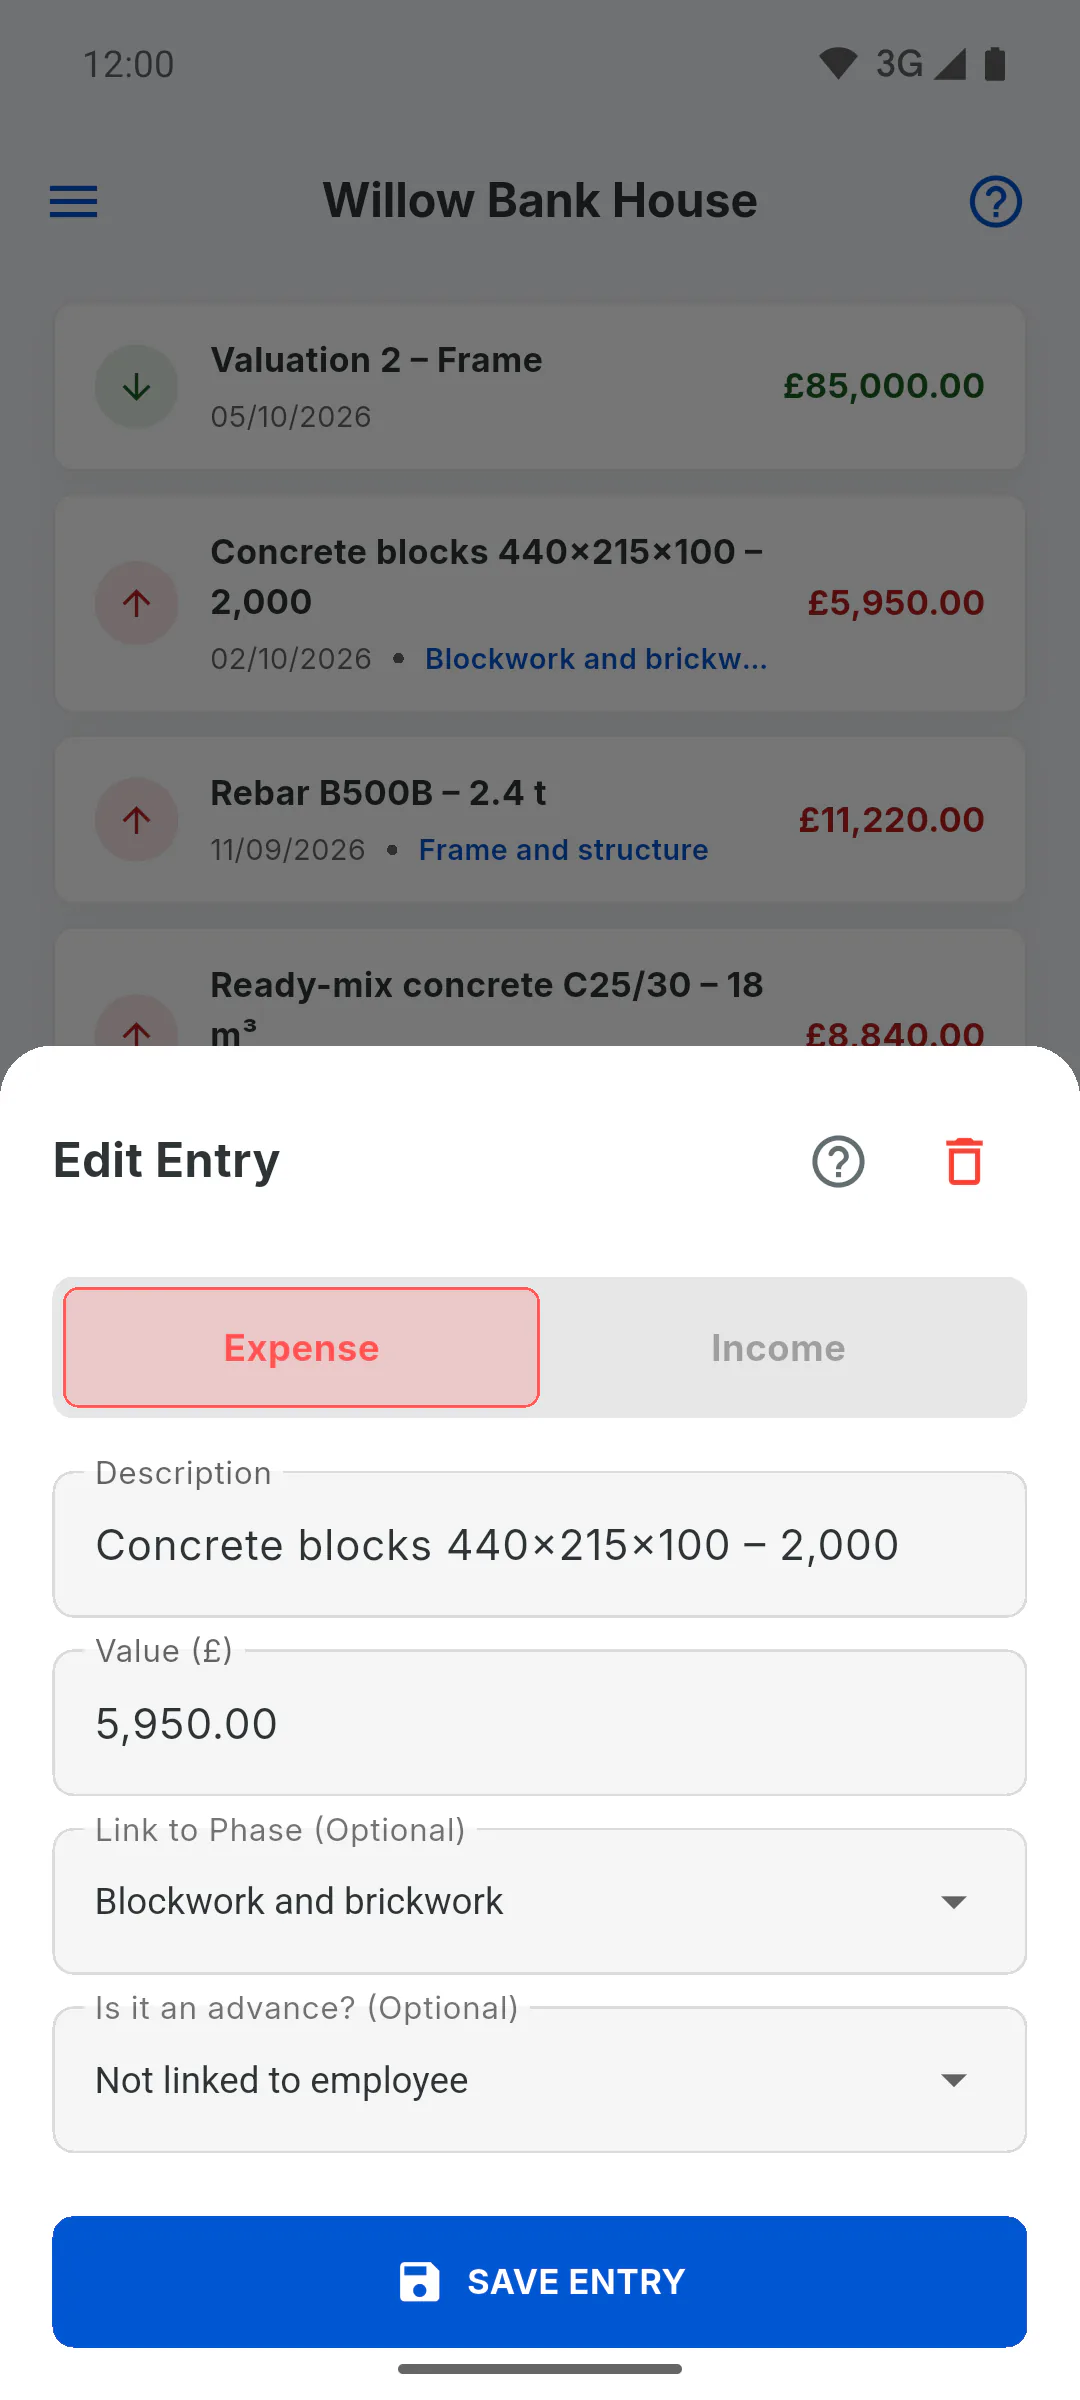
Change Expense or Income, the Description, the Value, the stage or the team member on an advance, and tap Save Entry. The date doesn't change: it stays the day the entry was made. Switching to Income removes the link to the team member. Editing doesn't send a notice to clients.
Step 3: Delete from inside the entry
In Edit Entry, tap the bin icon at the top right. In the Delete Entry confirmation, tap Delete. This can't be undone.
Step 4: Delete by swiping
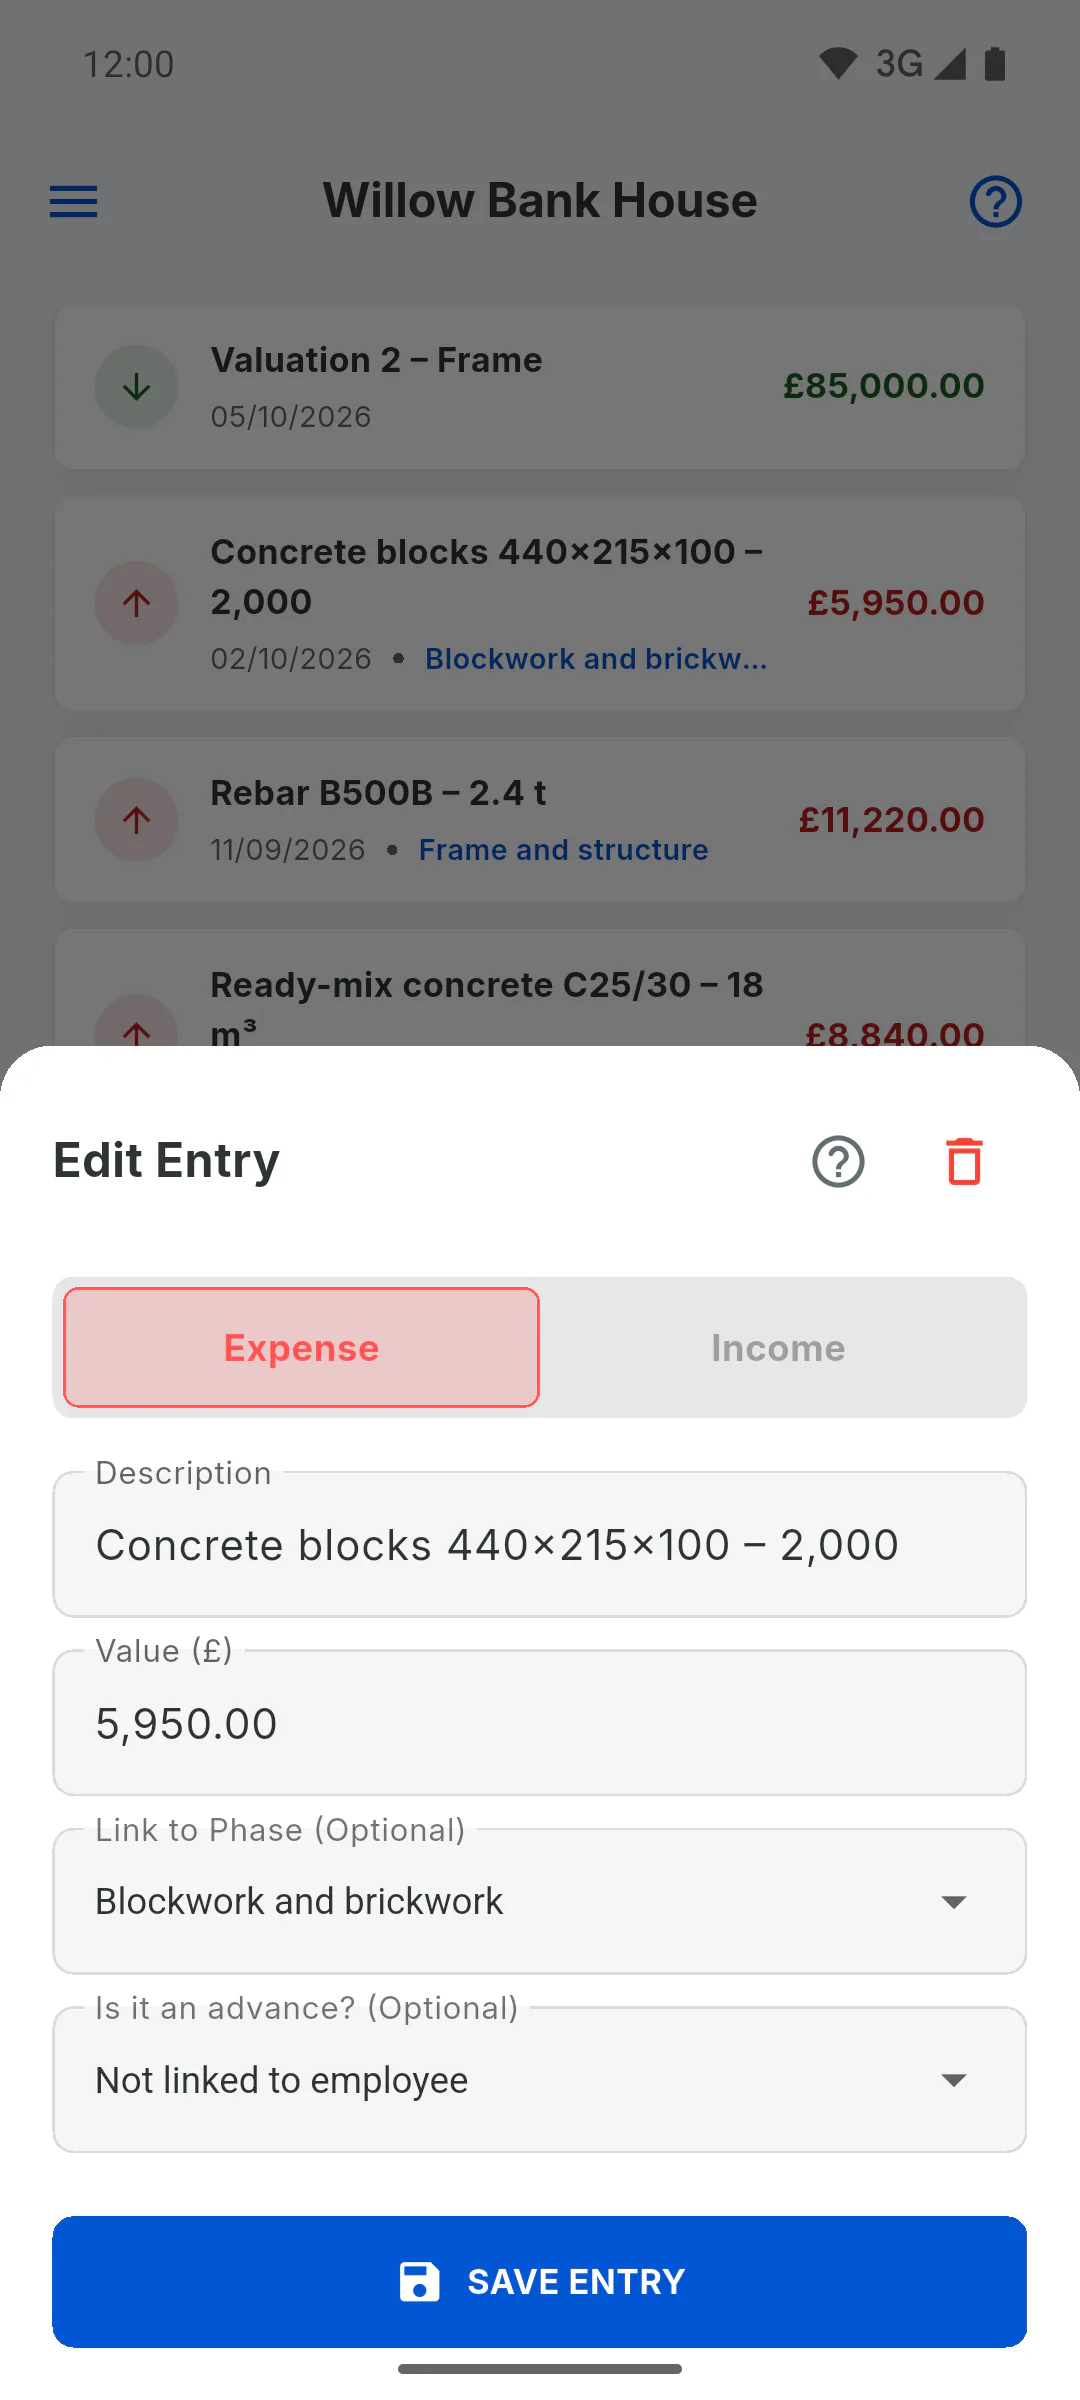
On the list, swipe the entry from right to left. Delete? appears: tap Delete to remove it or Cancel to keep it. On a computer, it's easier to use the bin icon inside the entry.
Step 5: Who can do it and what changes when you delete or edit
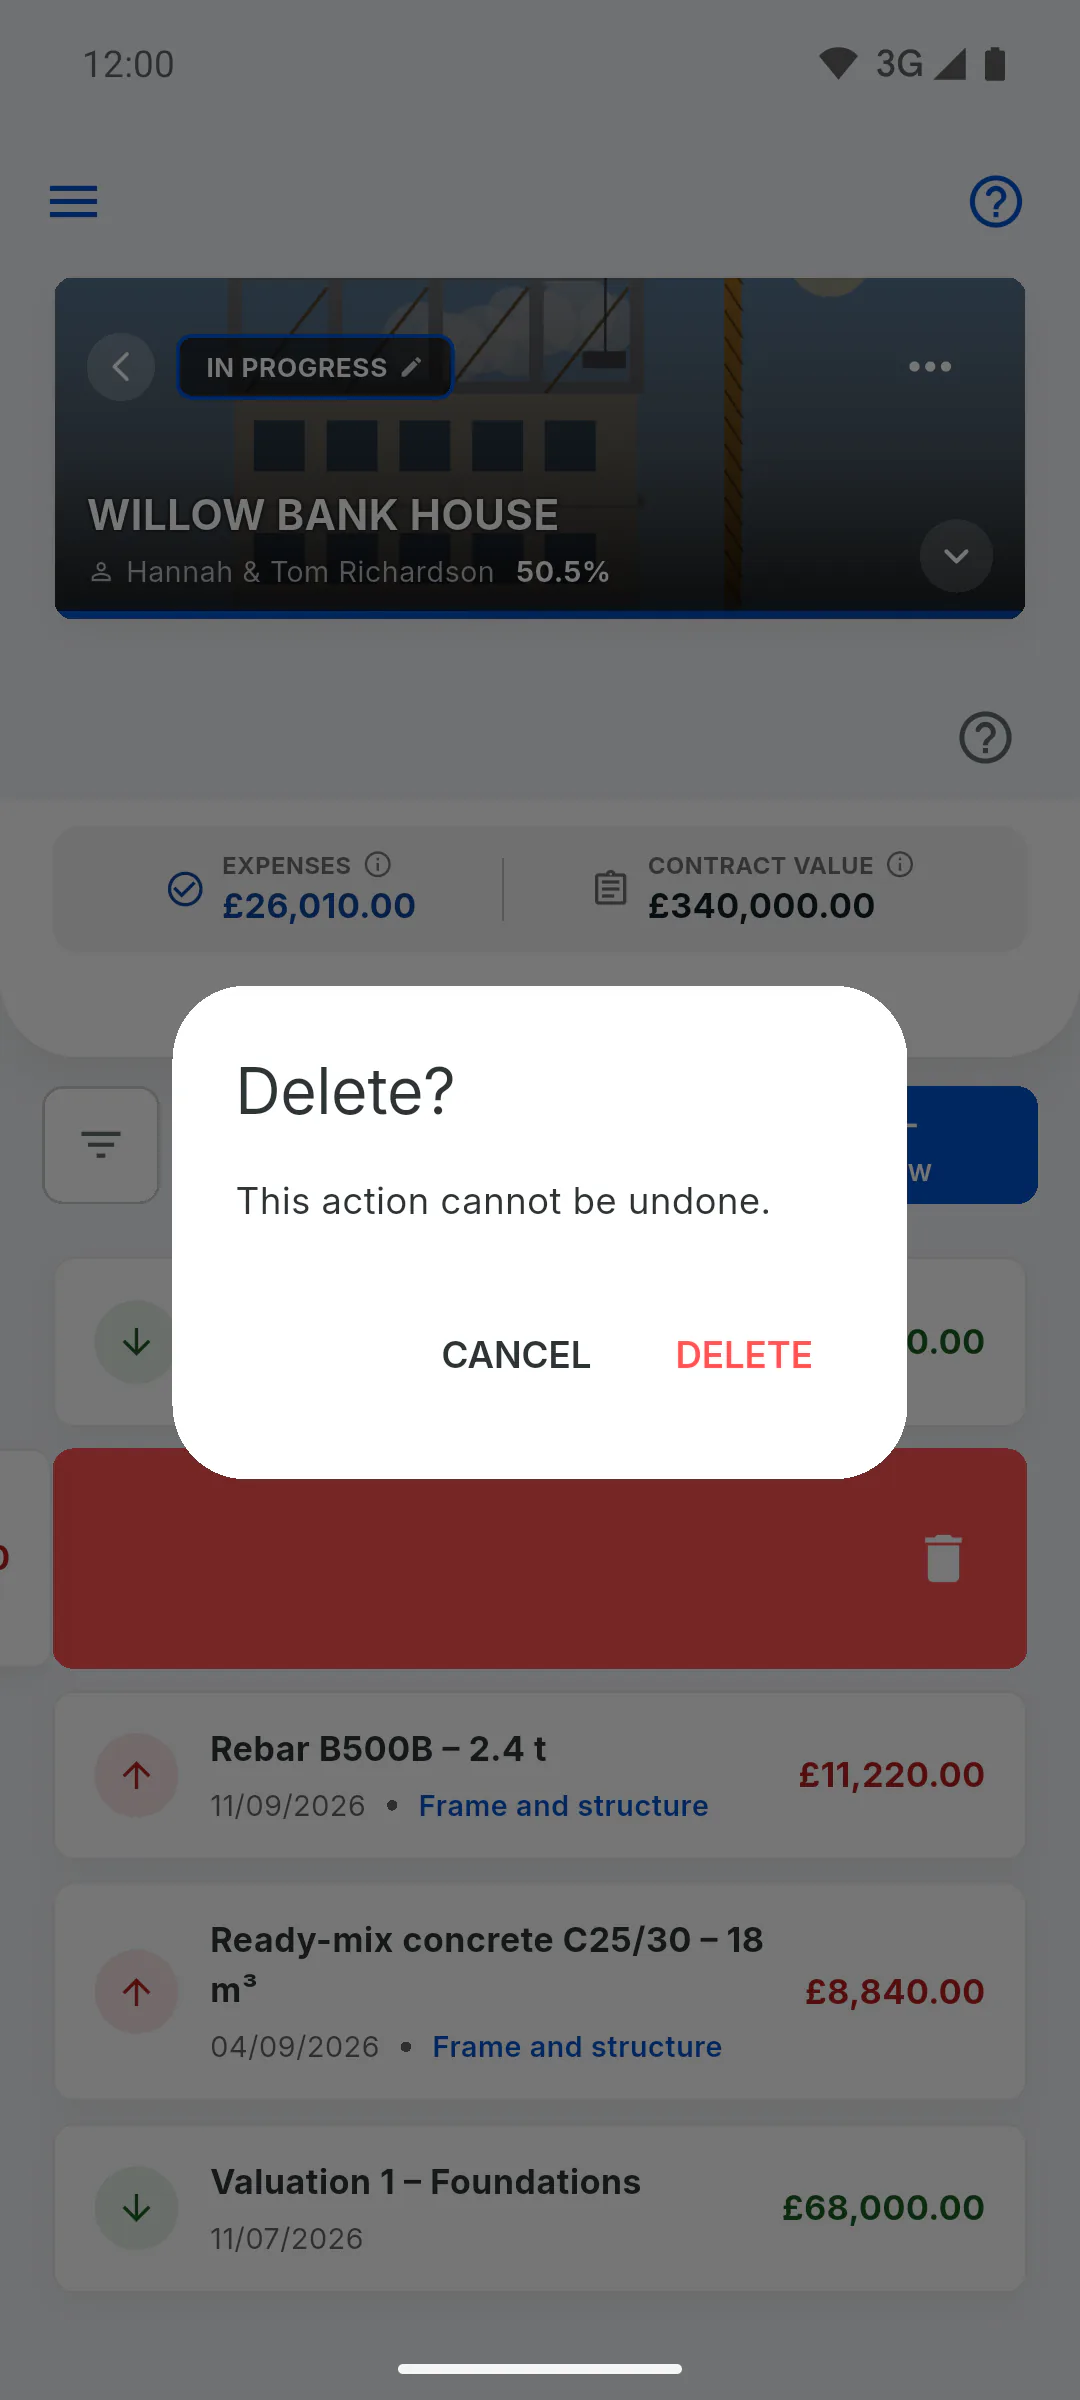
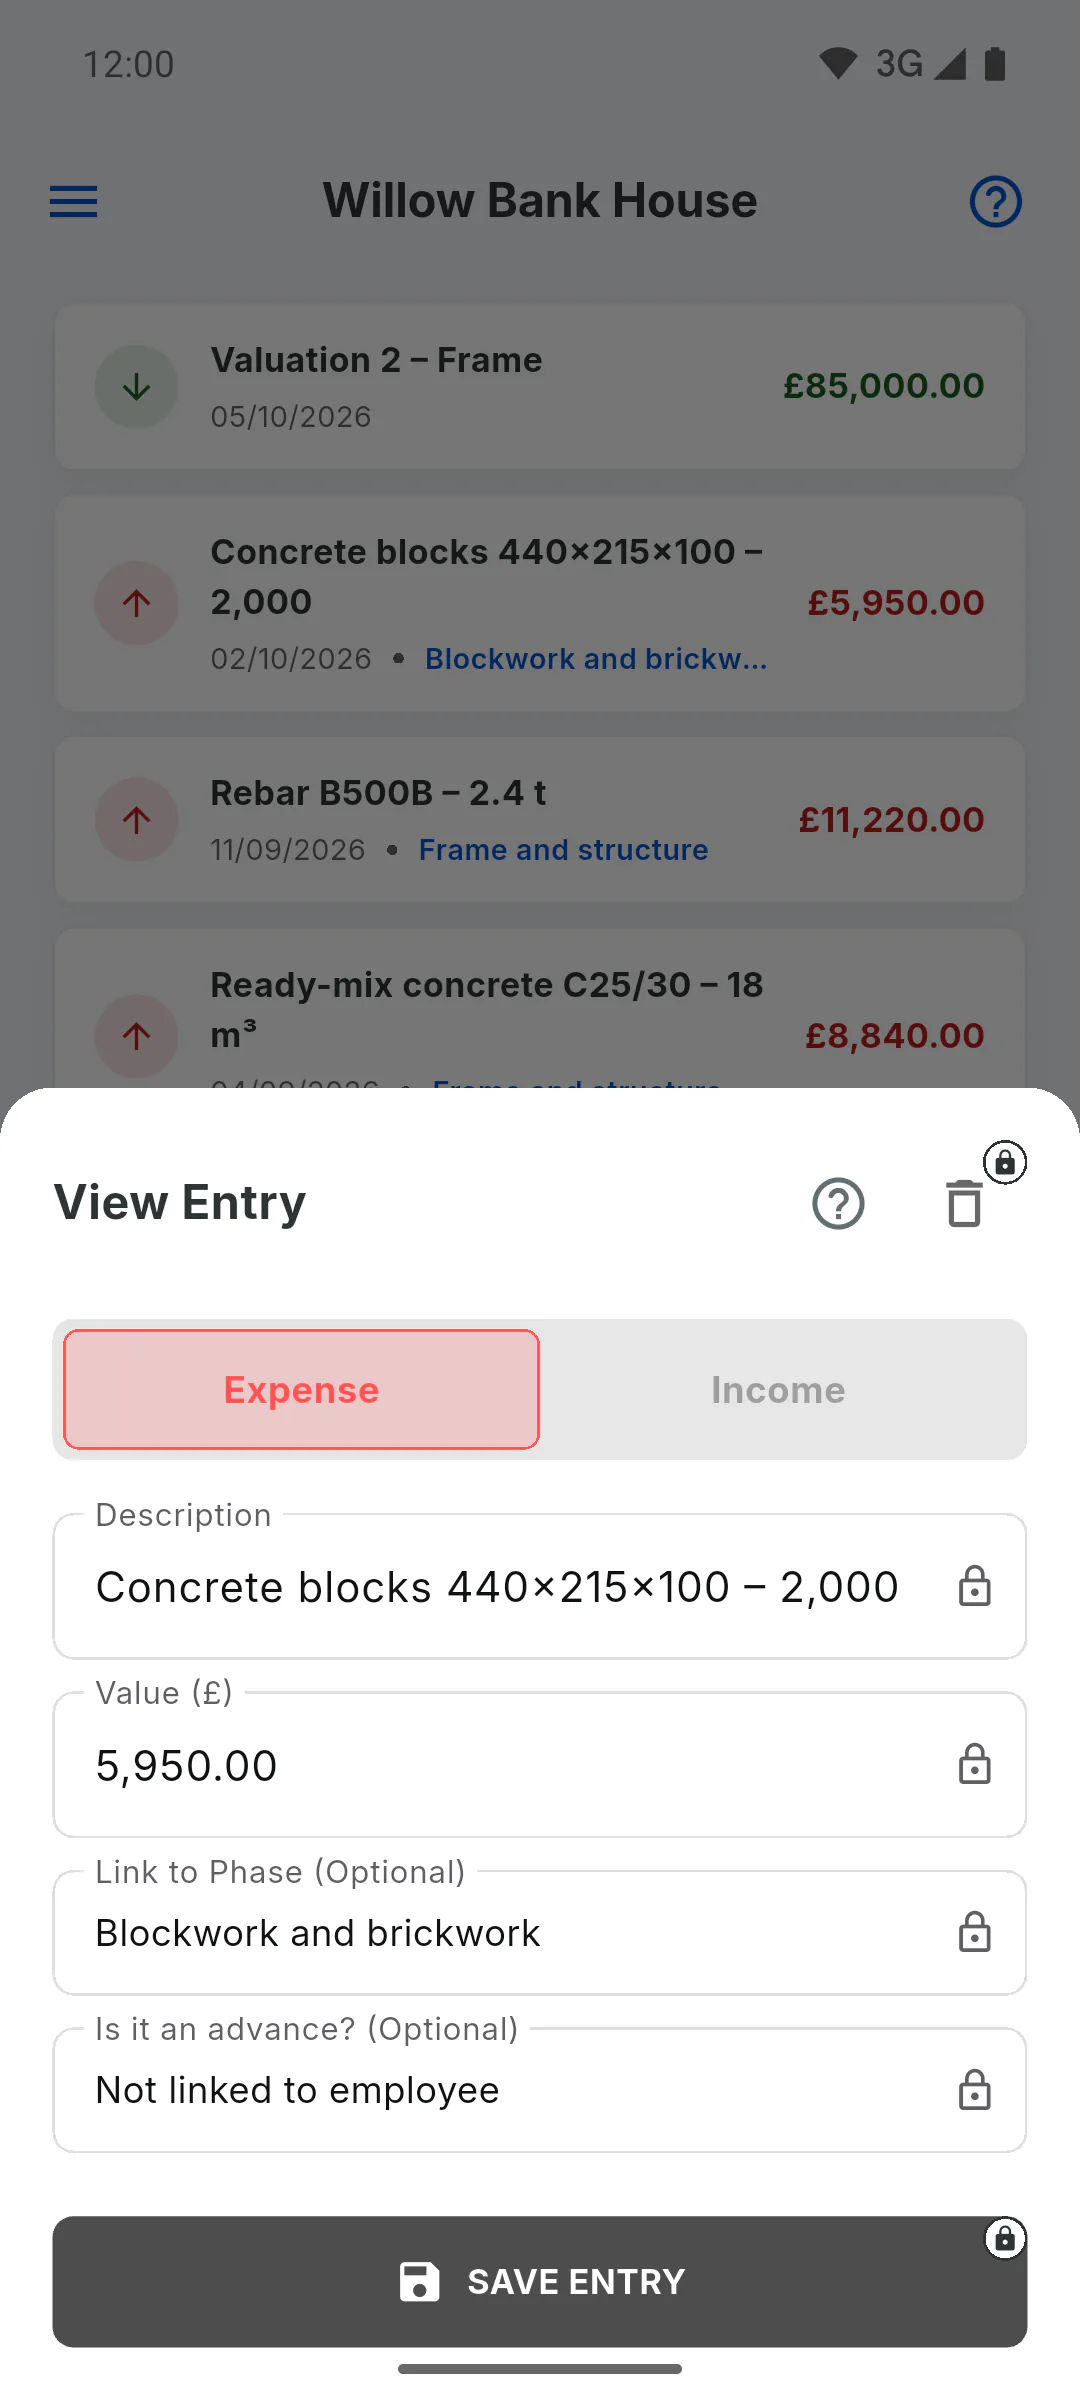
- Only the project owner can add, edit and delete entries. For an invited engineer, New, Save Entry and the bin icon appear greyed out with a padlock: the entry opens as View Entry, with read-only fields, and swiping doesn't delete it. If they tap a button with a padlock, a window shows their role on the project and who can use it
- An expense that came from Supplies: deleting it here doesn't delete the purchase in Supplies
- A team member's advance: payroll uses the new amount, or stops counting the advance
How to edit or delete an entry
Fix the description, amount, type, stage or advance on a Financial entry, or delete the entry.
For managers5 steps
Didn't find what you were looking for?
Chat with support on WhatsApp or raise a ticket in the app.