
Step 1: Open the project edit screen
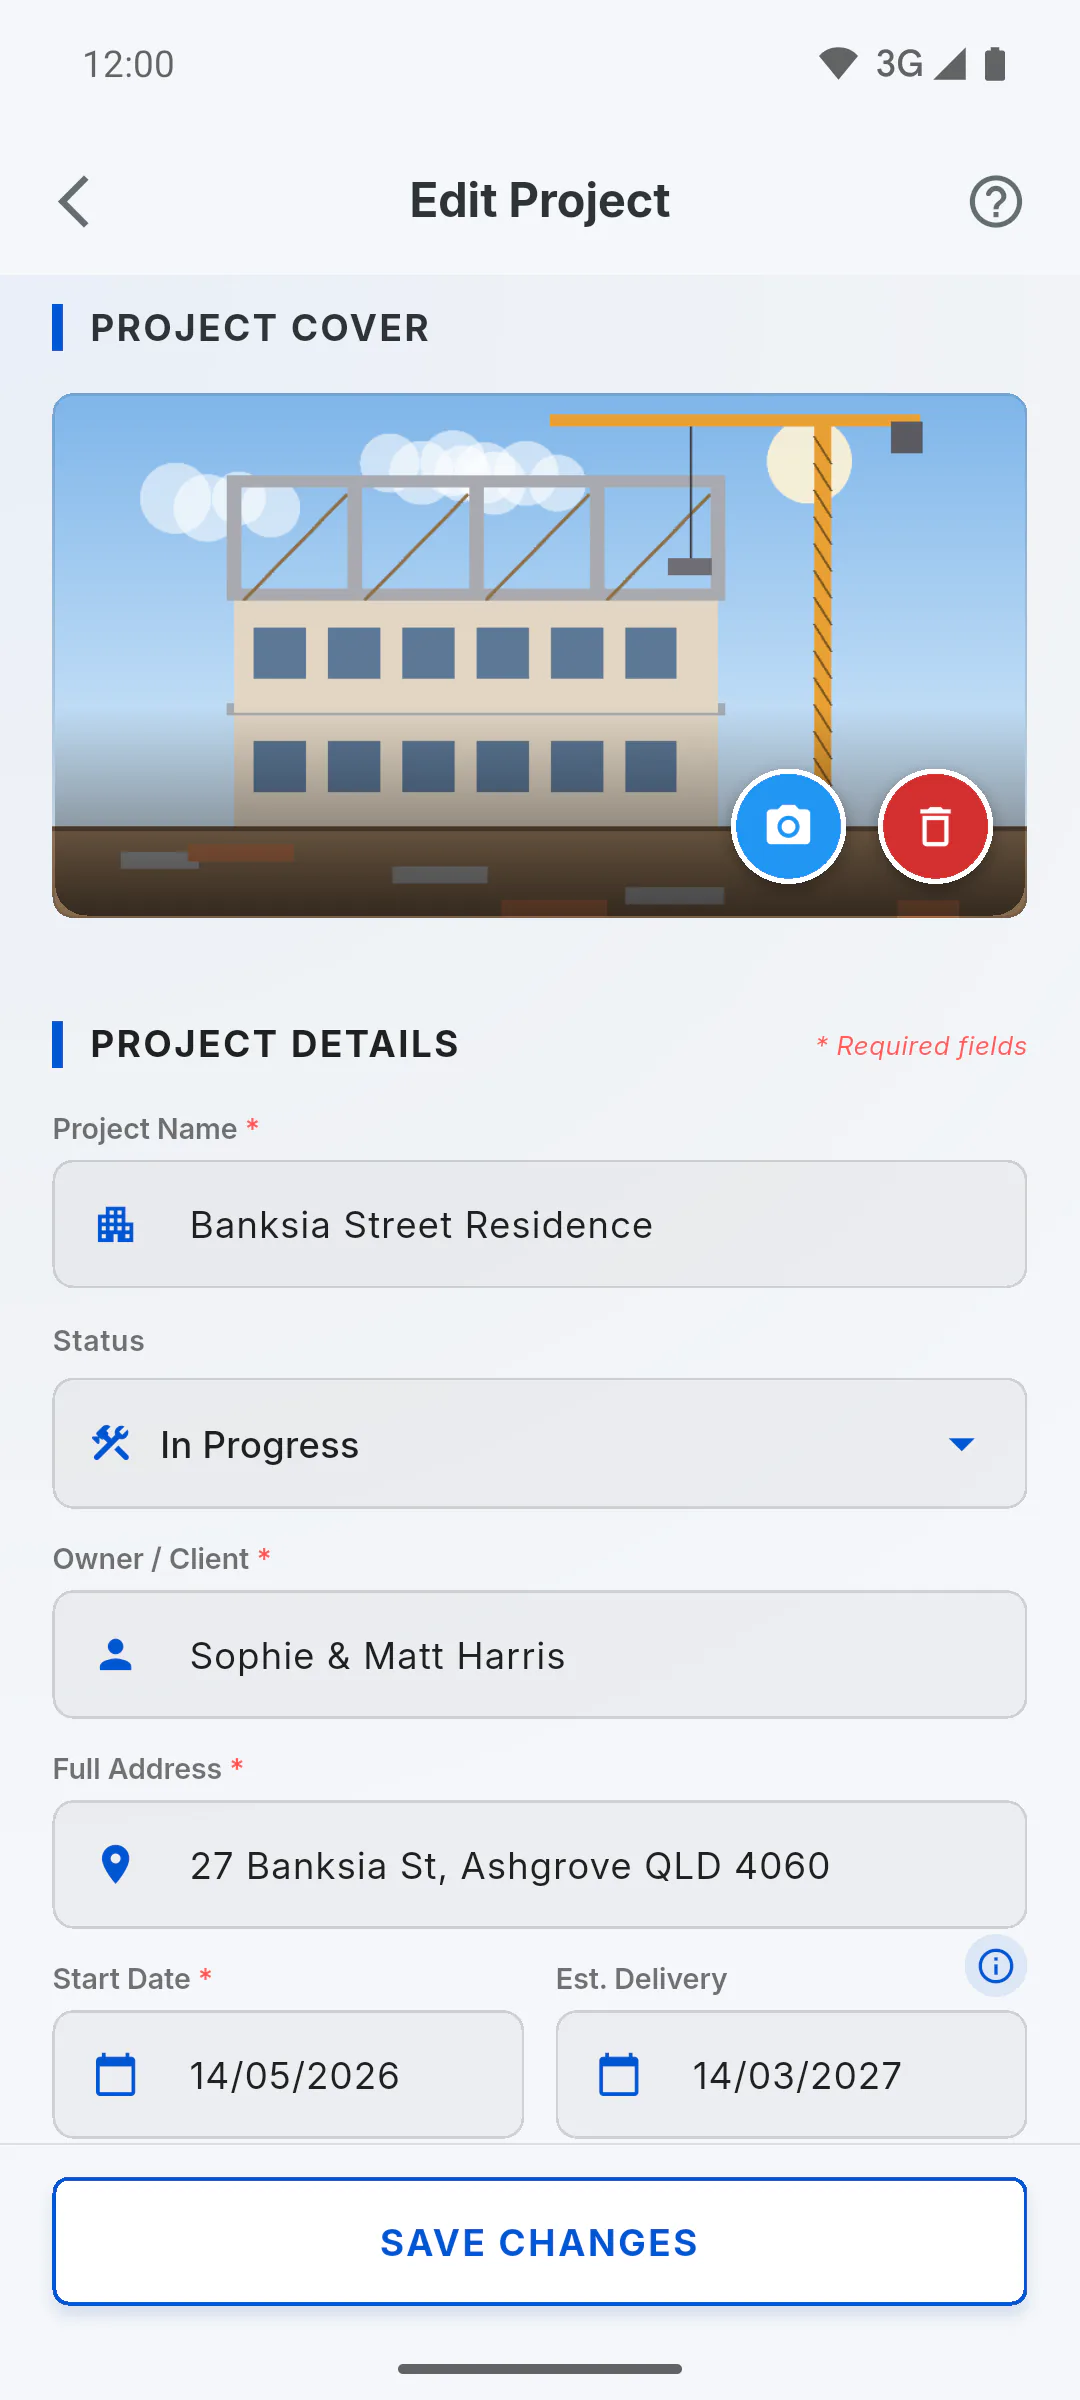
Open the project, go to the Overview tab, tap the three-dot menu, then Edit Project. The cover is at the top, under Project Cover. When creating a new project, it's in the same place.
Step 2: Pick an image
Tap Tap to add Cover: your device gallery opens so you can pick a saved image. There's no camera option here.
- If you're out of storage, you'll see Storage Full and the image isn't picked: Storage full: how to free up space
Step 3: Change or remove it
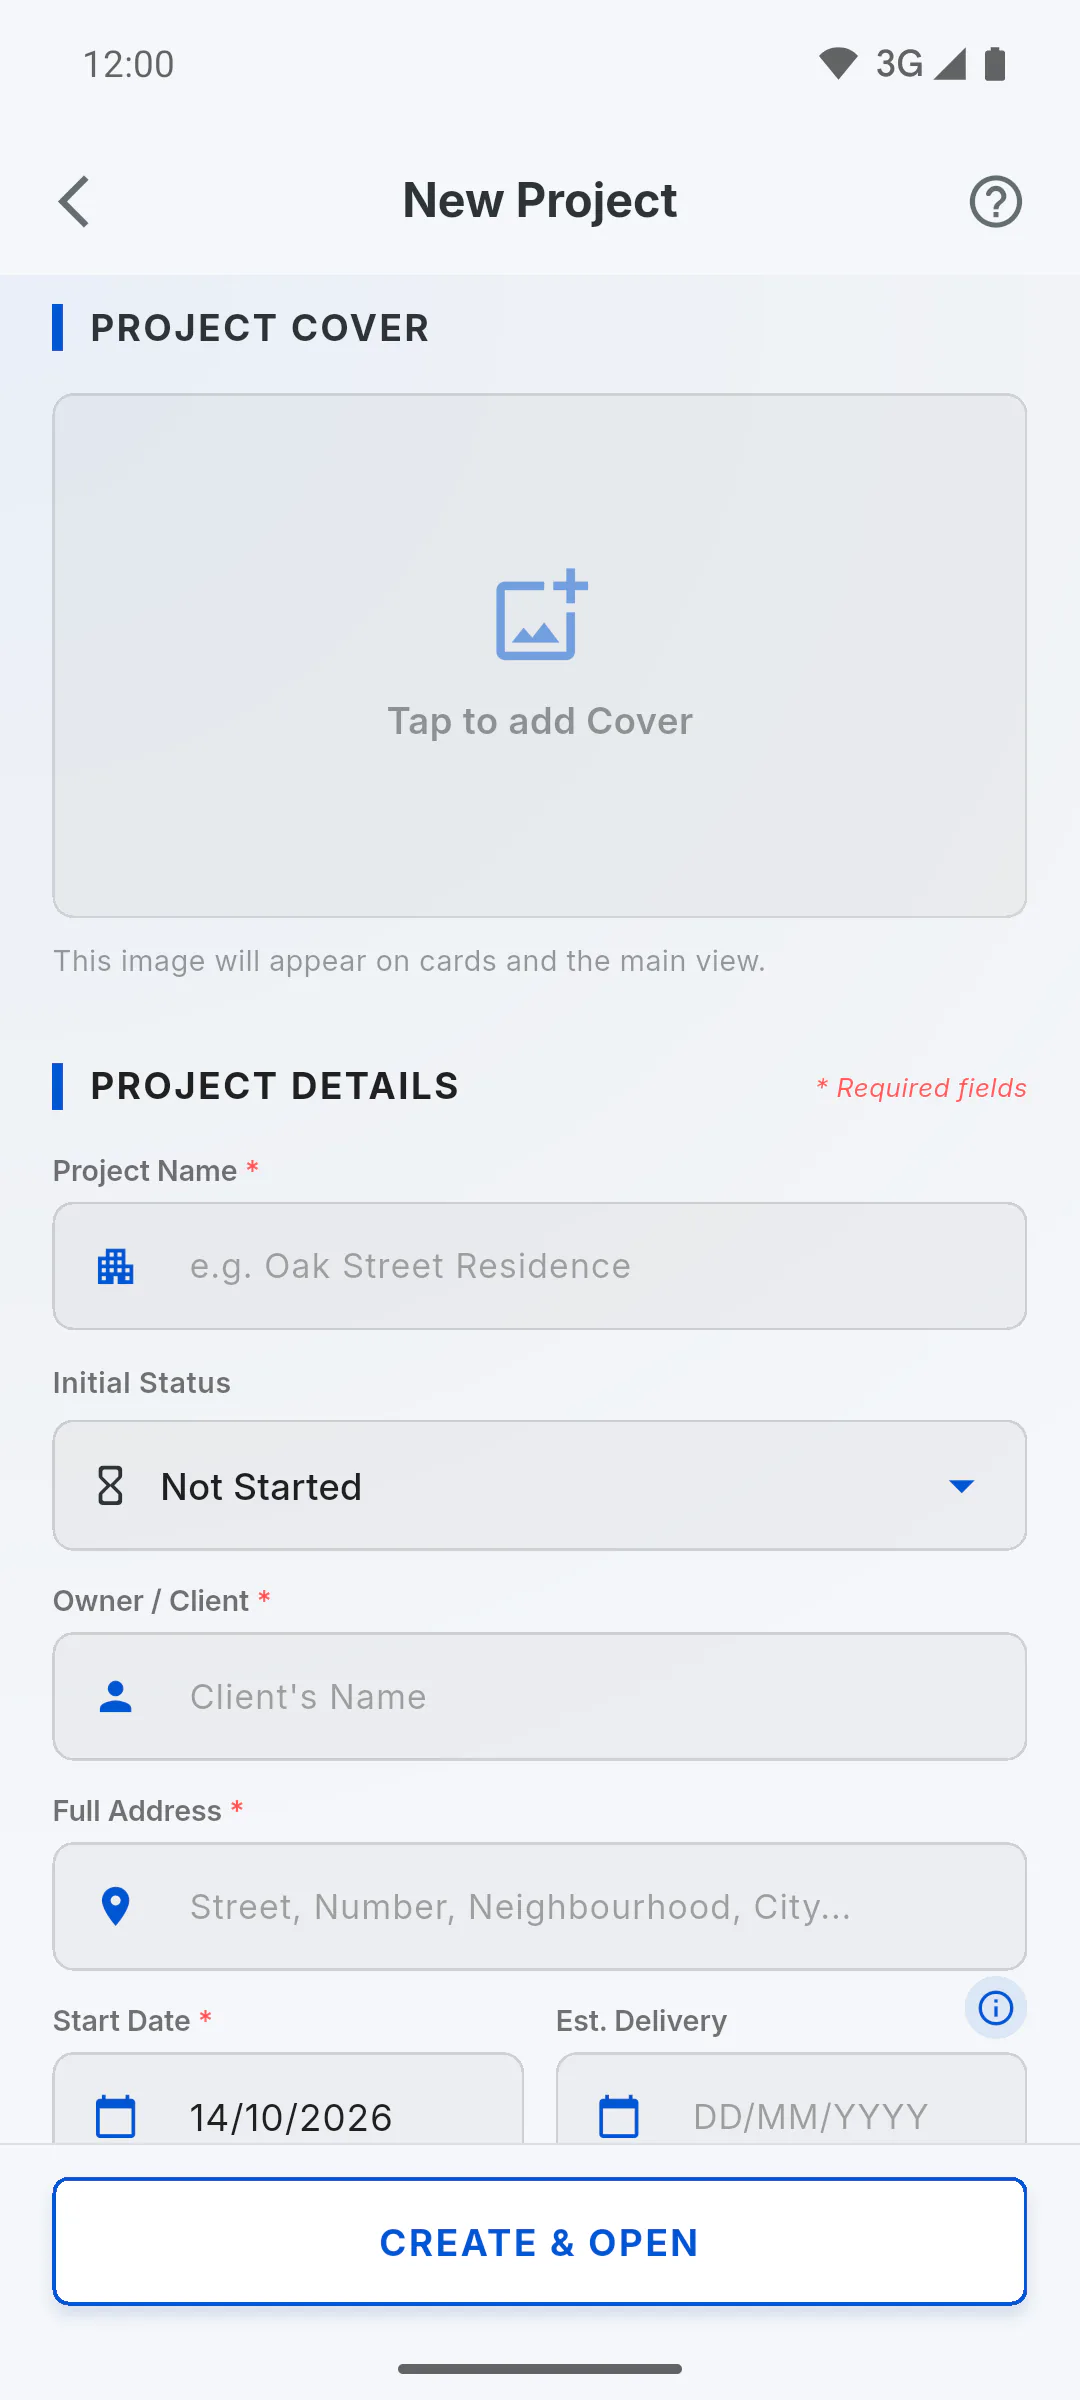
Once a cover is set, use the buttons on the image: Change Image (camera icon) or Remove Image (bin icon).
- When editing a project, removing the cover takes effect straight away, even if you leave without saving.
Step 4: Save
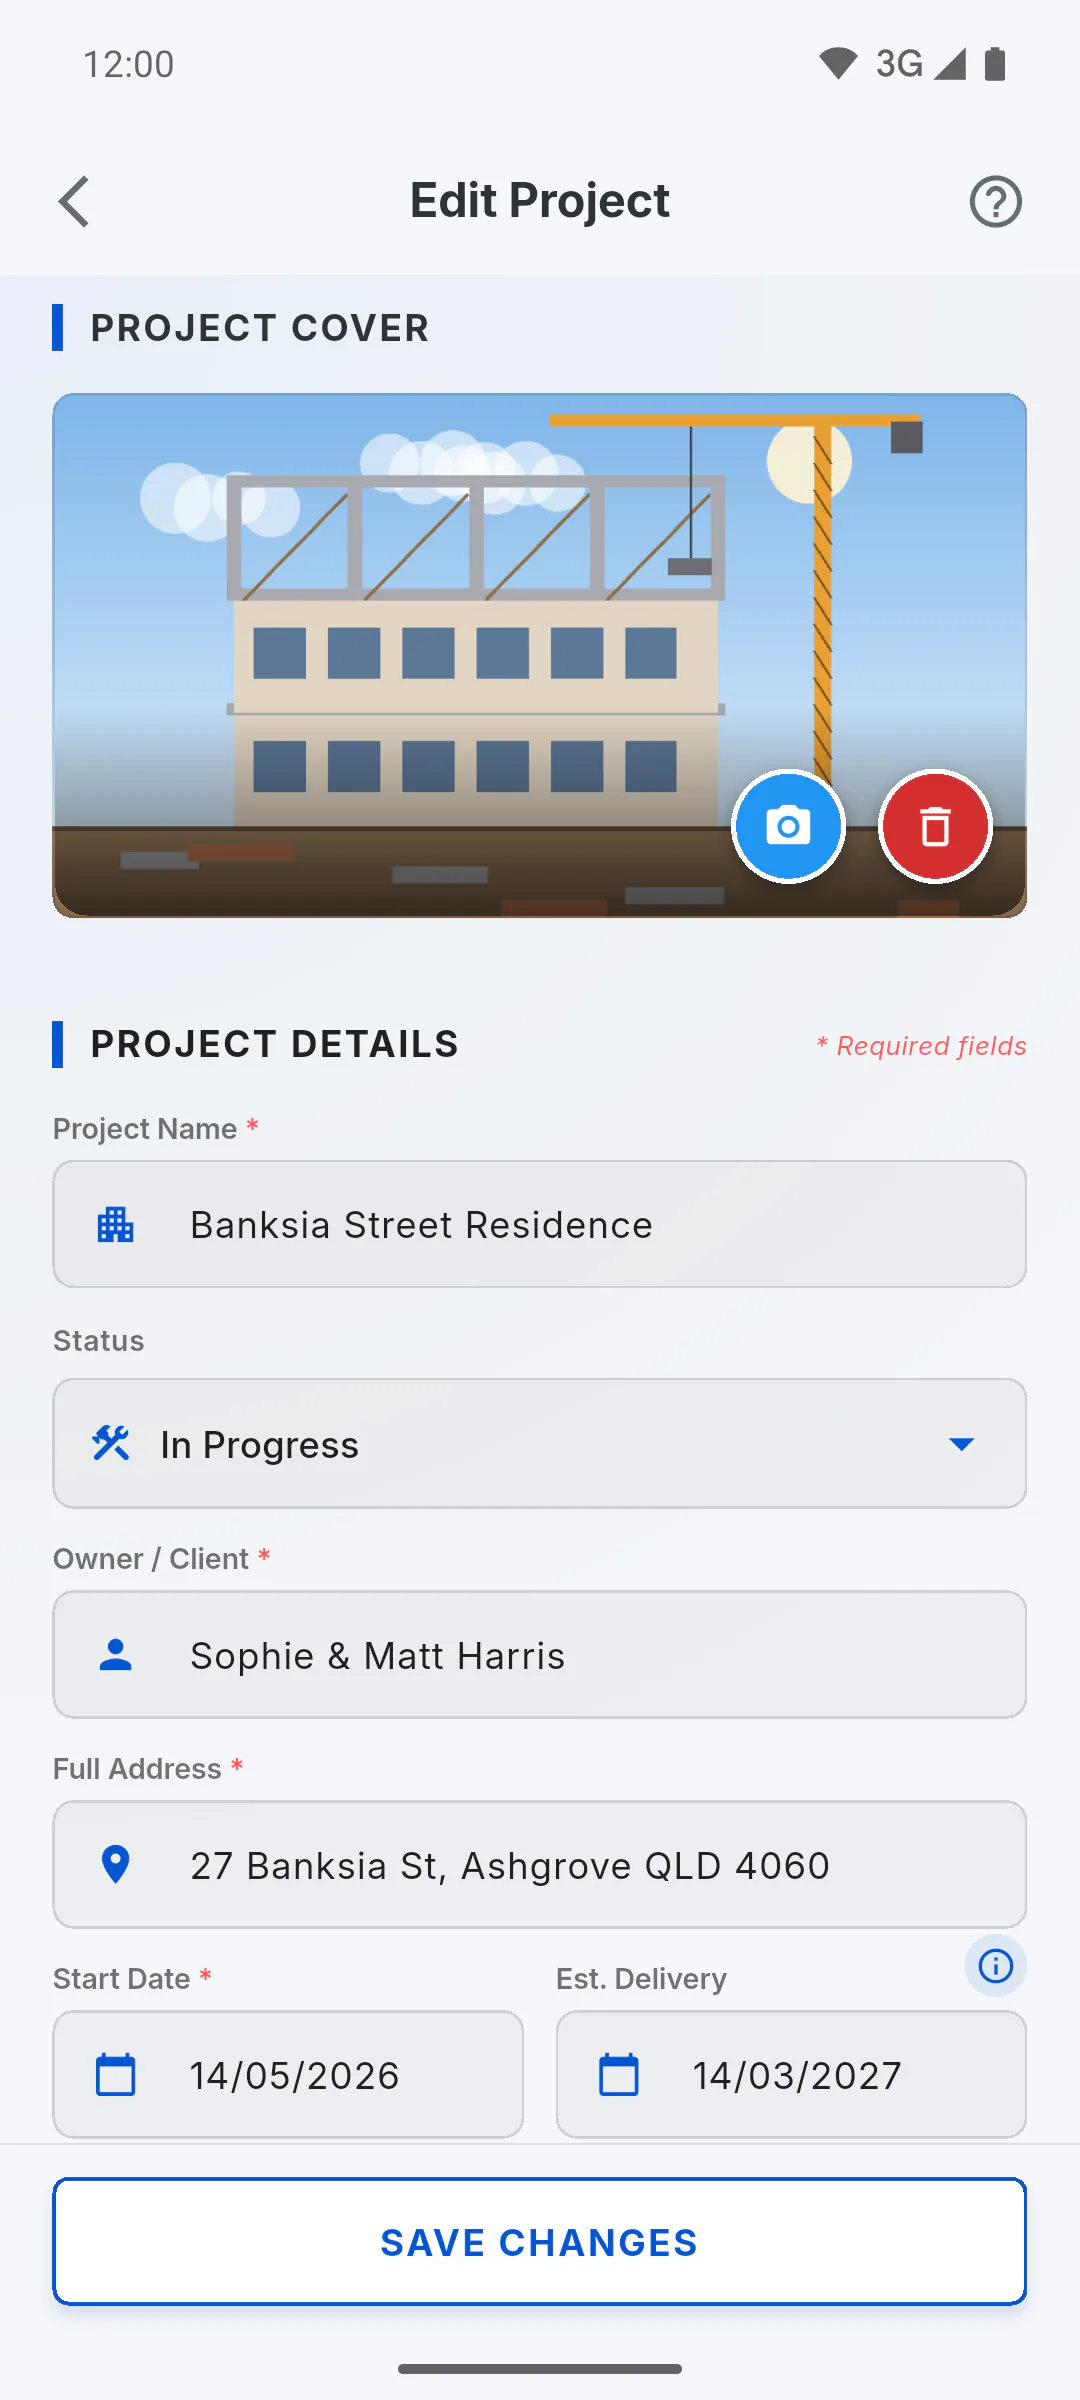
Tap Save Changes (or Create & Open for a new project). The cover uploads in the background: you'll see Uploading project photo in the background... and then Project photo saved successfully!
- Without internet, the cover isn't uploaded and there's no automatic retry: pick the image again once you're back online.
Step 5: Where the cover shows
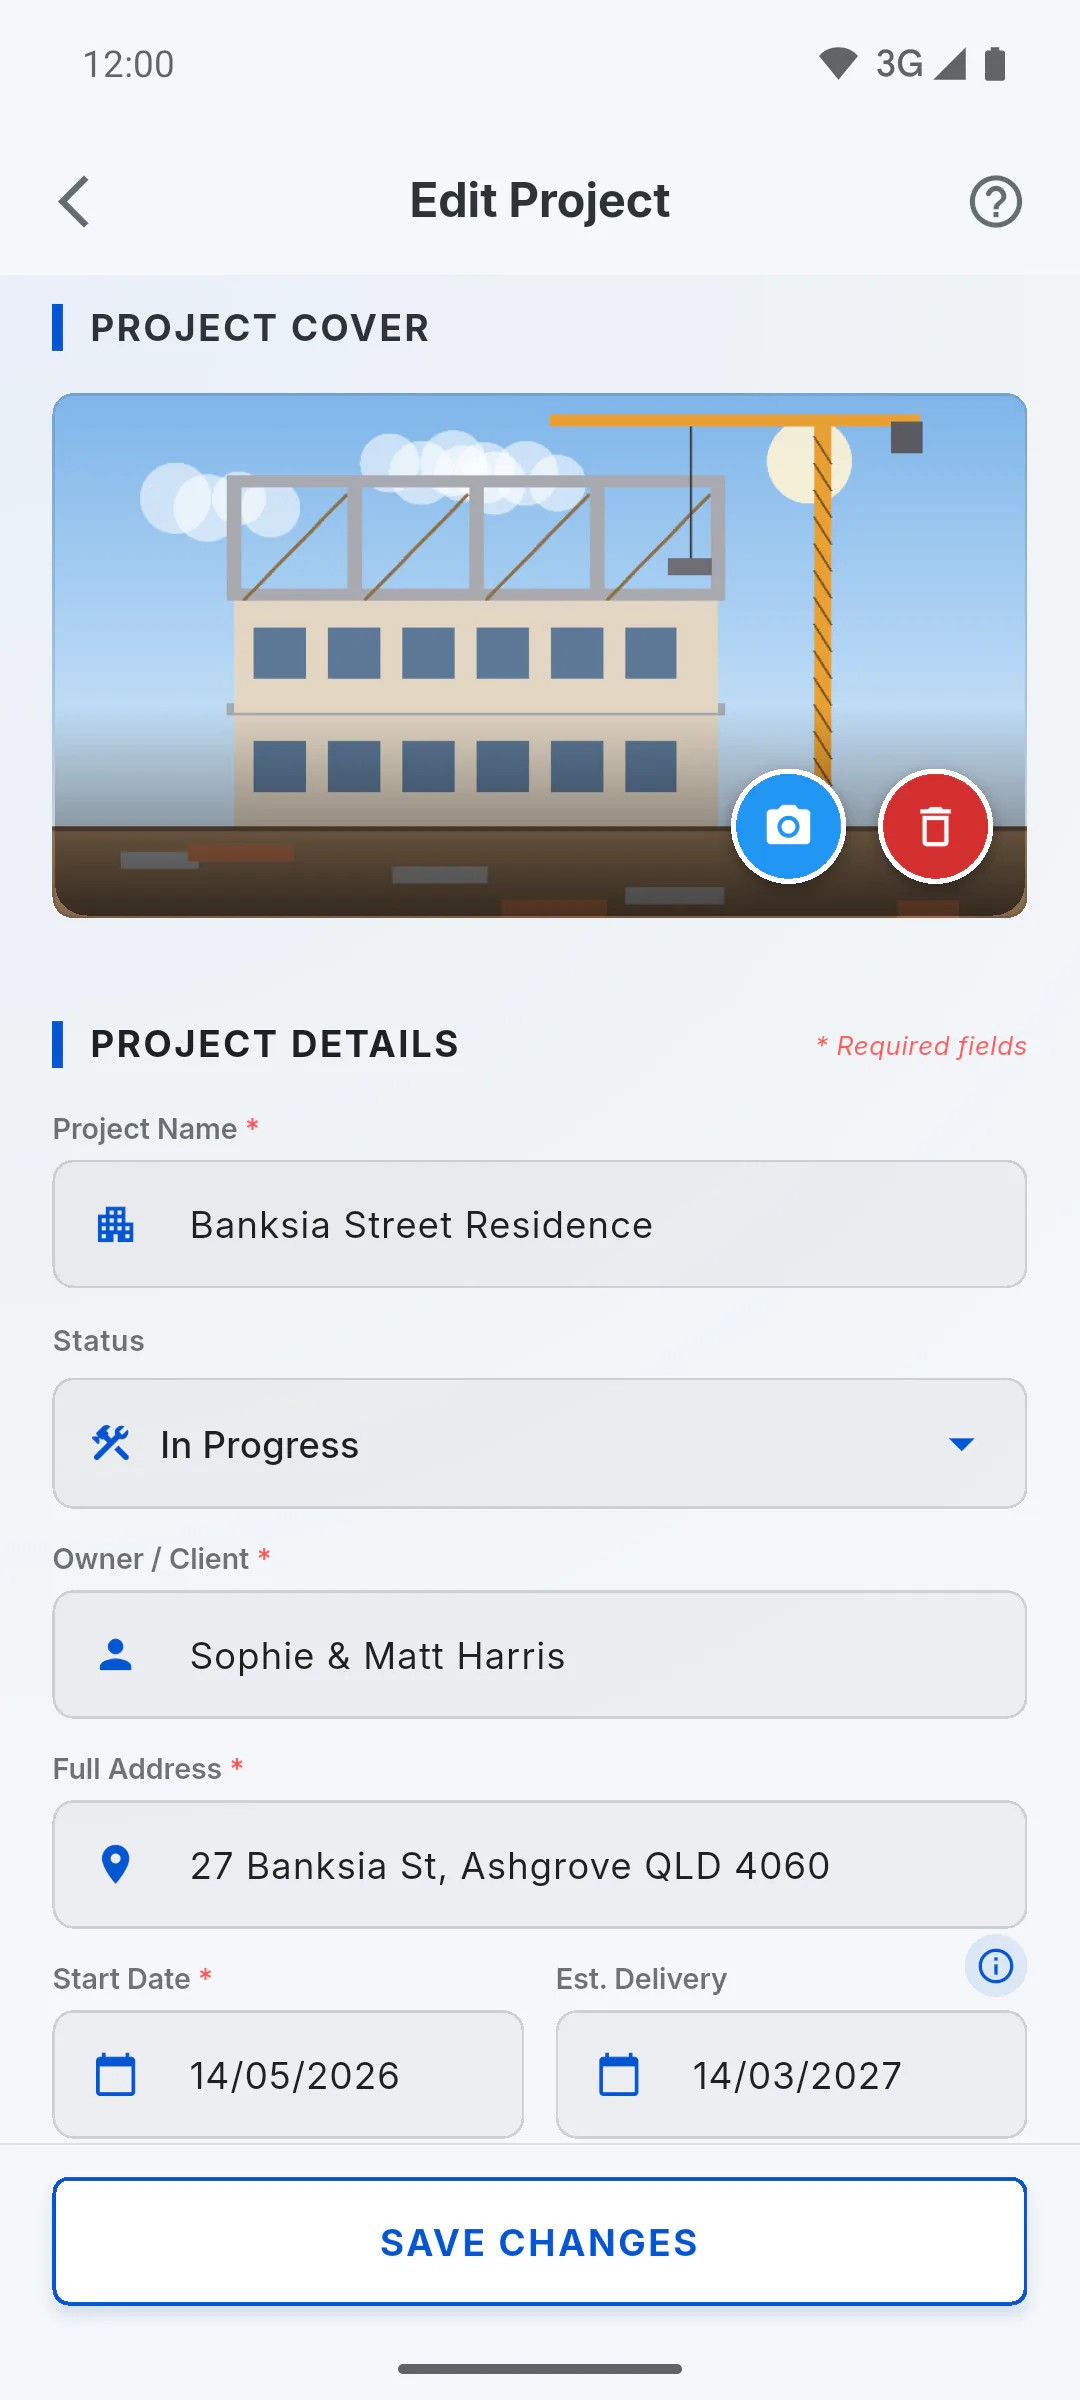
The cover sits at the top of the project screen, full width, with the glass buttons on top (back, logo, help and menu) and the status, project name, client and address over the image; when you scroll down, it collapses into a compact pill at the top. It also shows on the project card on the dashboard and at the top of the Client Portal. Without a photo, a gradient building illustration is shown.
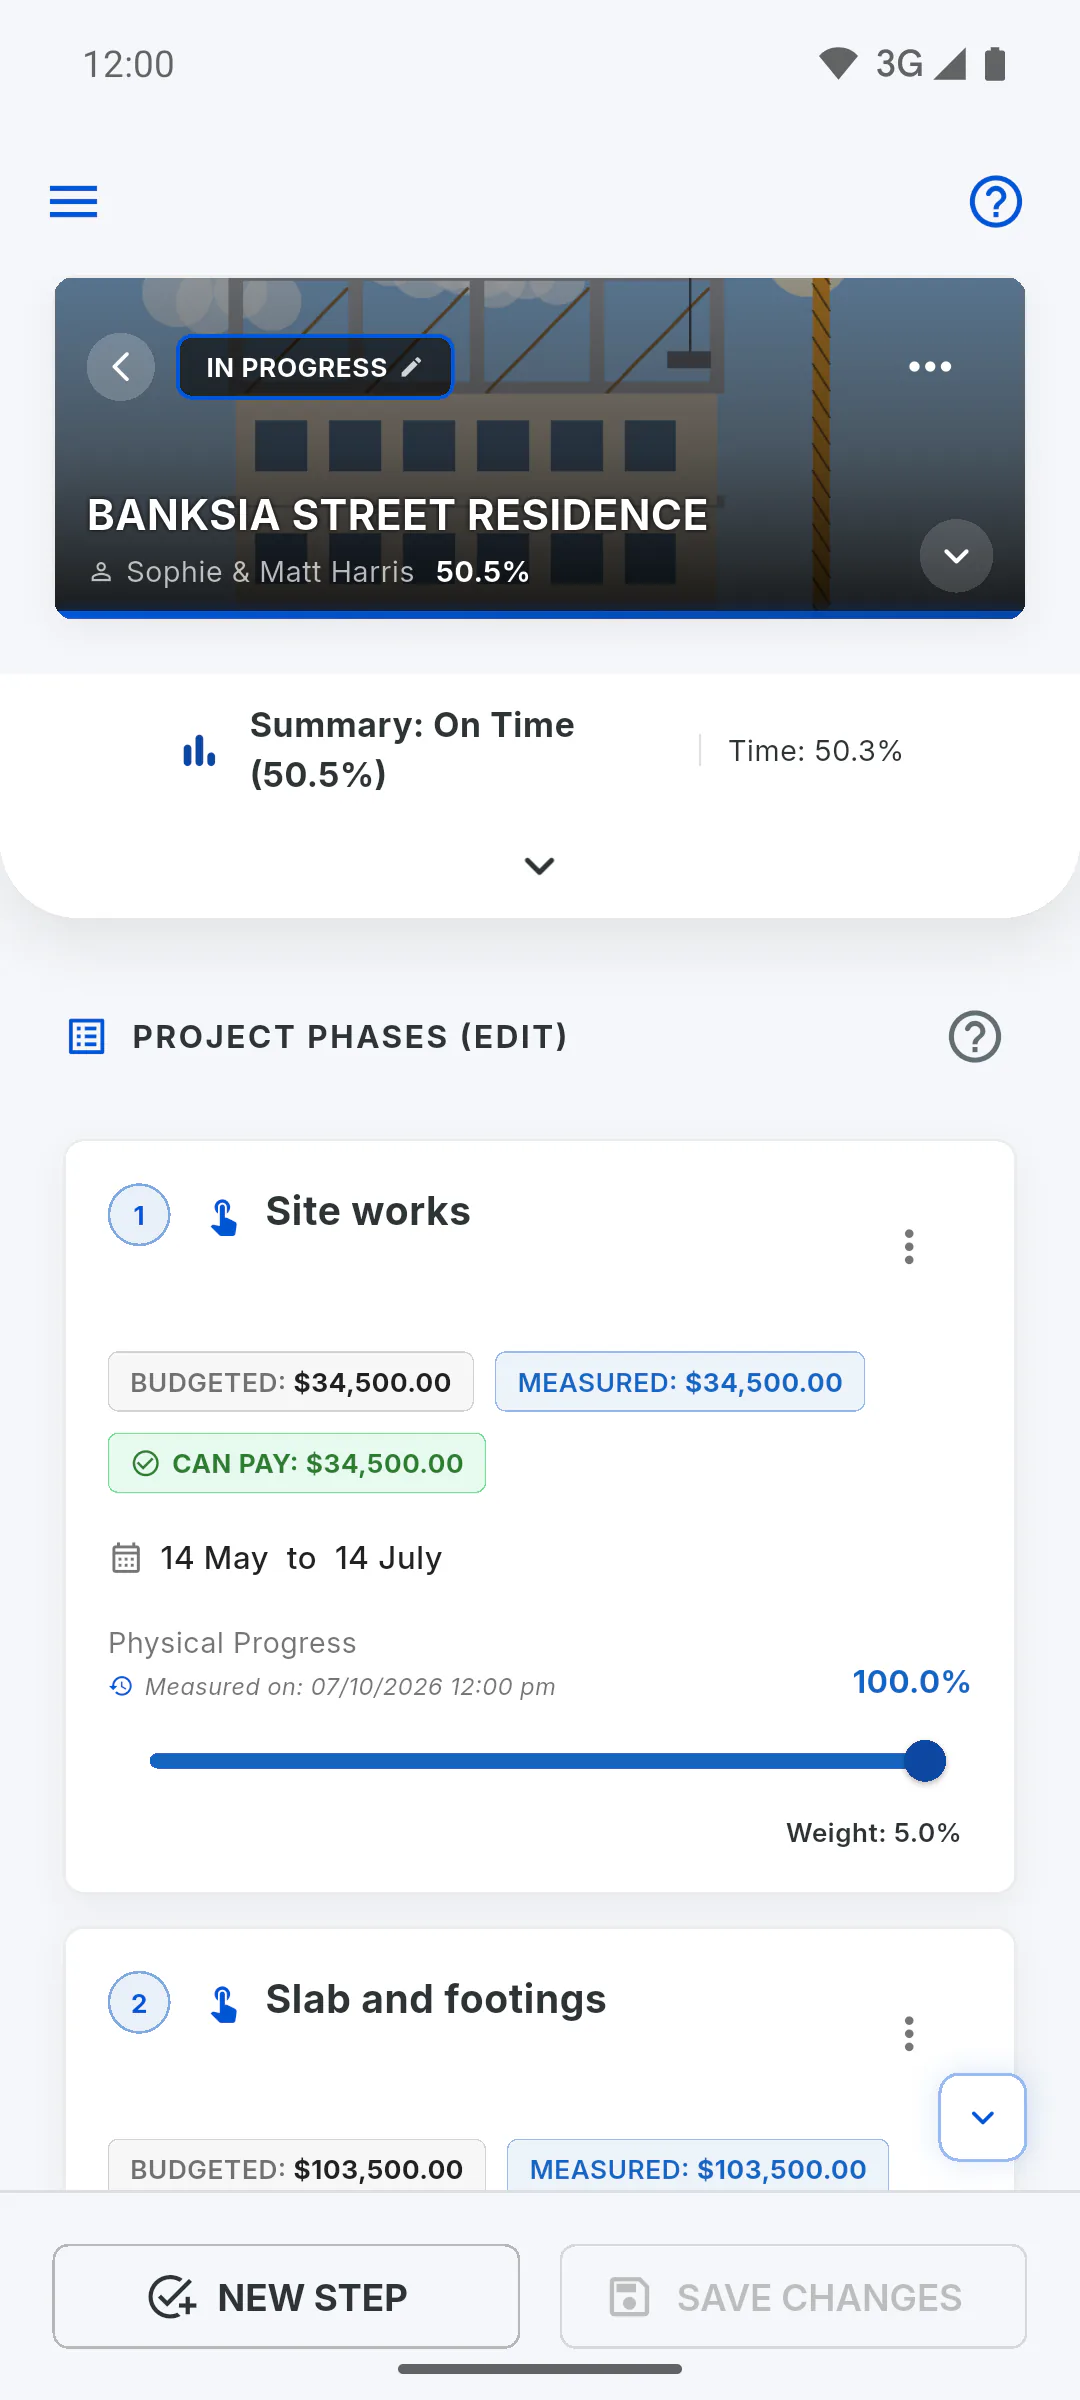
How to add or change the project cover photo
The cover identifies the project on the dashboard, at the top of the project screen and in the Client Portal. See how to choose, change or remove the image and when it uploads.
For managers5 steps
Didn't find what you were looking for?
Chat with support on WhatsApp or raise a ticket in the app.