
Step 1: Open the photo section
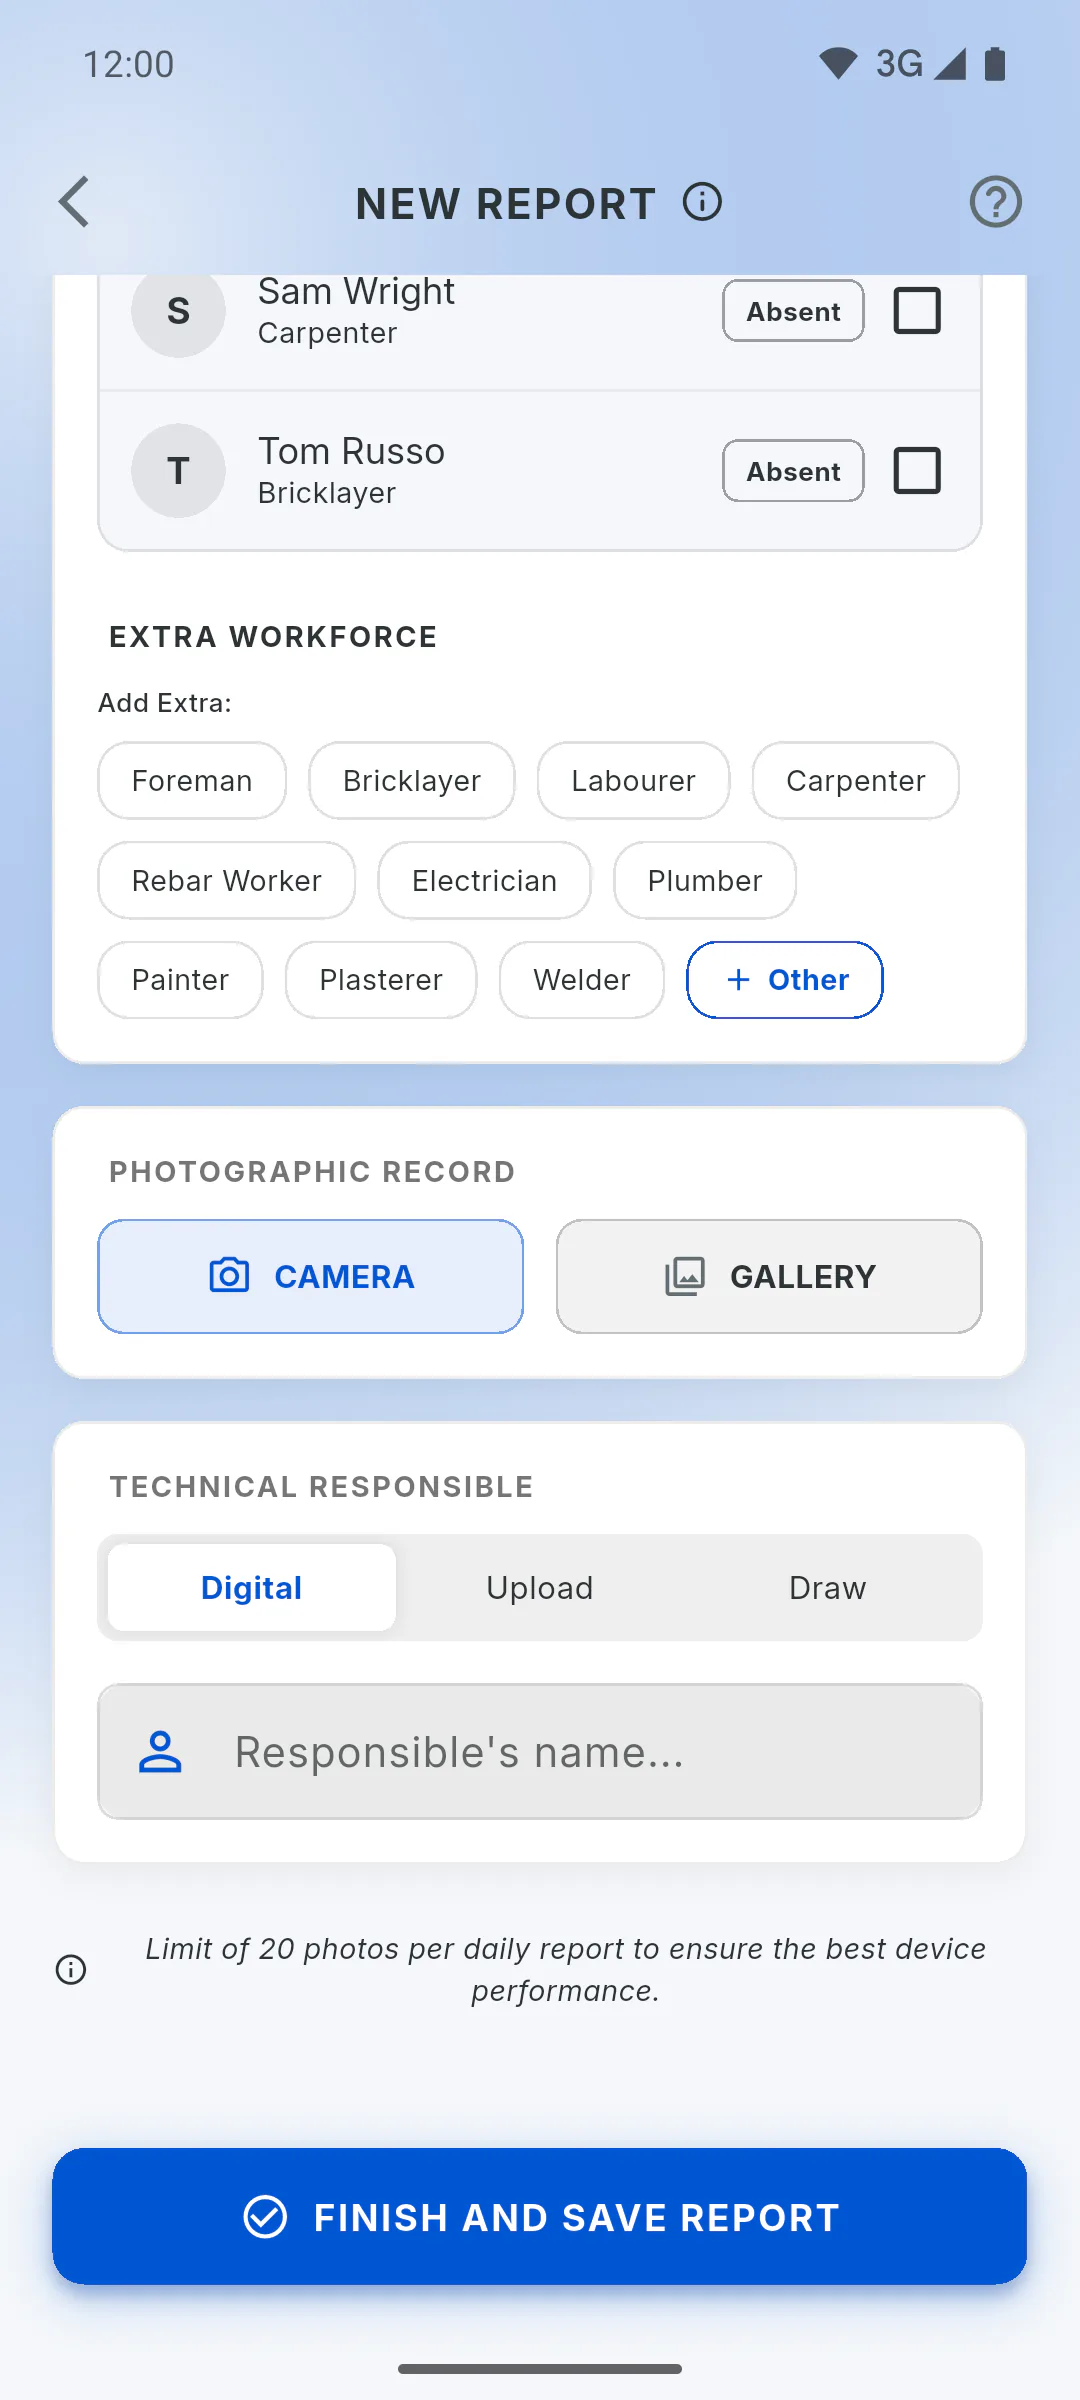
In New Report, scroll down to Photographic Record. The first time, your mobile asks for permission to use the camera and photos: allow it to continue.
Step 2: Take or pick photos
Tap Camera to take a photo right away; repeat for more. Tap Gallery to pick several photos at once. In a web browser, Camera also opens the file picker.
Step 3: Up to 20 photos per report
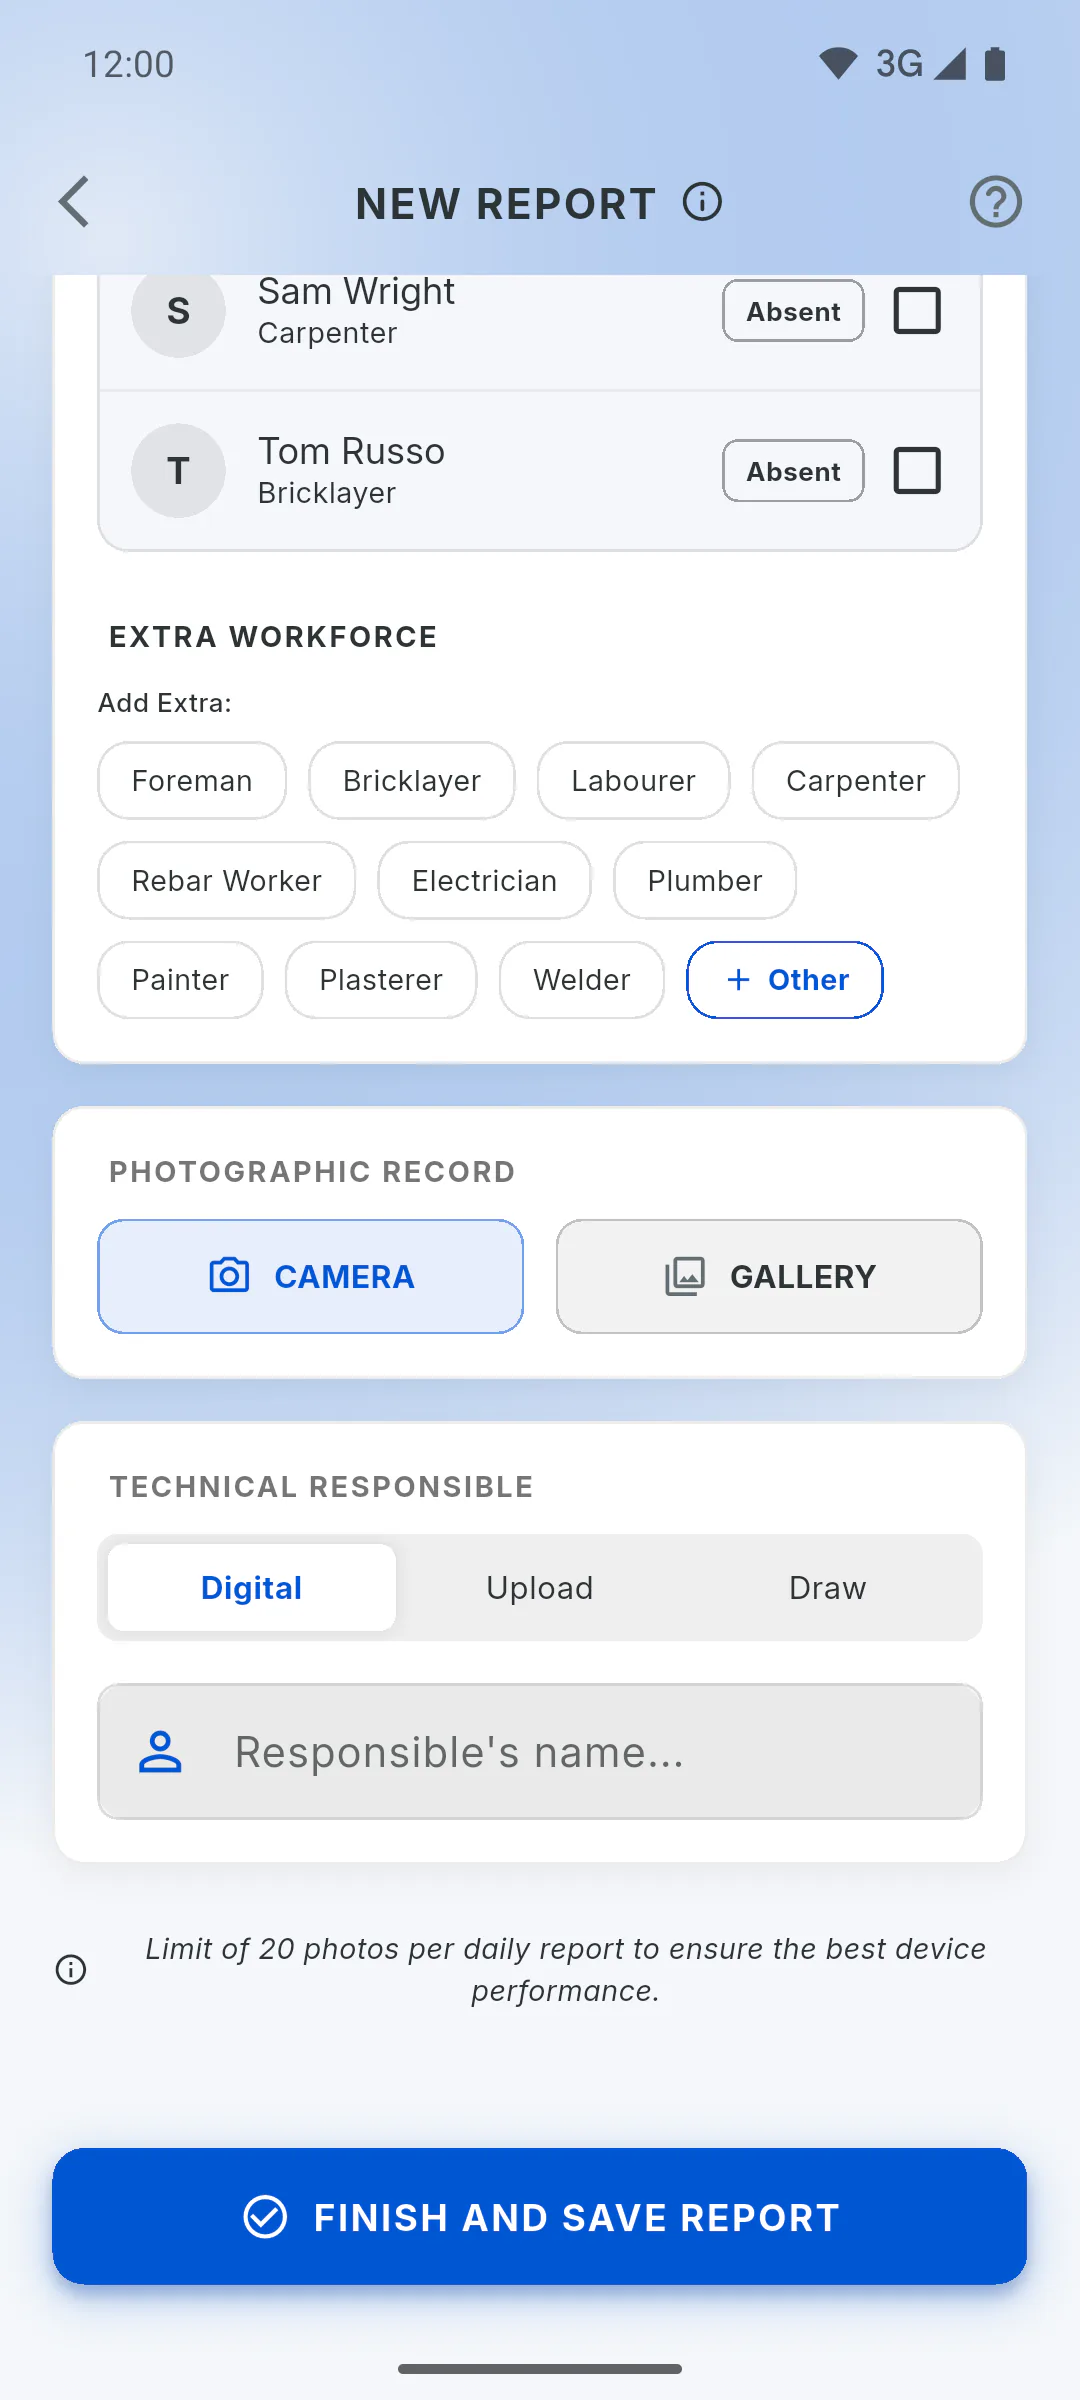
Each report takes up to 20 photos, as the note at the bottom of the screen reminds you. If you pick more from the gallery, only the ones that fit are added and you'll see Maximum limit of 20 photos reached.
Step 4: Review before saving
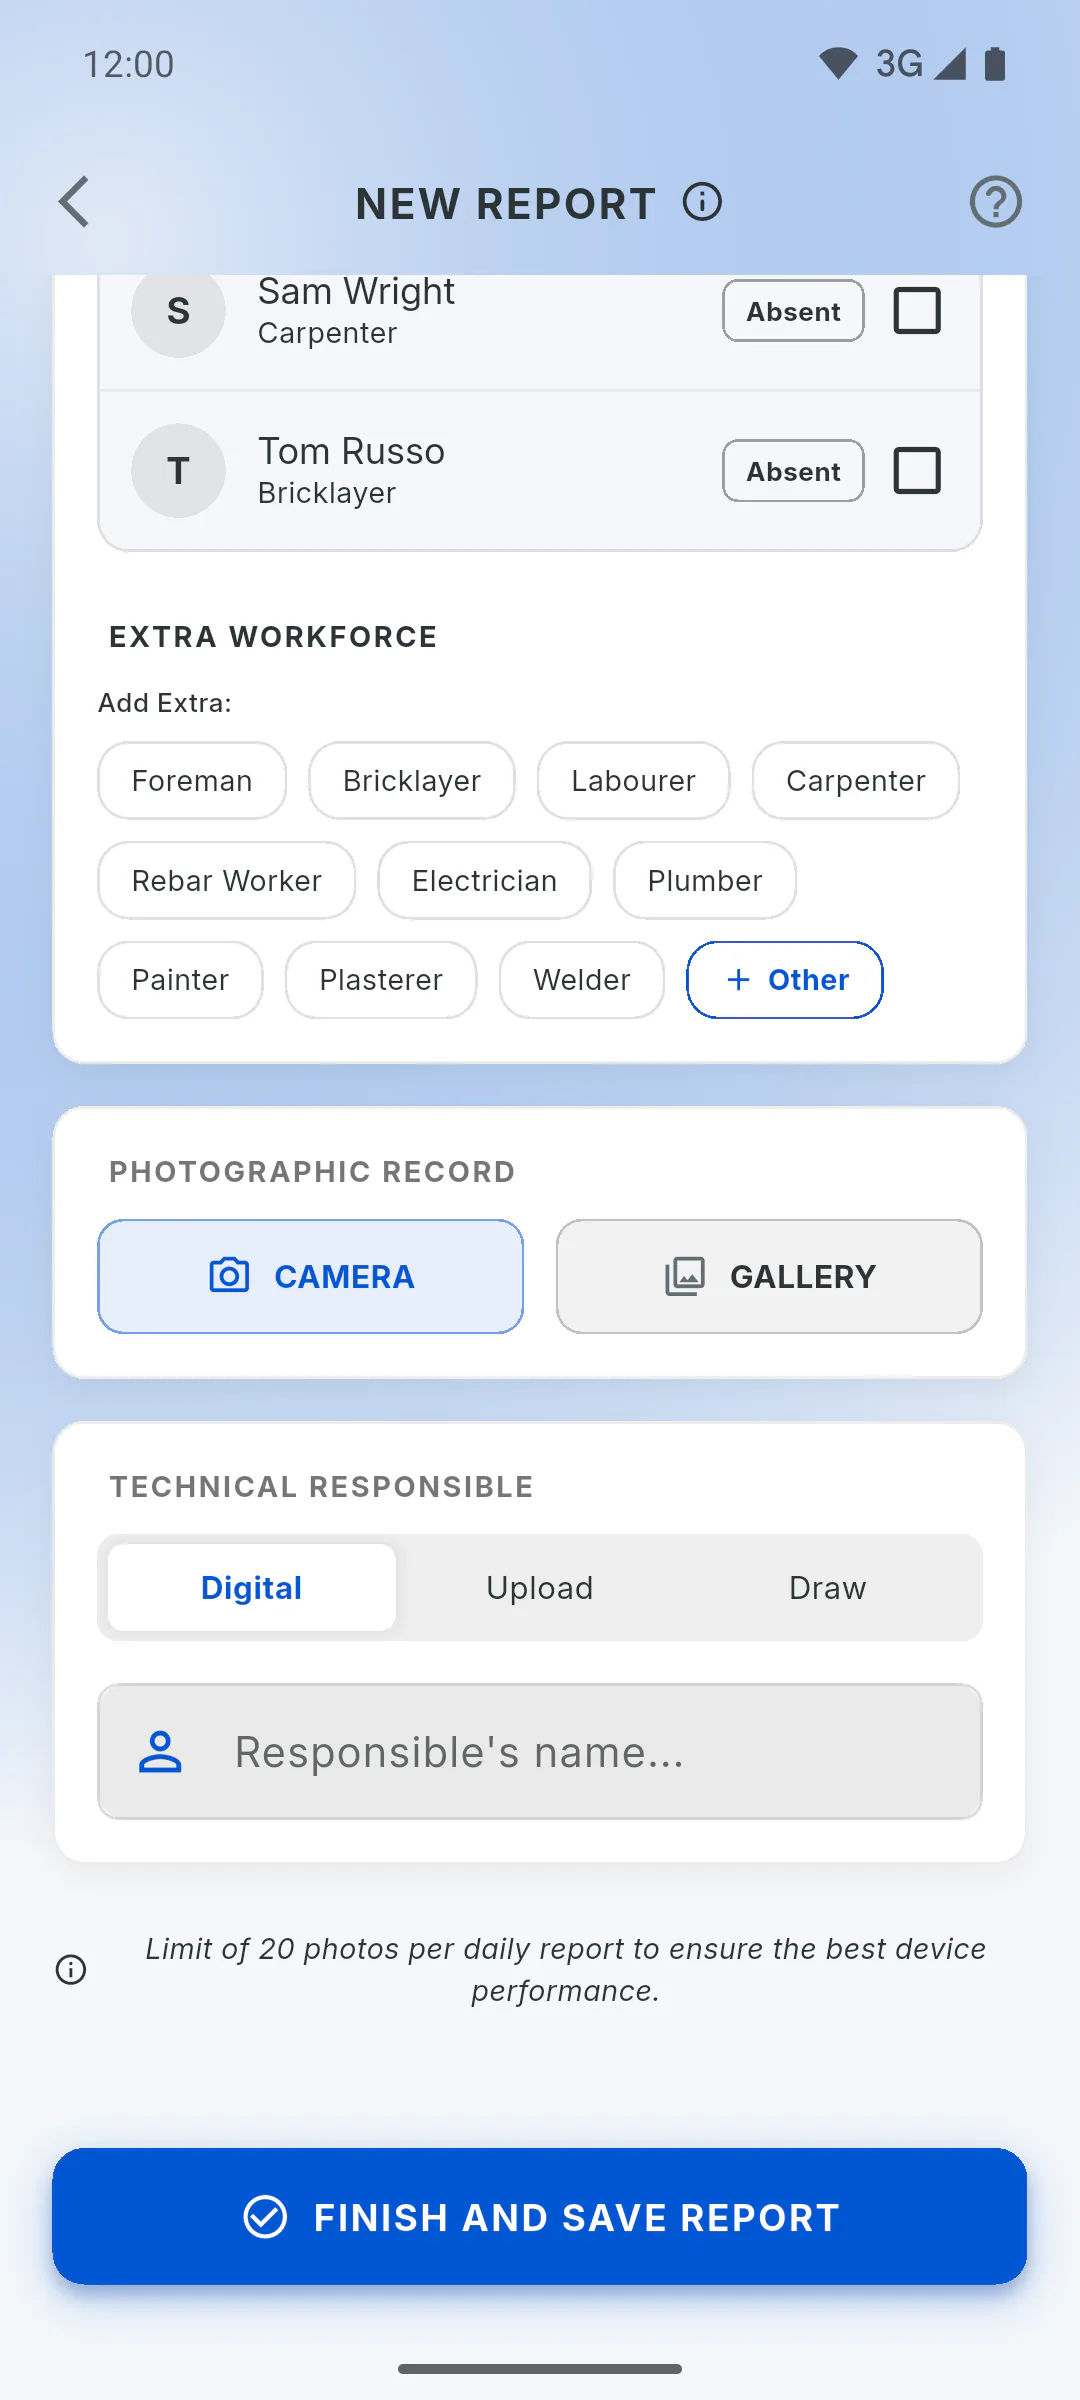
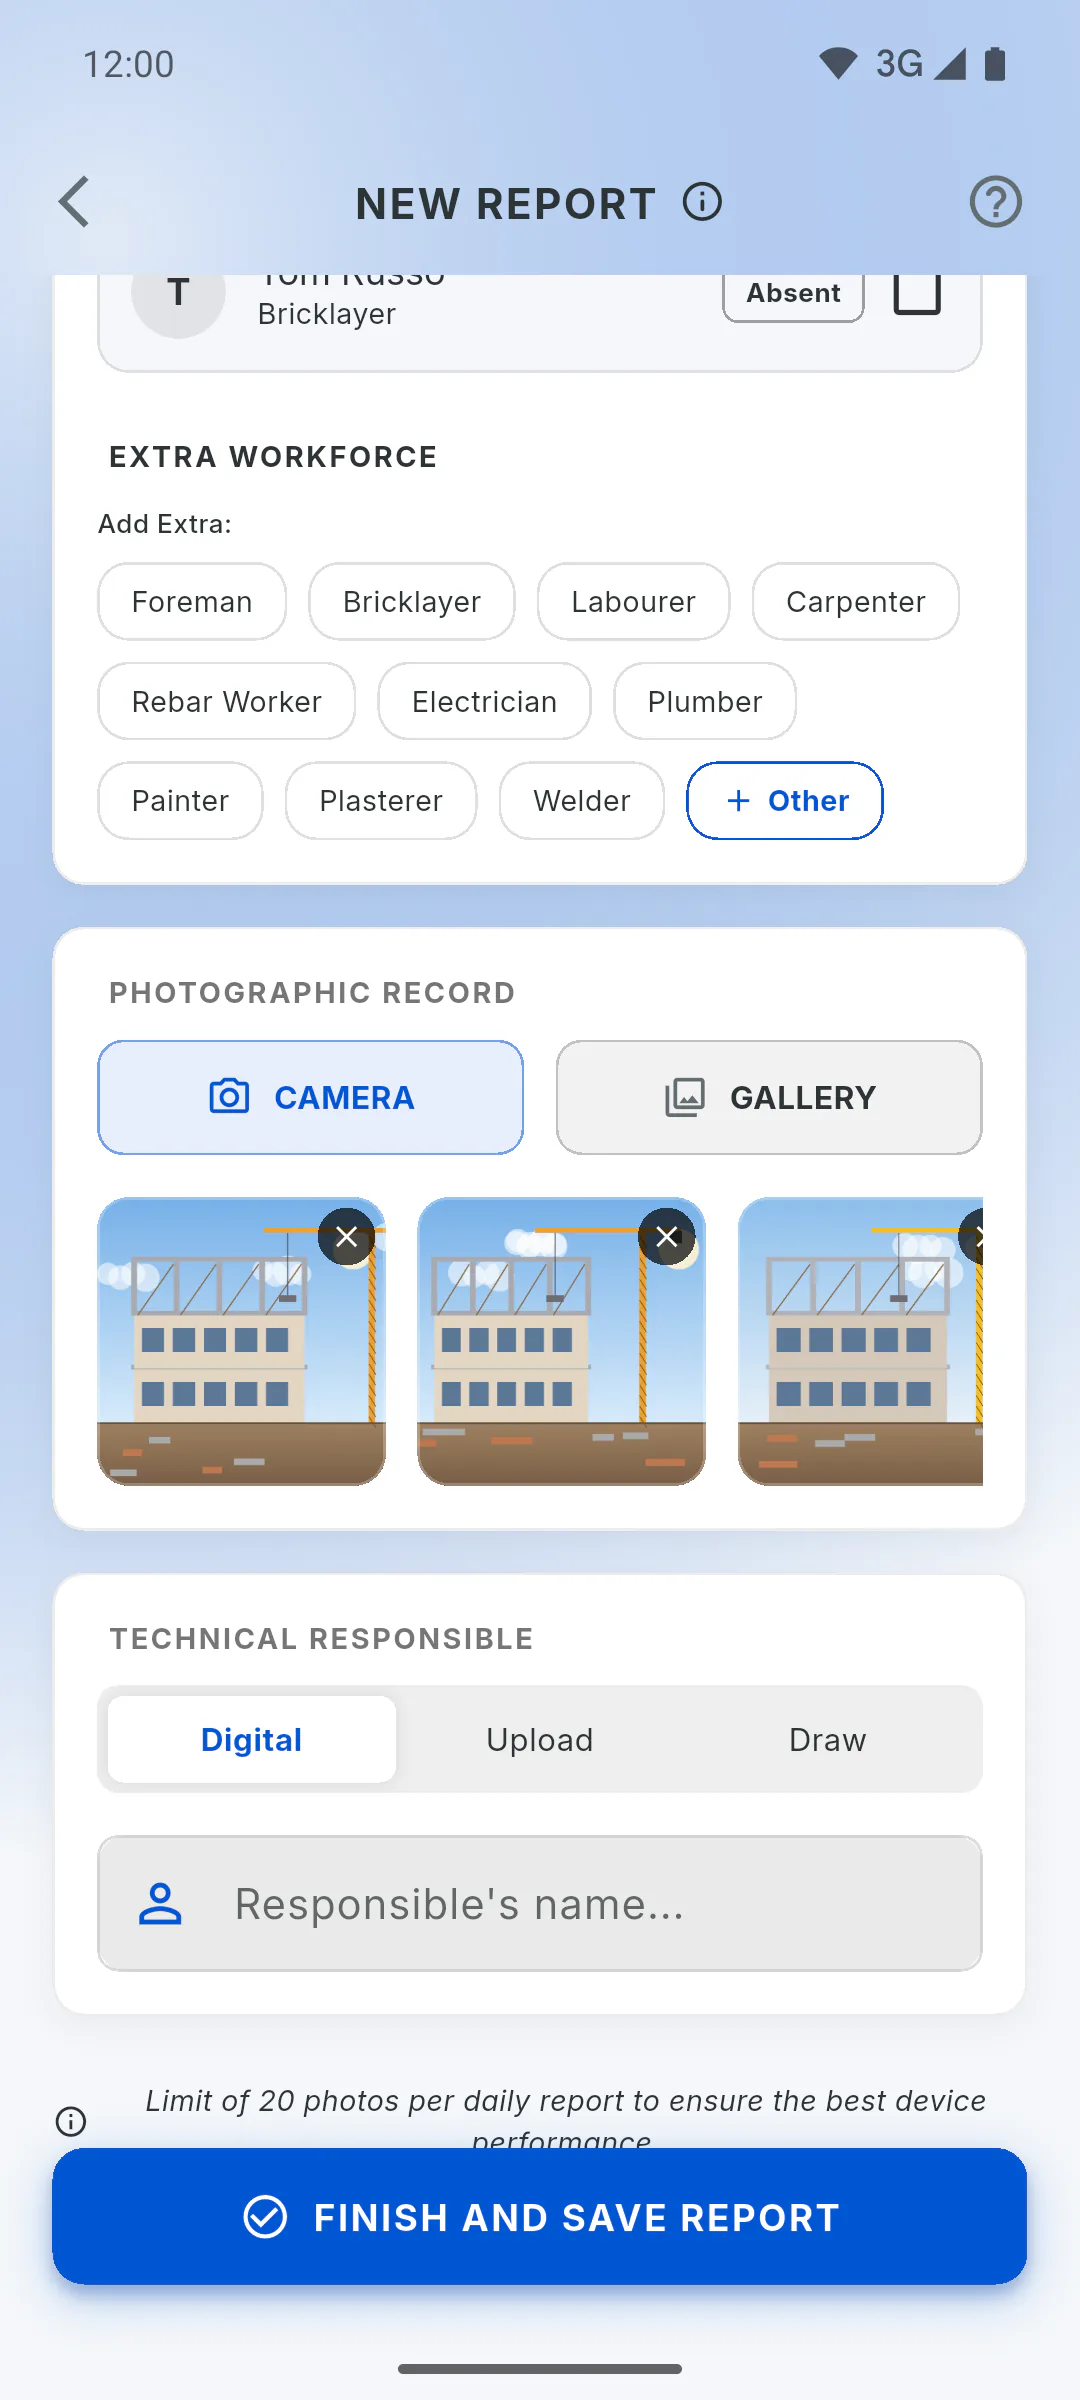
Your photos appear in a row just below the buttons. To remove one, tap the X in its corner. Then tap Finish and Save Report.
Step 5: Account storage
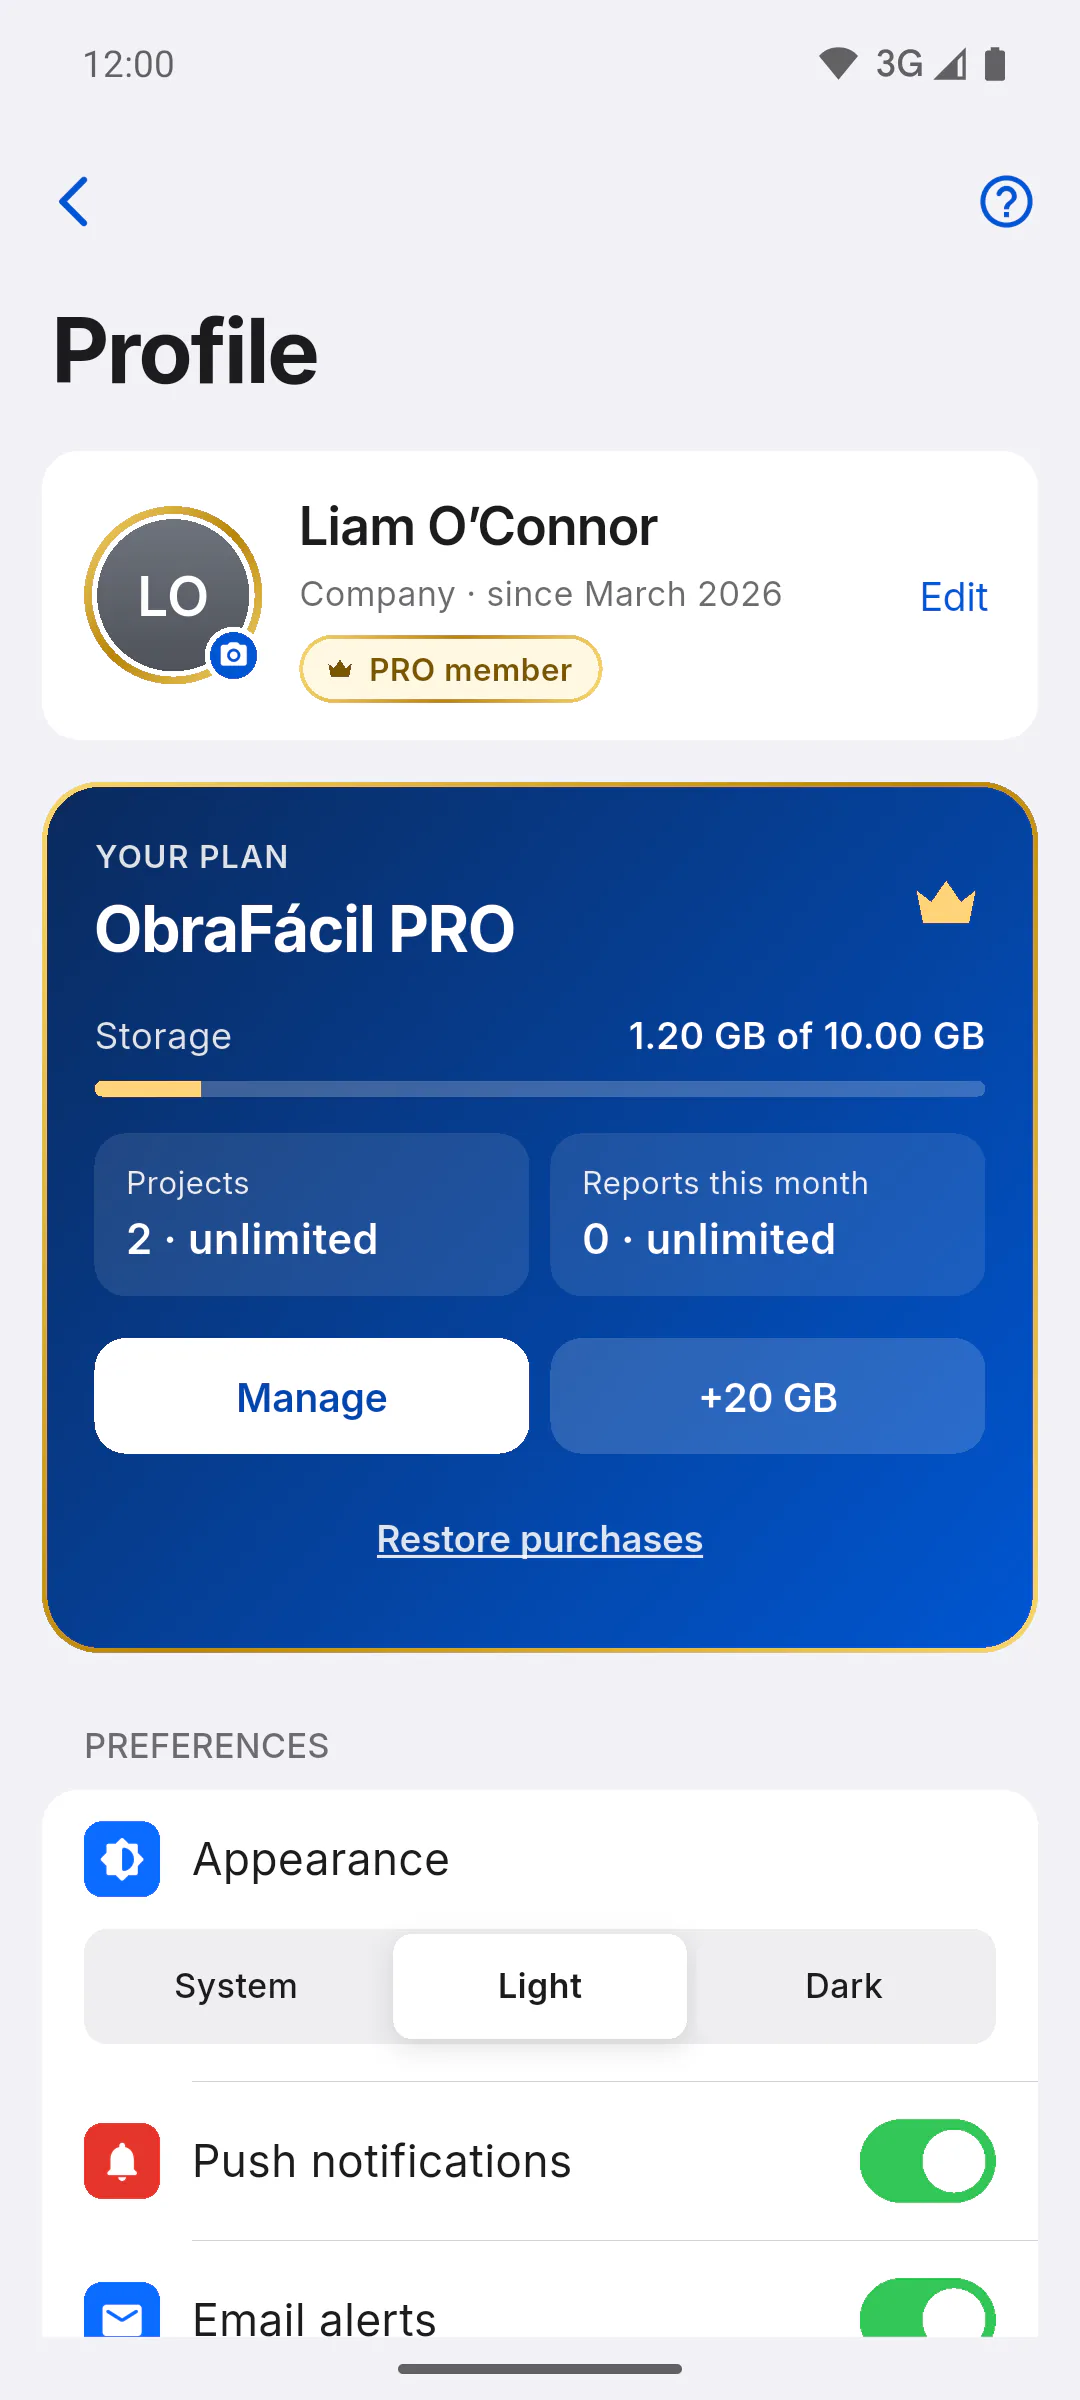
Photos use your account's storage: 250 MB on the free plan and 10 GB on PRO. When you're online and the space has run out, Storage Full appears and the photo isn't added.
- Storage full: how to free up space
- Offline, photos stay on the device and upload later: Daily reports without internet
Step 6: Where the photos show up
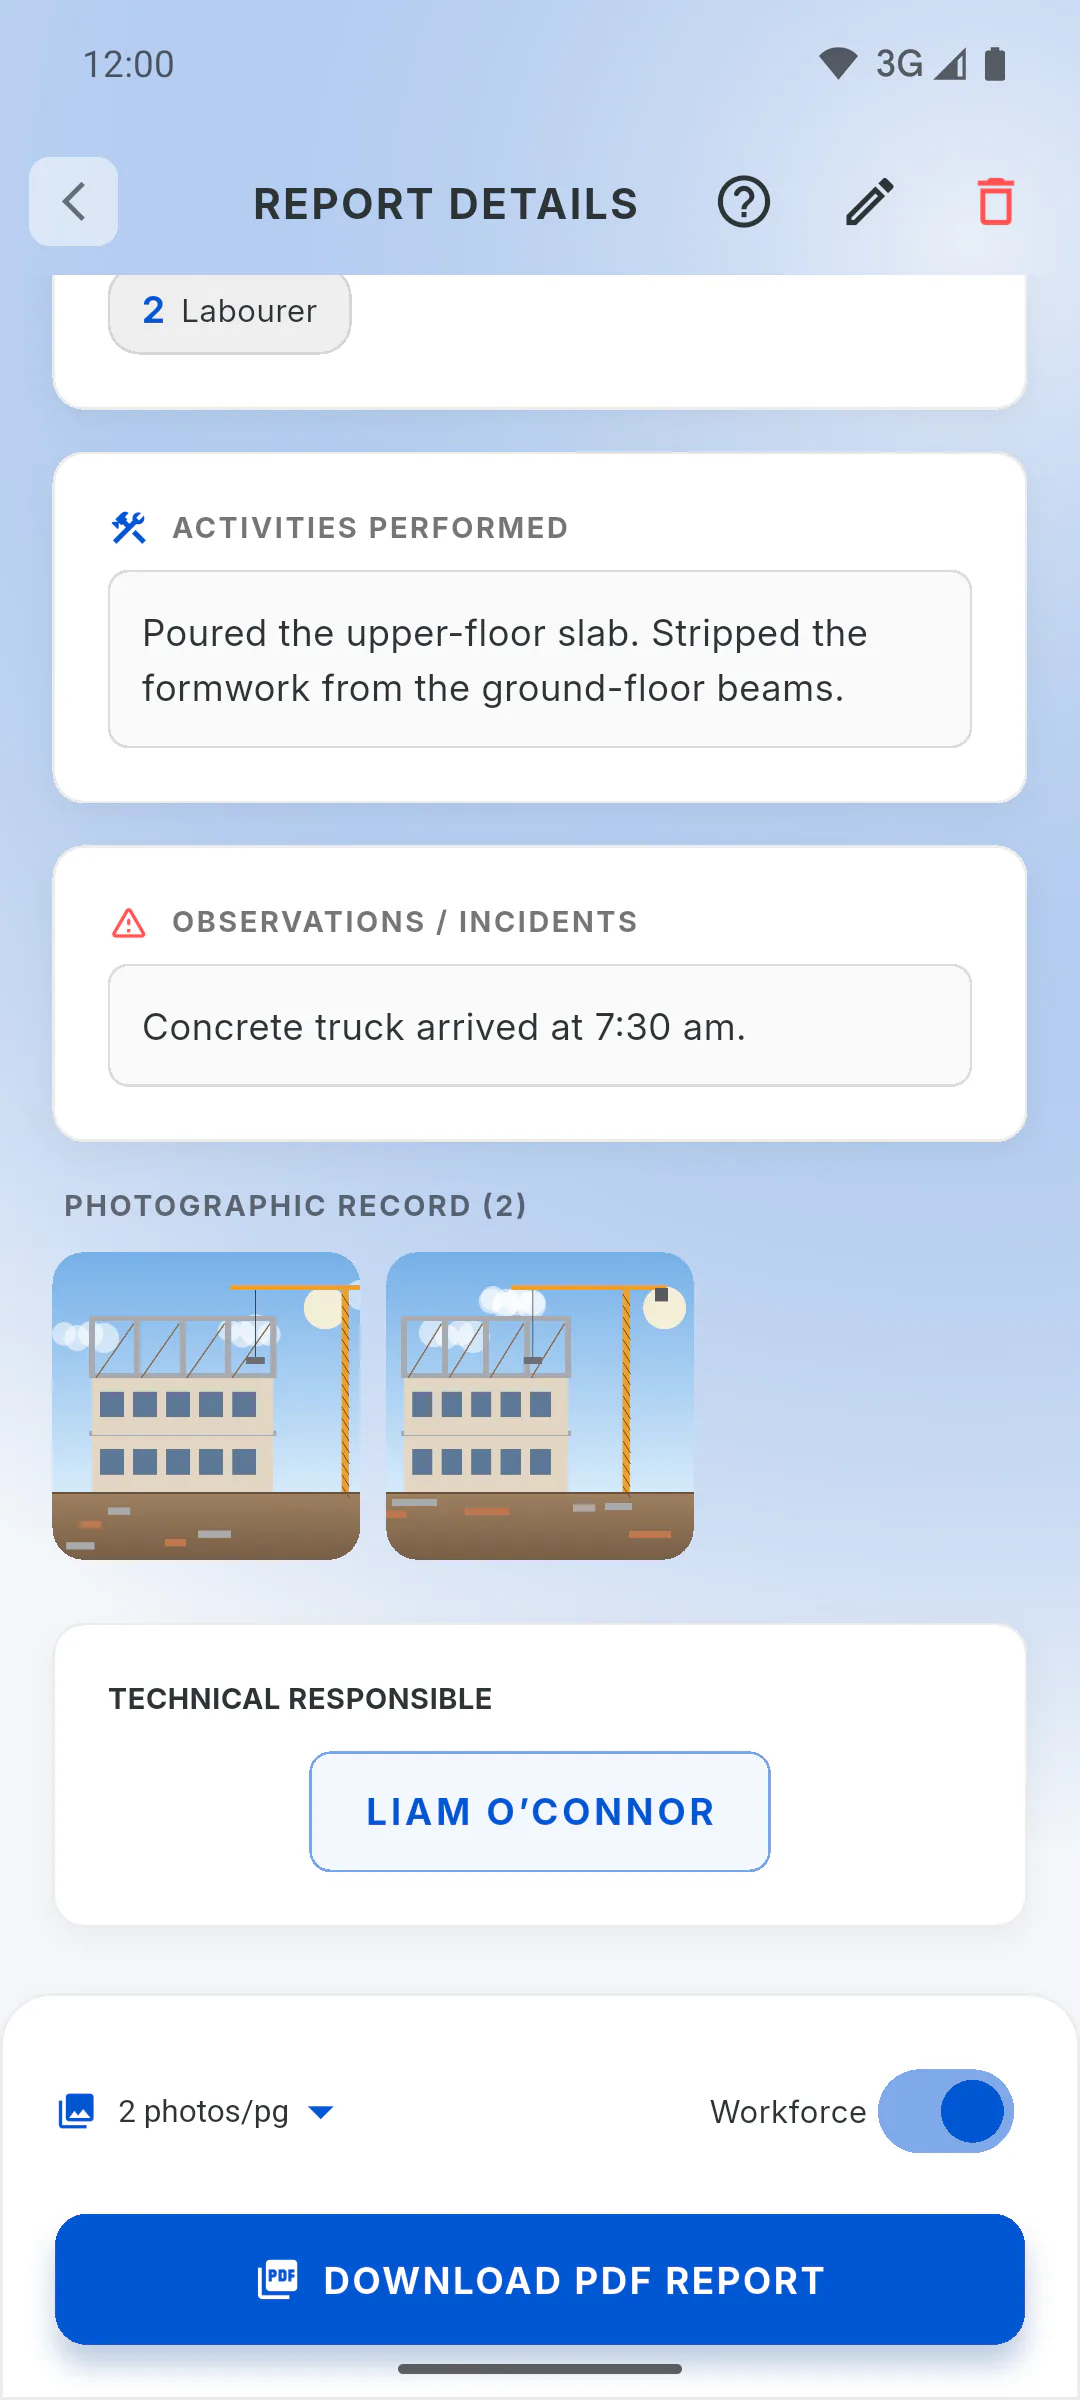
In the saved report, under Photographic Record with the photo count: tap a photo to enlarge it. They also appear in the project's Gallery, on the Technical tab, which shows photos from the 50 most recent reports, and go into the report PDF.
Step 7: Changing photos later
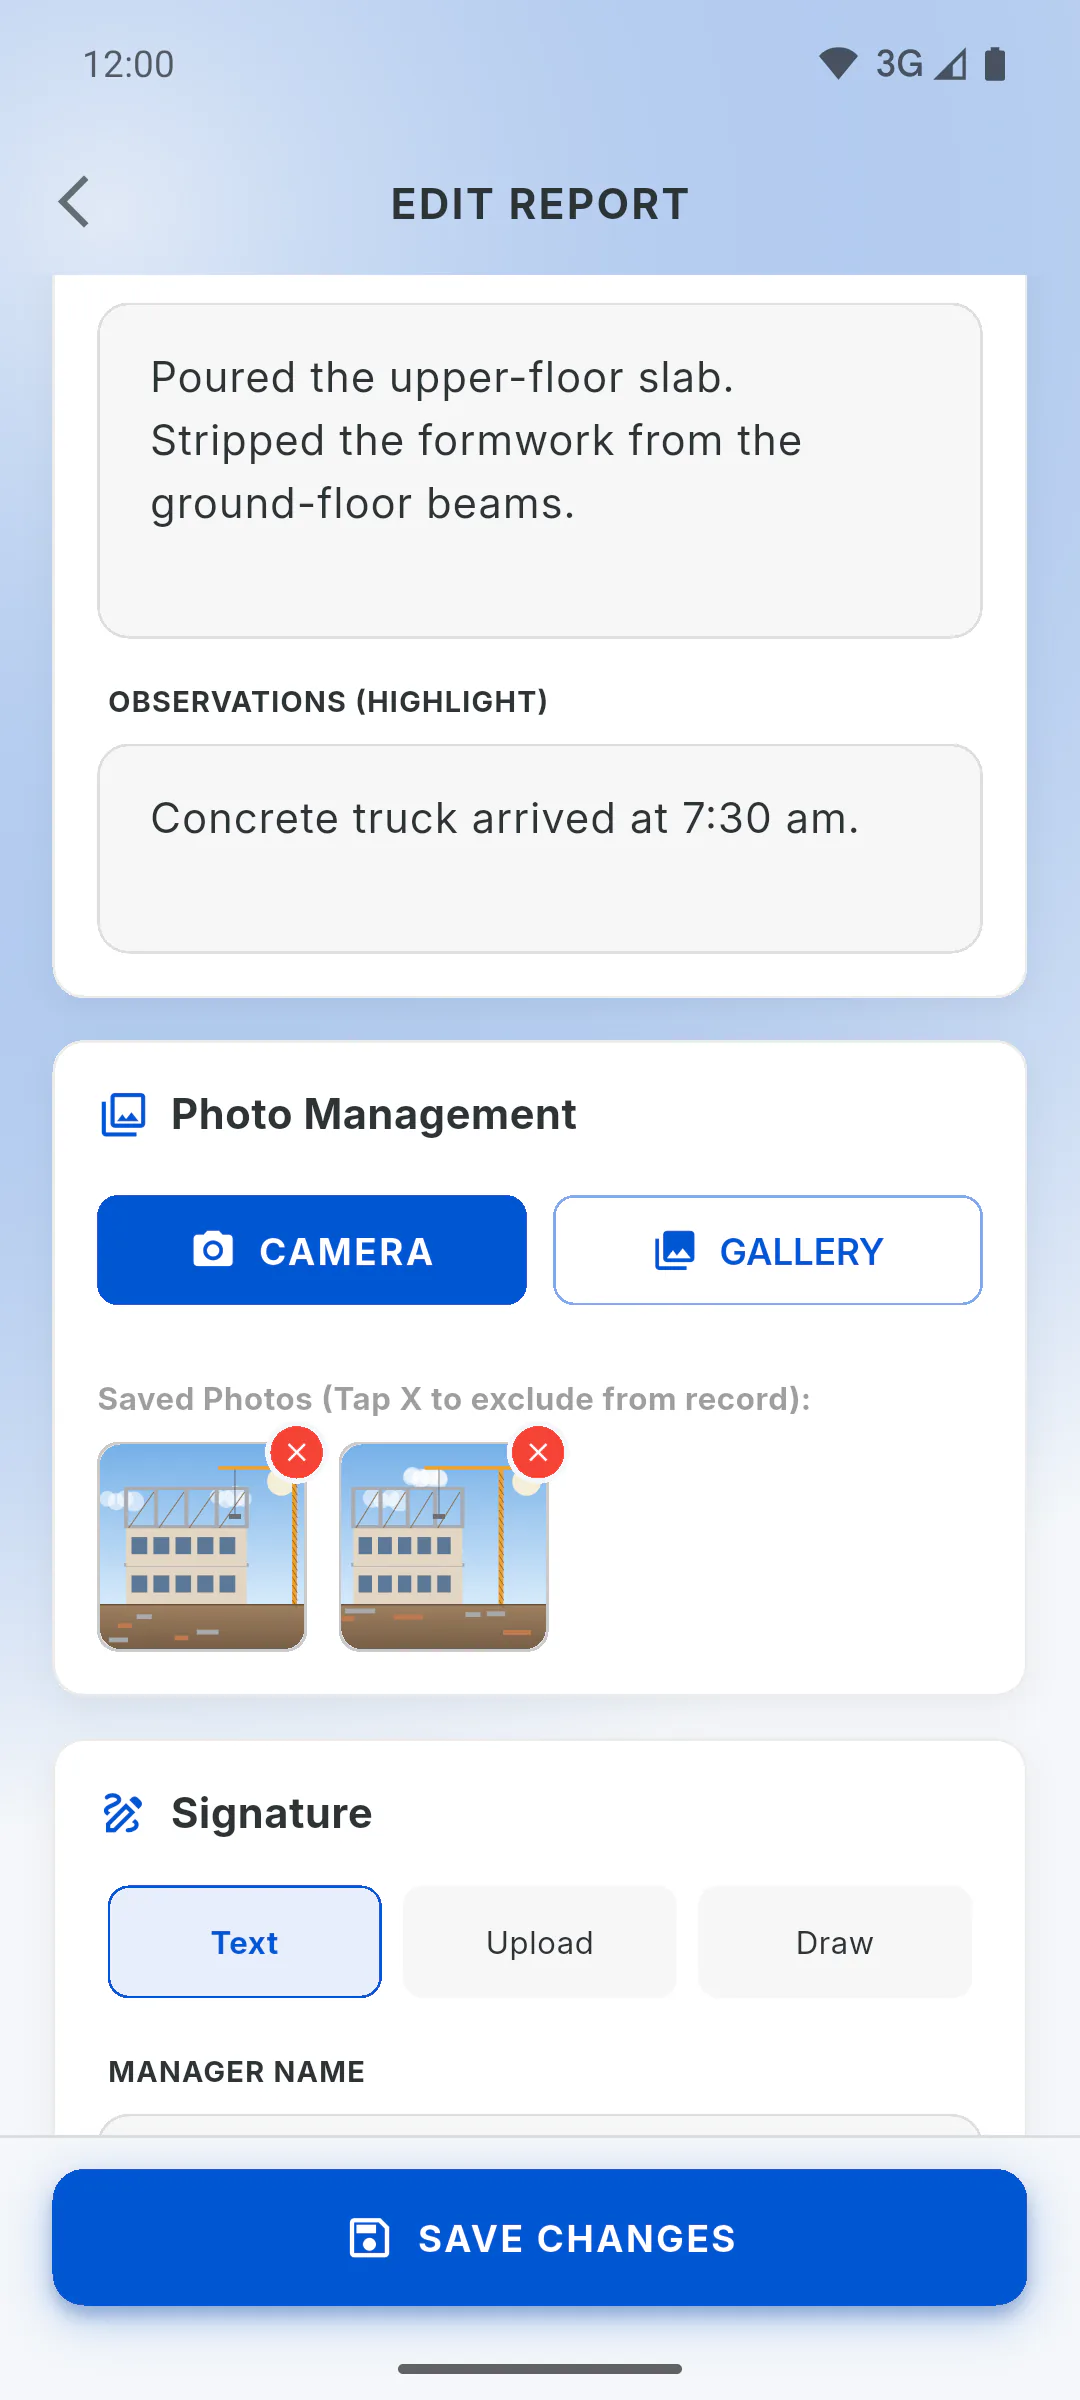
When you edit a report, you can remove photos and add new ones. There's no 20-photo limit there, but the report PDF includes 20 photos at most.
How to add photos to a daily report (up to 20)
Take photos on the spot or pick them from your mobile's gallery, up to 20 per report. See where they show up and how much space they use.
For managers and team members7 steps
Didn't find what you were looking for?
Chat with support on WhatsApp or raise a ticket in the app.