
Step 1: Open a new stage
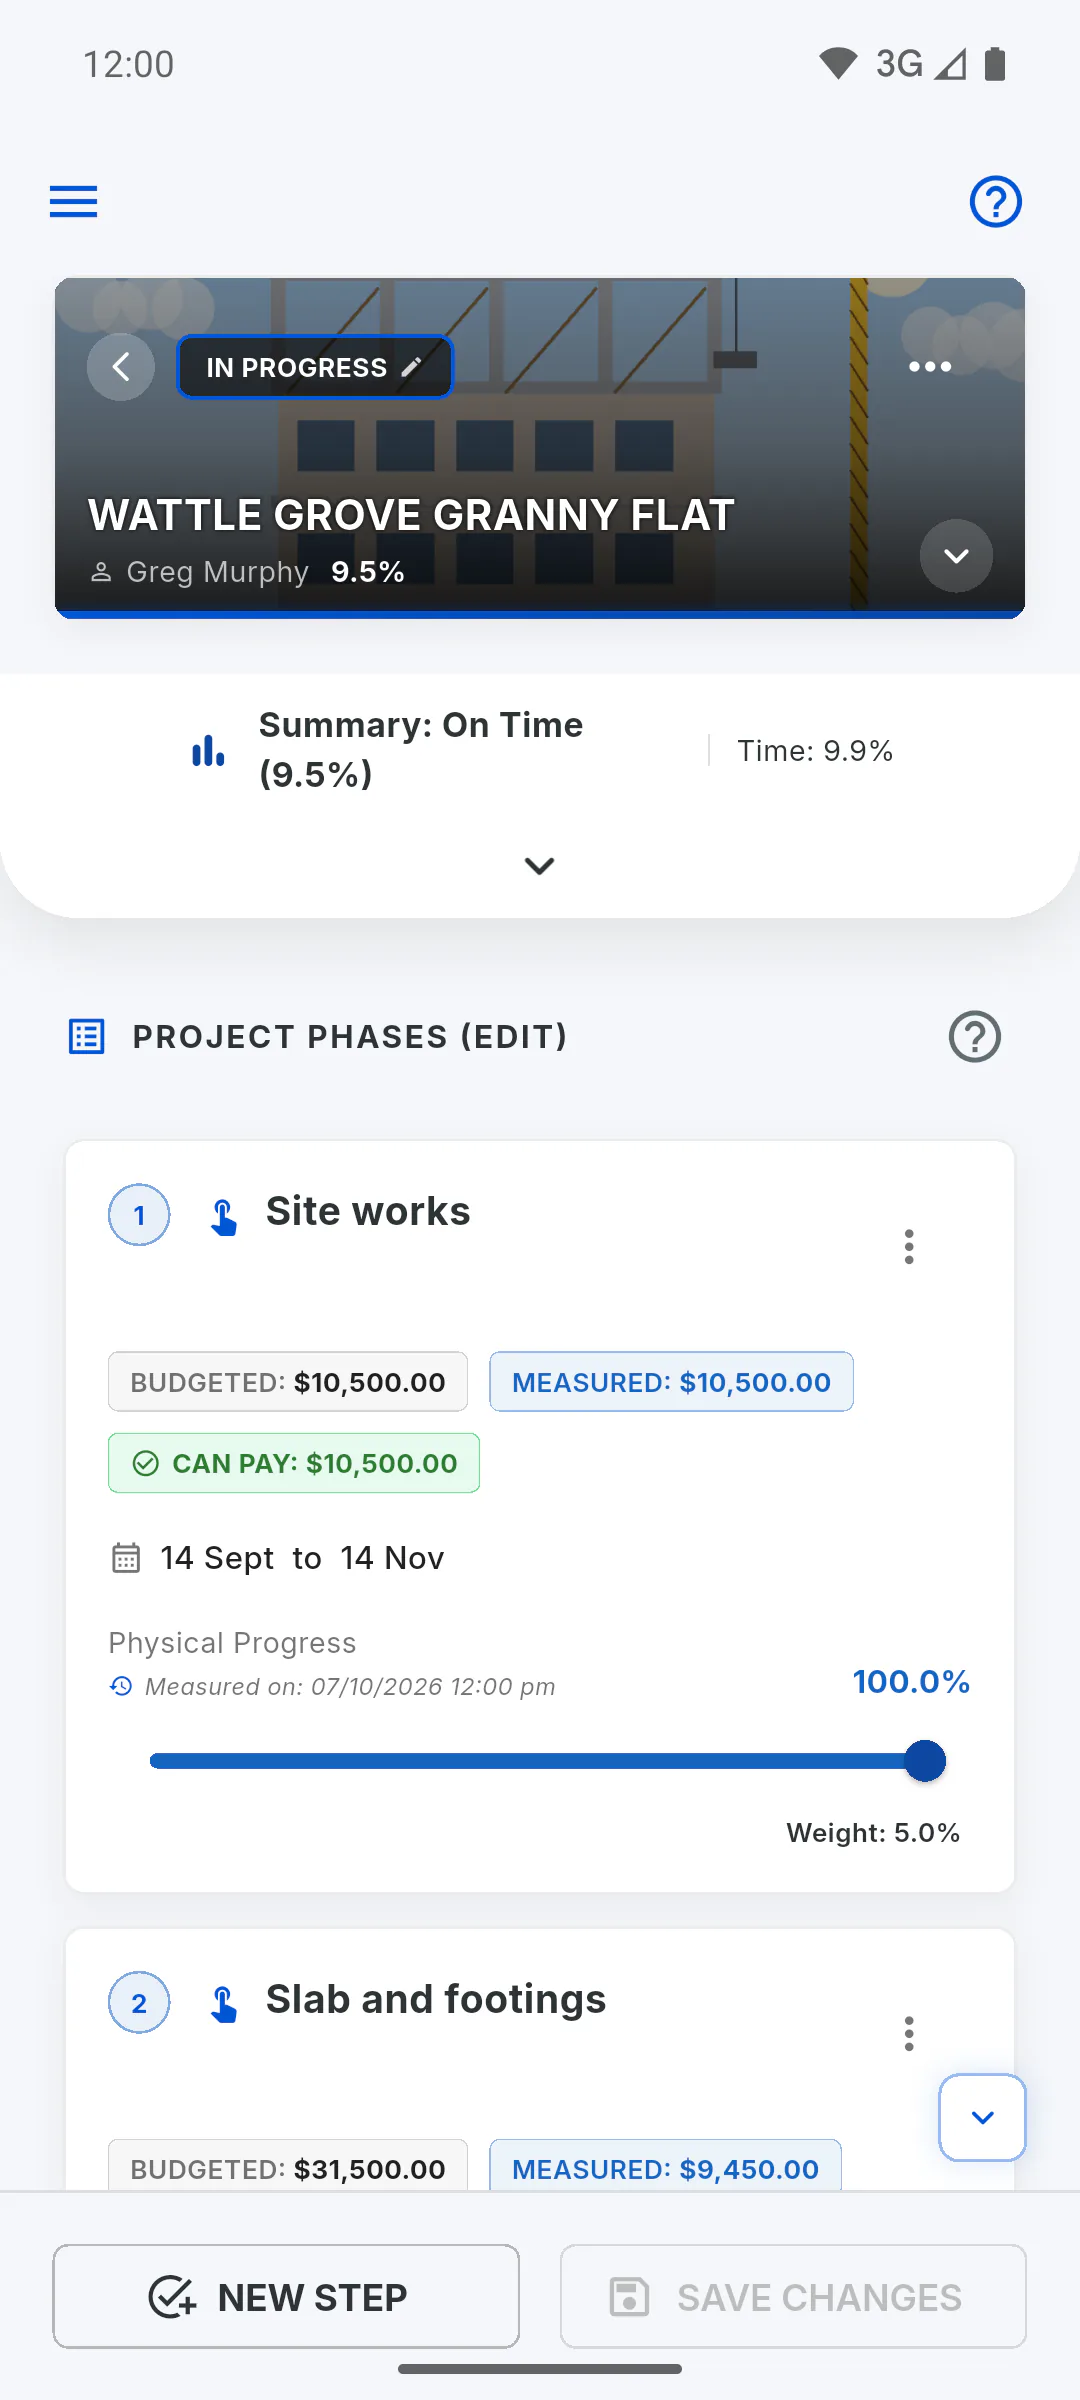
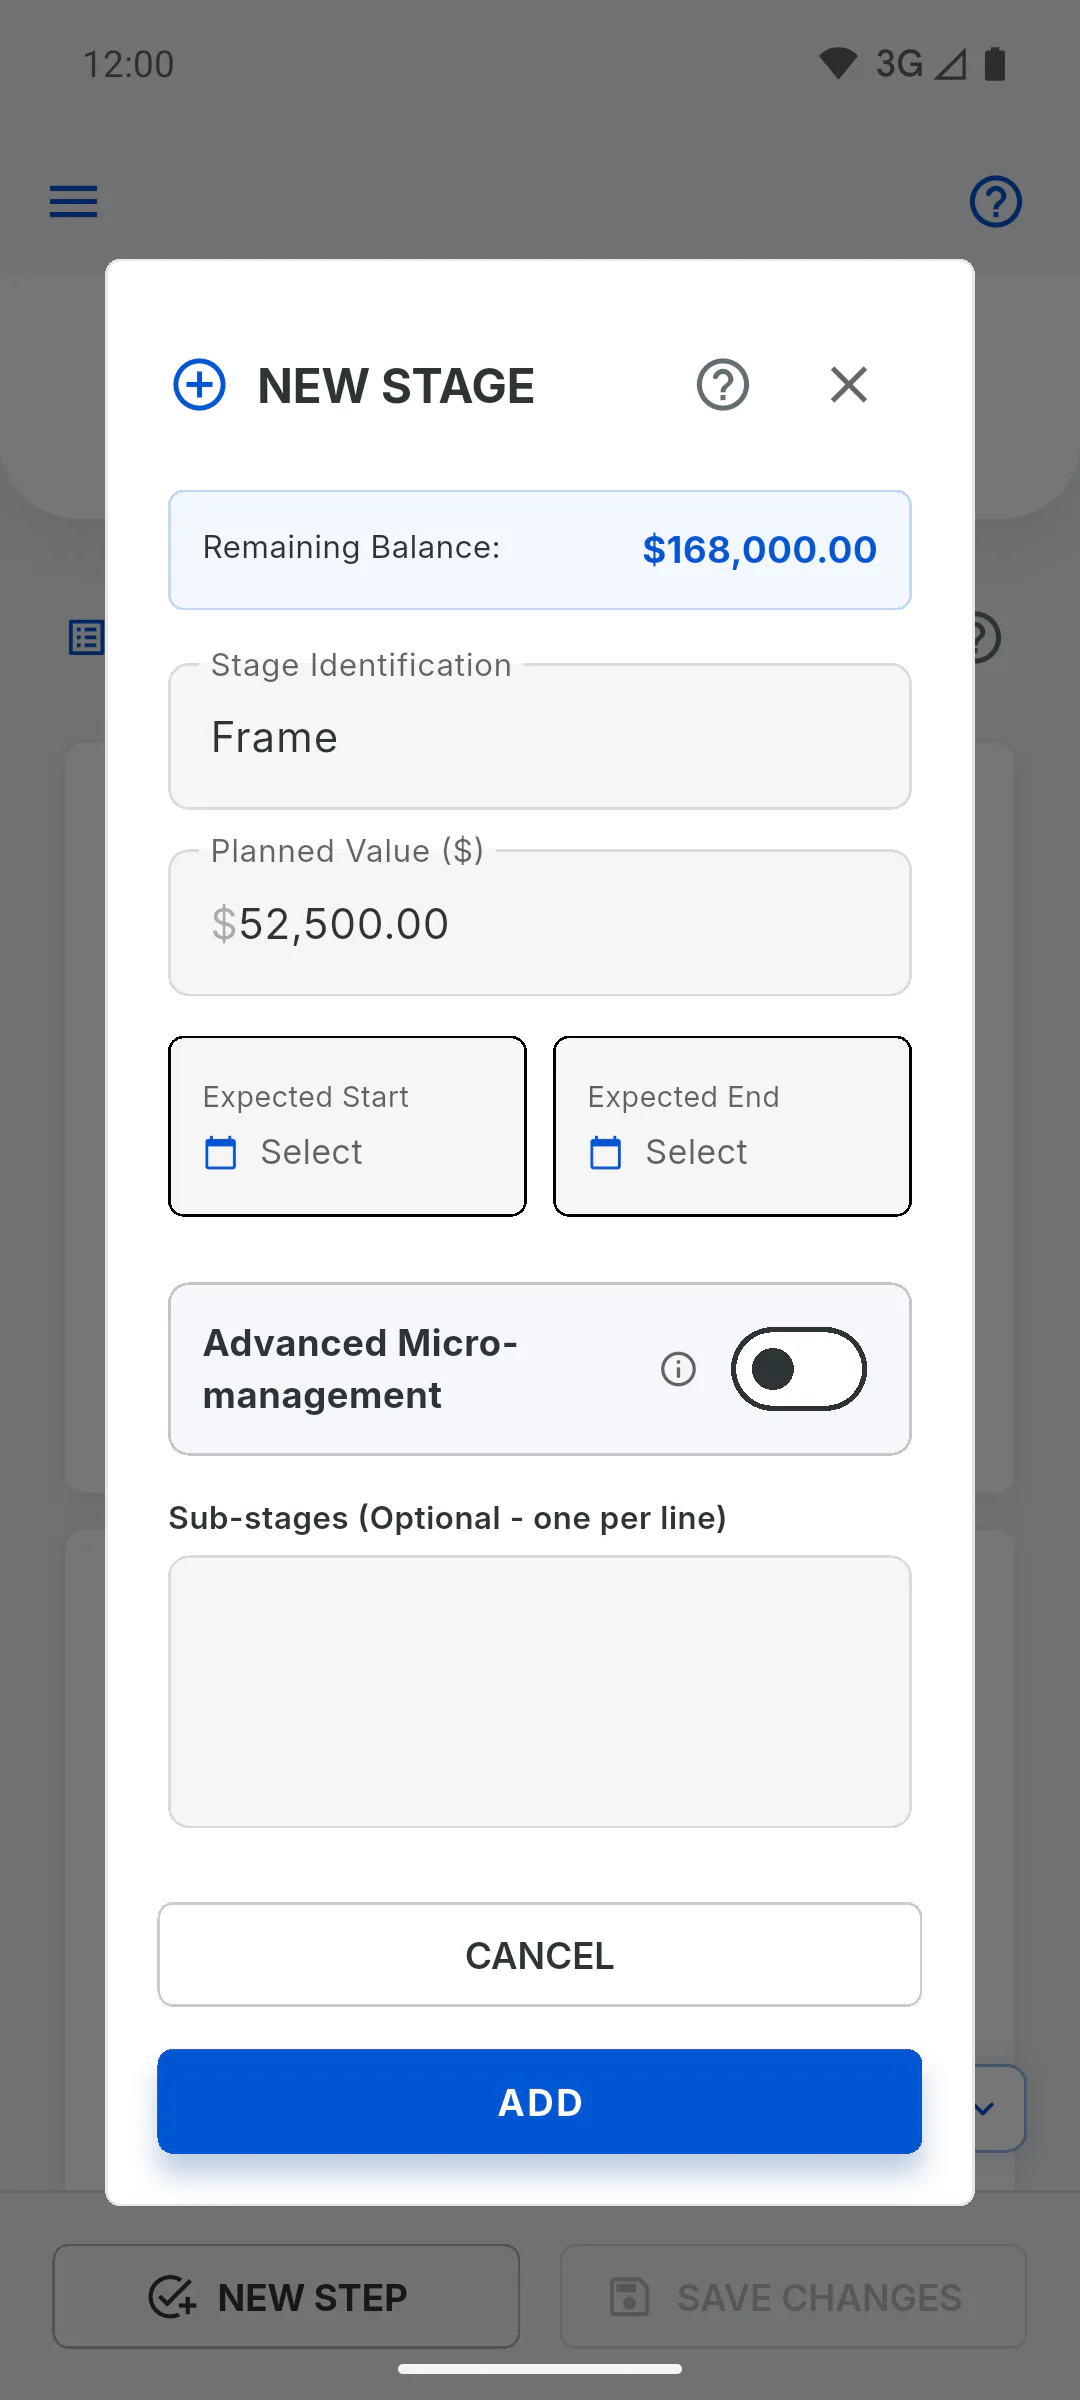
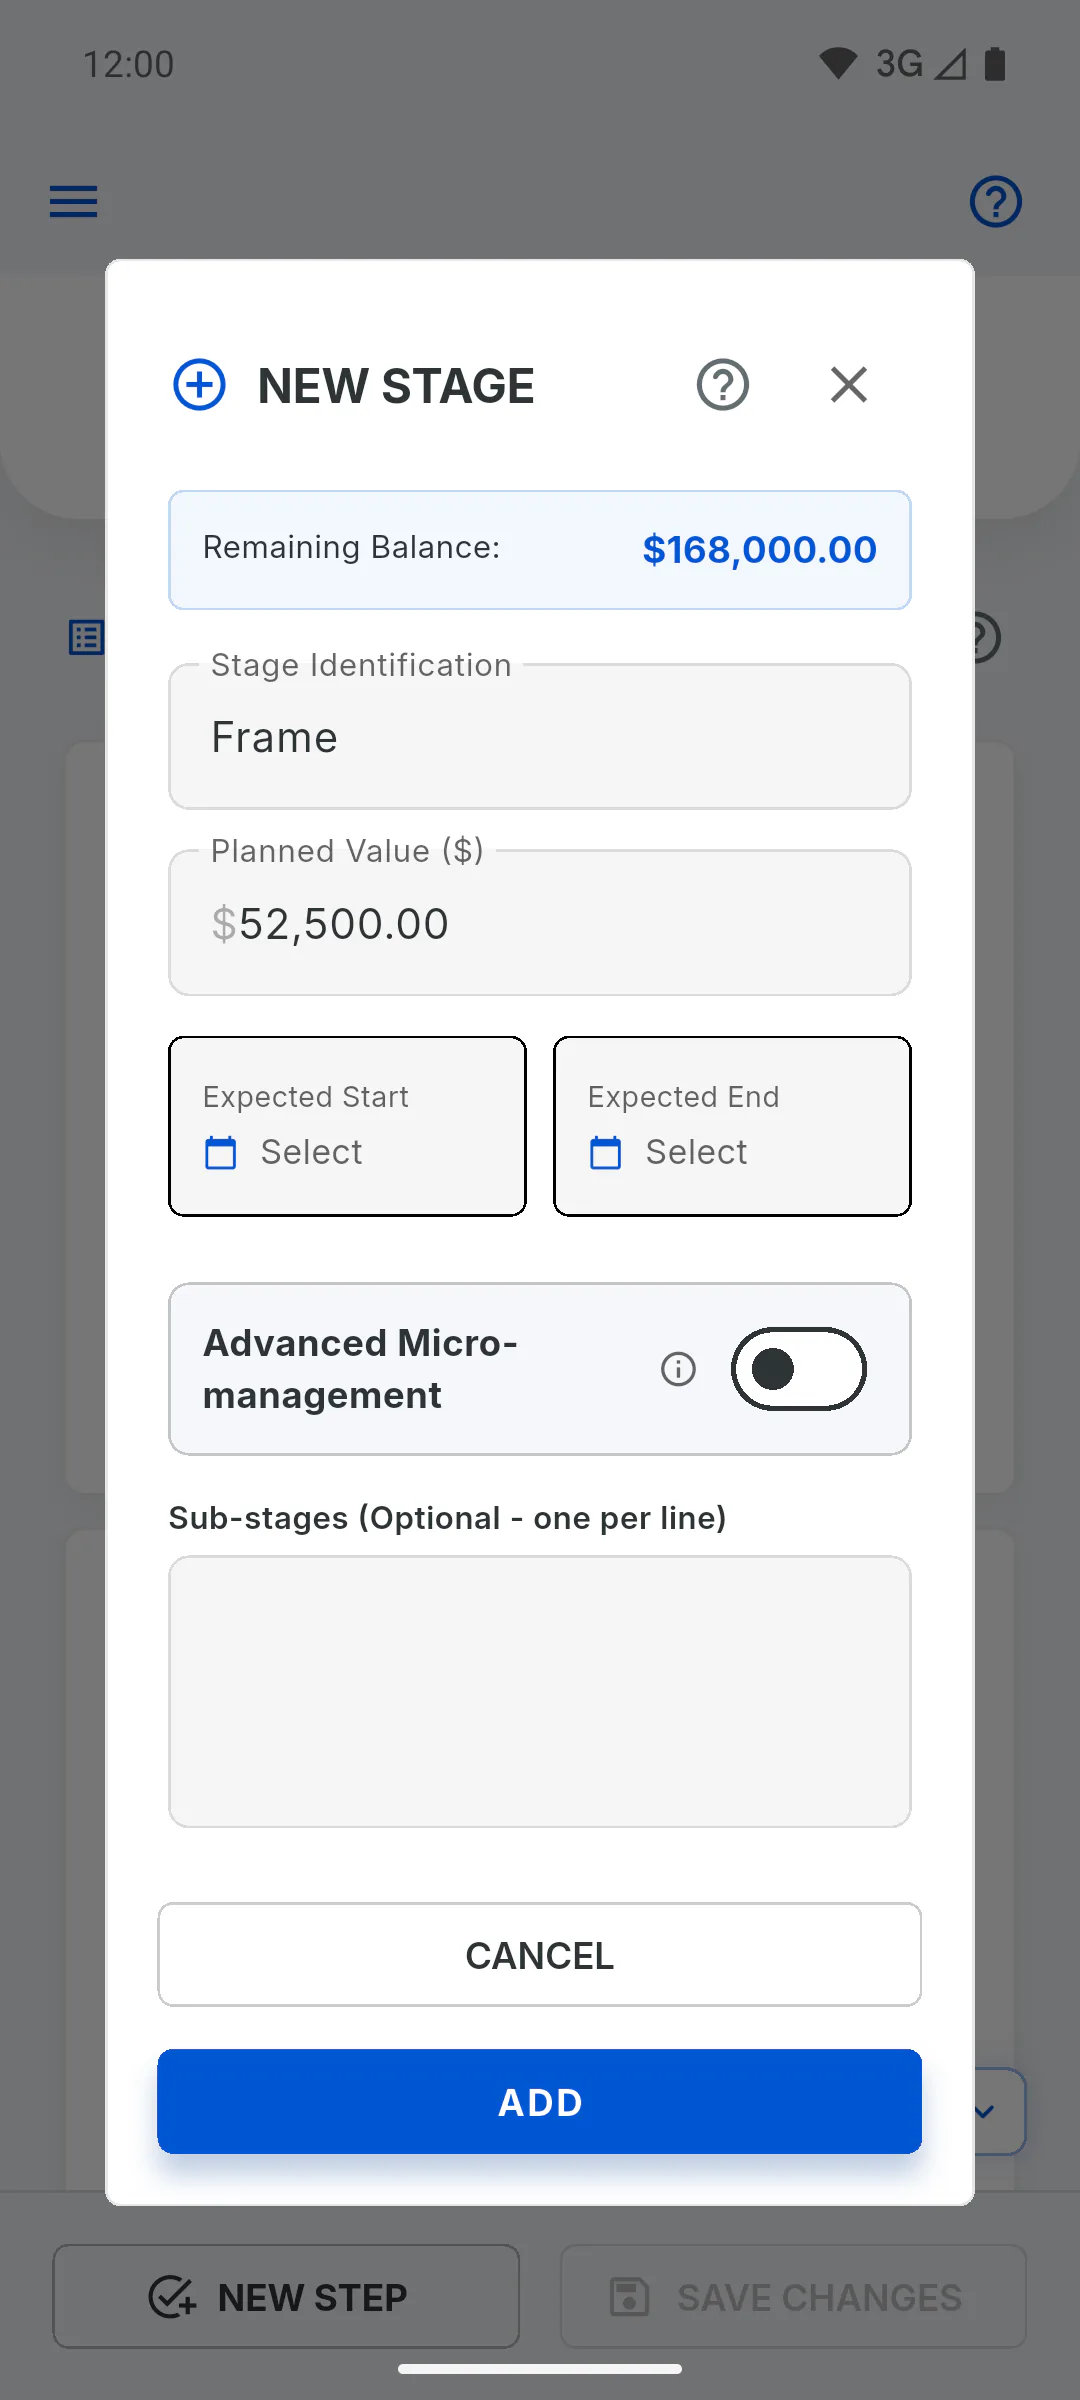
Open the project on Schedule and tap New Step on the bottom bar. The New Stage window opens. Only people who manage the project (the owner and an invited engineer) can create stages. For invited team members, Schedule appears in the project menu greyed out with a padlock; tapping it opens the Locked feature window, which shows their role on the project and who can use it.
Step 2: Check the balance
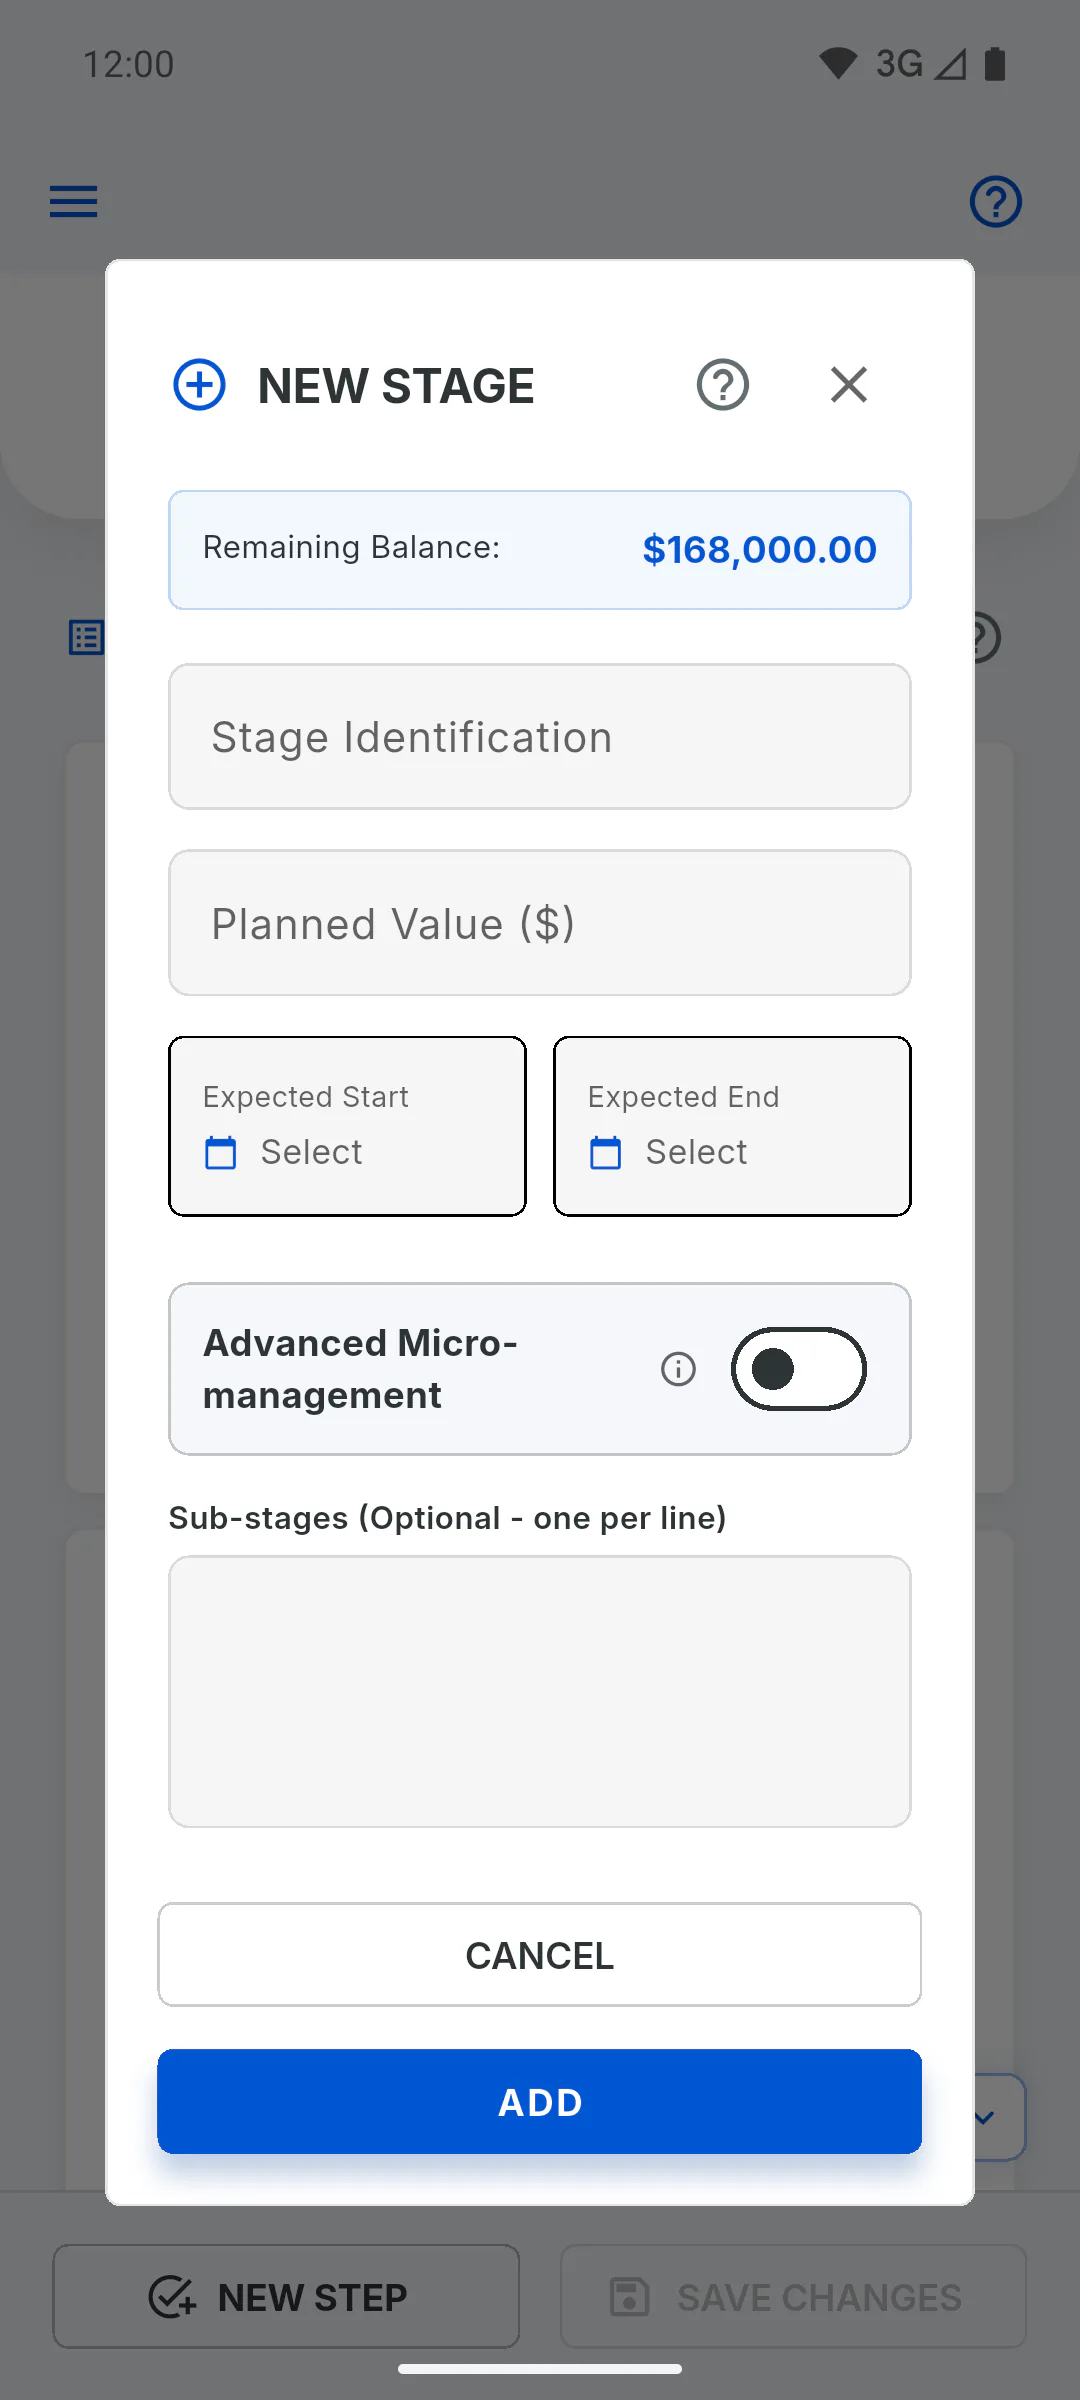
At the top of the window, Remaining Balance: shows how much of the contract value isn't assigned to any stage yet. The new stage has to fit within that balance. If it's zero: Why I can't create a stage
Step 3: Name and value
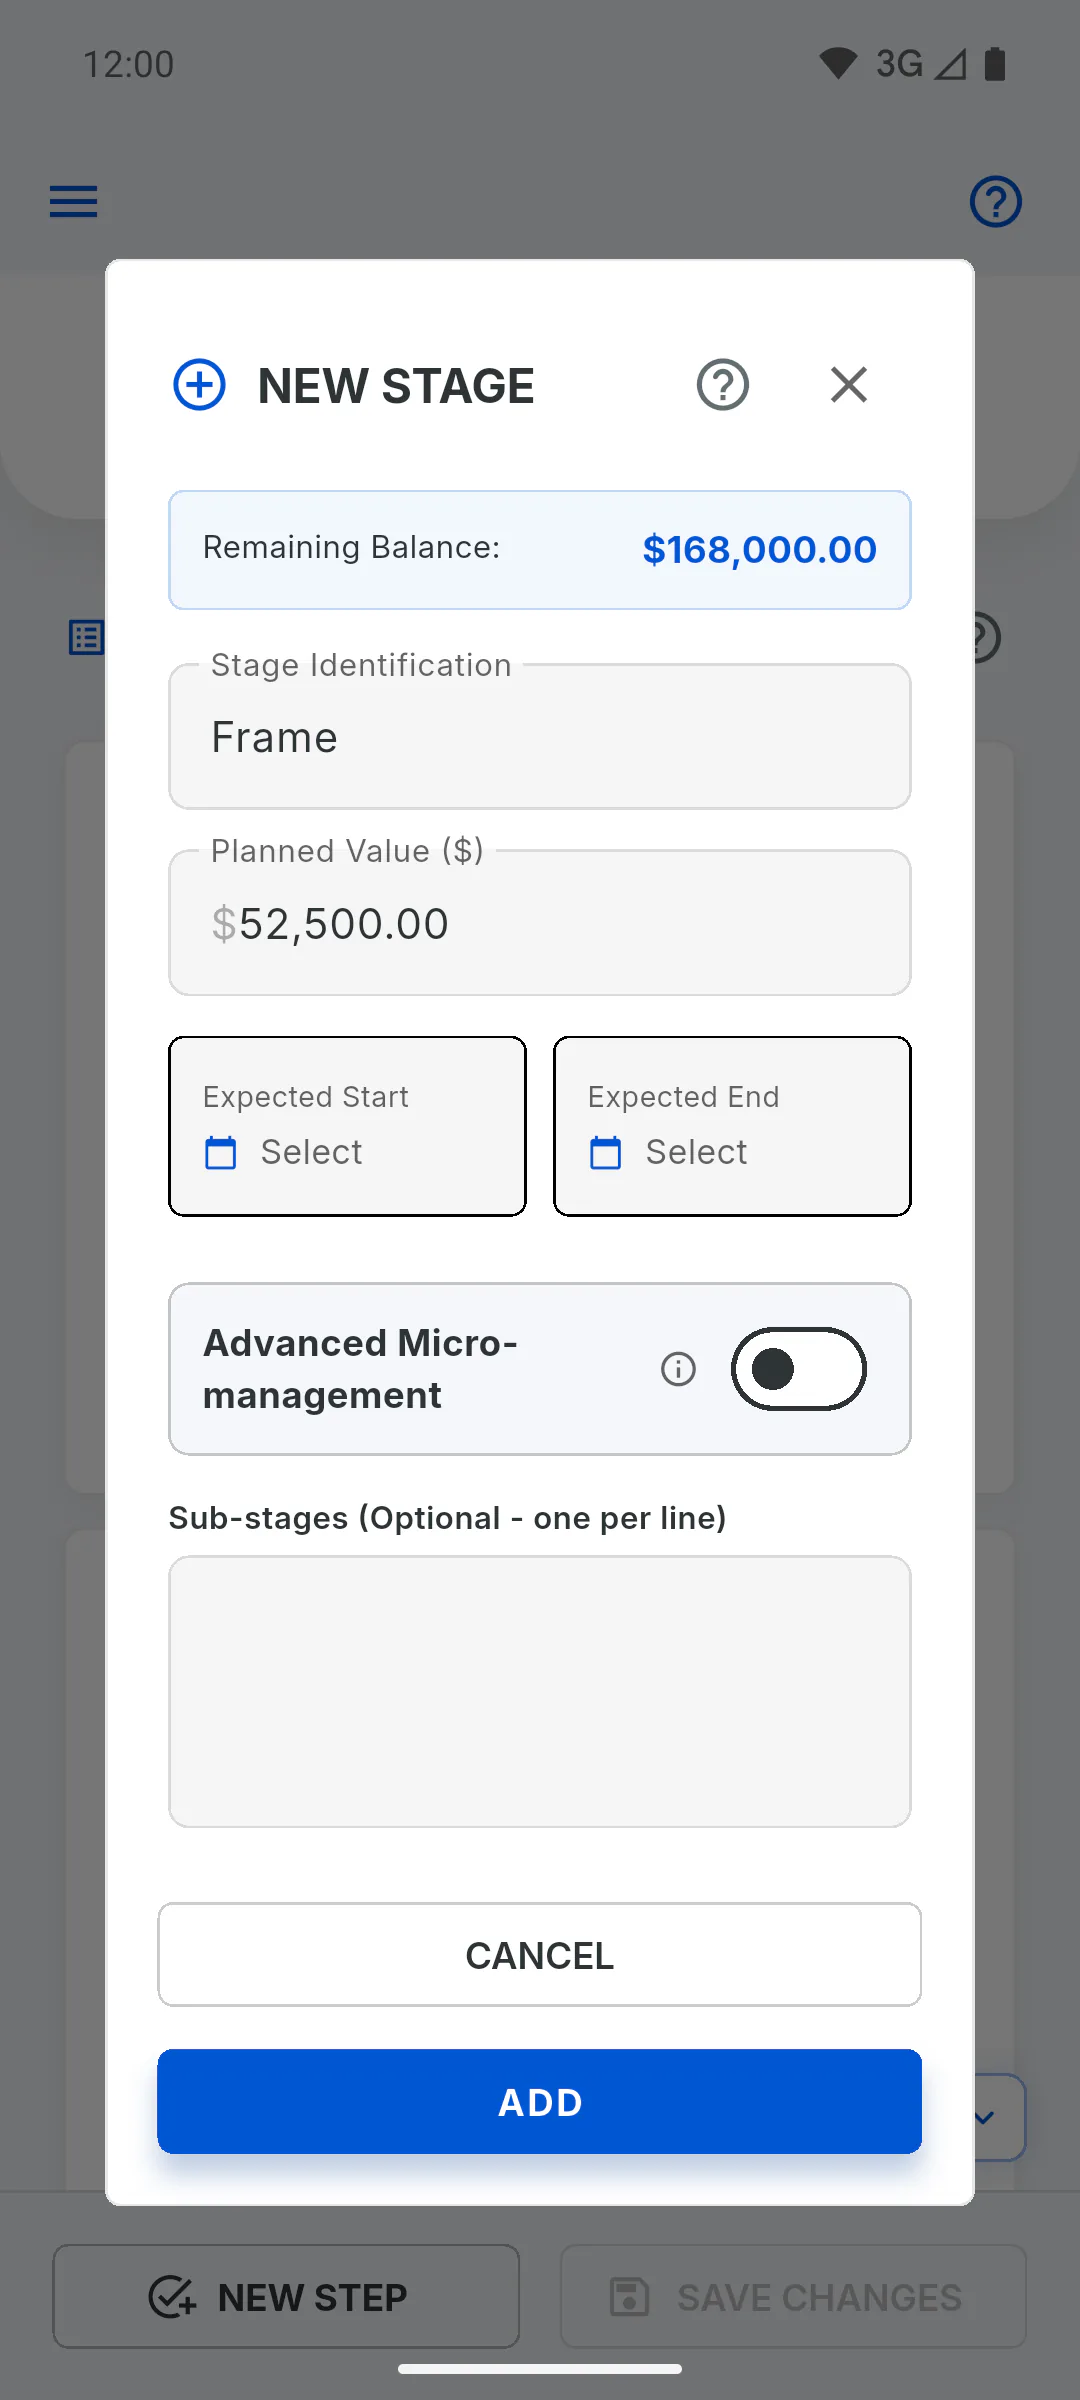
Fill in Stage Identification and Planned Value; both are required. Without them you'll see Fill in the name and value of the main step. If you type more than the balance, the value drops back to the maximum and Balance limit reached. appears. The value also sets the stage's weight in the project's progress.
Step 4: Dates
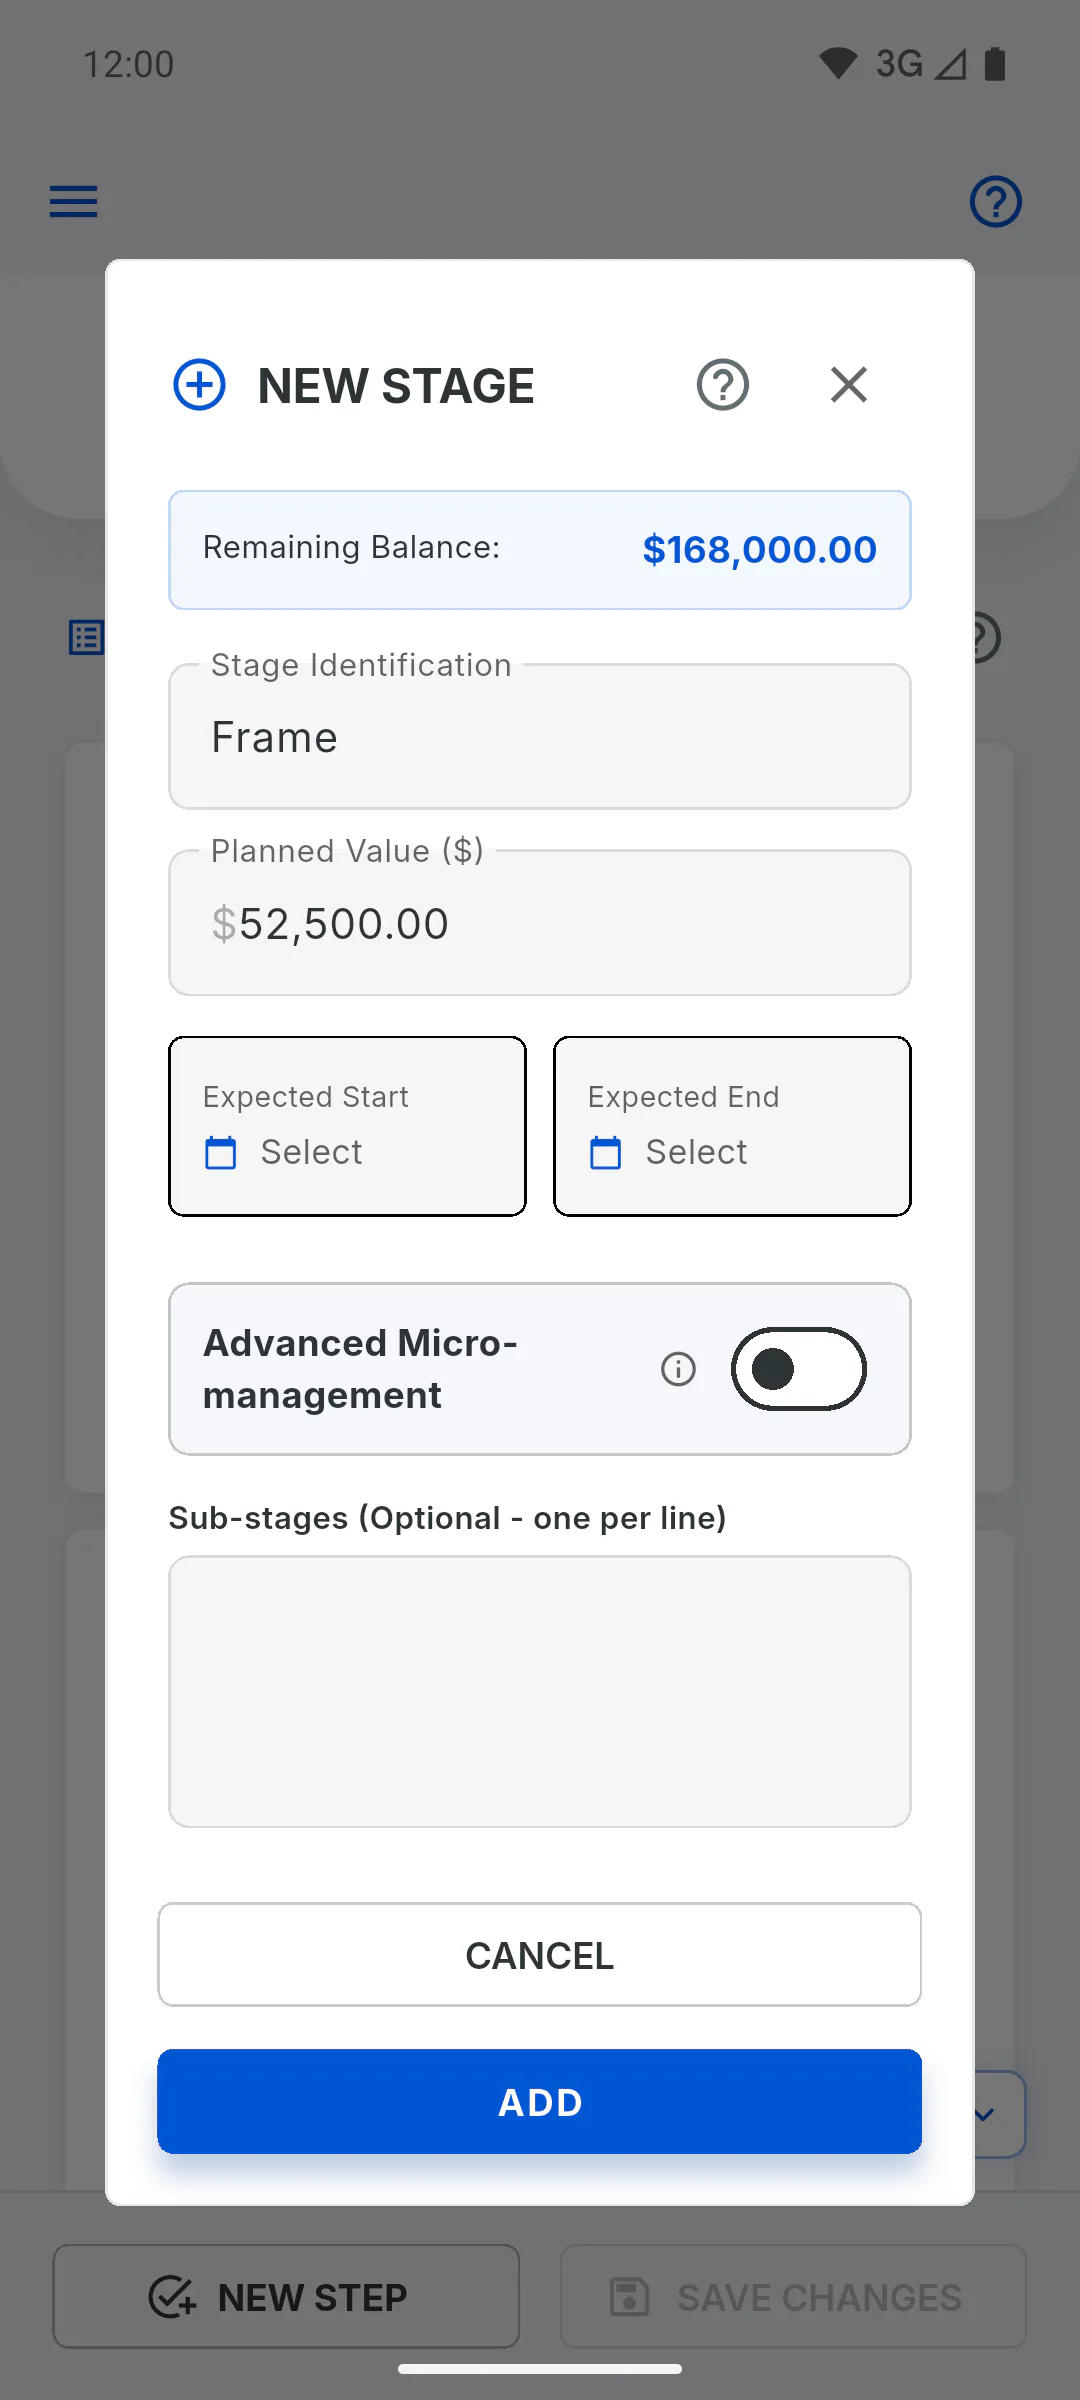
Expected Start and Expected End are optional: tap Select to pick them. If the end falls before the start, the app adjusts the other date. With an Expected End, the stage gets the Delayed label when the date passes and it hasn't reached 100%: What the stage labels mean
Step 5: Sub-stages
In Sub-stages (Optional - one per line), type the parts of the stage, one per line. This list is for reference only and shows in the stage details. To give each part its own weight, dates and progress, turn on Advanced Micro-management: How to use sub-stages with weights and dates
Step 6: Add and save
Tap Add: the stage goes to the end of the list. It's only stored once you tap Save Changes on the bottom bar and see Saved successfully!
- If you close the window after filling something in, the app shows Unsaved changes: Discard drops the stage and Save and exit adds it.
How to create a schedule stage
Create a stage with a name, value, dates and sub-stages, within the contract balance, and save the schedule.
For managers6 steps
Didn't find what you were looking for?
Chat with support on WhatsApp or raise a ticket in the app.