
Step 1: Open the occurrence
In Occurrences, tap the occurrence to open Occurrence Details. While it's Open, the Resolution Panel card appears below the description. The project owner, the engineer and team members can resolve it; clients can't.
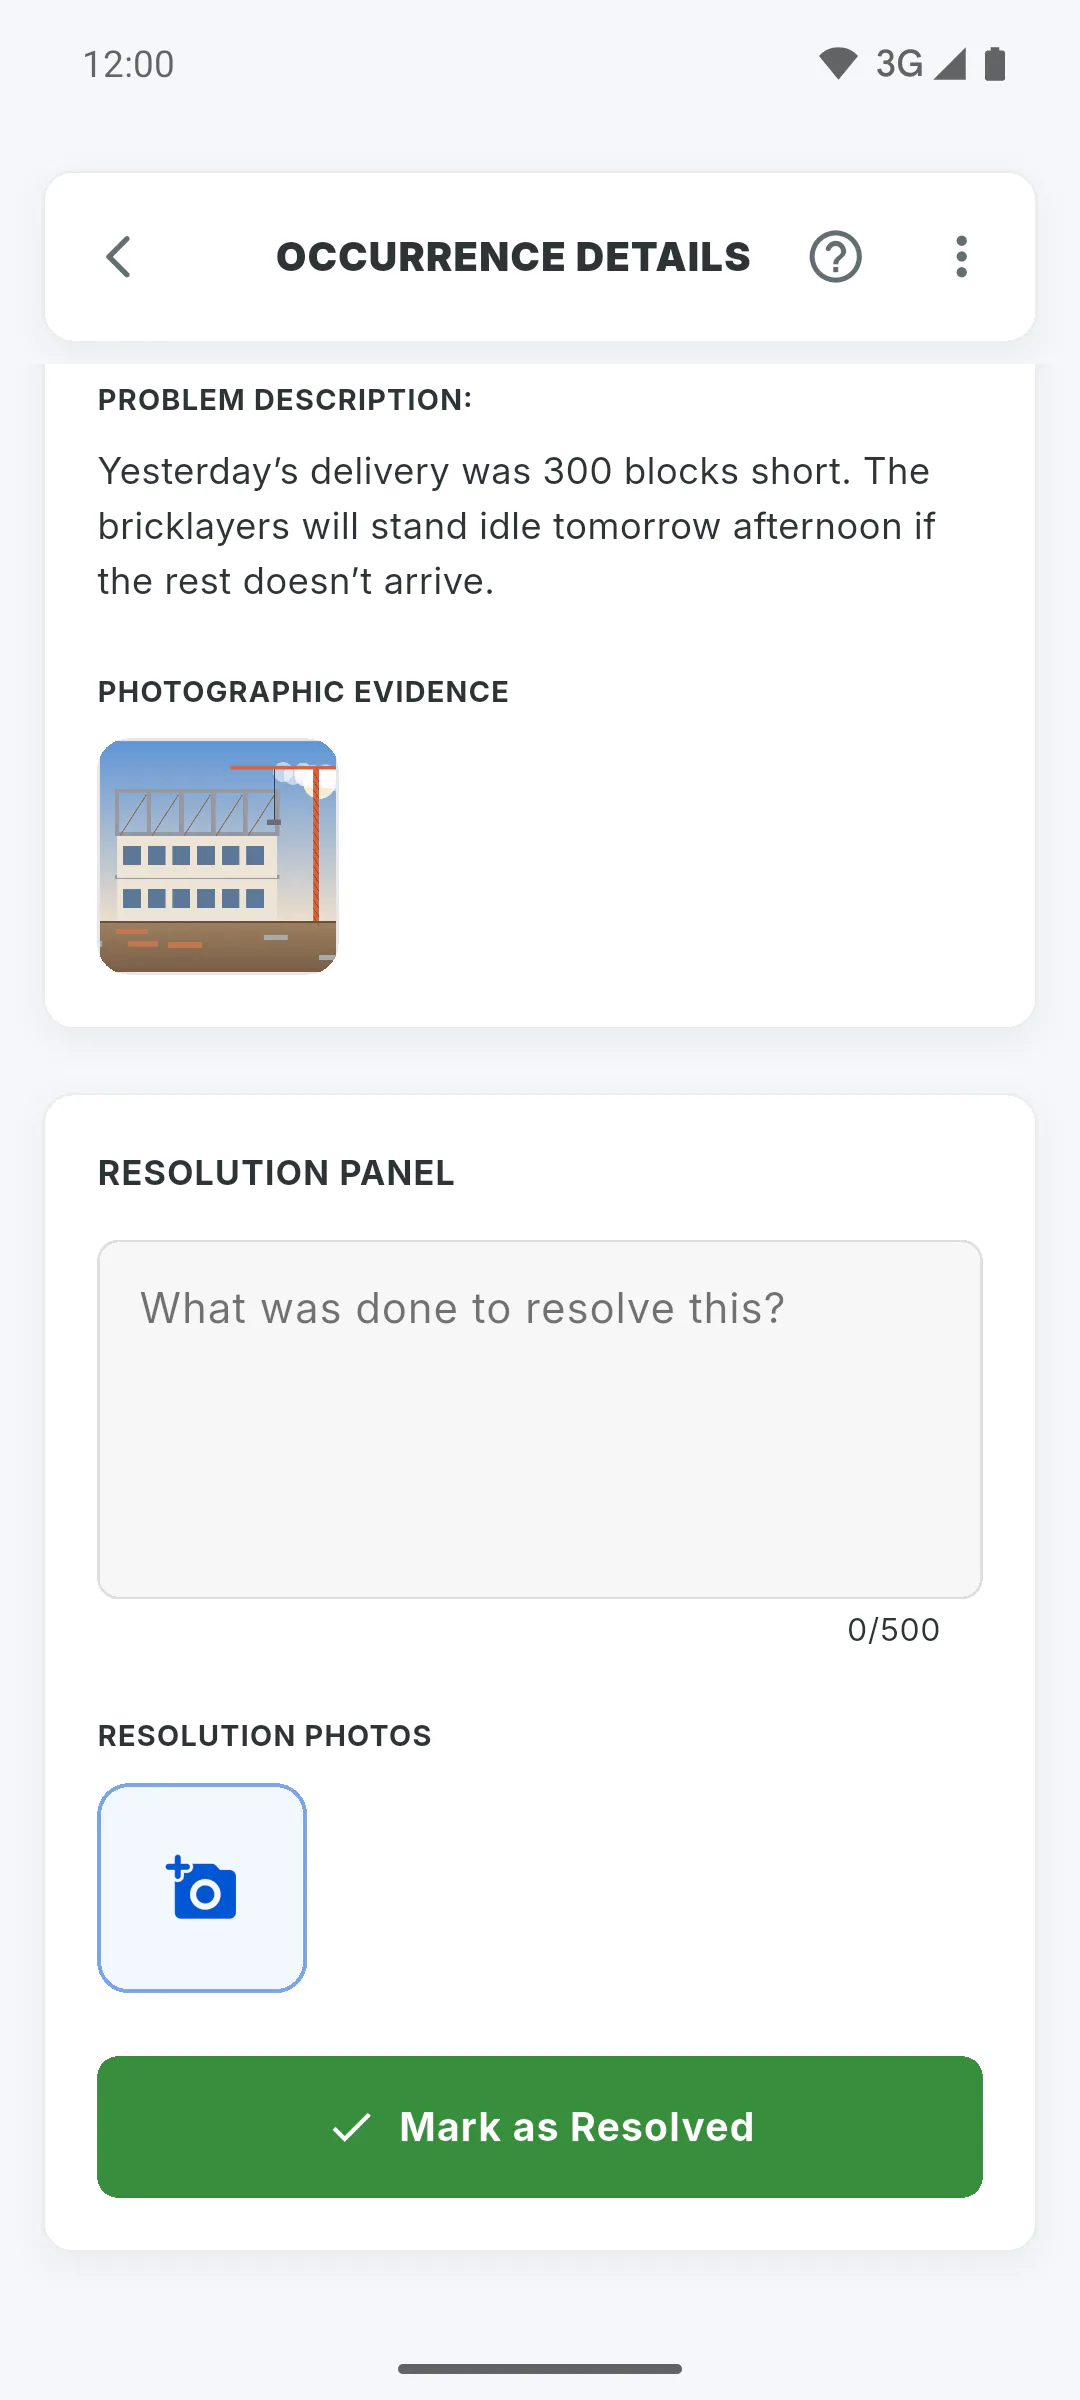
Step 2: Describe the fix
Under What was done to resolve this?, write what was done. The field is required and takes up to 500 characters. If you leave it empty, you'll see Please describe the solution.
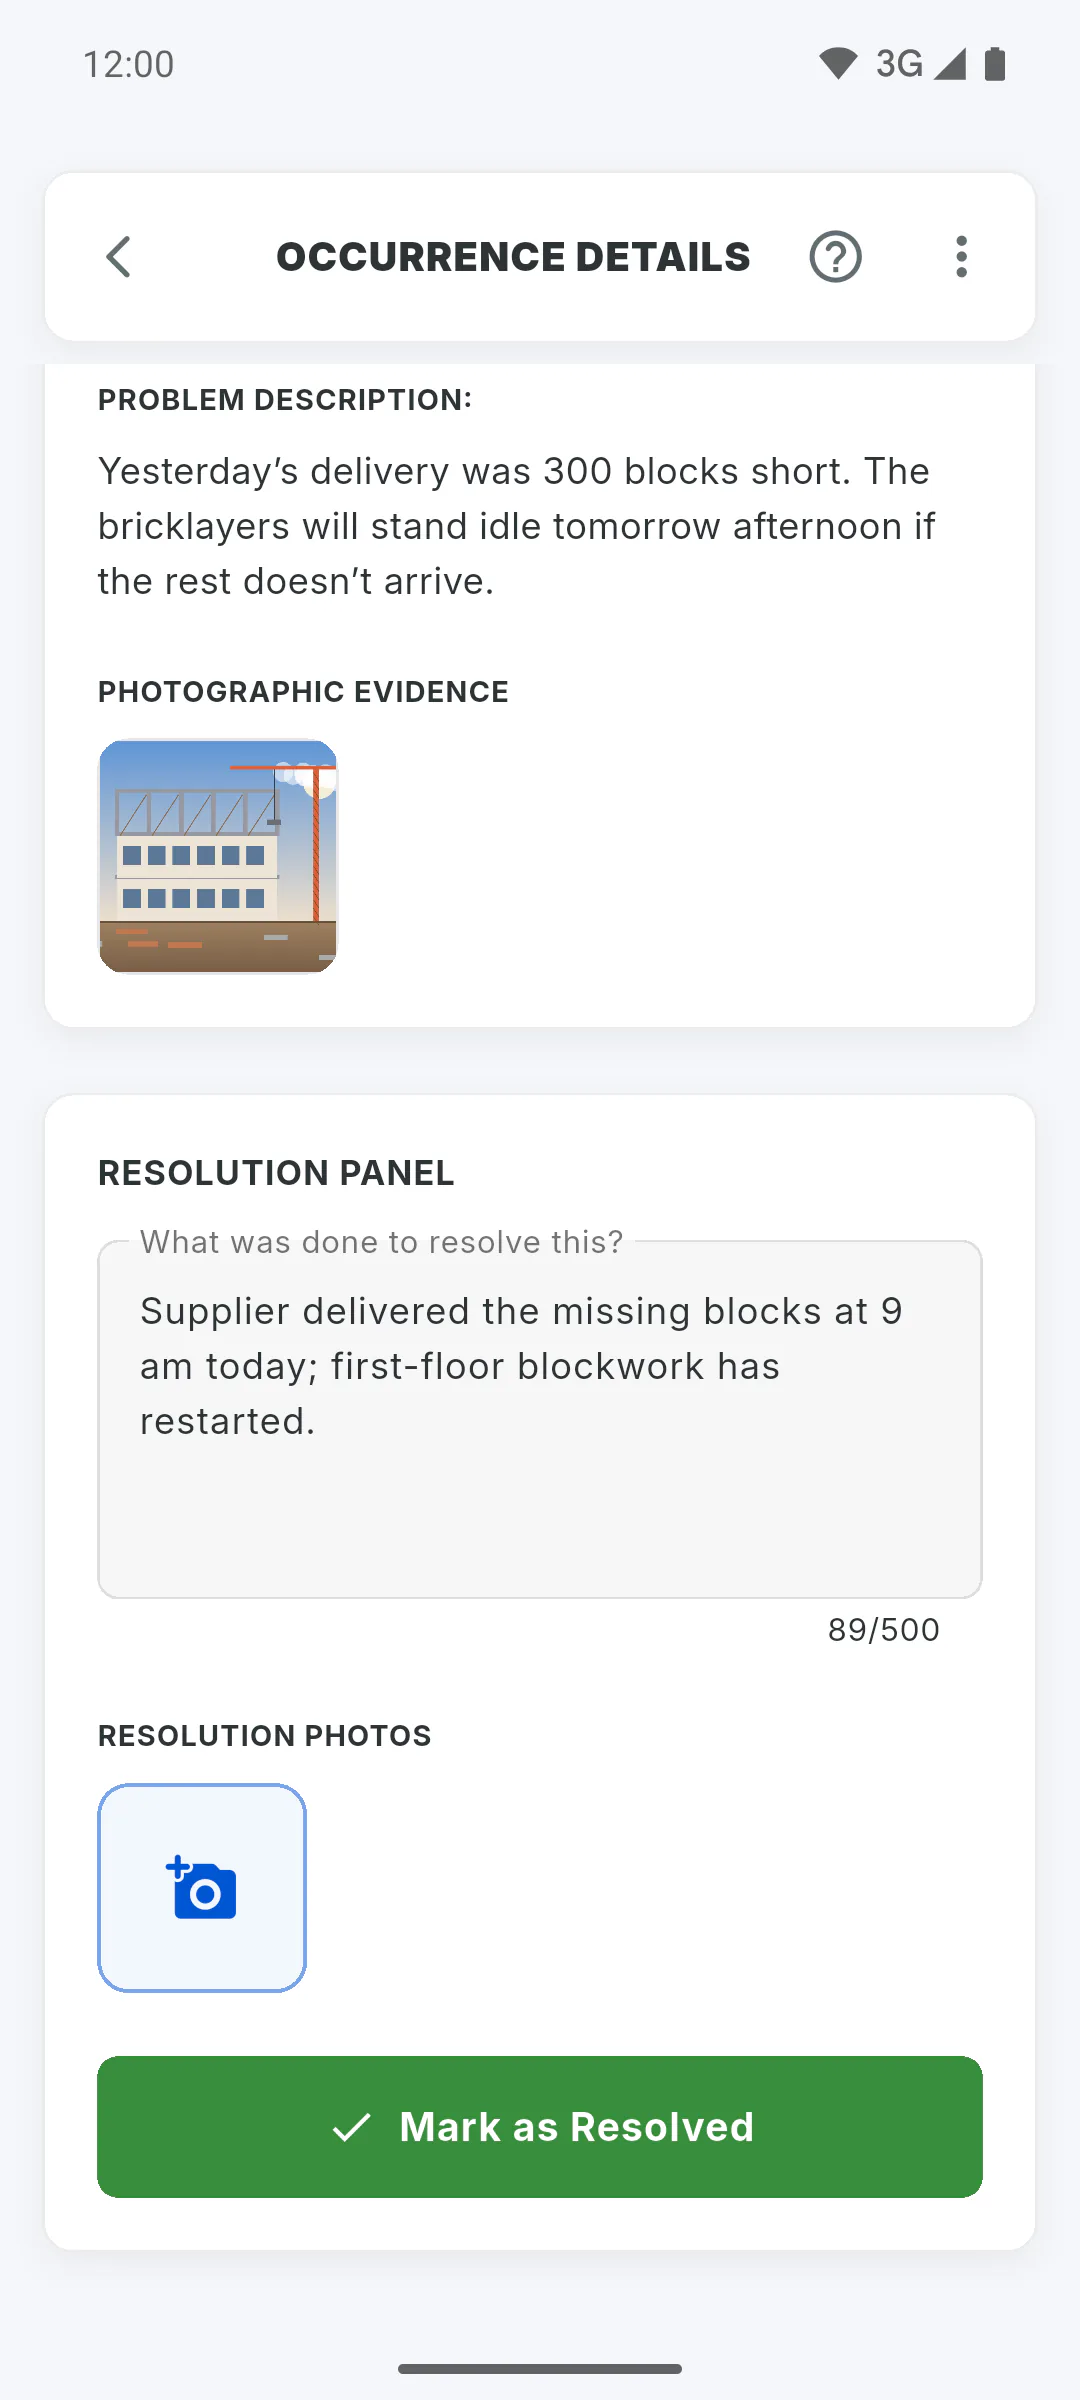
Step 3: Add photos of the fix
Under Resolution Photos, tap the square with the camera and choose Take Photo (Camera) or Choose from Gallery. Tap the red X to remove a photo. Photos are optional and count towards your account storage.
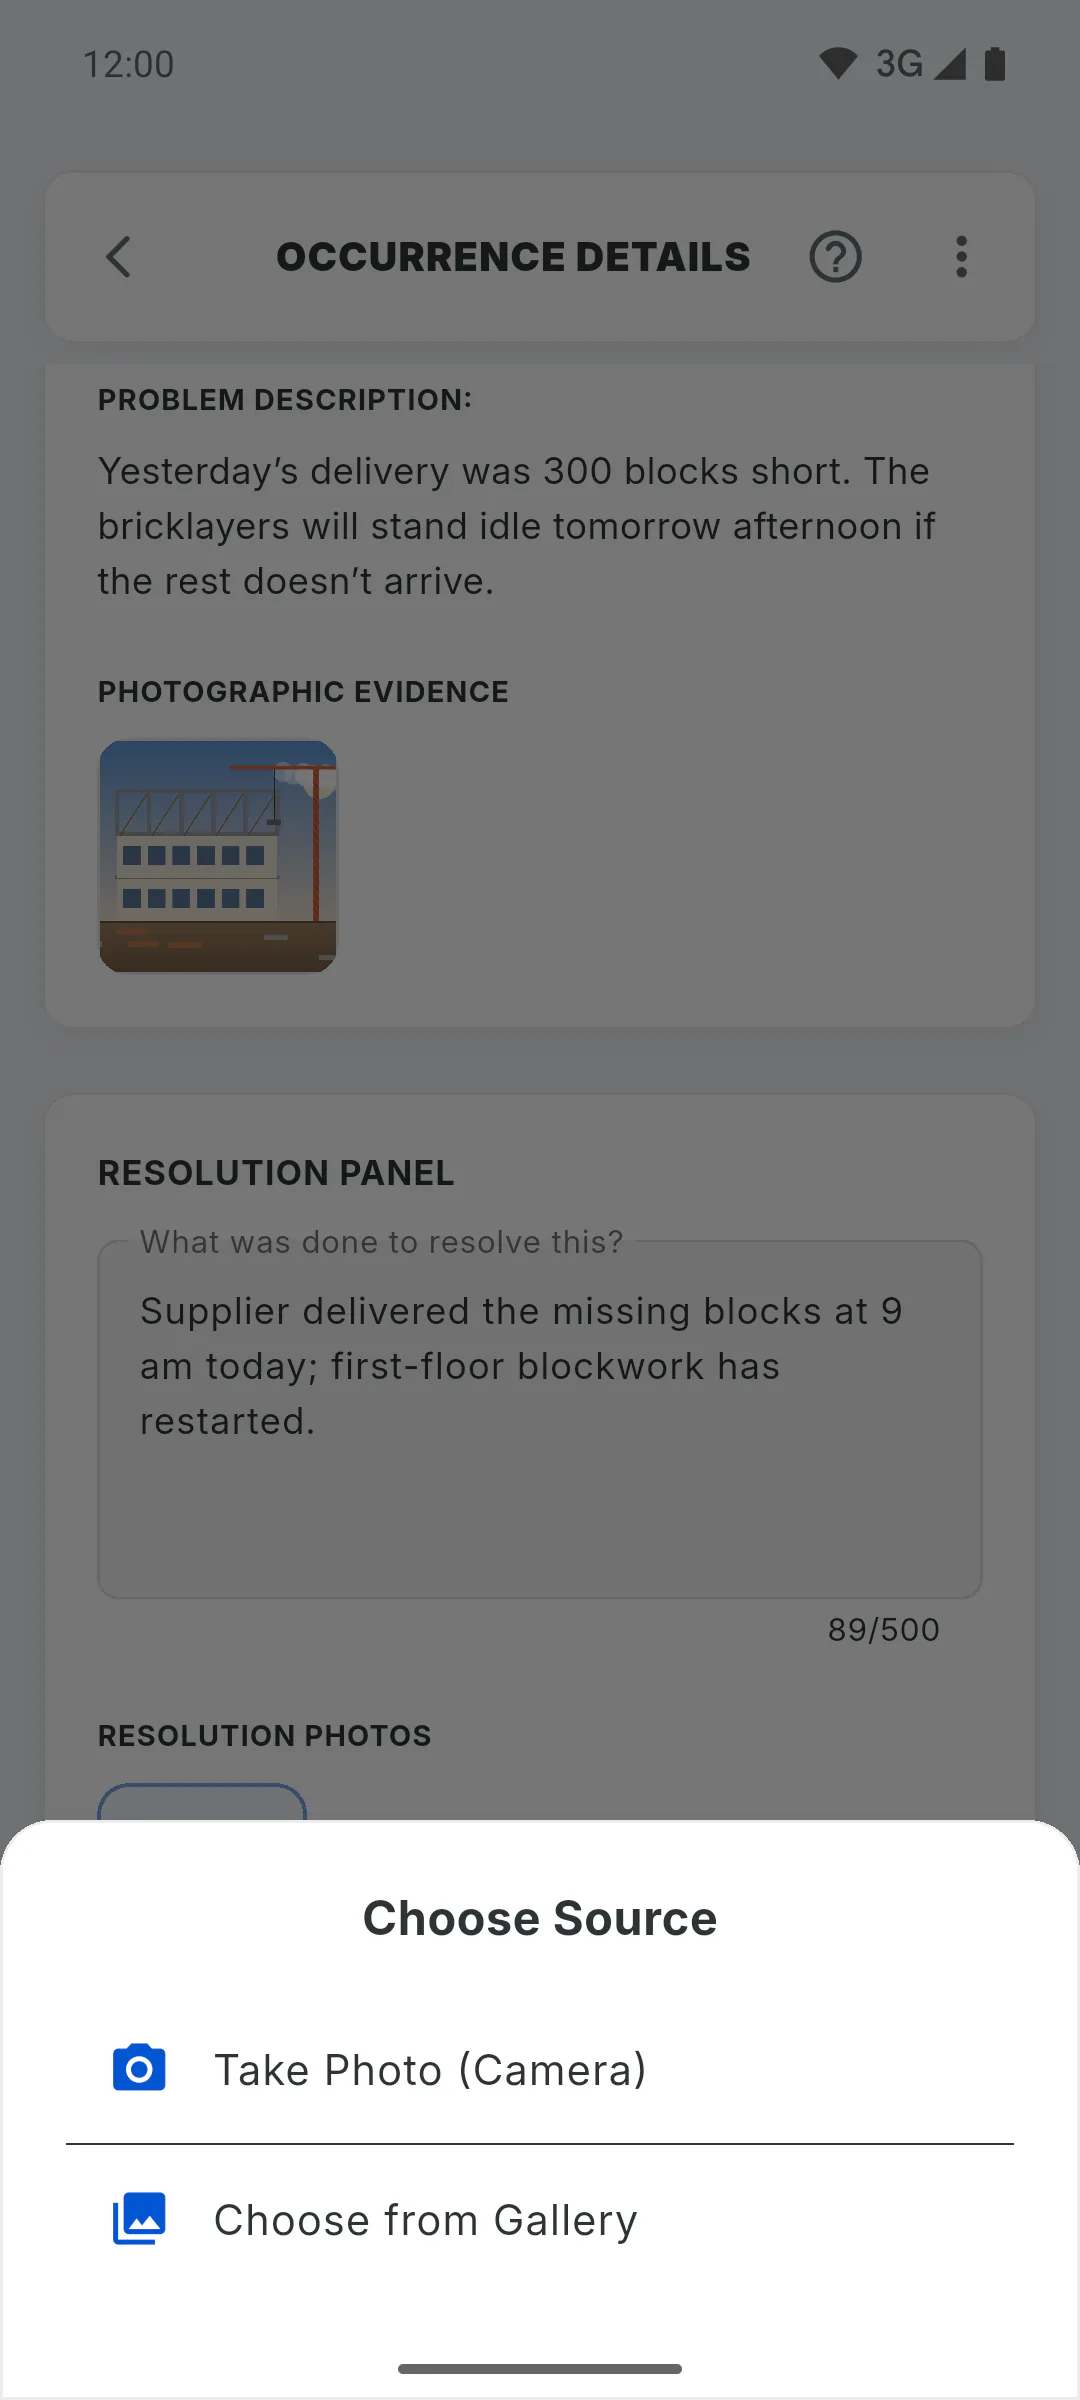
Step 4: Mark it as resolved
Tap Mark as Resolved. The screen closes and Saving in background... appears: the occurrence changes to Resolved once the upload finishes. Keep the app open and online until then.
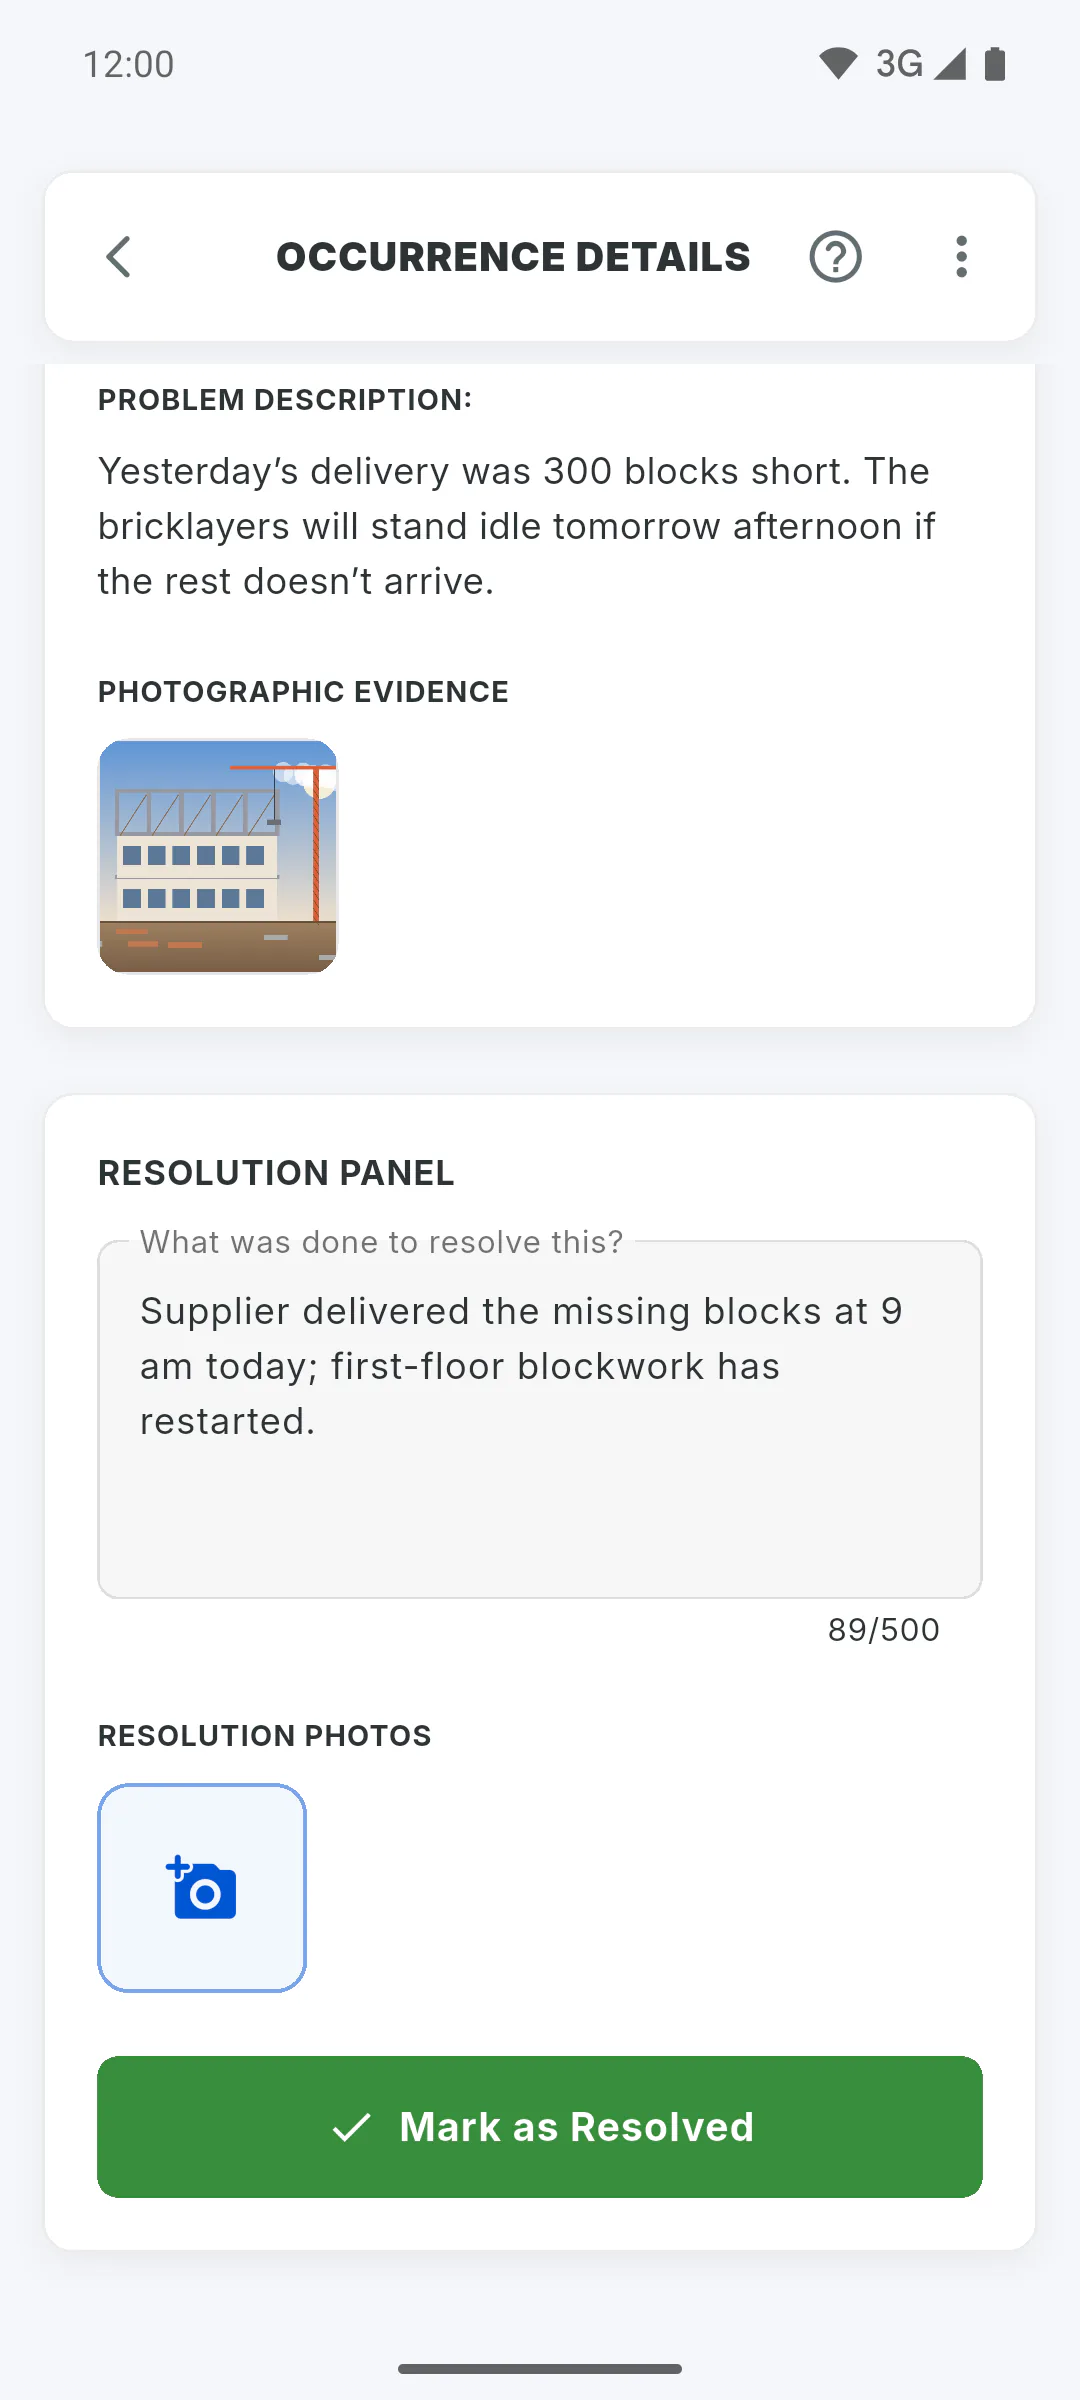
Step 5: After it is resolved
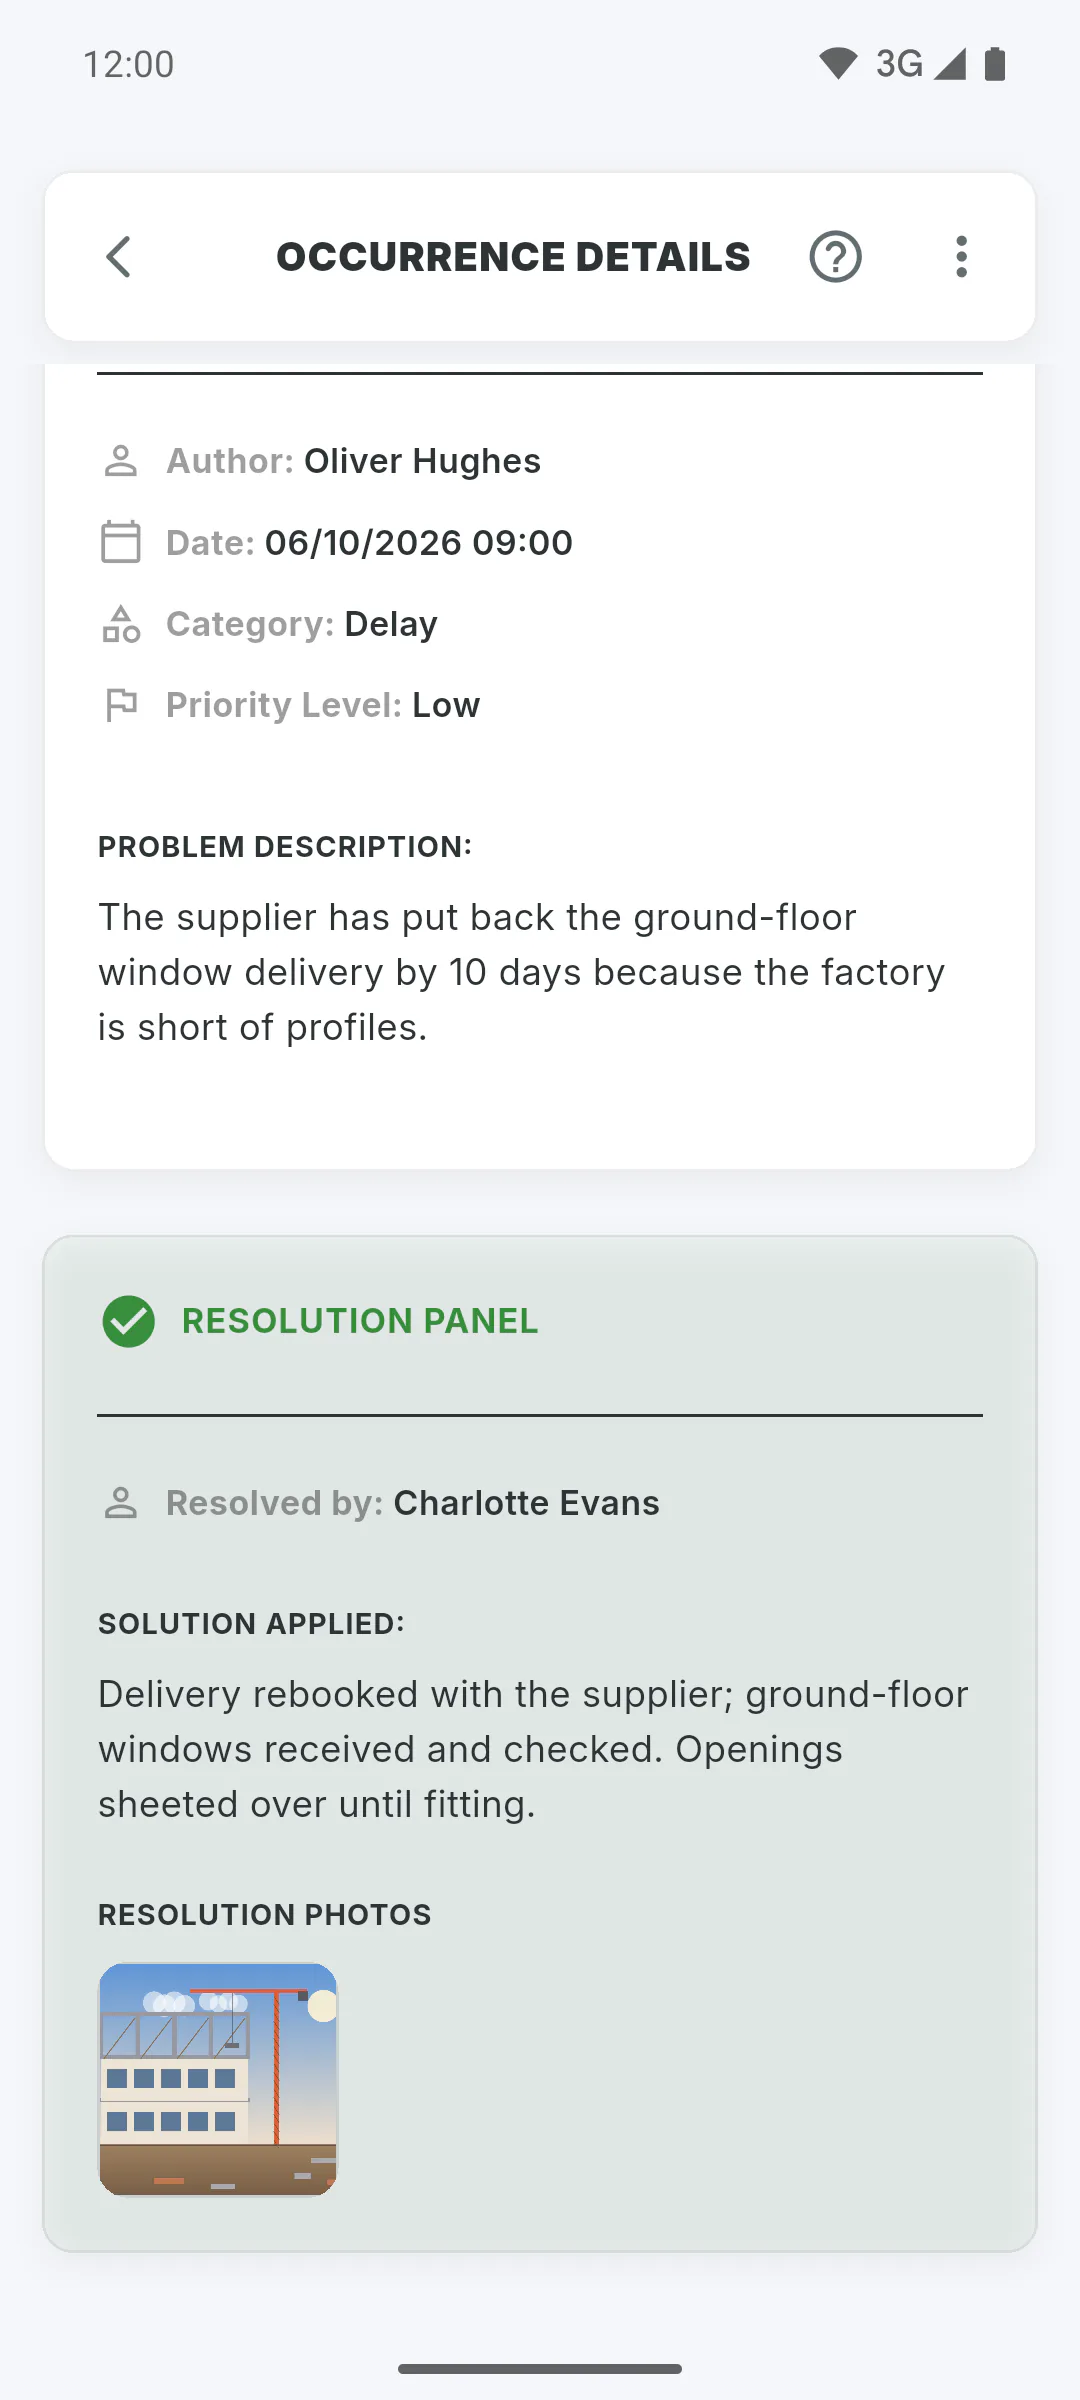
The person who registered it, the project owner and everyone tagged when it was opened get the Occurrence Resolved notification. The details show Resolved by, the Solution Applied: and the photos. A resolved occurrence can't be edited or reopened.
How to resolve an occurrence and add photos of the fix
Describe what was done, add photos of the fix and mark the occurrence as resolved. The people who need to know get notified.
For managers and team members5 steps
Didn't find what you were looking for?
Chat with support on WhatsApp or raise a ticket in the app.