
Step 1: Your budget lives in the stages
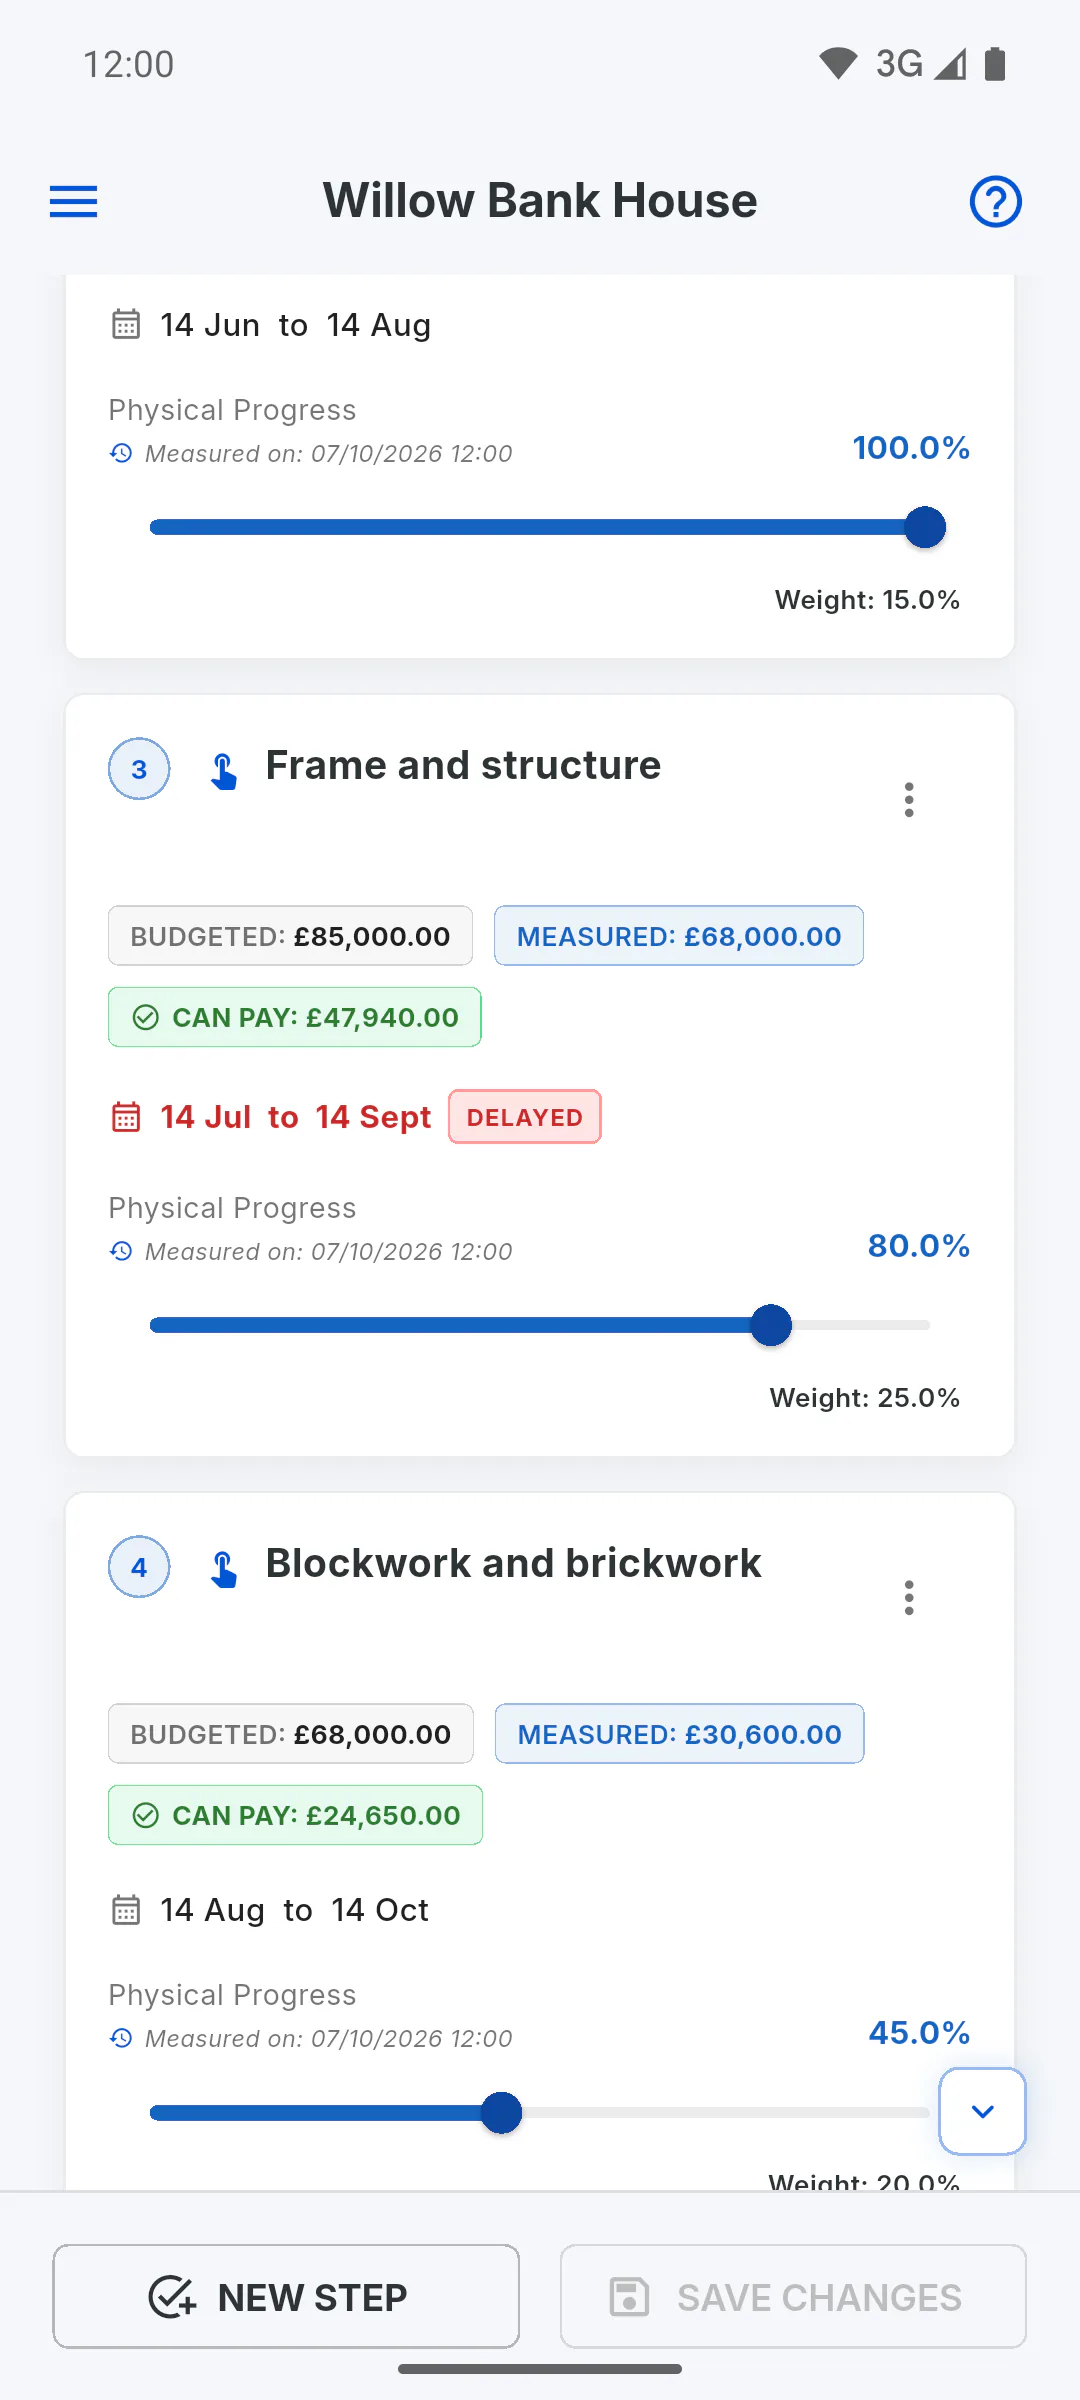
The project budget is the Planned Value of each stage on the Schedule. Set up stages before logging costs: they're what lets you compare budget with spending.
Step 2: Log expenses and income
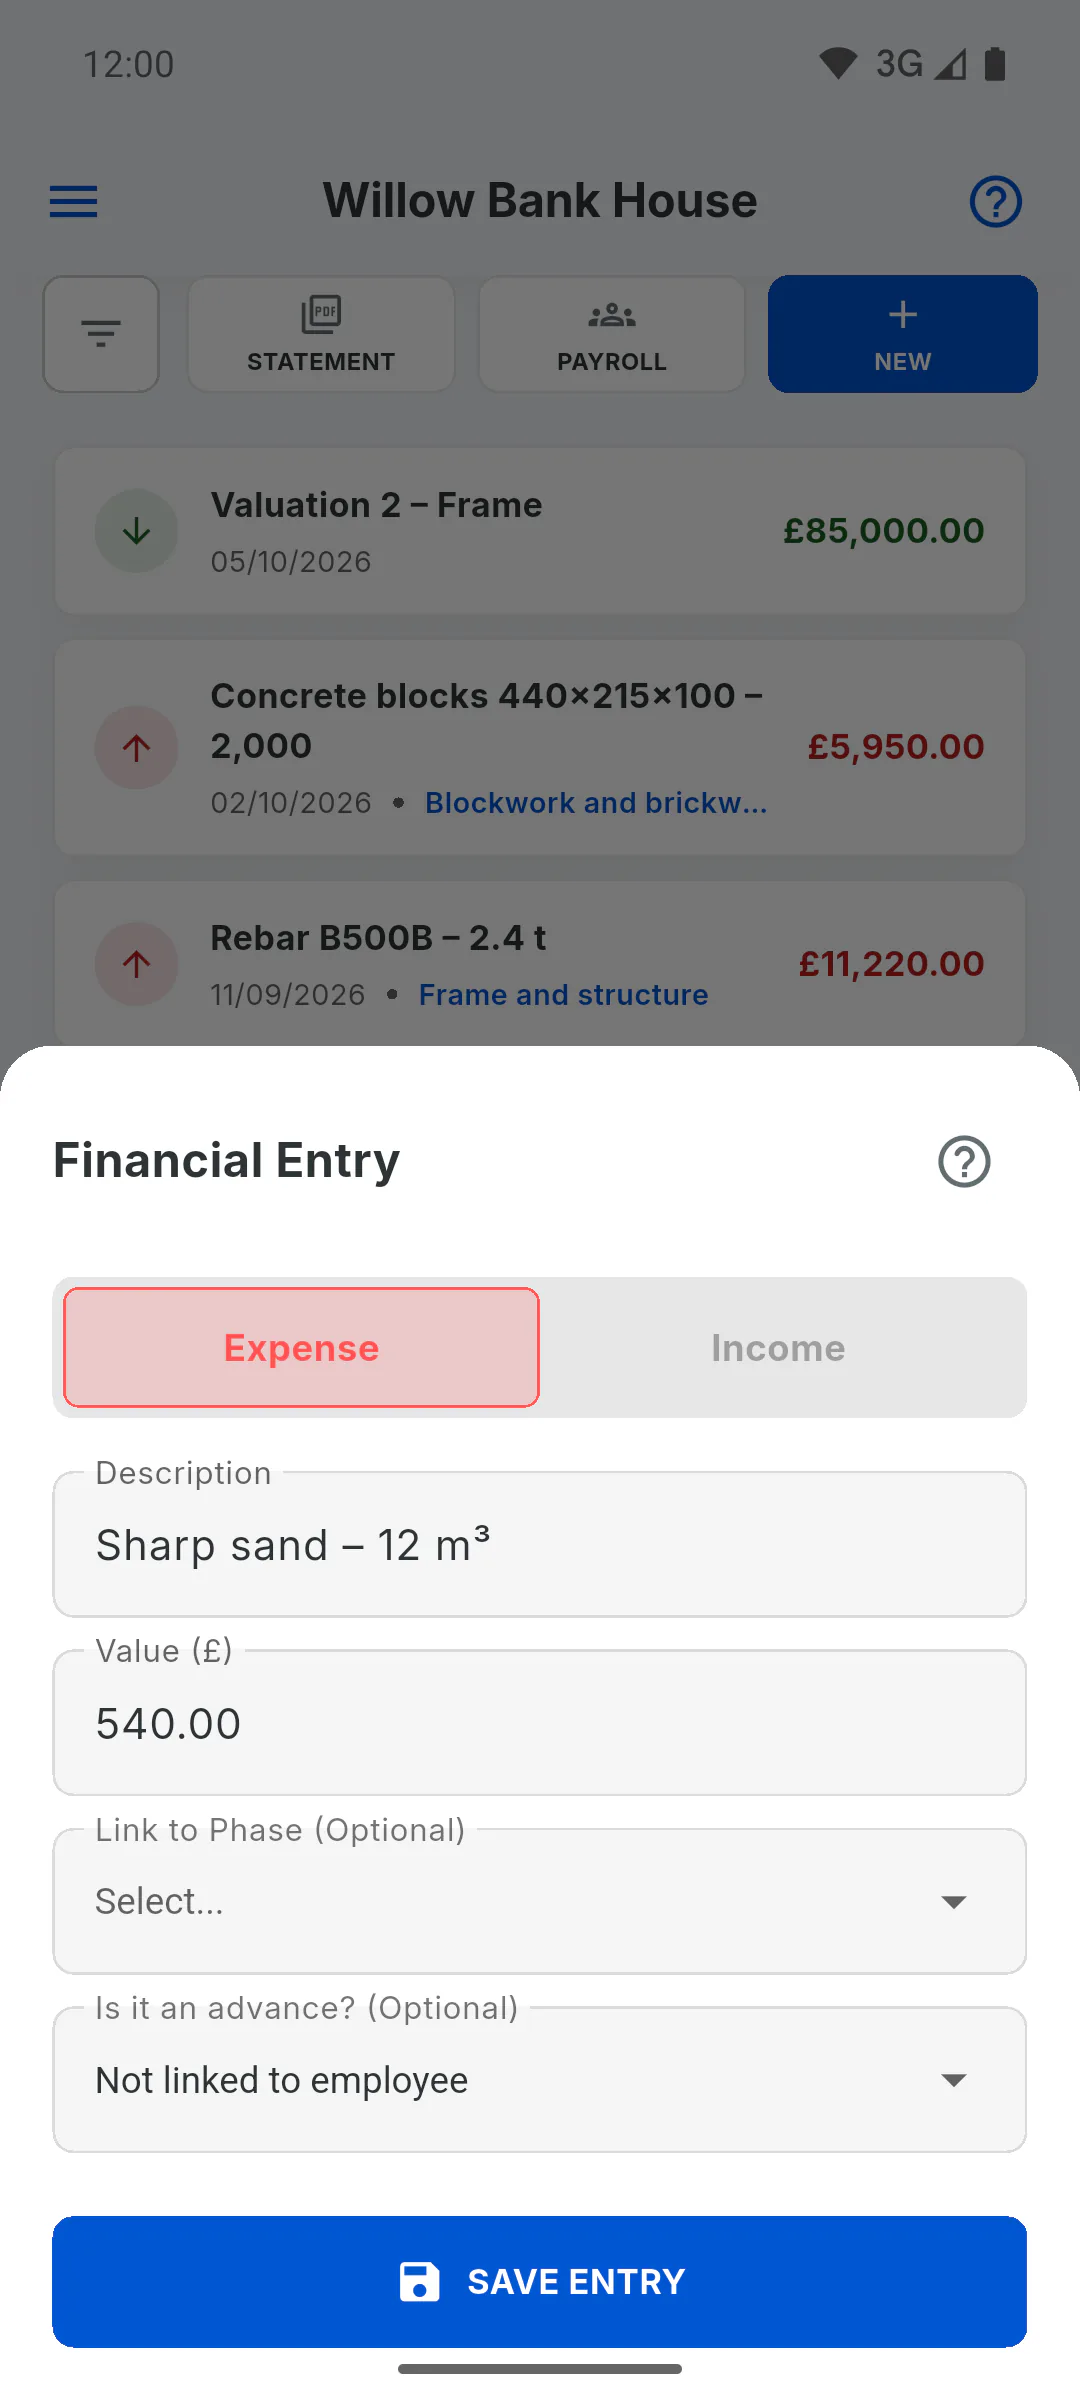
In the project menu, tap Financial, then New. Choose Expense or Income, fill in Description and Value, and tap Save Entry. The date is the moment you log it. Only the project owner can save entries in Financial.
Step 3: Link each expense to a stage
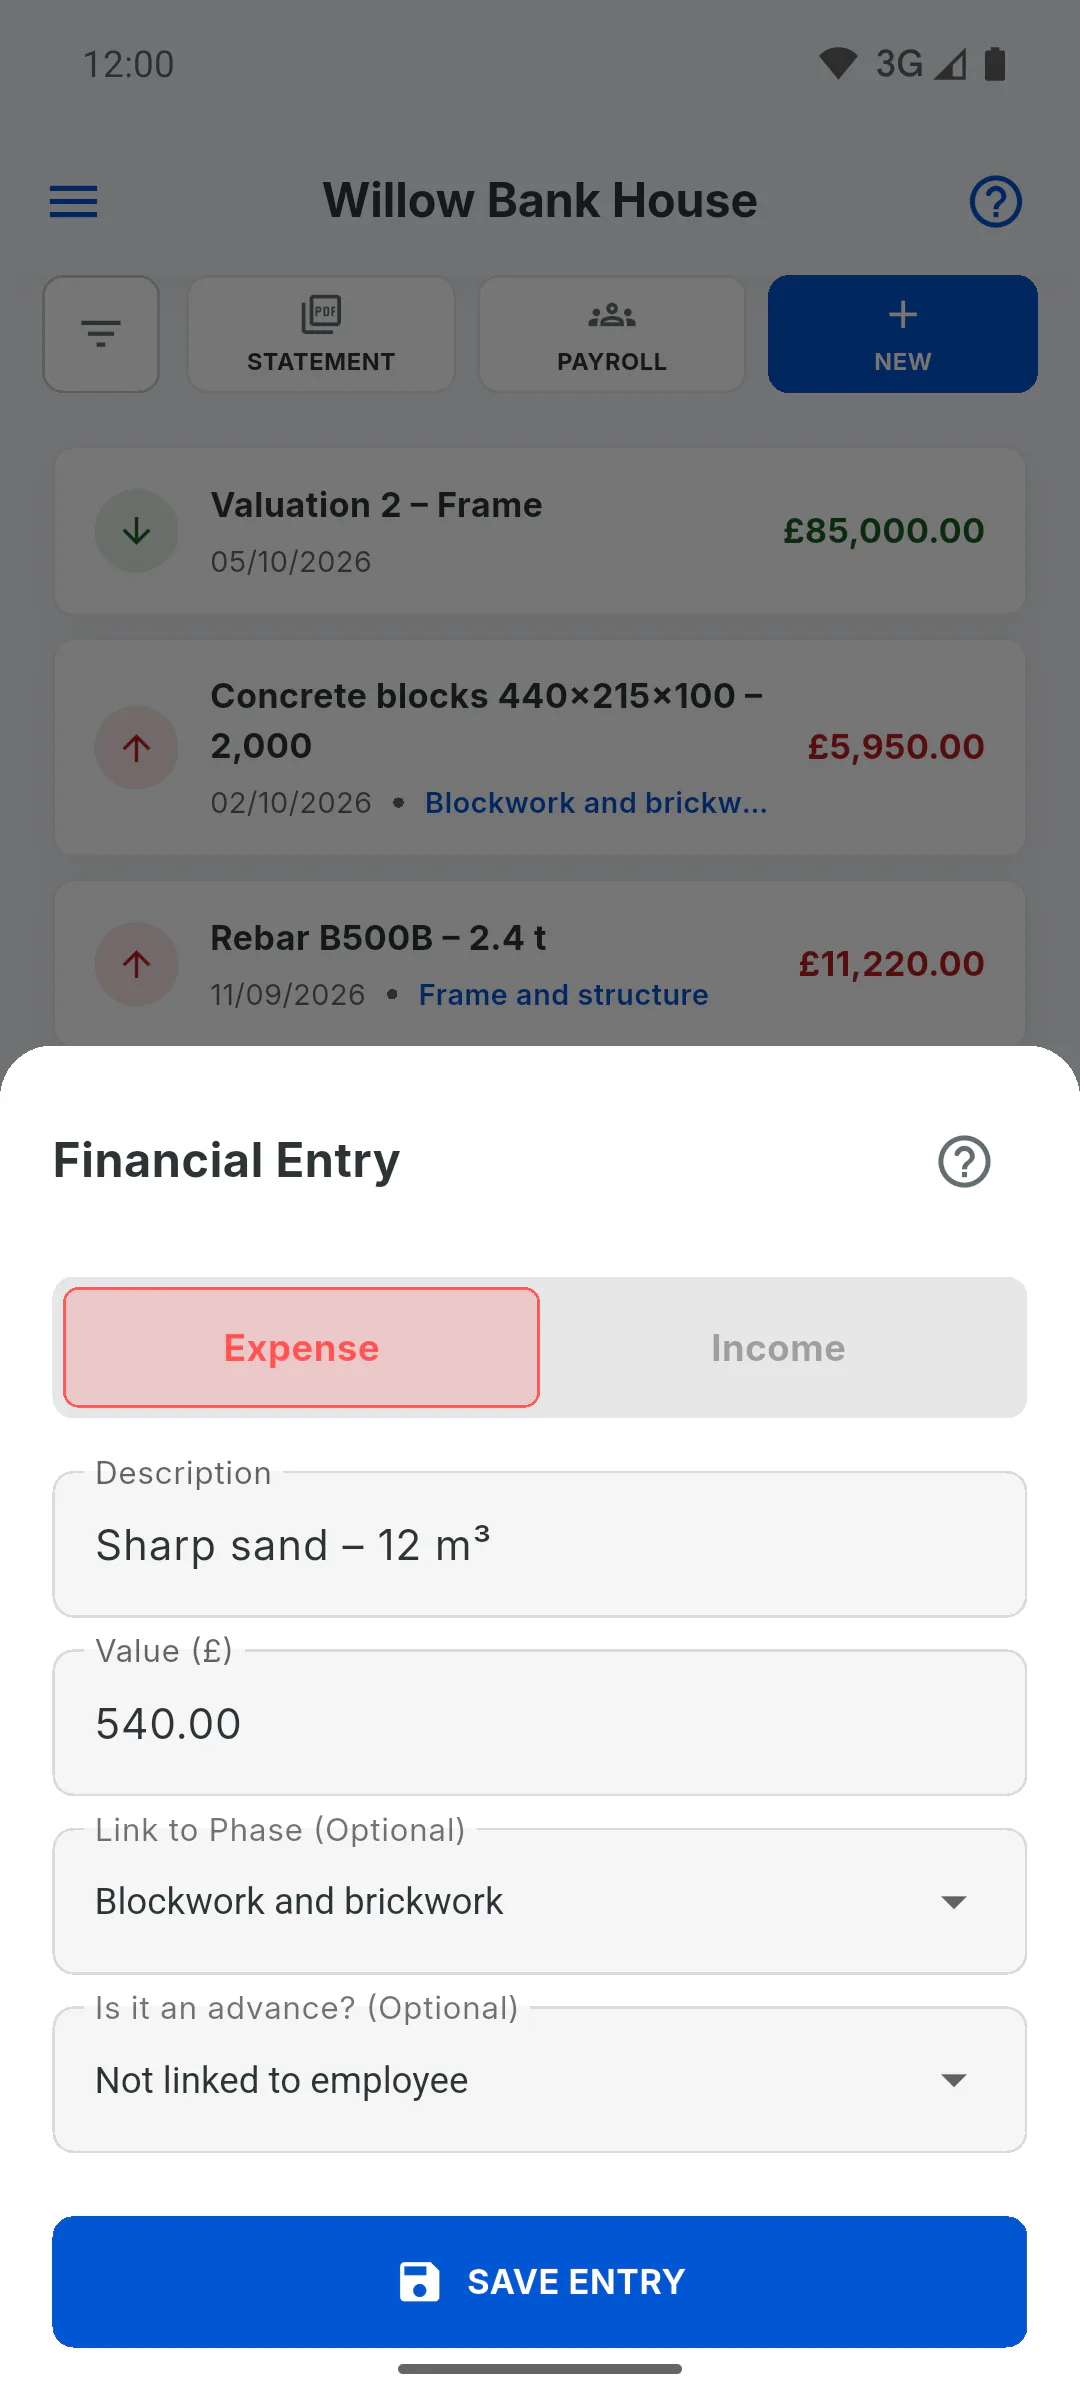
Under Link to Phase (Optional), pick the stage the cost belongs to. That link is what shows how much has been paid on each stage. An expense with no stage goes into Admin Costs.
- Renaming a stage later breaks the link with expenses already logged.
- Why link expenses to schedule stages
Step 4: Purchases with an invoice
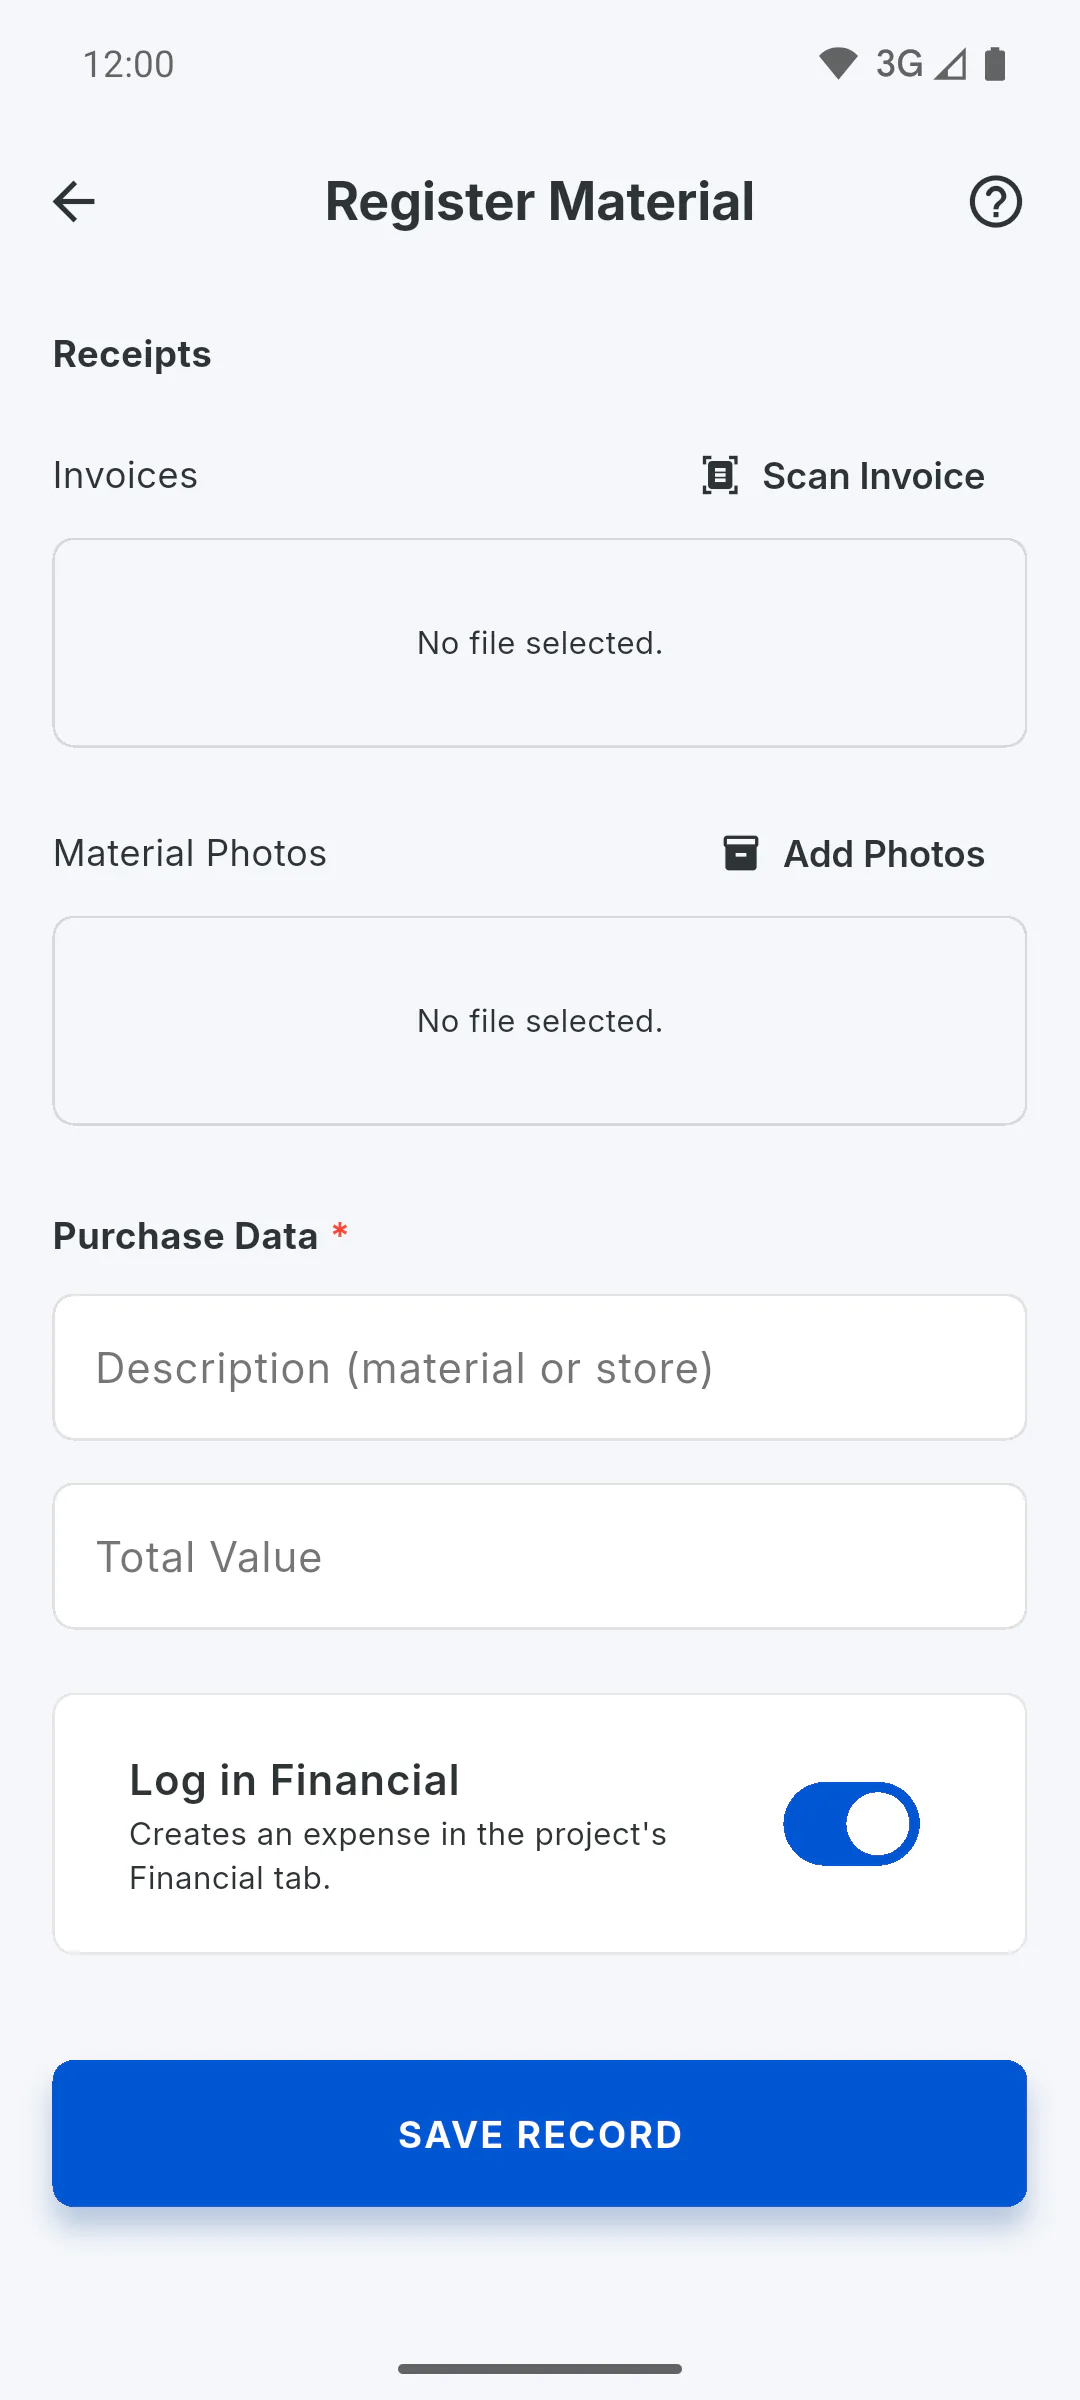
For materials with an invoice, use Supplies and Register: with Log in Financial on, the purchase becomes a paid expense, with the invoice as proof. That expense has no stage, so it goes into Admin Costs. Only the project owner can turn it on: for the engineer and the team, the purchase is saved in Supplies only.
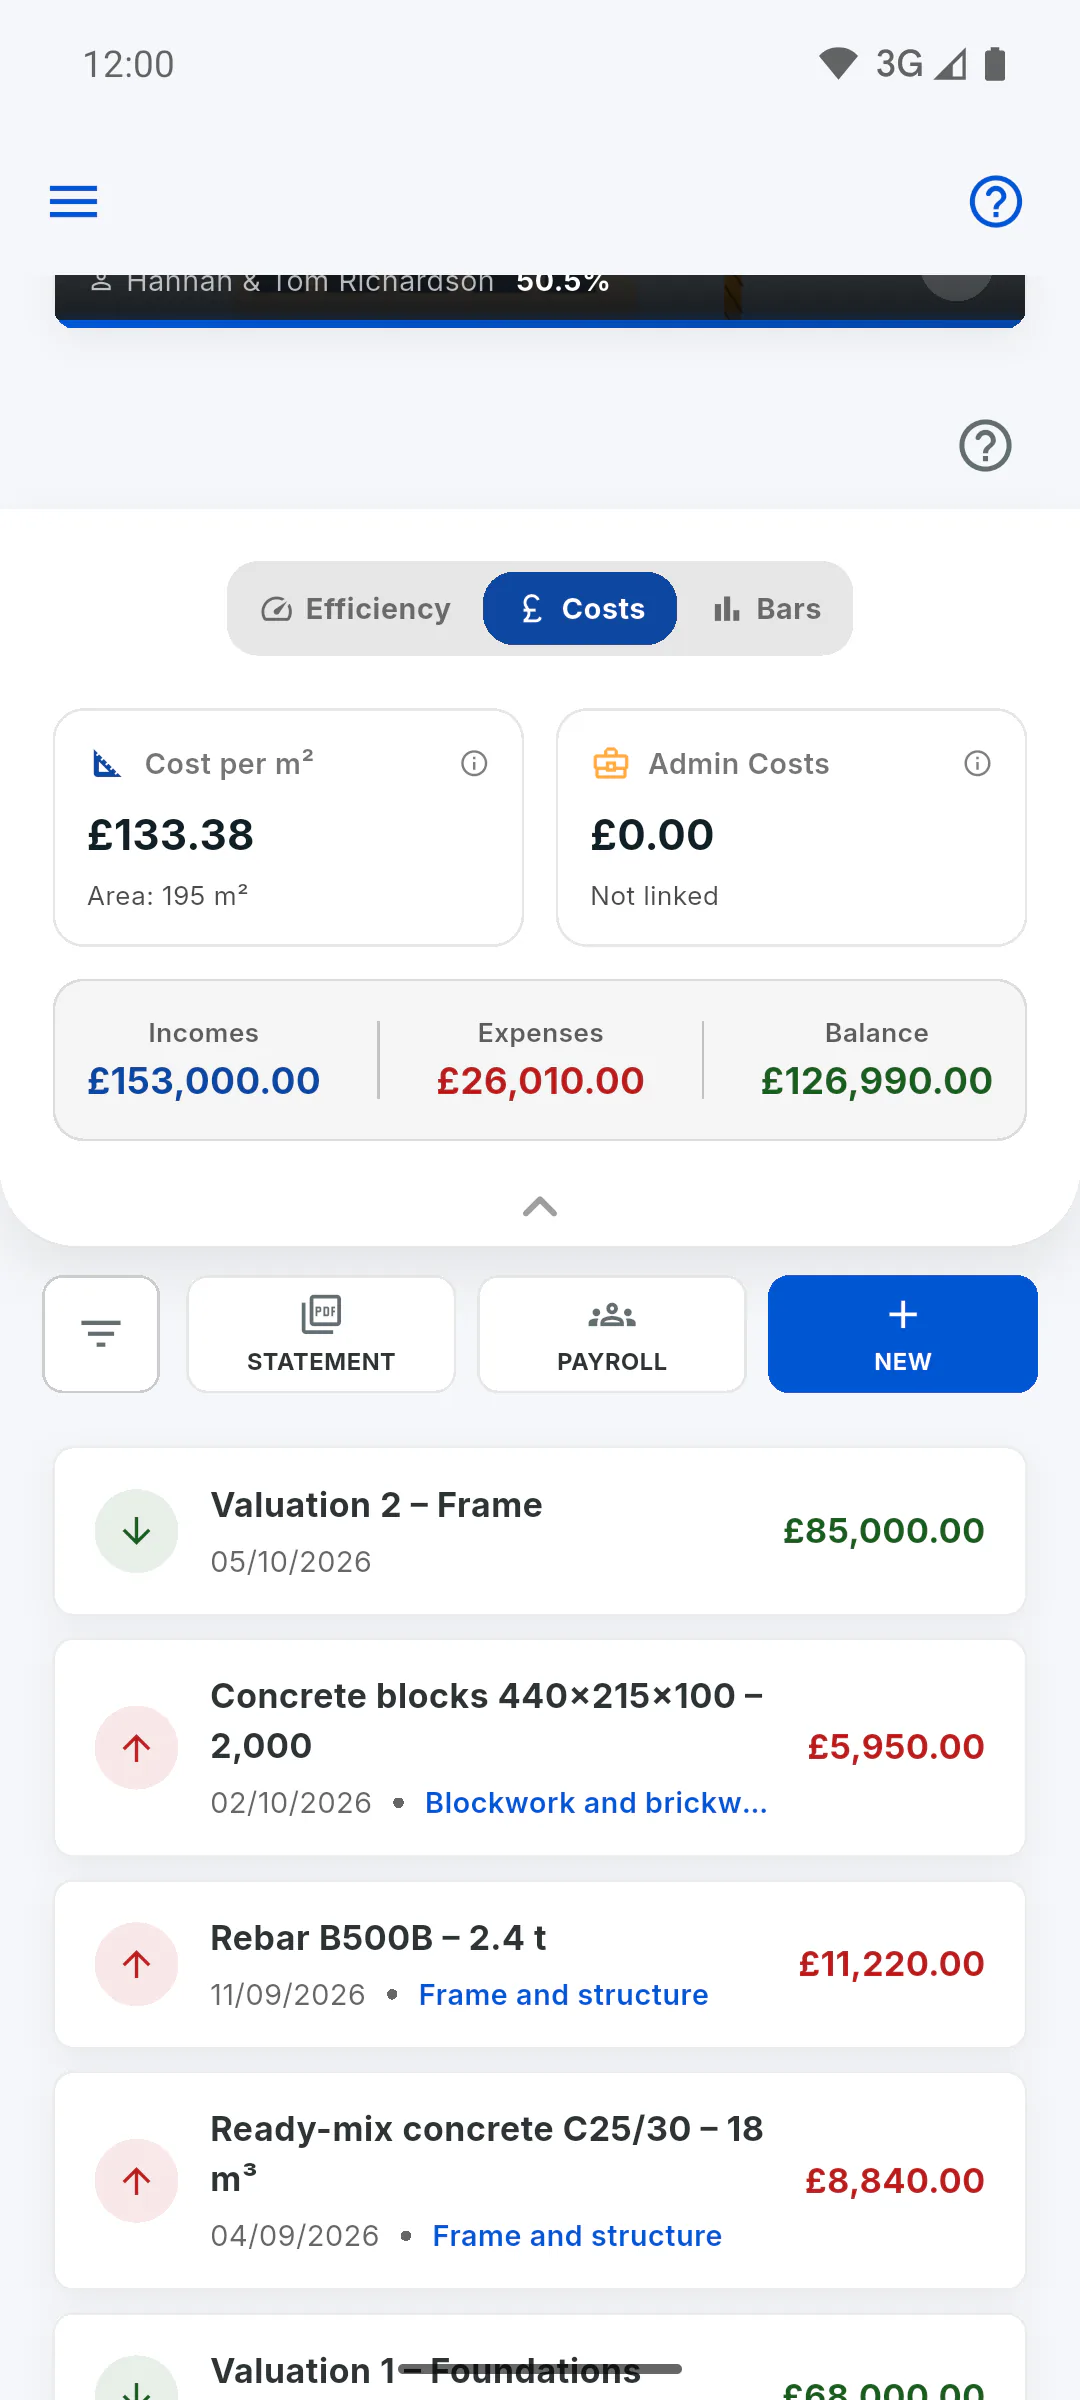
Step 5: Compare on the Financial panel
At the top of Financial, tap the arrow to open the panel:
- Efficiency compares Physical Progress with Financial (Project), which only counts expenses linked to stages
- Costs shows Cost per m², Admin Costs, money in, money out and balance
- Bars shows the total budgeted across stages and the total paid on linked expenses, against the contract value
- How to read the financial panel
Step 6: Check each stage's balance
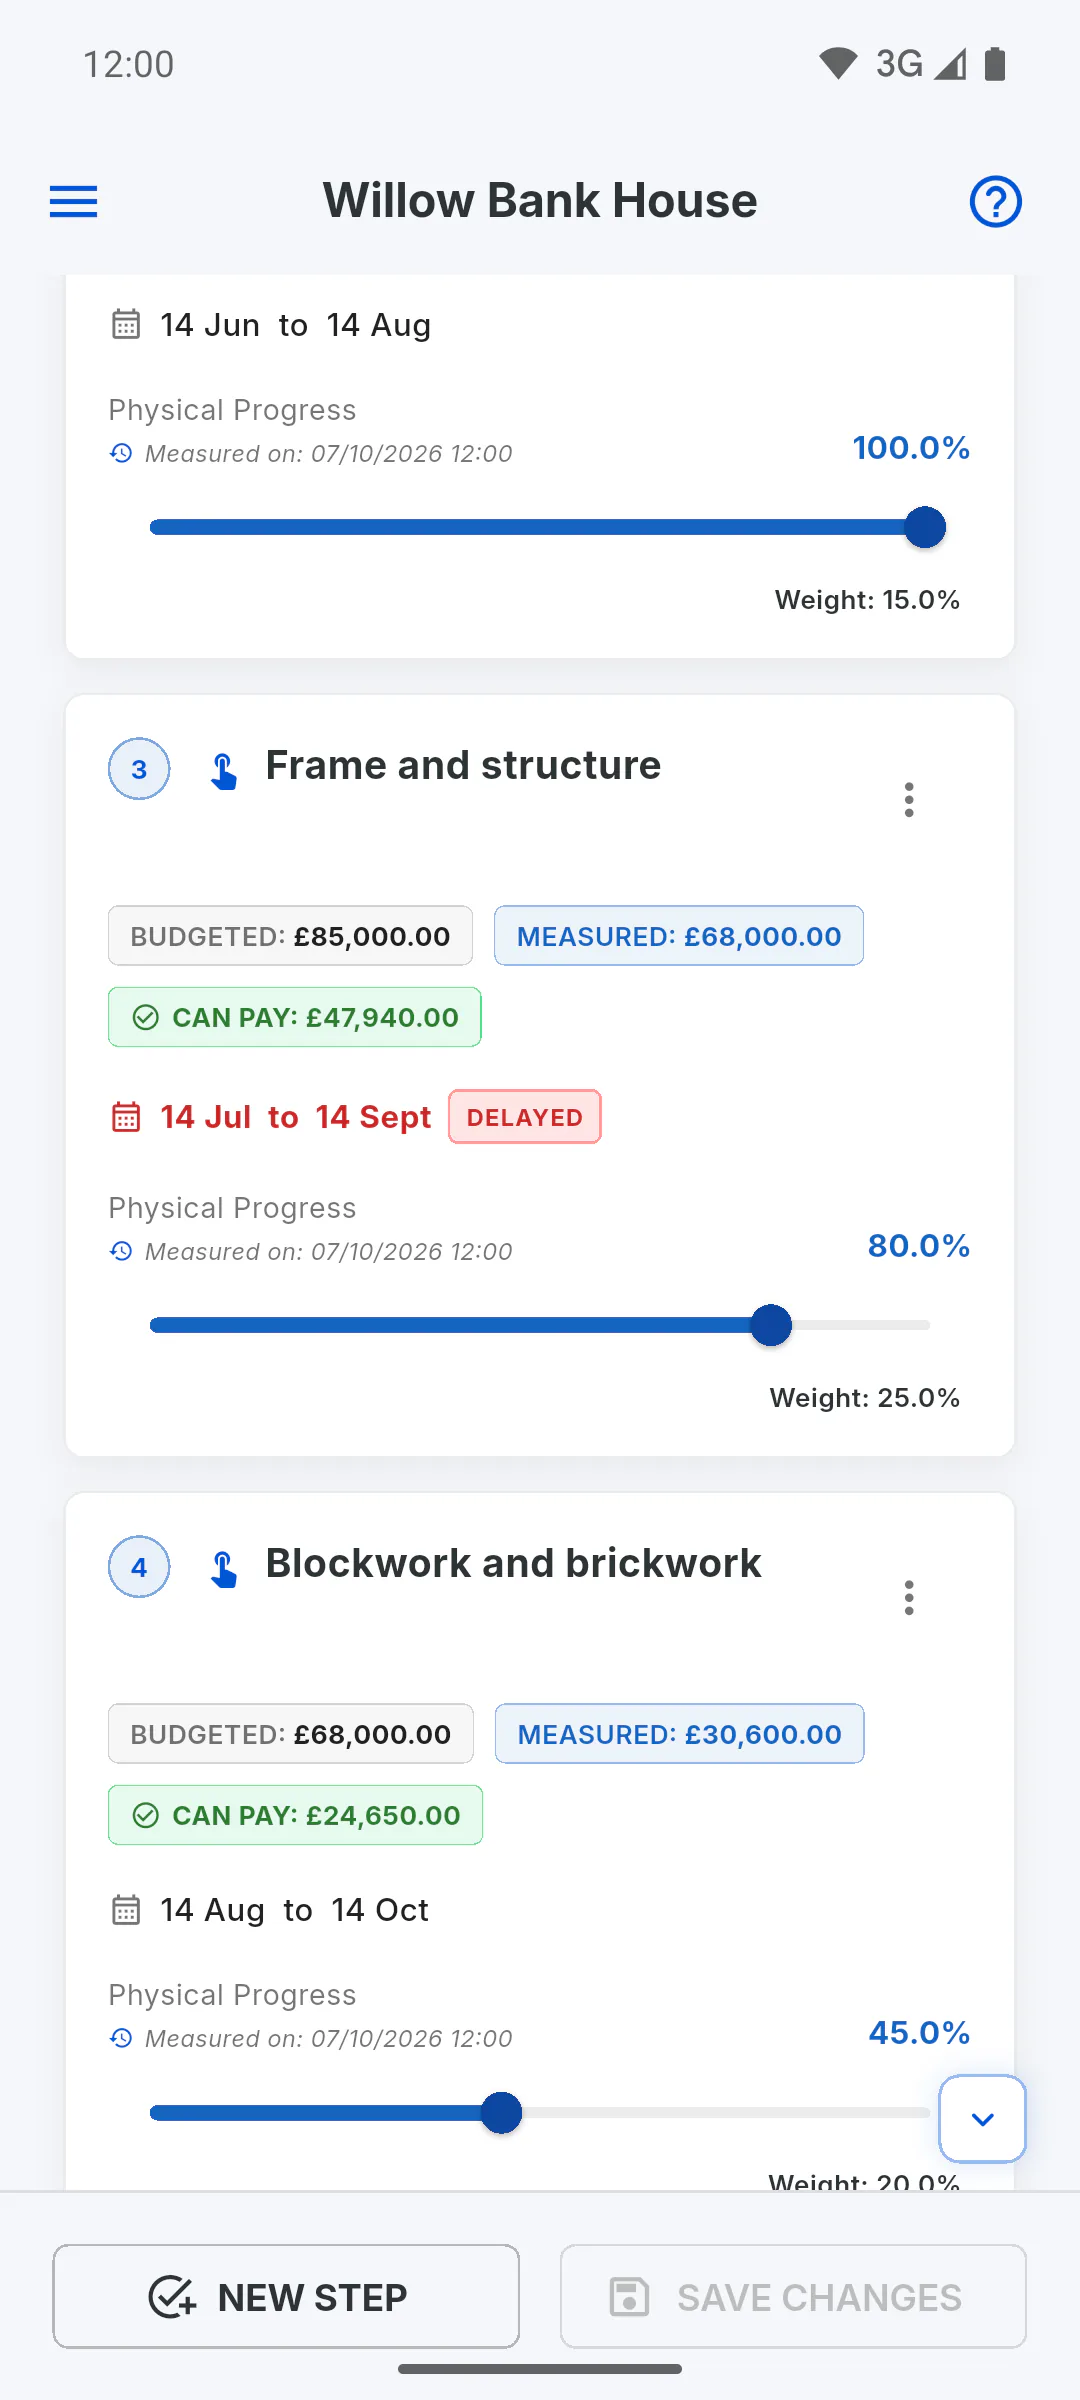
On the Schedule, each card shows Budgeted, Measured and Can Pay, or Overpaid when more has been paid than the work done. The Measurement Report puts these numbers in a PDF for the stage.
Step 7: Fix entries and report
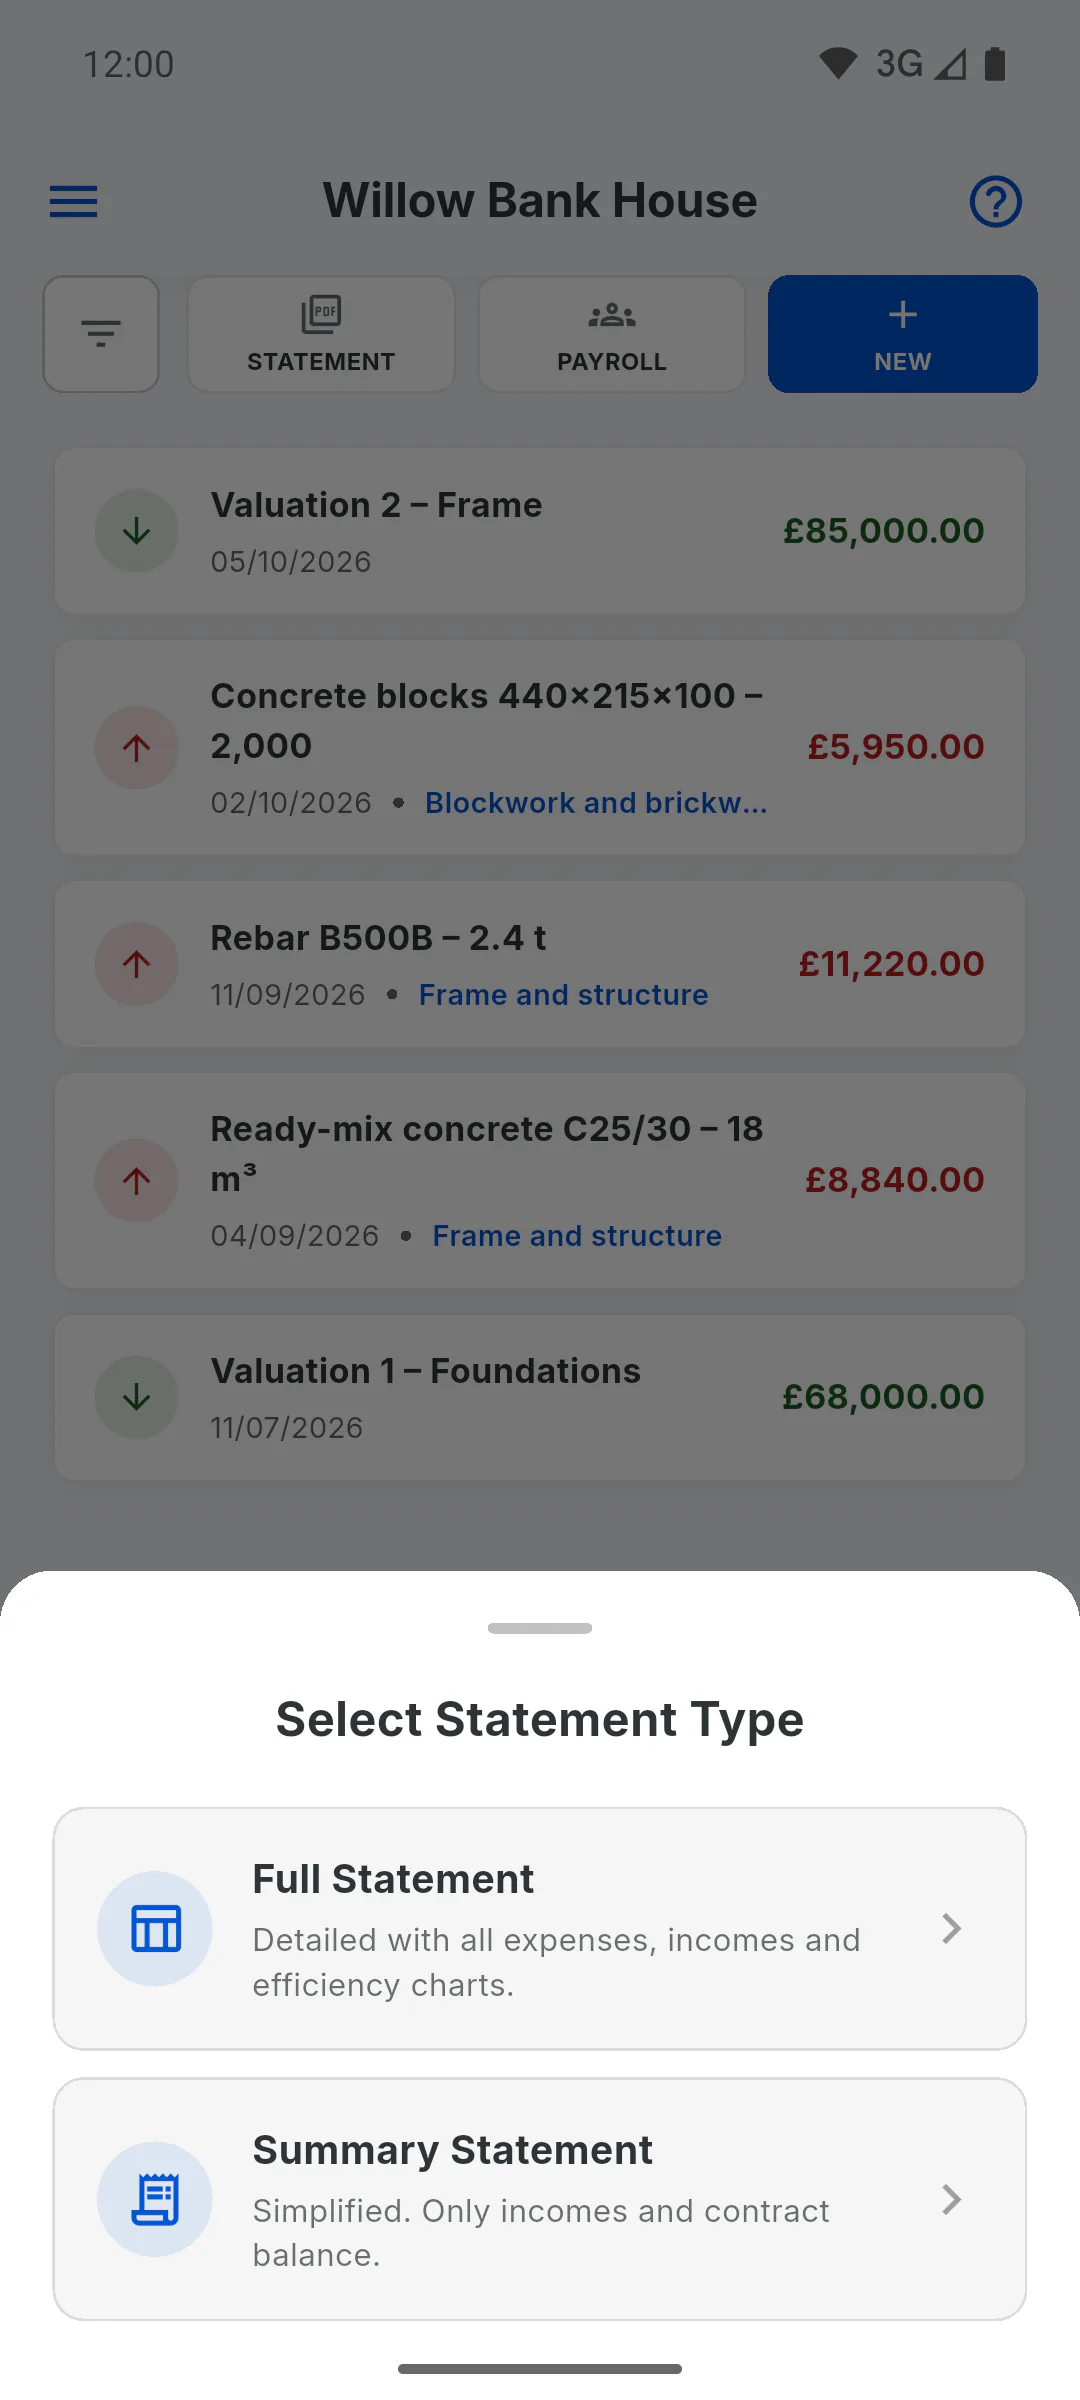
Tap an entry to edit or delete it. To report on spending, filter the list and tap Statement: choose Full Statement or Summary Statement; the PDF includes the filtered entries.
Control costs: log entries, link them to stages and compare with the budget
Use stage values as your budget, log every expense and income against the right stage, and compare budget with spending in Financial and on the Schedule.
For managers7 steps
Didn't find what you were looking for?
Chat with support on WhatsApp or raise a ticket in the app.