Step 1: What Client Access is
Client Access is a one-time fee per project. It unlocks the paid Client Portal features for that project's client: downloading and sharing photos, exporting the financial statement, seeing full financials and the detailed schedule, and logging occurrences. Inviting the client doesn't depend on it: without it, the client can already follow the project in the Portal, just without those features.
Step 2: Who can unlock it
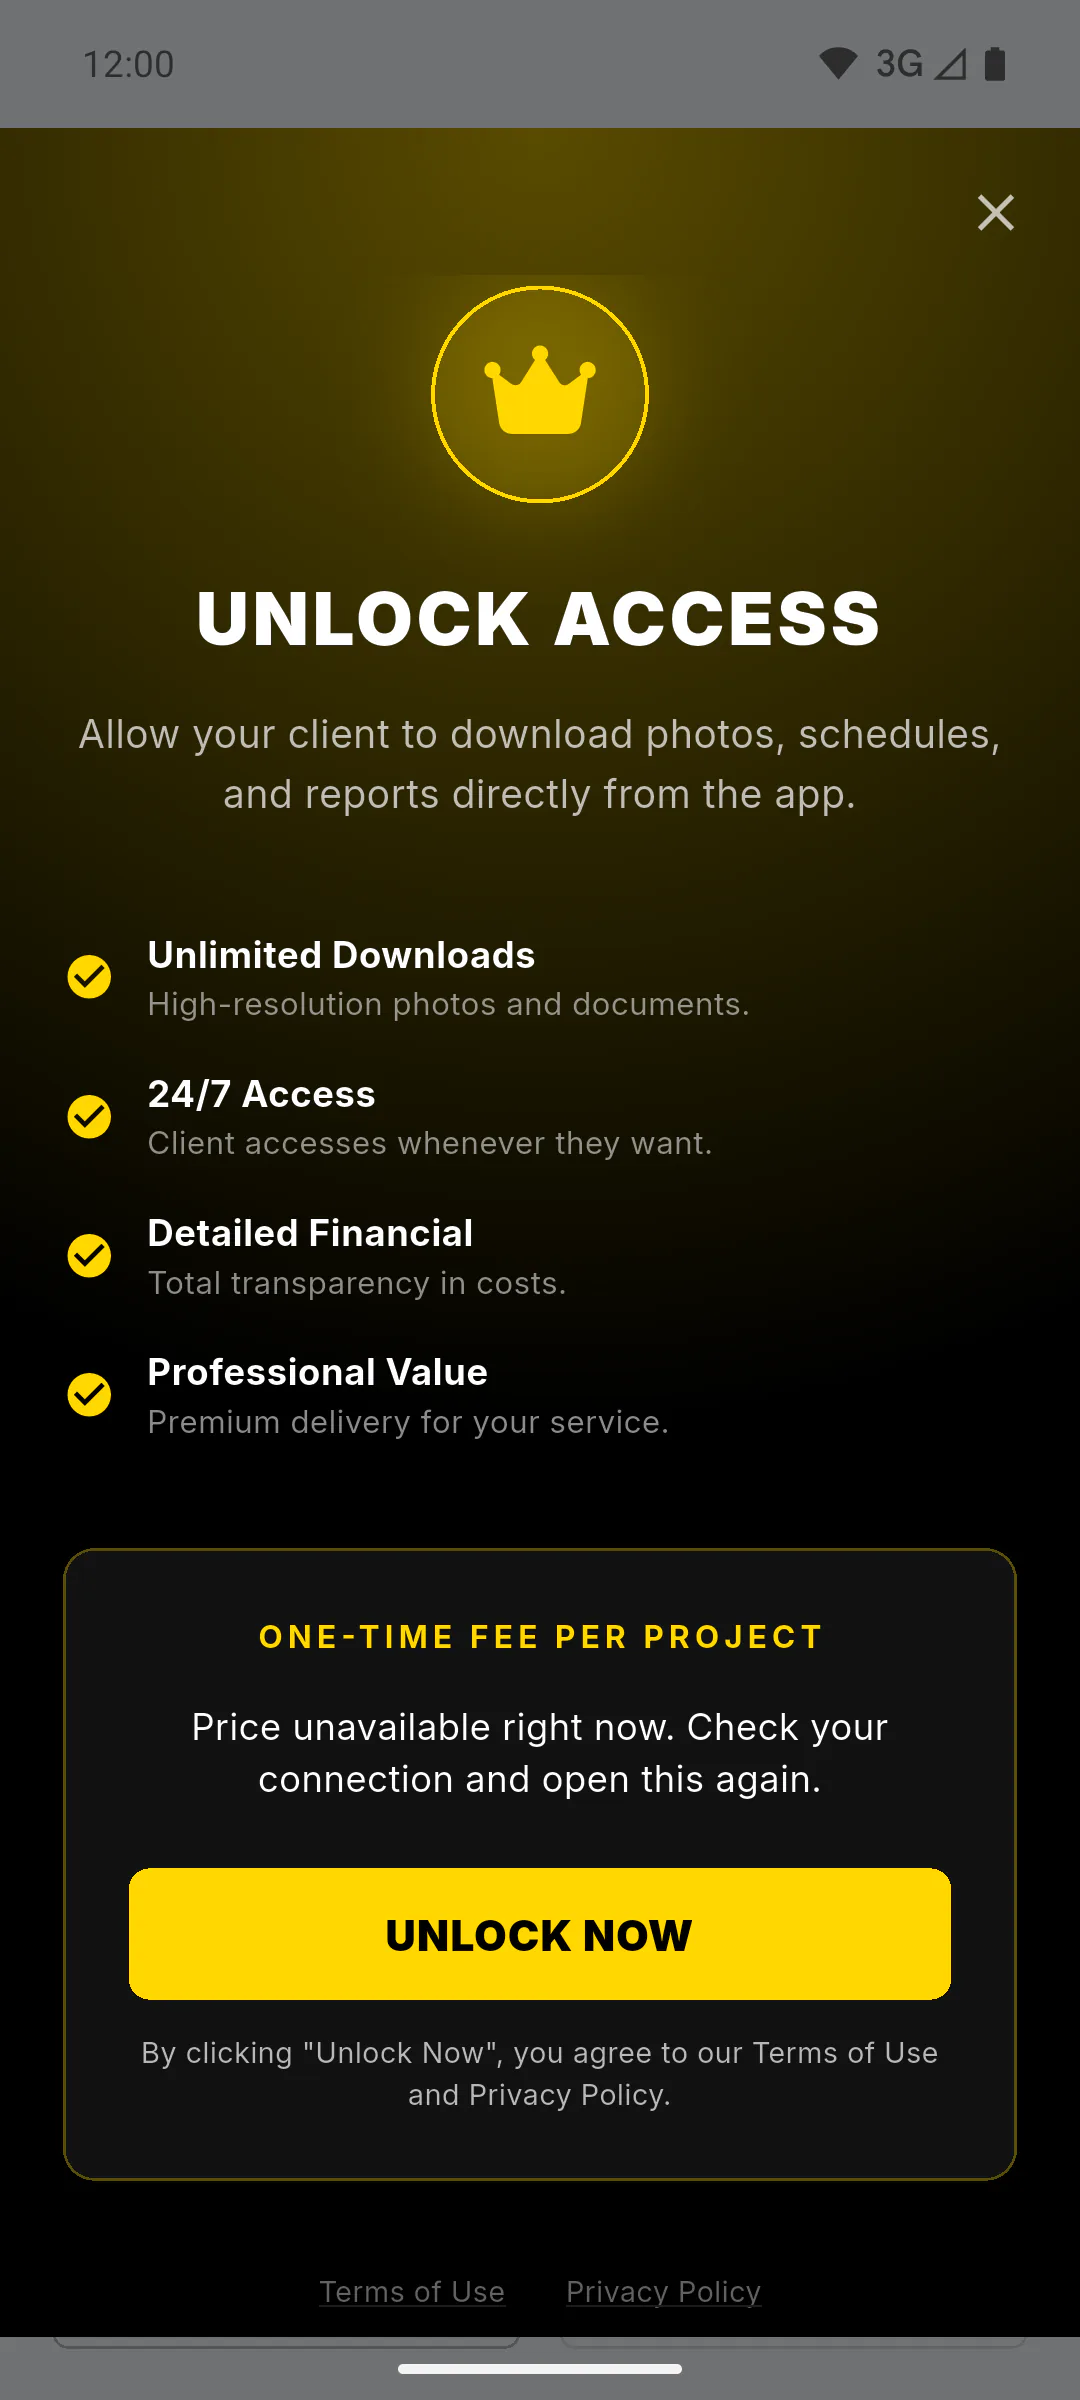
Only the project owner, on the PRO plan. For anyone else on the project, the Client Access card and the Client Access option in the three-dot menu on the Overview tab appear grayed out with a lock; tapping them opens the Locked feature window, which shows the person's role on the project and who can use it. On the free plan, the purchase button reads Blocked on Free Plan.
Step 3: Open the unlock screen
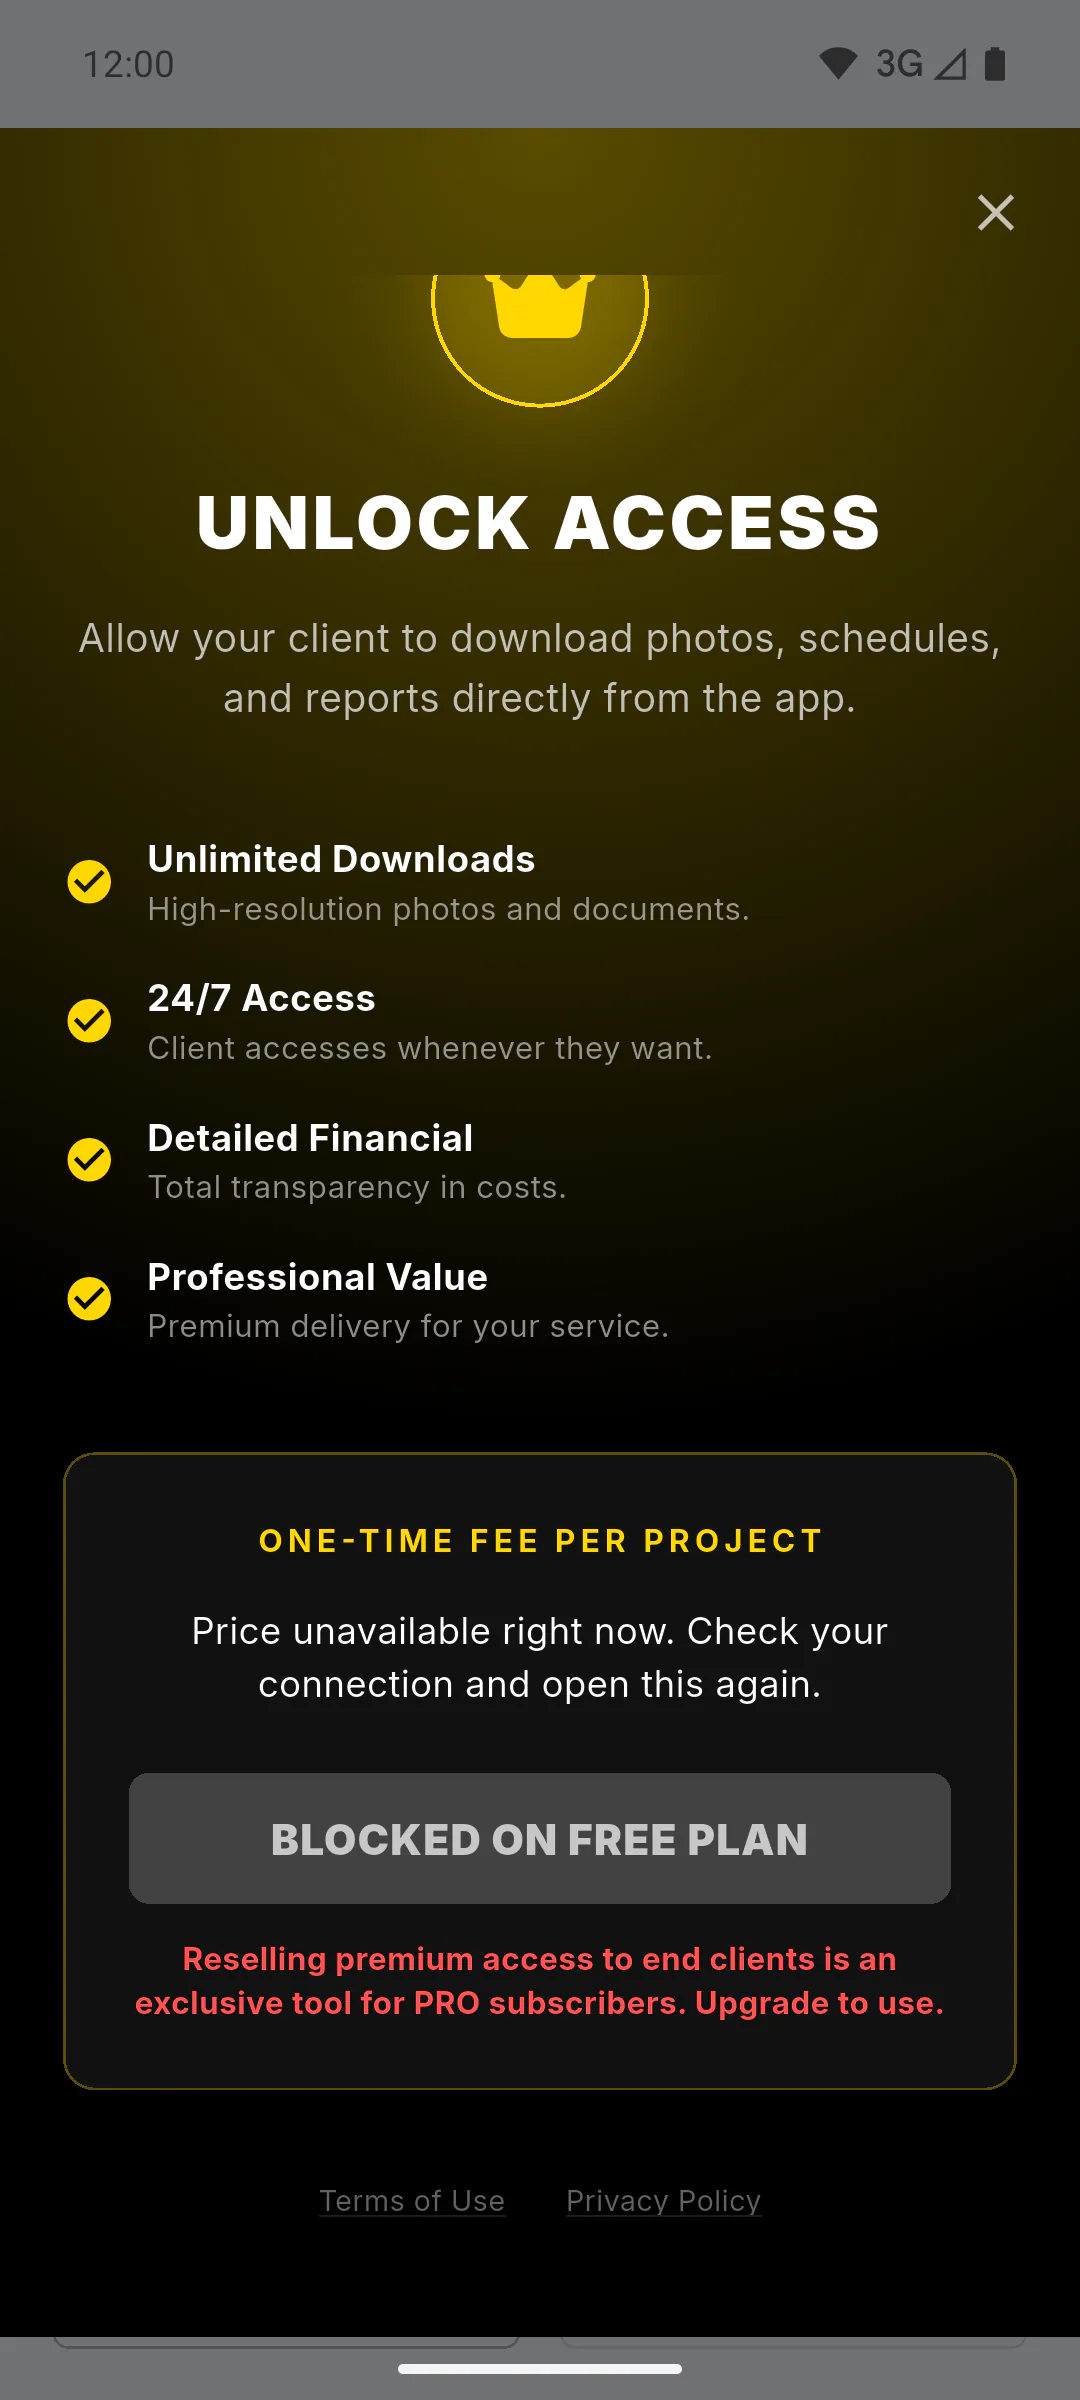
Open the project and, at the bottom of the Project Menu, tap the Client Access card, on the Unlock button. You can also get there from the Overview tab via the three-dot button, under Client Access.
Step 4: Pay the project's fee
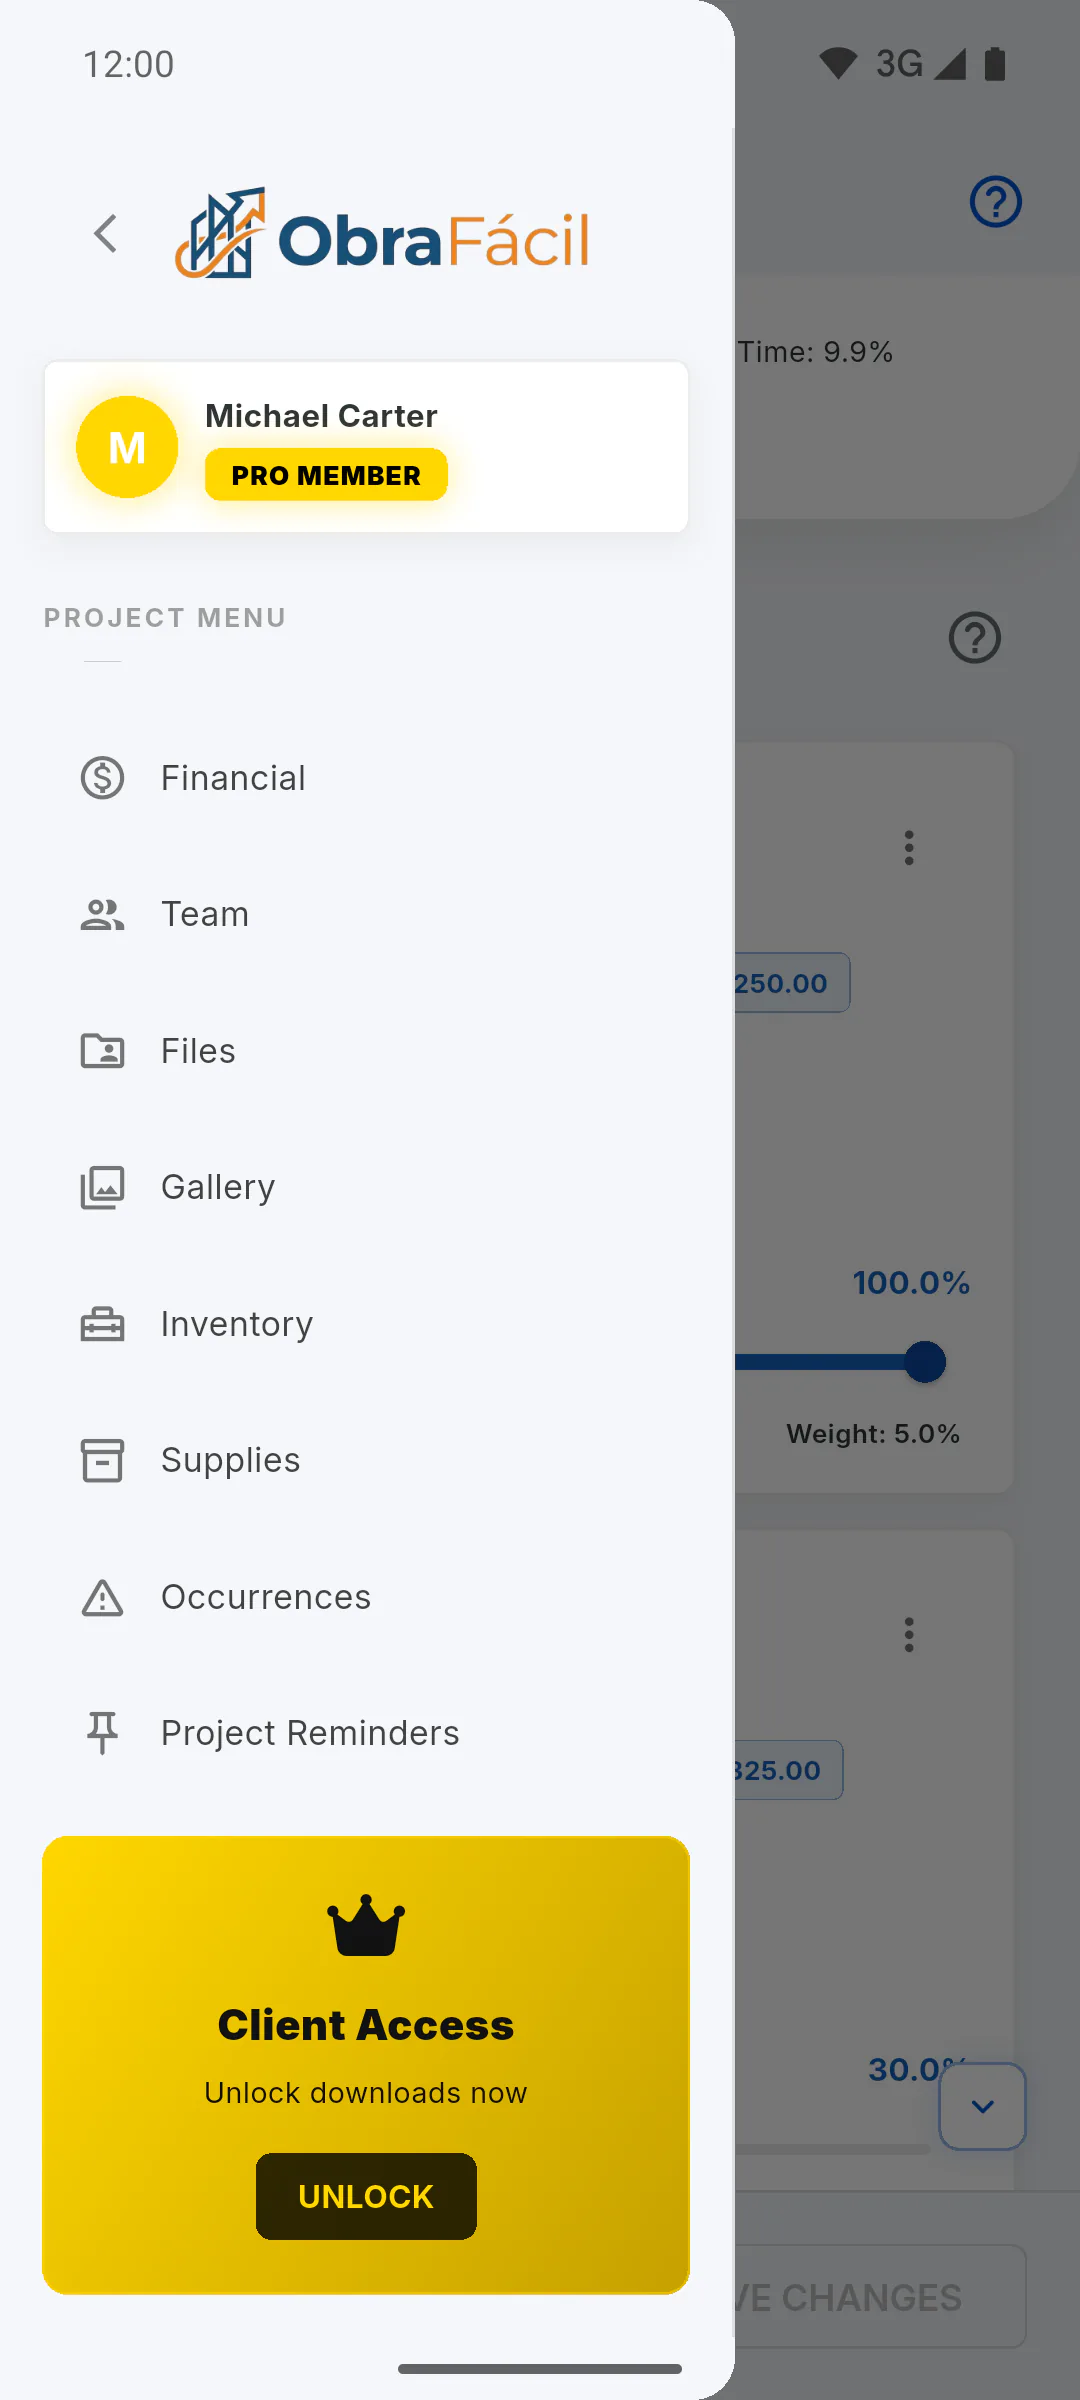
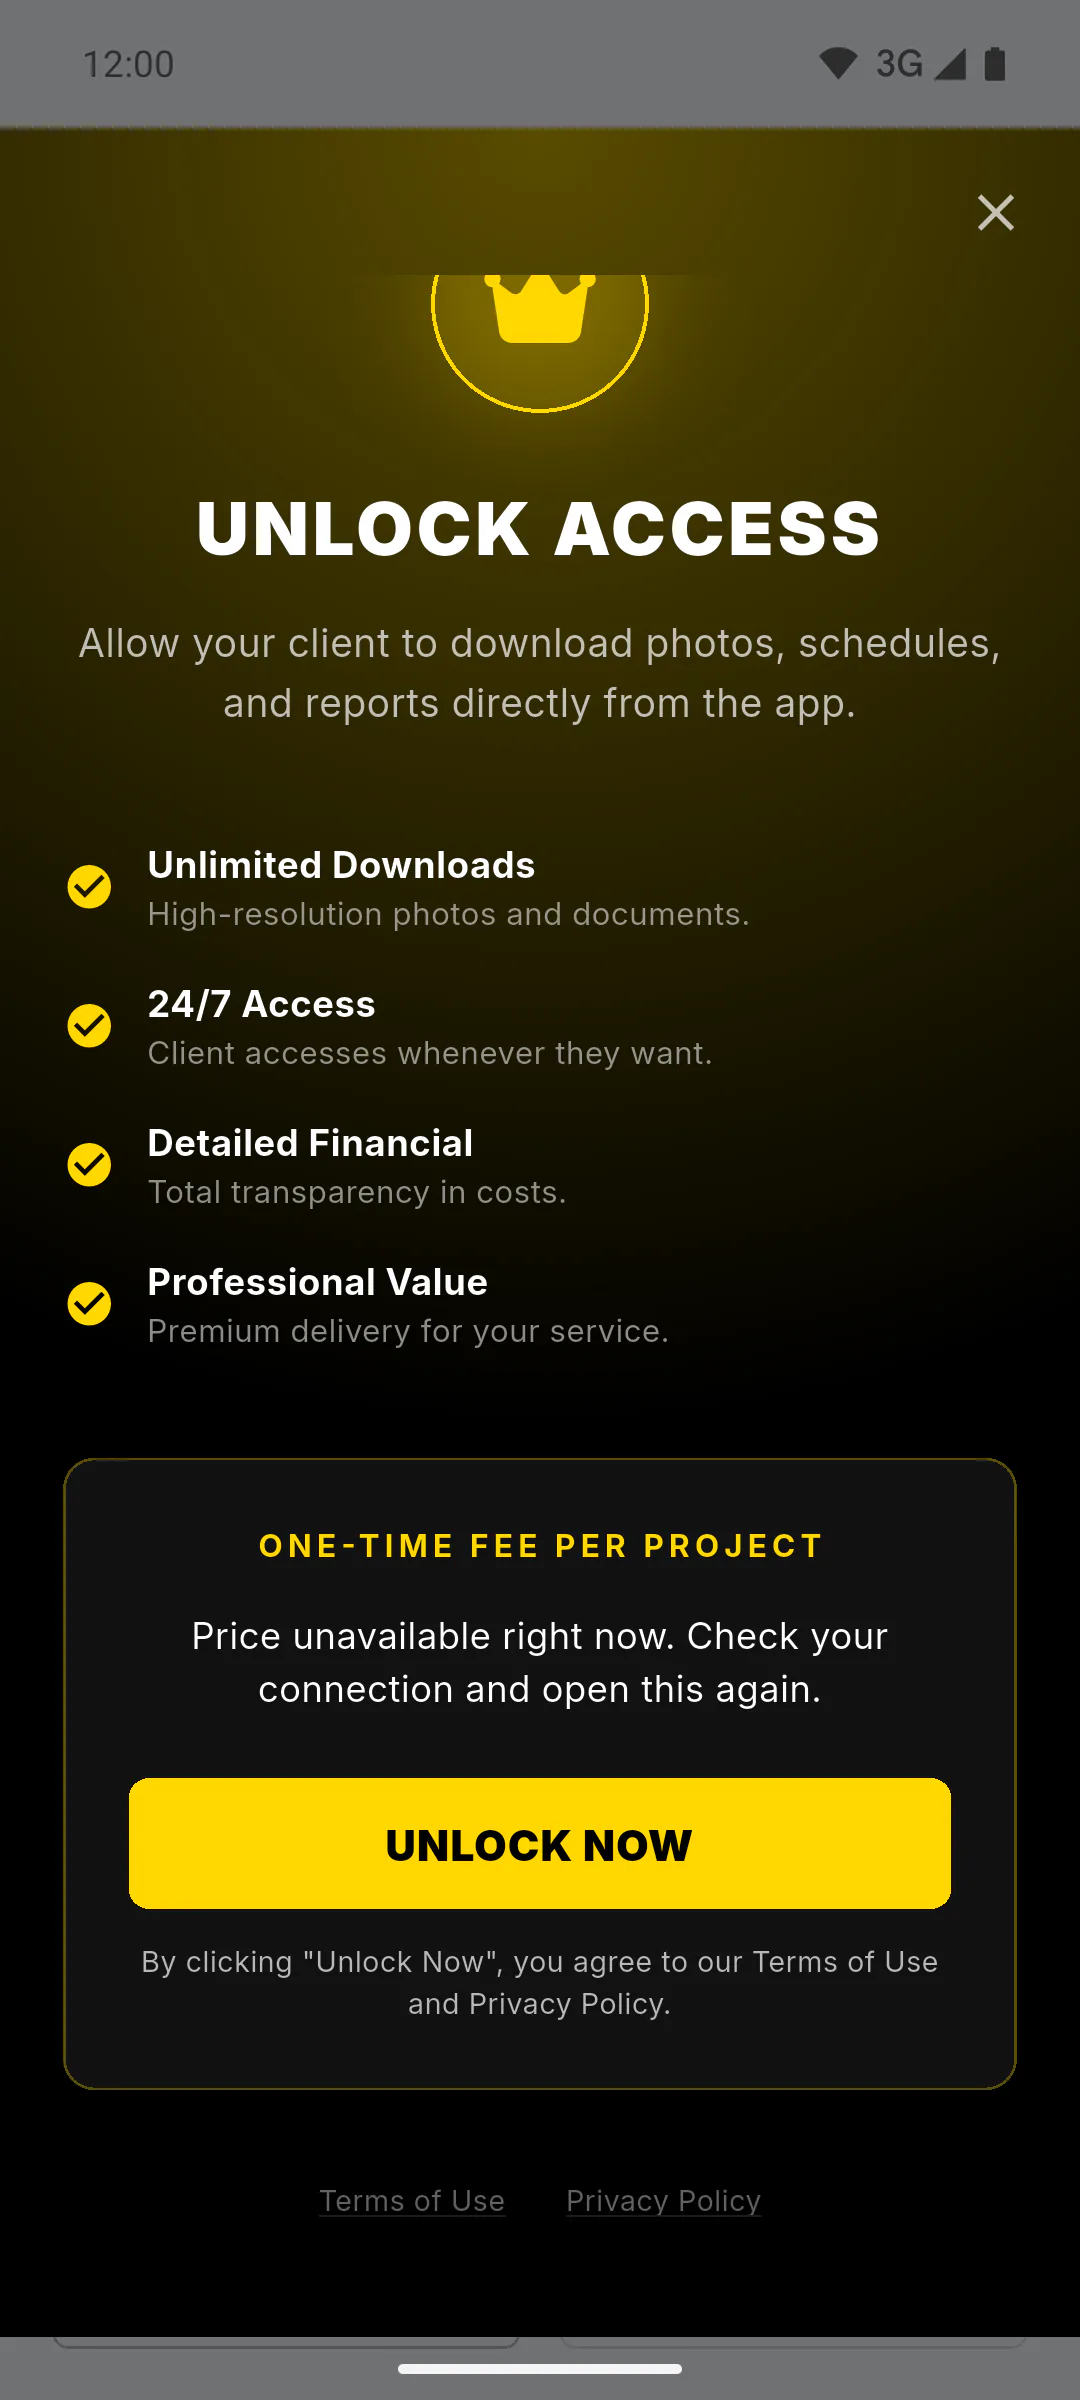
The Unlock Access screen shows the benefits and the One-Time Fee per Project. Tap Unlock Now.
- On a phone (Android or iPhone), you pay through the device's app store. If the purchase went through but access wasn't unlocked, tap Unlock Now again: the app finishes without charging you twice.
- On the web and on Windows, payment opens in your browser. Finish it there: the app waits for confirmation and unlocks on its own. If you like, tap Close and wait in background. On the web and on Windows, buying is only for accounts in Brazil: outside Brazil you'll see Subscribe and buy in the app, and you pay the fee in the phone app.
Step 5: Choose what the client sees
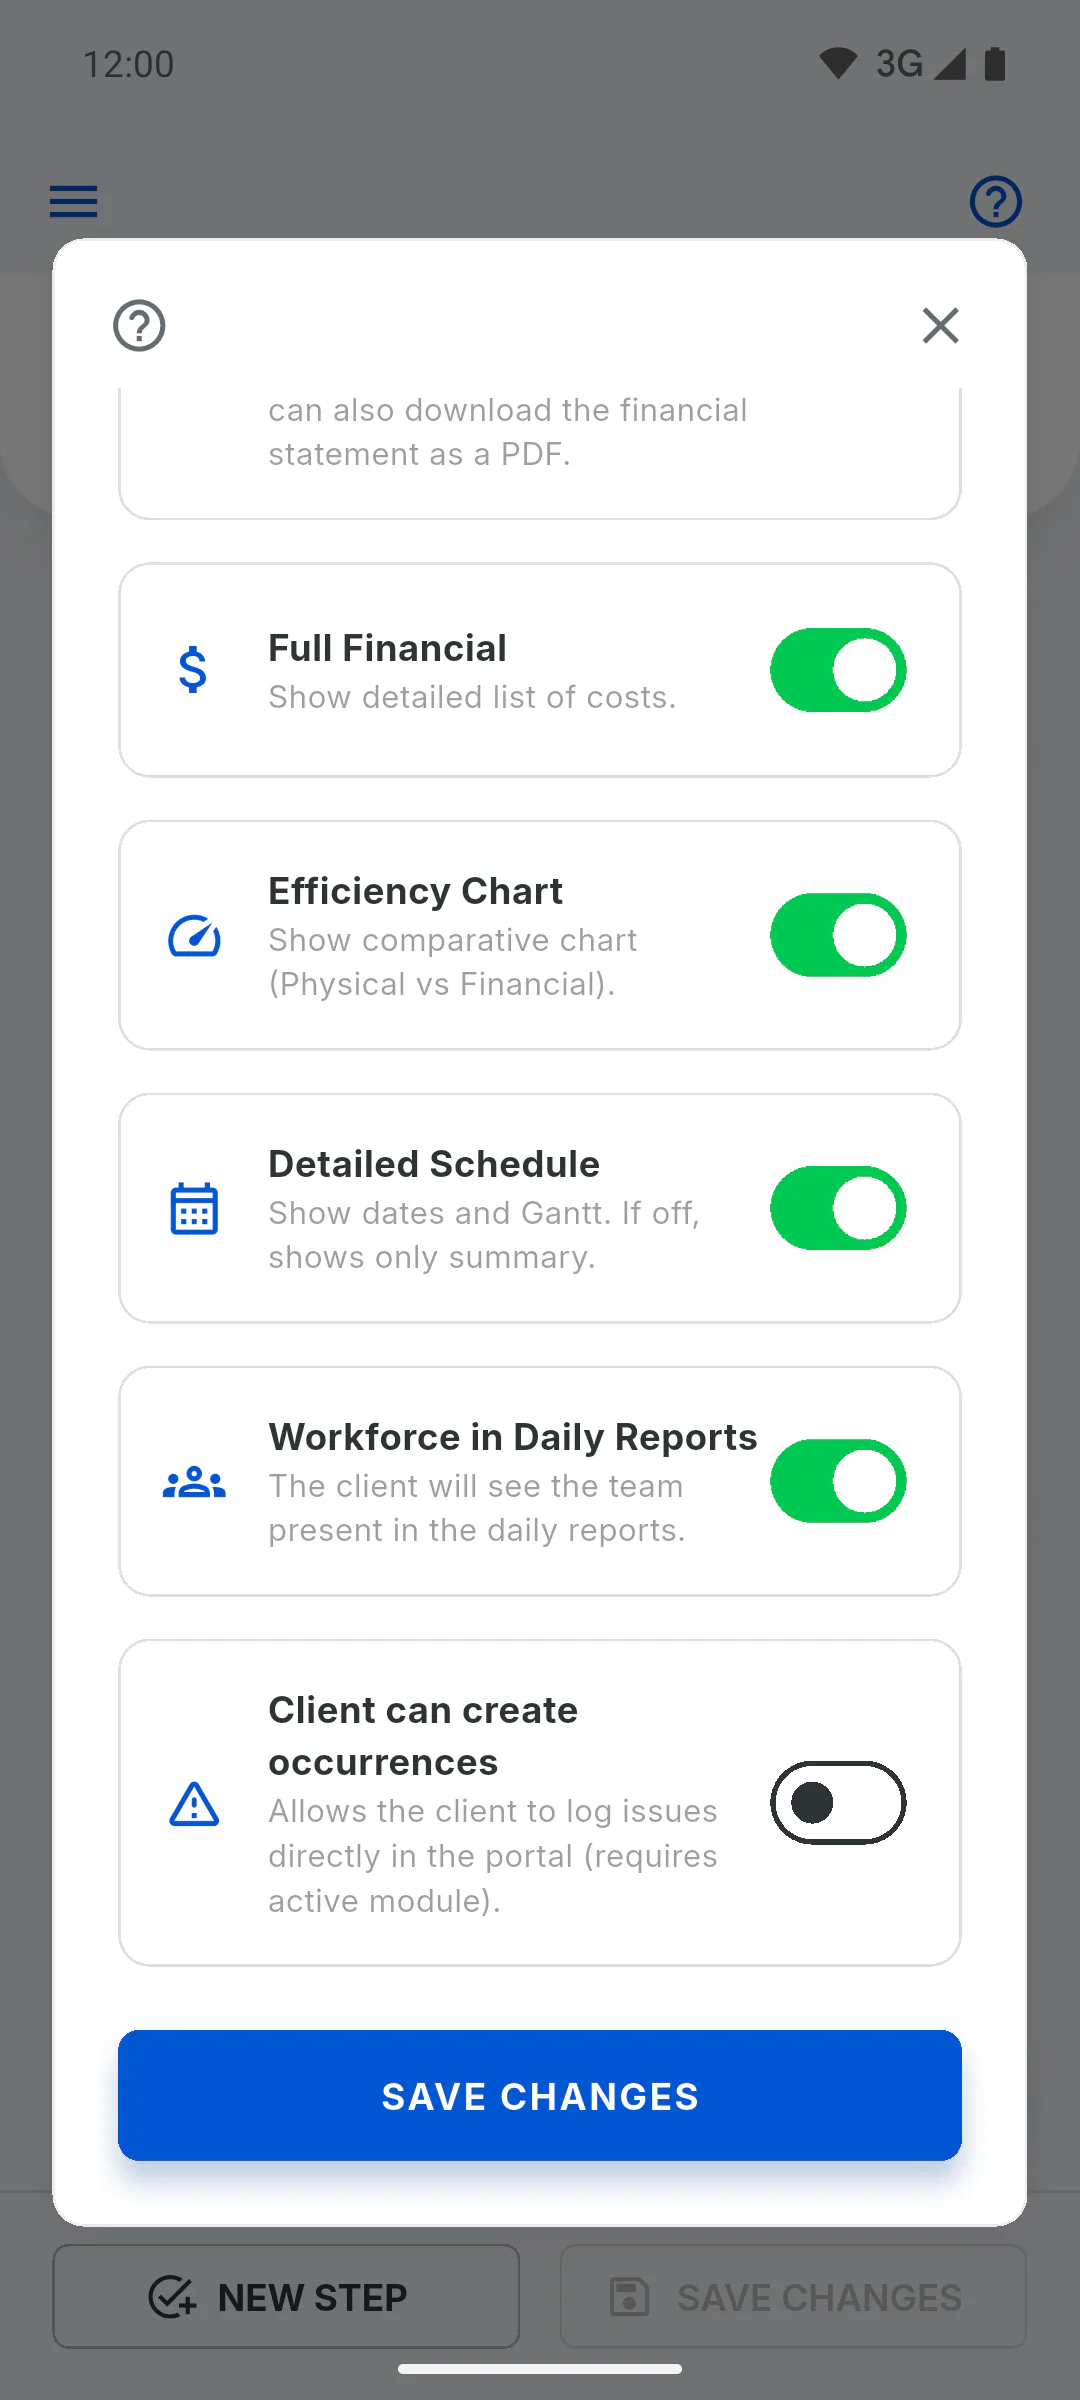
Once payment is confirmed, the window shows Access Granted, and the menu card shows Access Granted and Configure. Turn on the switches for what the client can see and download, then tap Save Changes.
Step 6: Invite the client
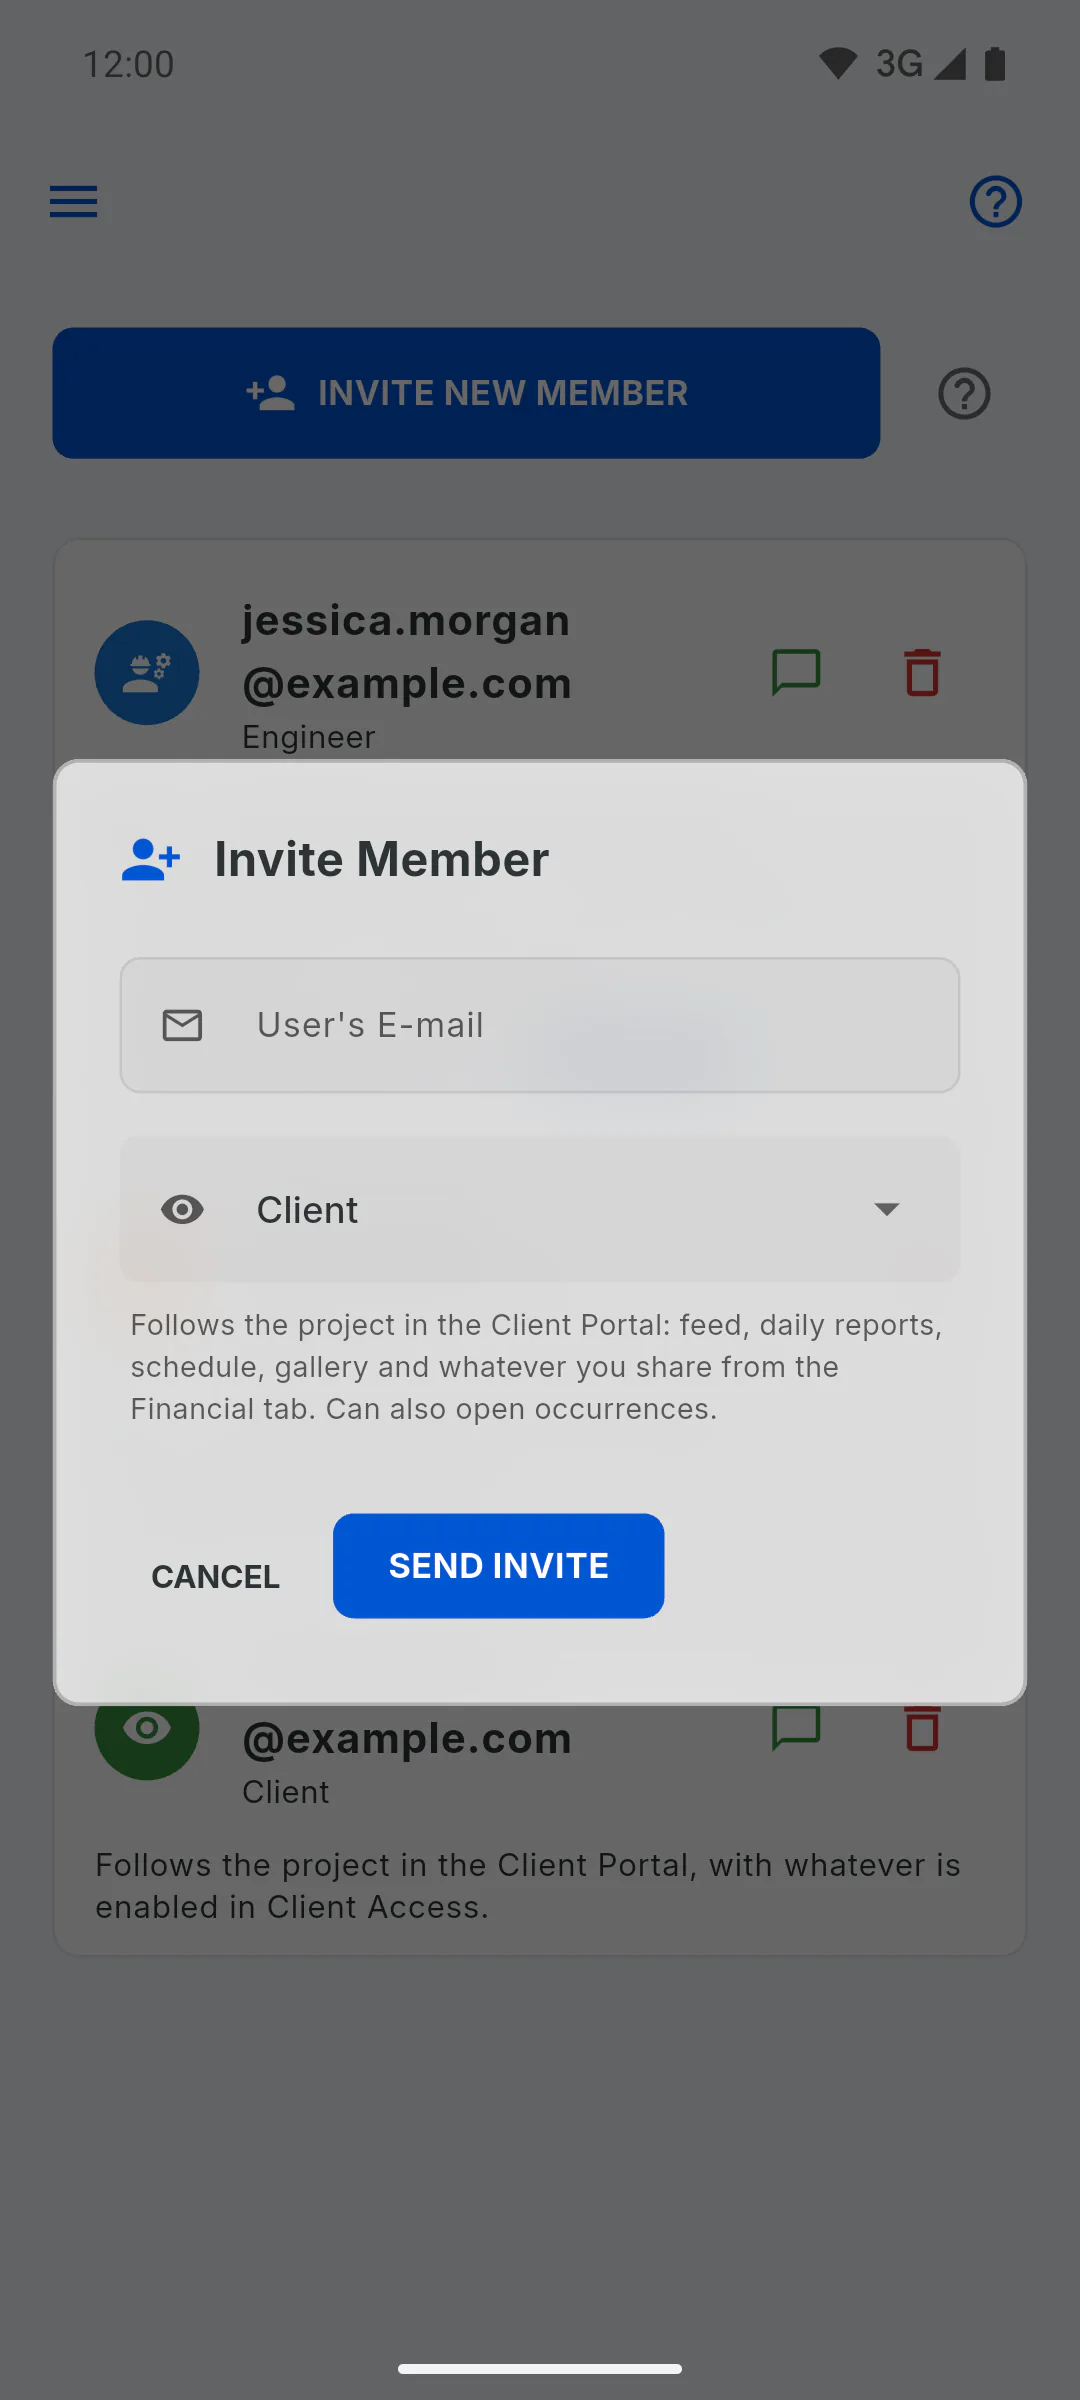
If you haven't invited the client yet, invite them from the project's Team with the Client role. When they sign in, the app takes them straight to the Client Portal.
What Client Access is and how to unlock it for a project
Learn what Client Access unlocks for your client in the Client Portal and how to pay the project's one-time fee on a phone, on the web or on Windows.
For managers6 steps
Didn't find what you were looking for?
Chat with support on WhatsApp or open a ticket right in the app.