
Step 1: Project deadline and value
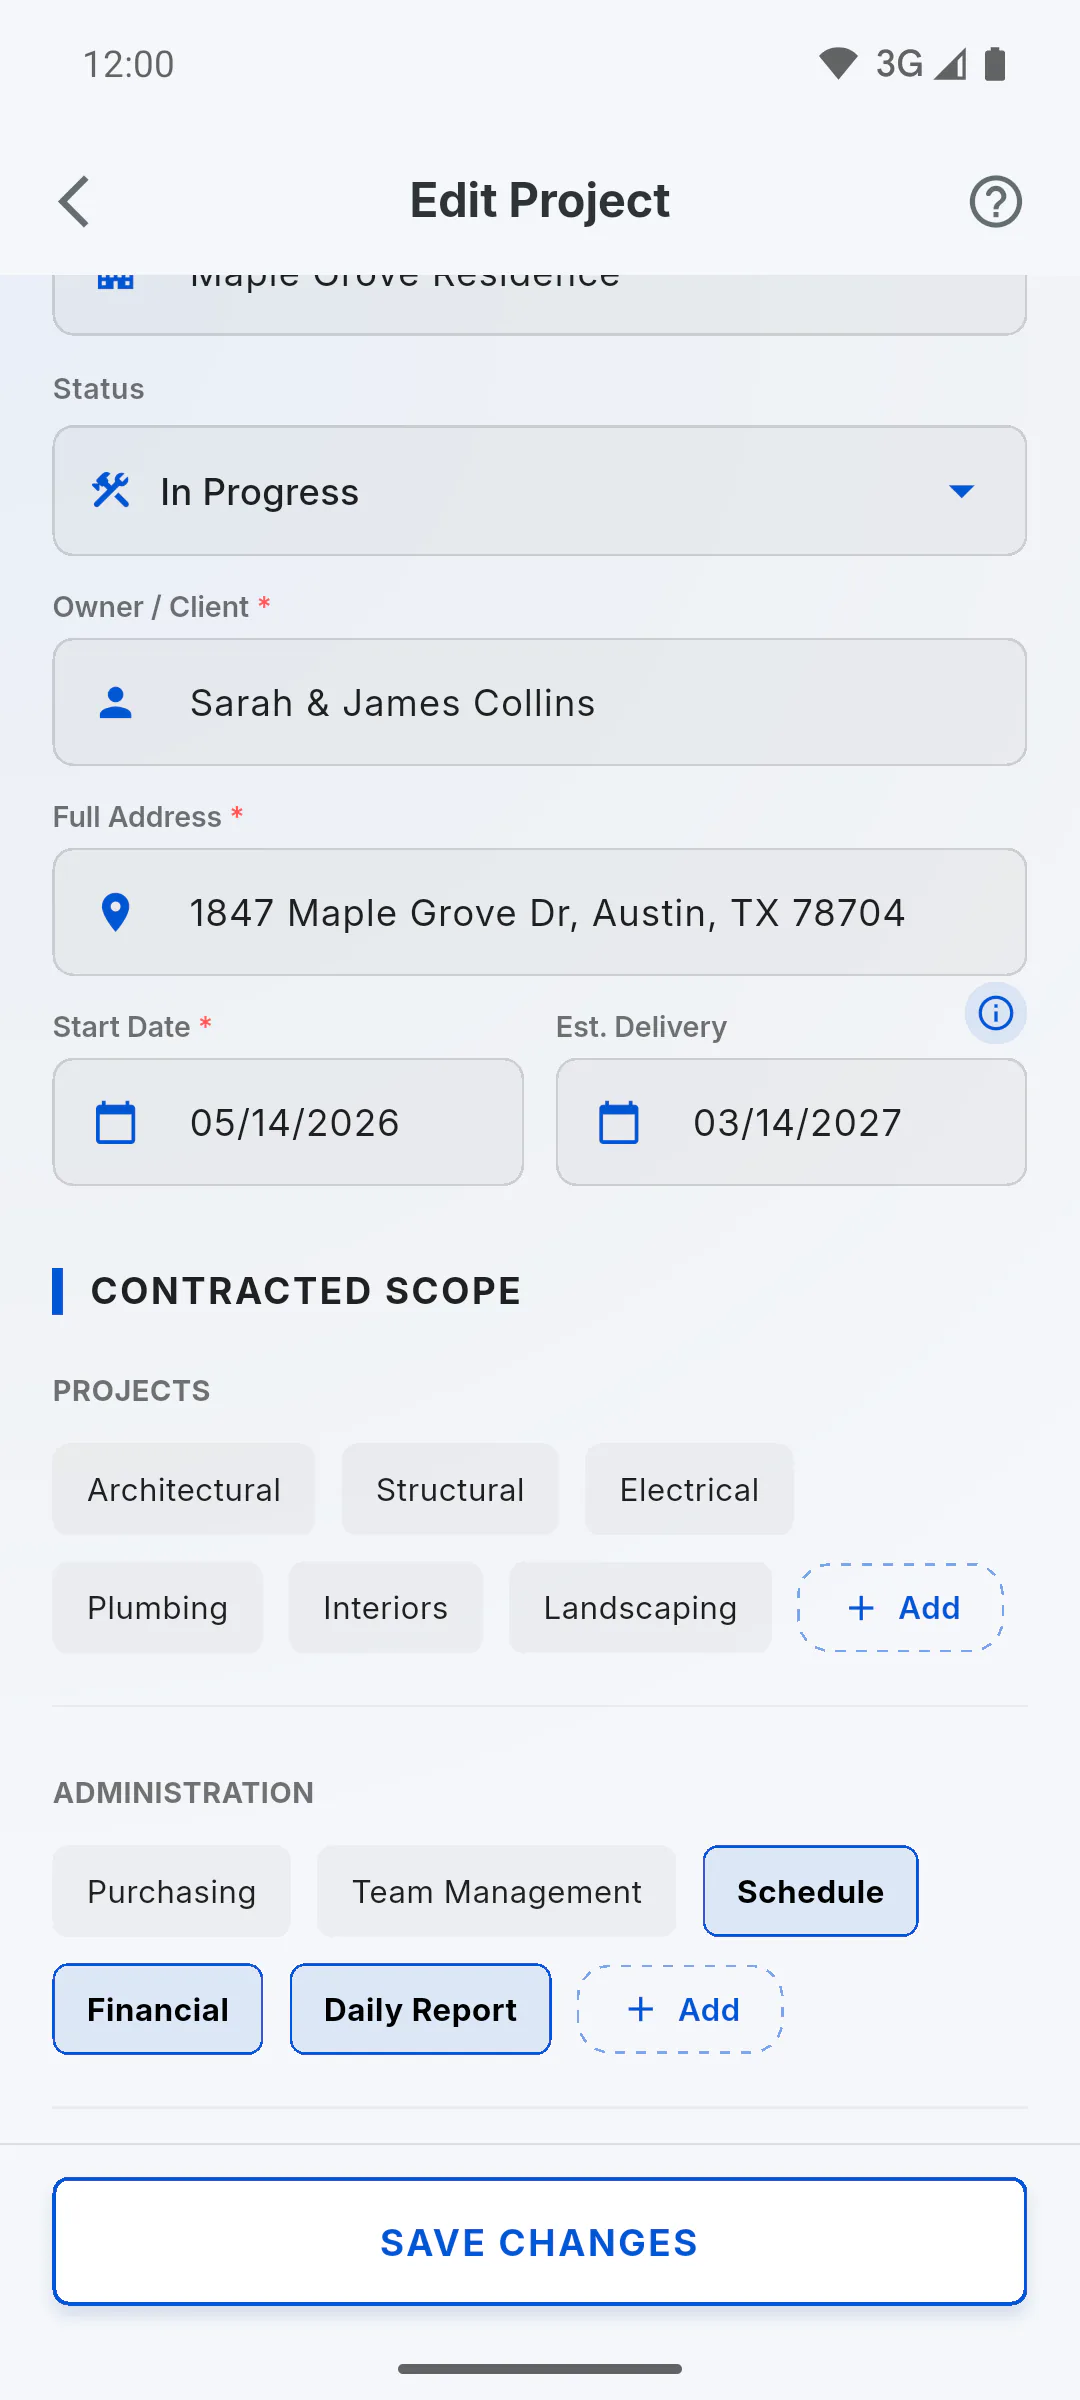
The project deadline runs from Start Date to Est. Delivery, and the Contract Value is the basis for stage values. Fill them in when you create the project or, if it already exists, from the three-dot menu on the Overview tab, under Edit Project. Without these dates, the deadline panel can't track time.
Step 2: Build the stages
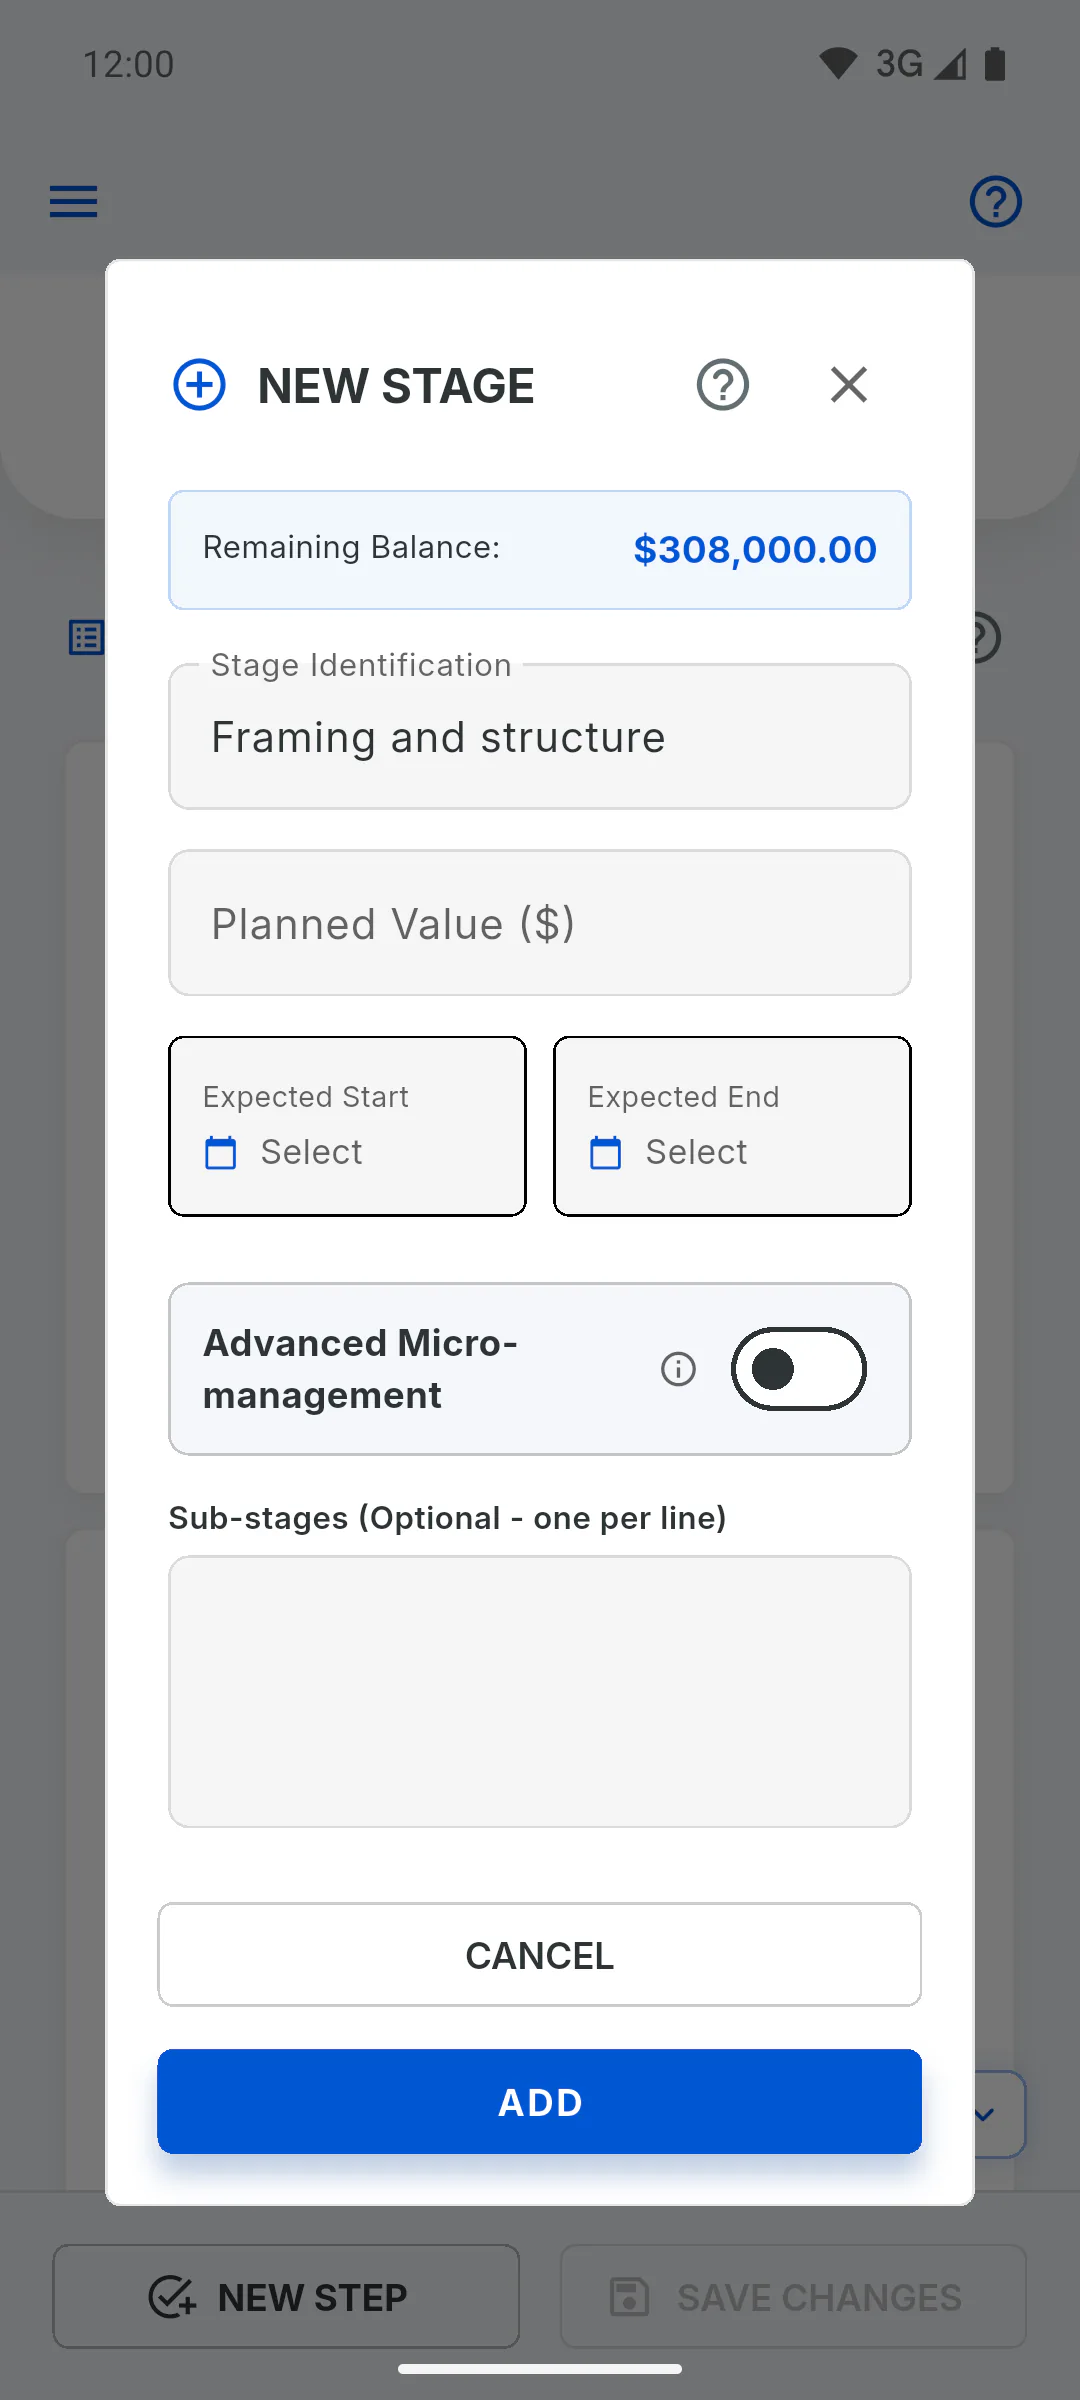
On Schedule, tap New Step for each phase of the work, with a Stage Identification and Planned Value. The value sets the stage's weight in project progress.
Step 3: Give each stage dates
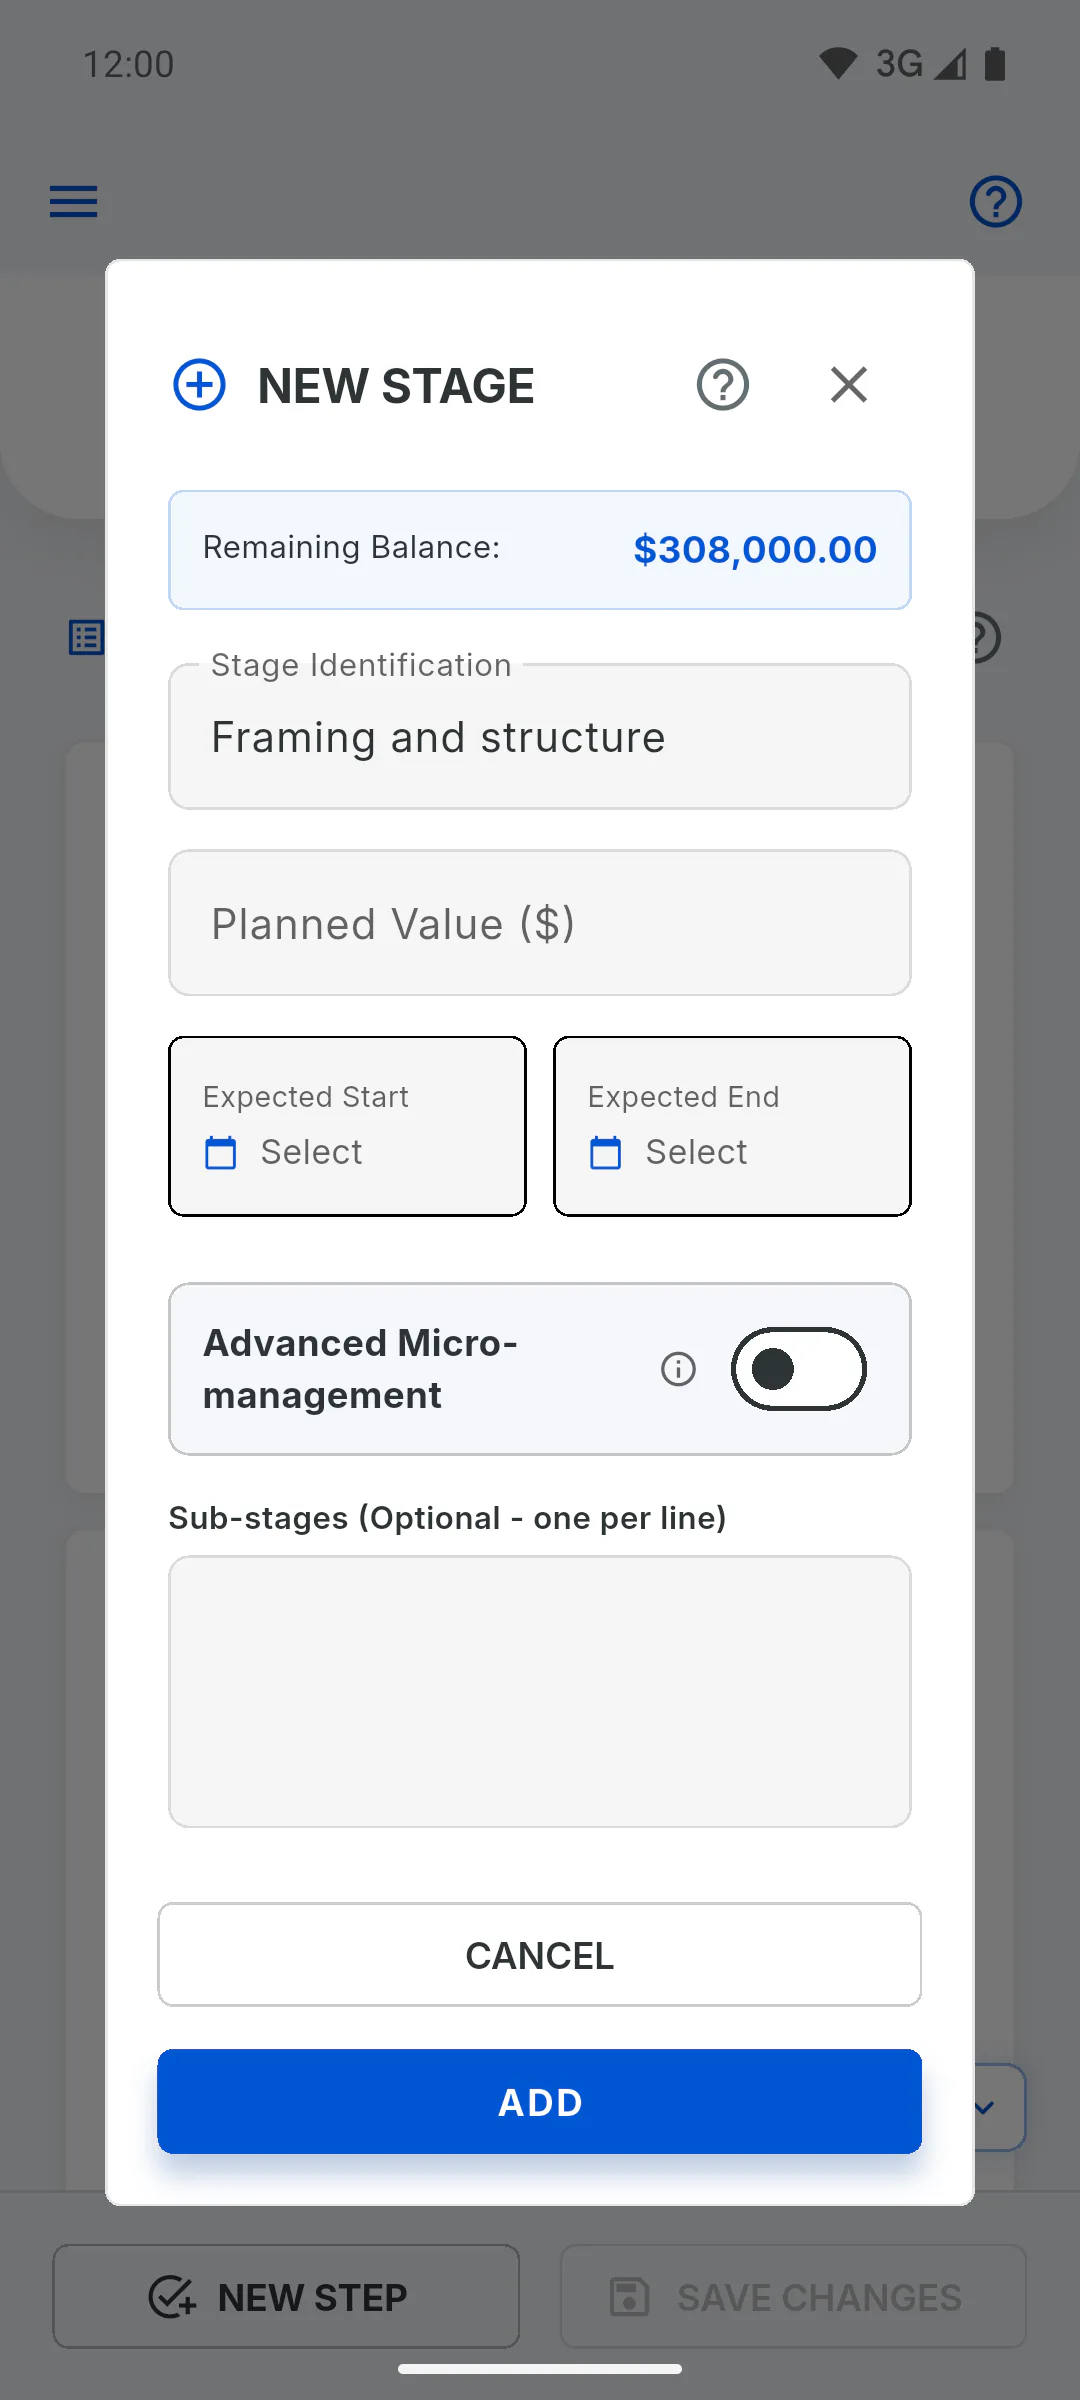
Fill in each stage's Expected Start and Expected End, when you create it or from the card's three-dot menu, under Edit Stage. With an expected end, the stage gets the Delayed label if the date passes before it reaches 100%.
Step 4: Break up long stages
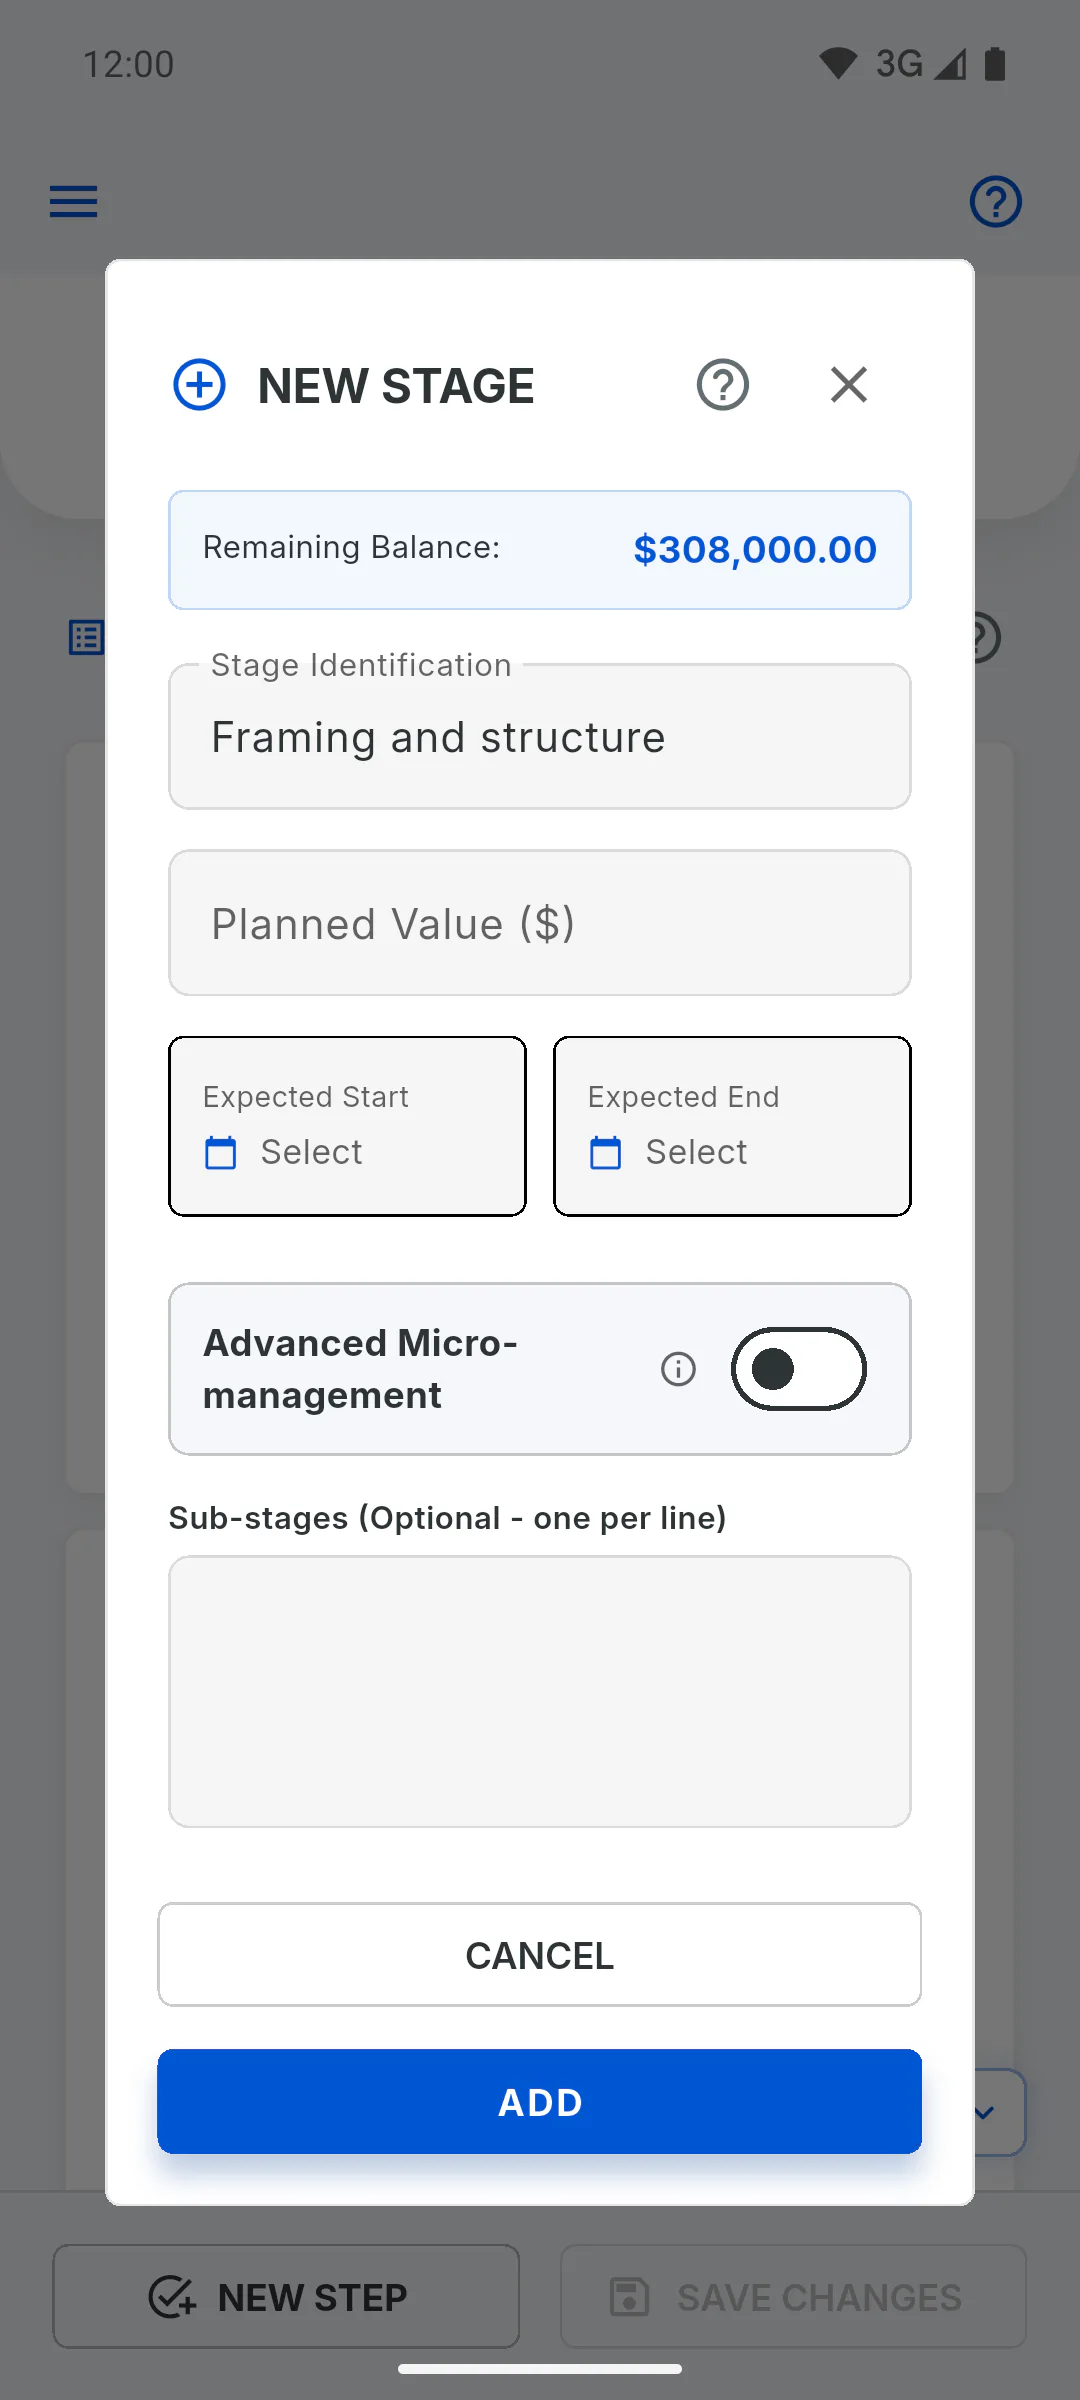
To track a stage in parts, turn on Advanced Micro-management and create sub-stages with weights and dates. The stage's progress then comes from its sub-stages.
Step 5: Update progress every week
Pick a day of the week to measure the work. On Schedule, drag each stage's slider to the percentage completed and tap Save Changes. If overall progress goes down, the app asks for a reason.
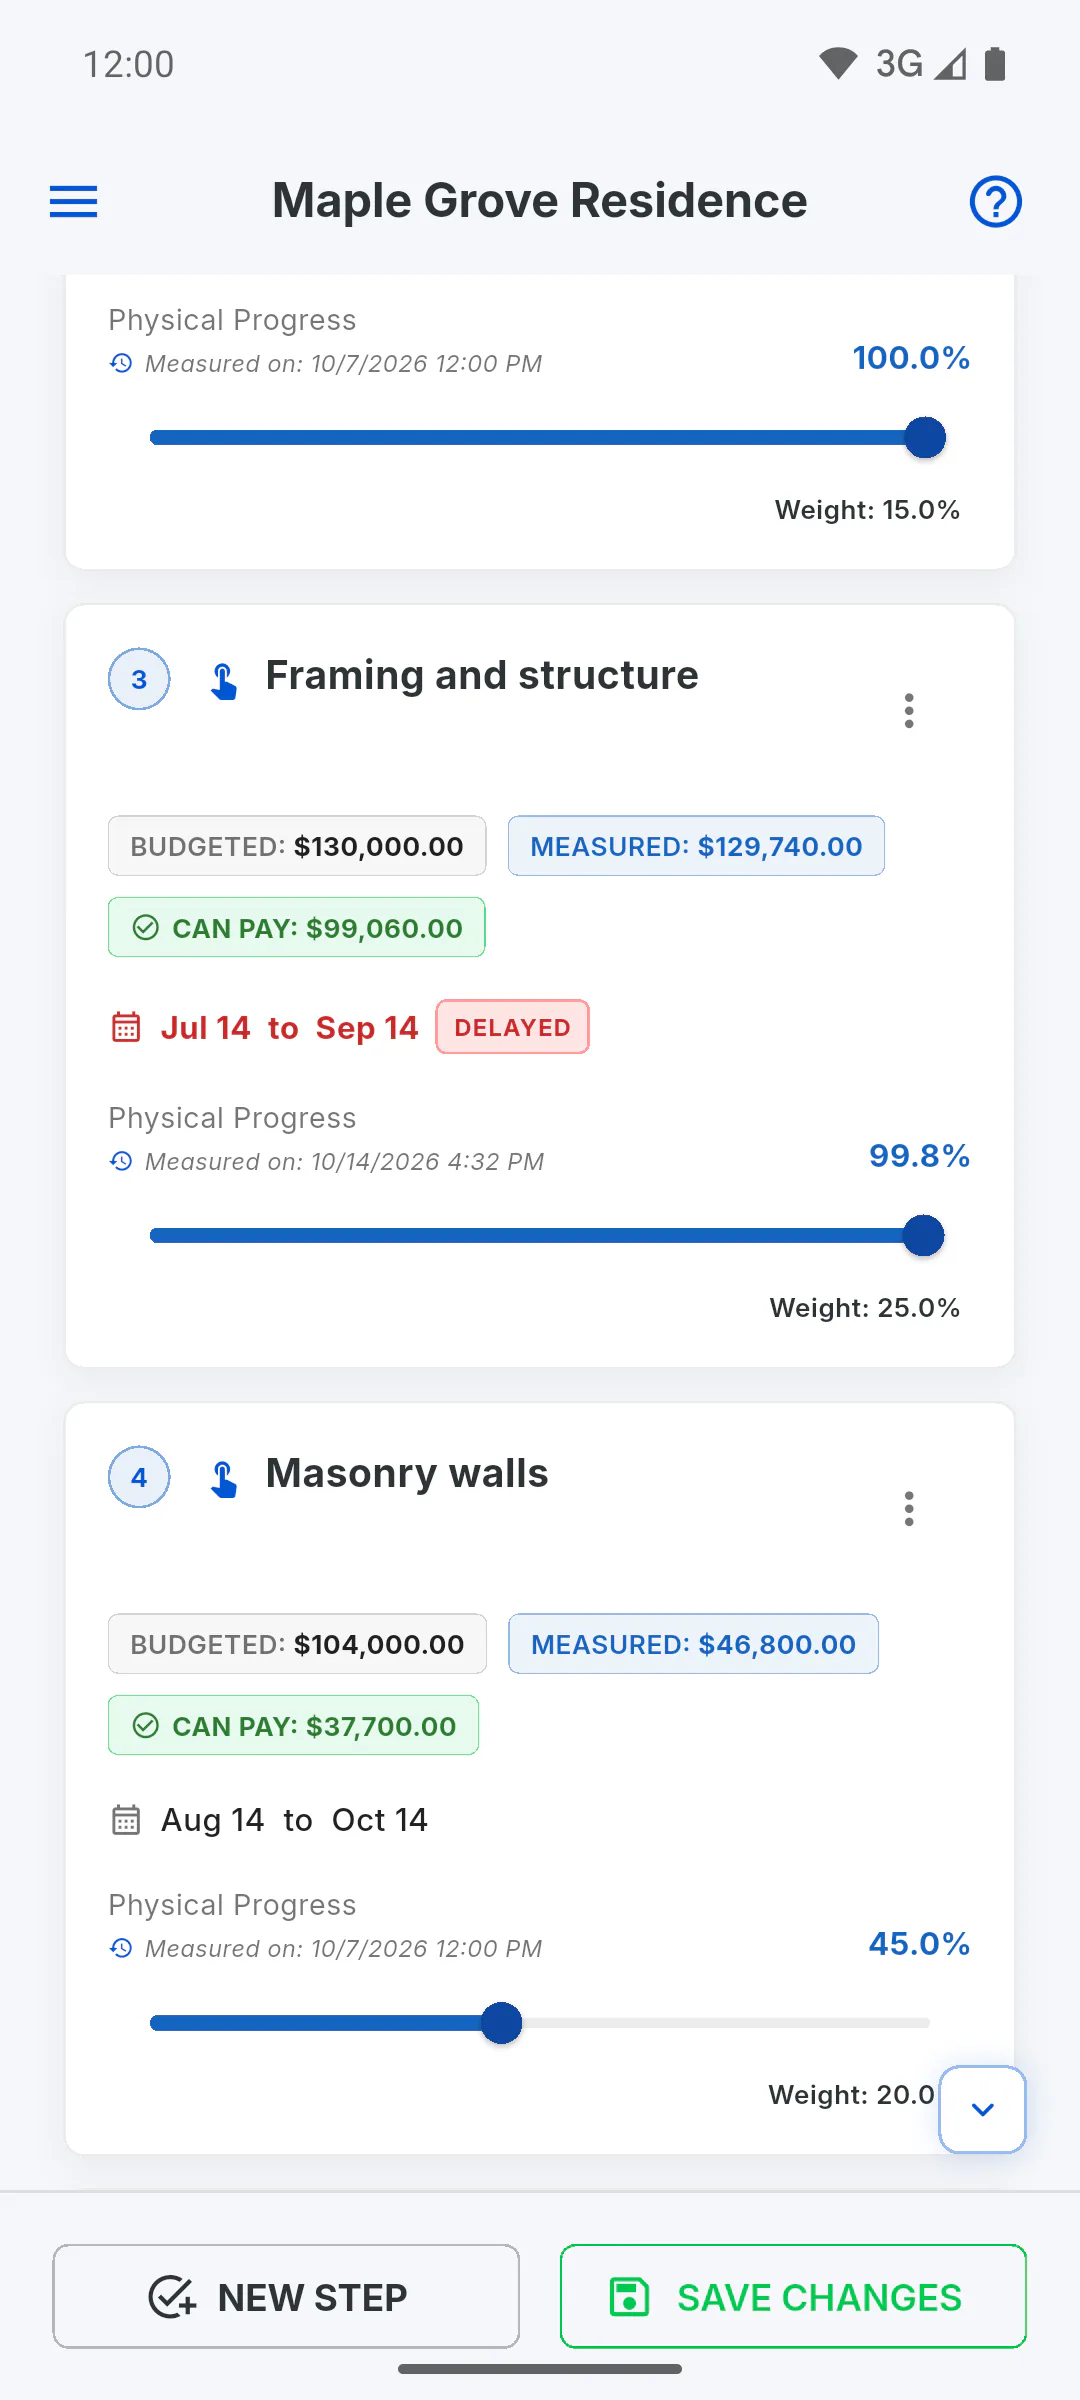
Step 6: Read the deadline panel
At the top of Schedule, compare Physical Progress with Elapsed Time. Current Status shows Delayed, On Time or Ahead, with a margin of 5 points either way.
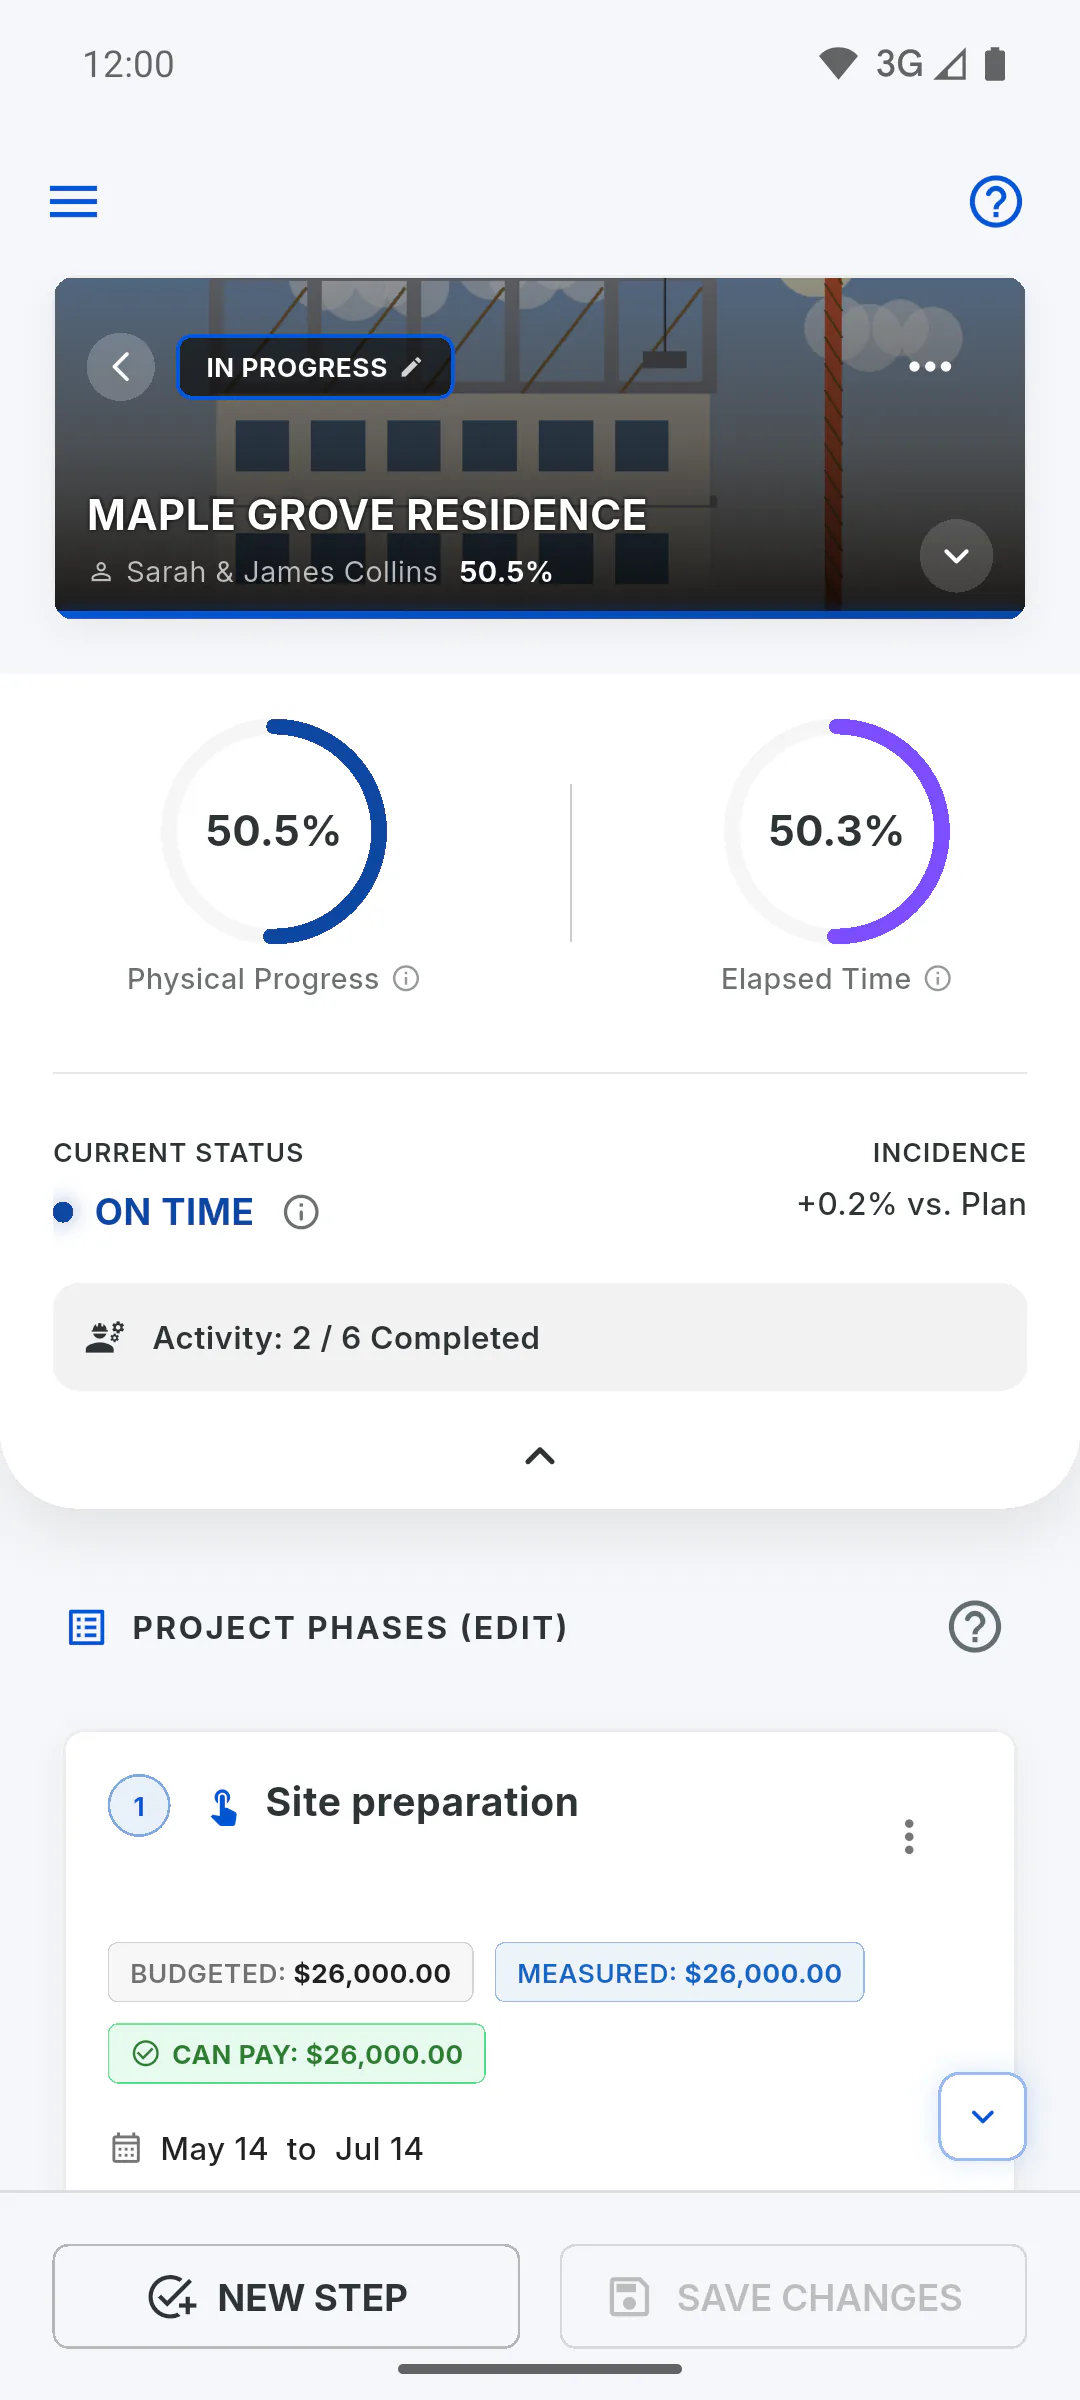
Step 7: Check the stage labels
On each card, Budgeted is the stage value and Measured is how much of it has been done. With expenses linked to the stage in Financial, Can Pay shows work done that hasn't been paid yet, and Overpaid appears when payments go beyond the work done.
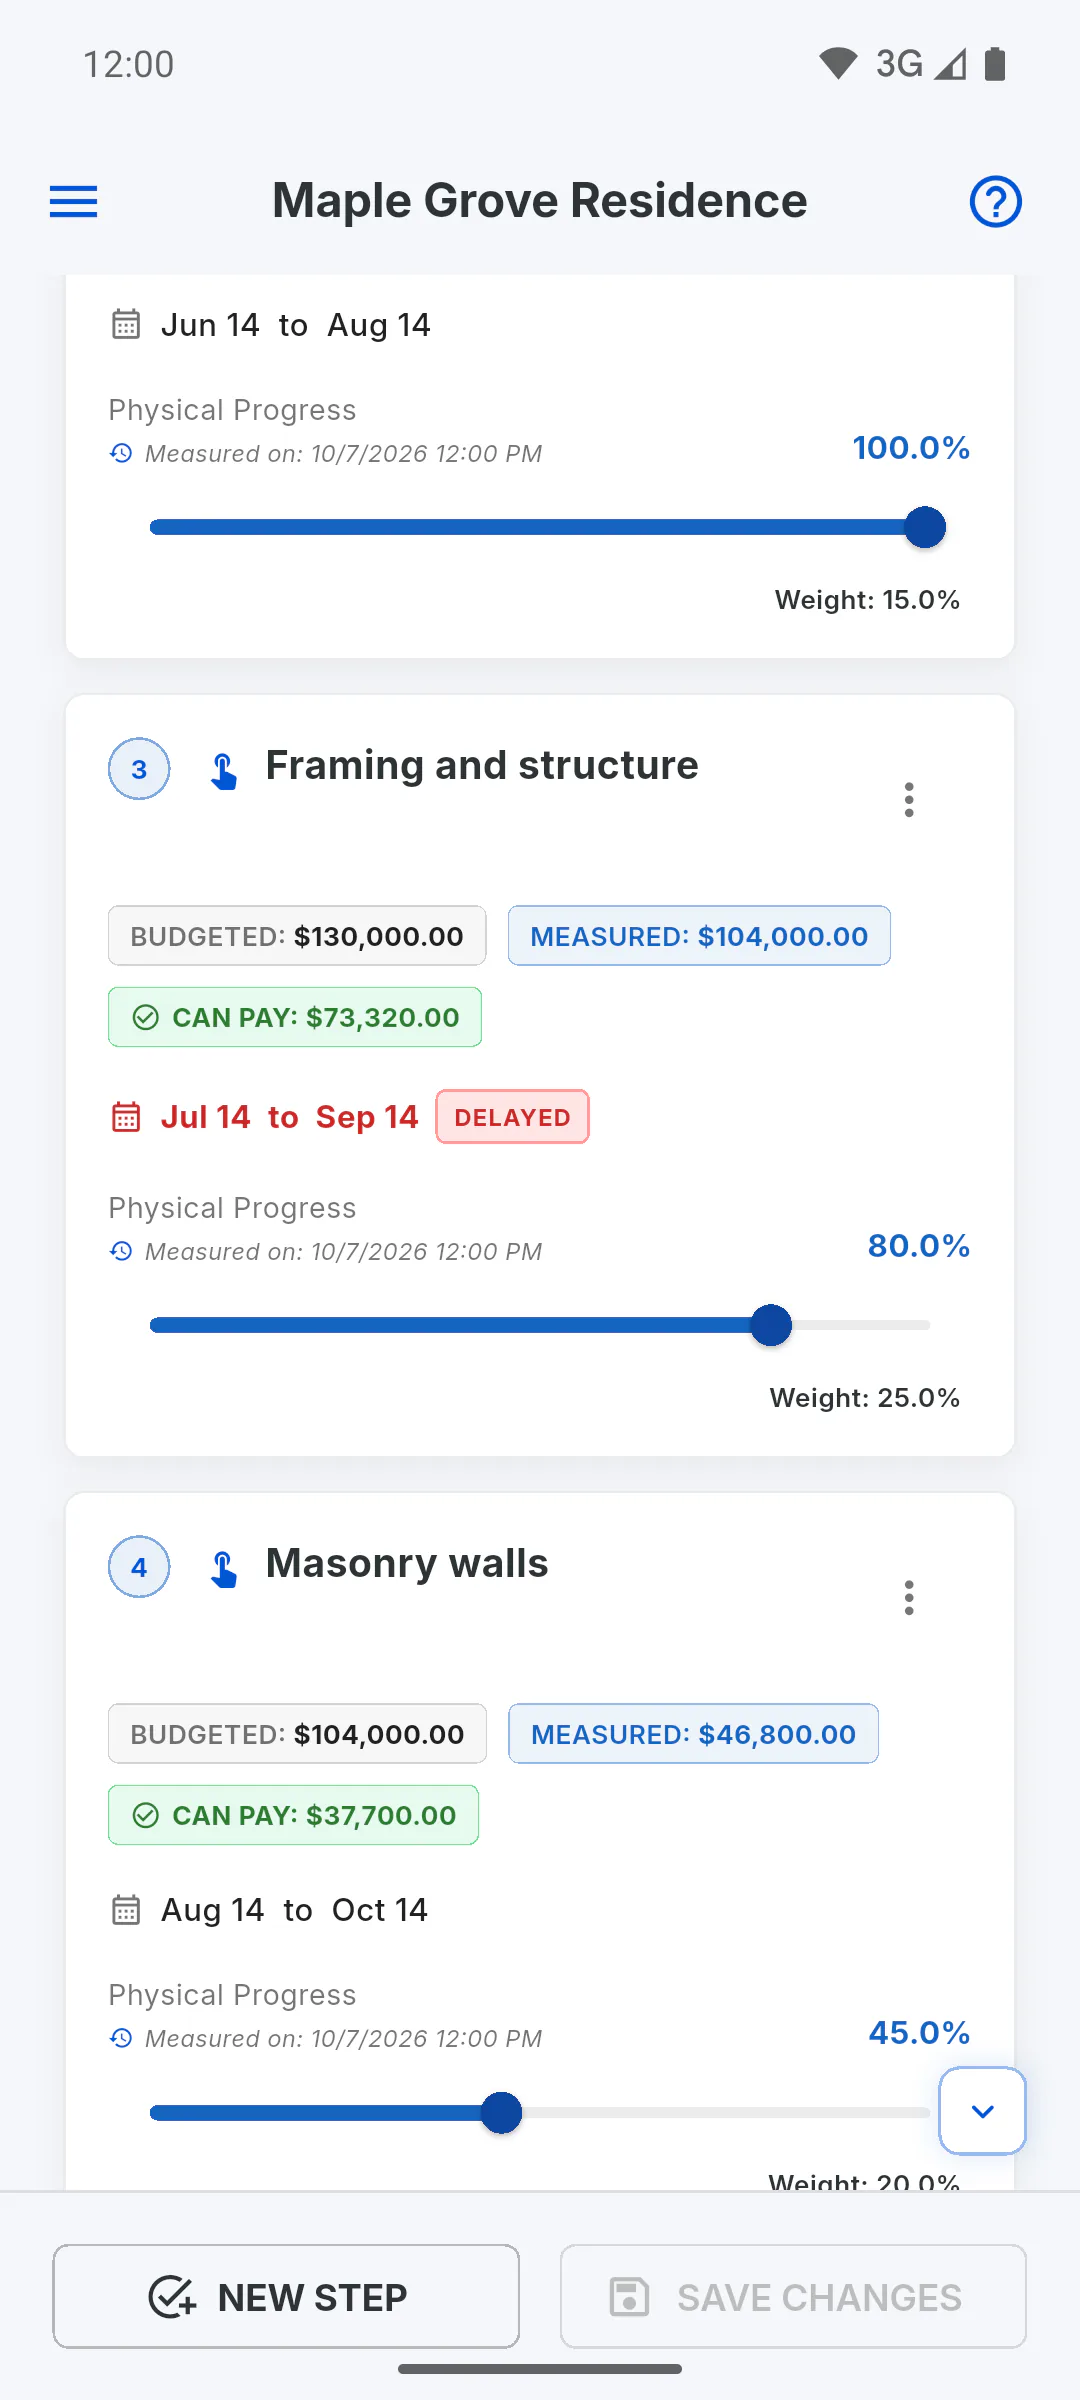
Step 8: Record the measurement
From the card's three-dot menu, Measurement Report creates a PDF for the stage with budget, physical progress and payments. Save the schedule before you generate it.
- How to create a stage's Measurement Report
- Your client follows the deadline in the Portal: How to follow the schedule
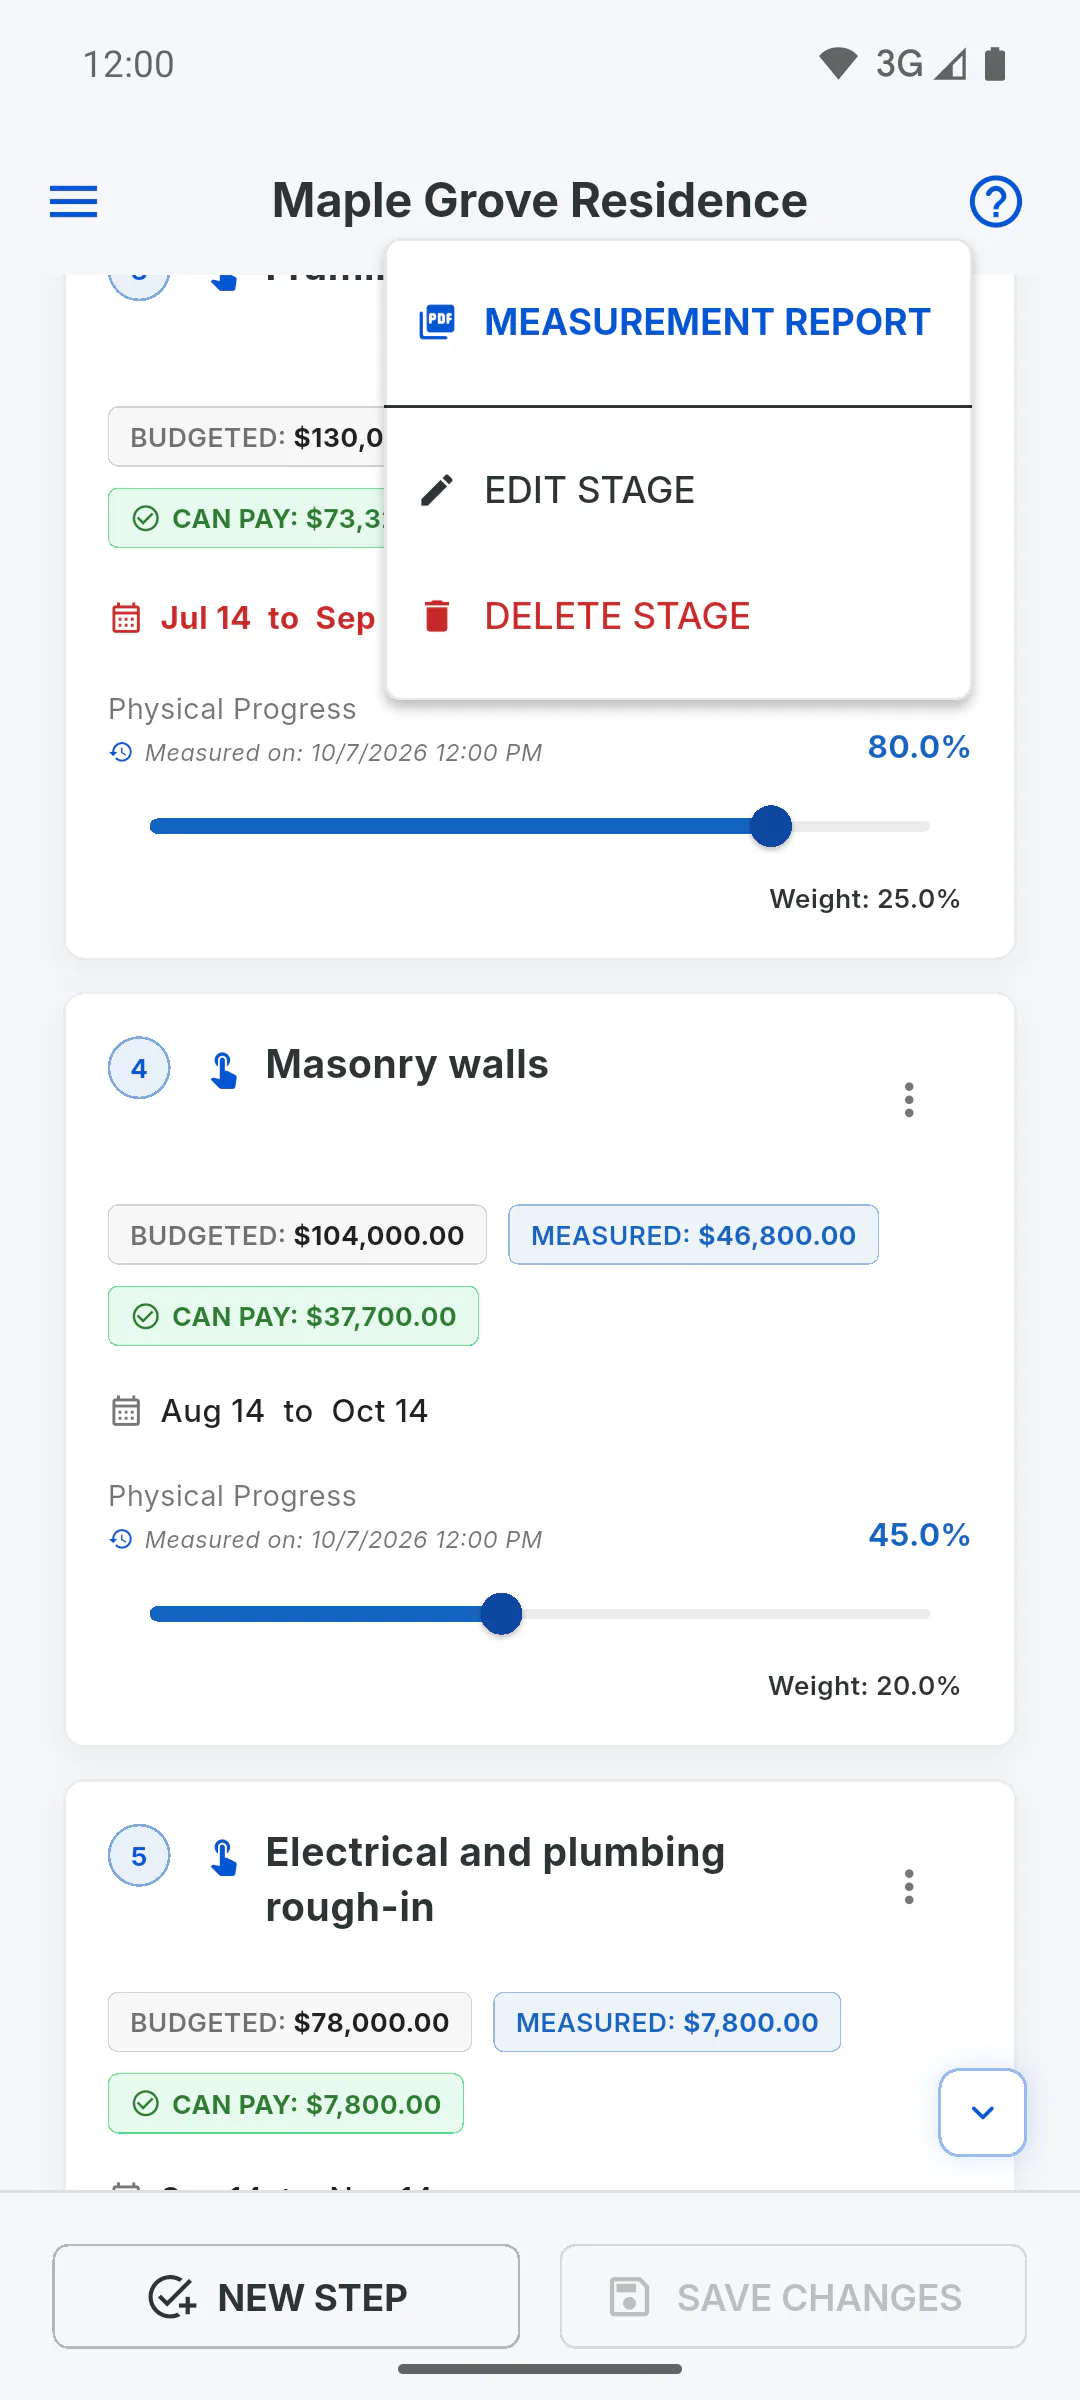
Plan your project: deadline, stages and weekly progress tracking
Set the project deadline and value, build stages with dates, update progress every week and use the deadline panel to see whether the project is behind.
For managers8 steps
Didn't find what you were looking for?
Chat with support on WhatsApp or open a ticket right in the app.