
Step 1: Open a new purchase record
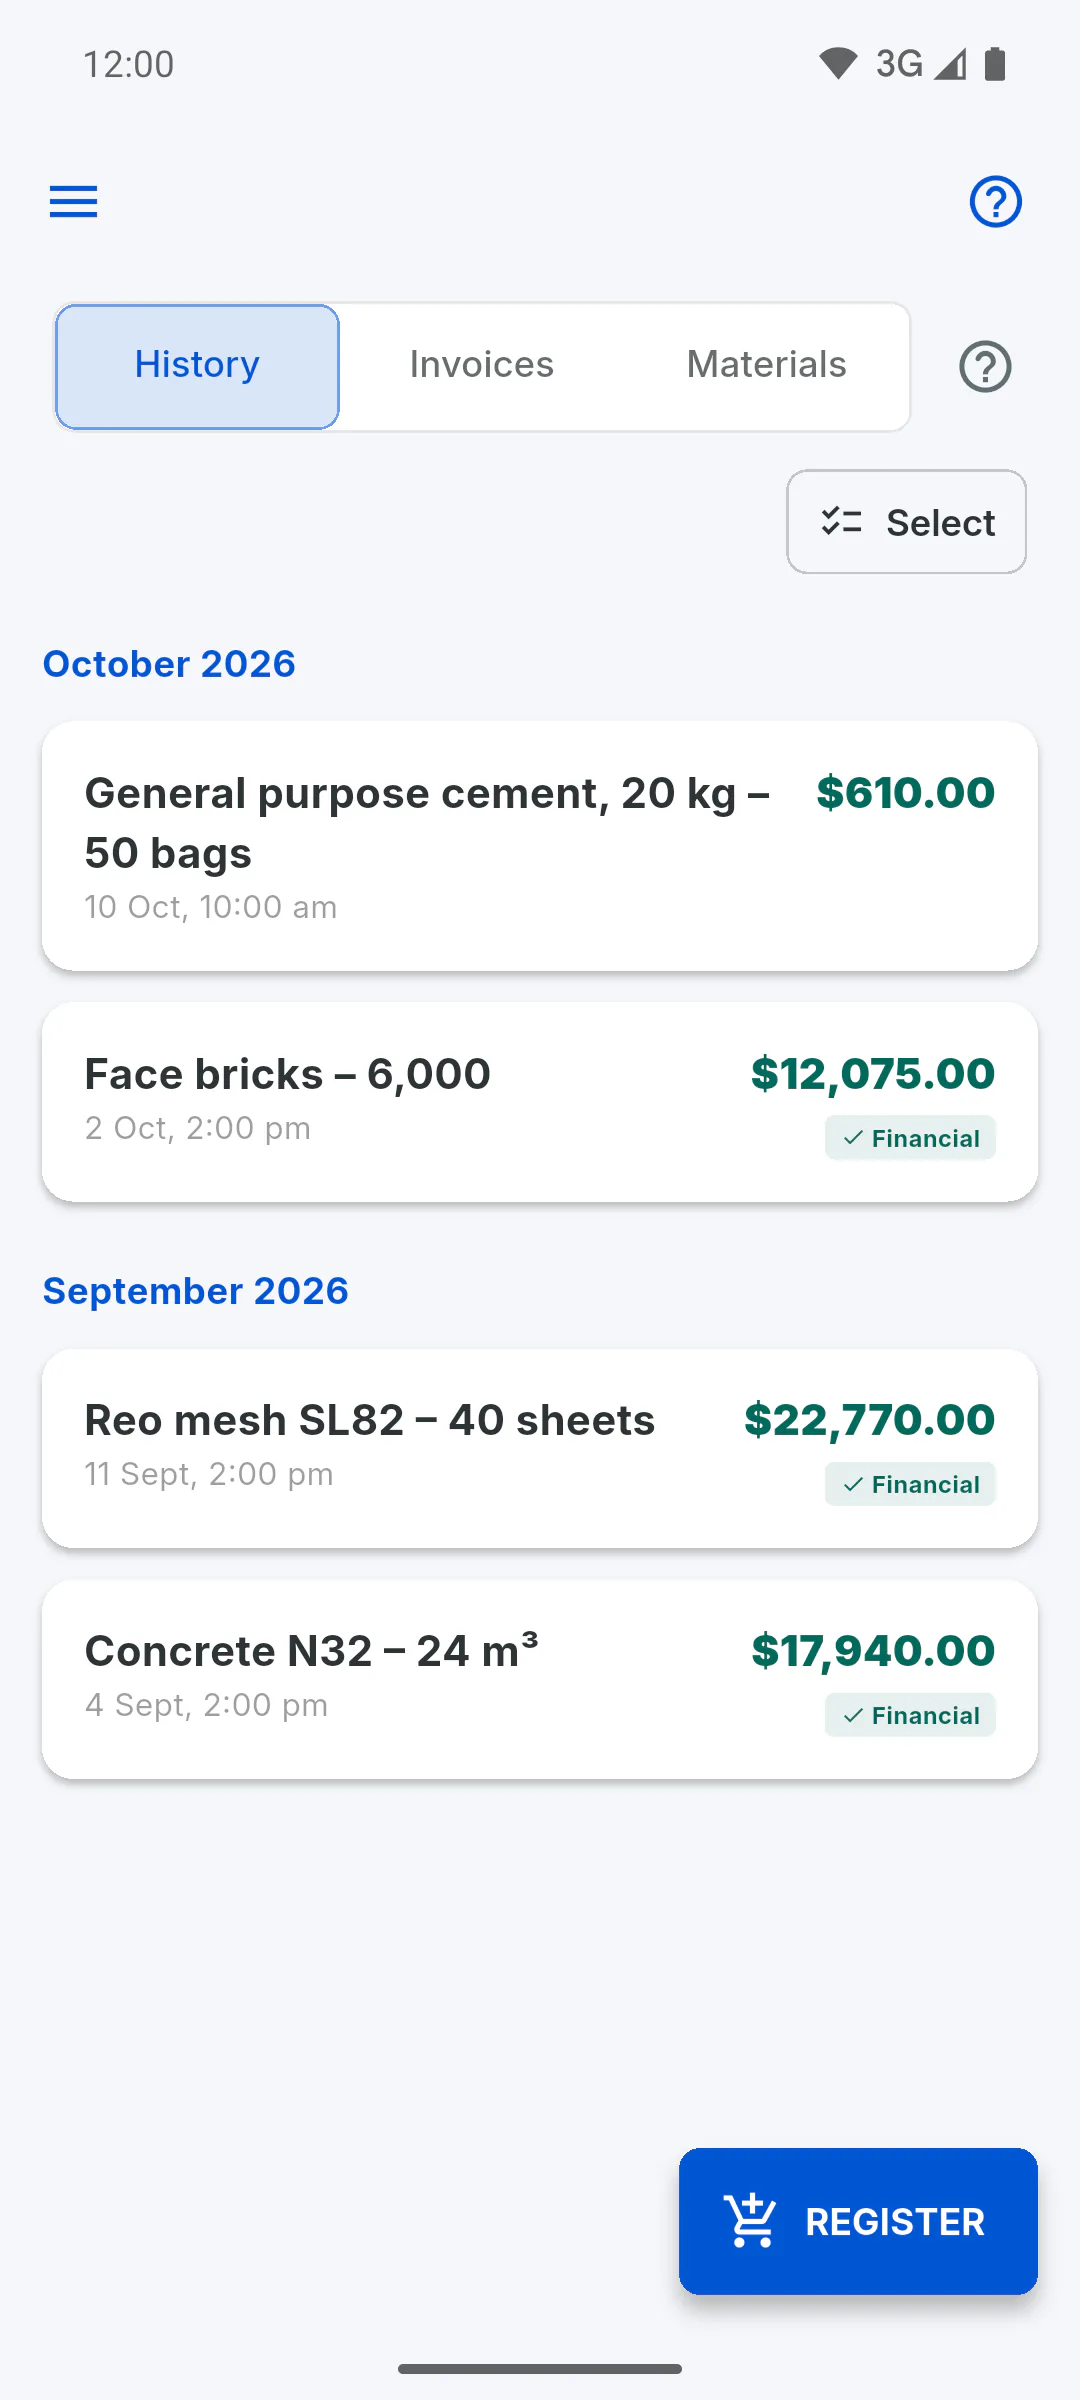
Open the project and, in the project menu, tap Supplies. Then tap Register. The Register Material screen opens.
Step 2: Add the invoice
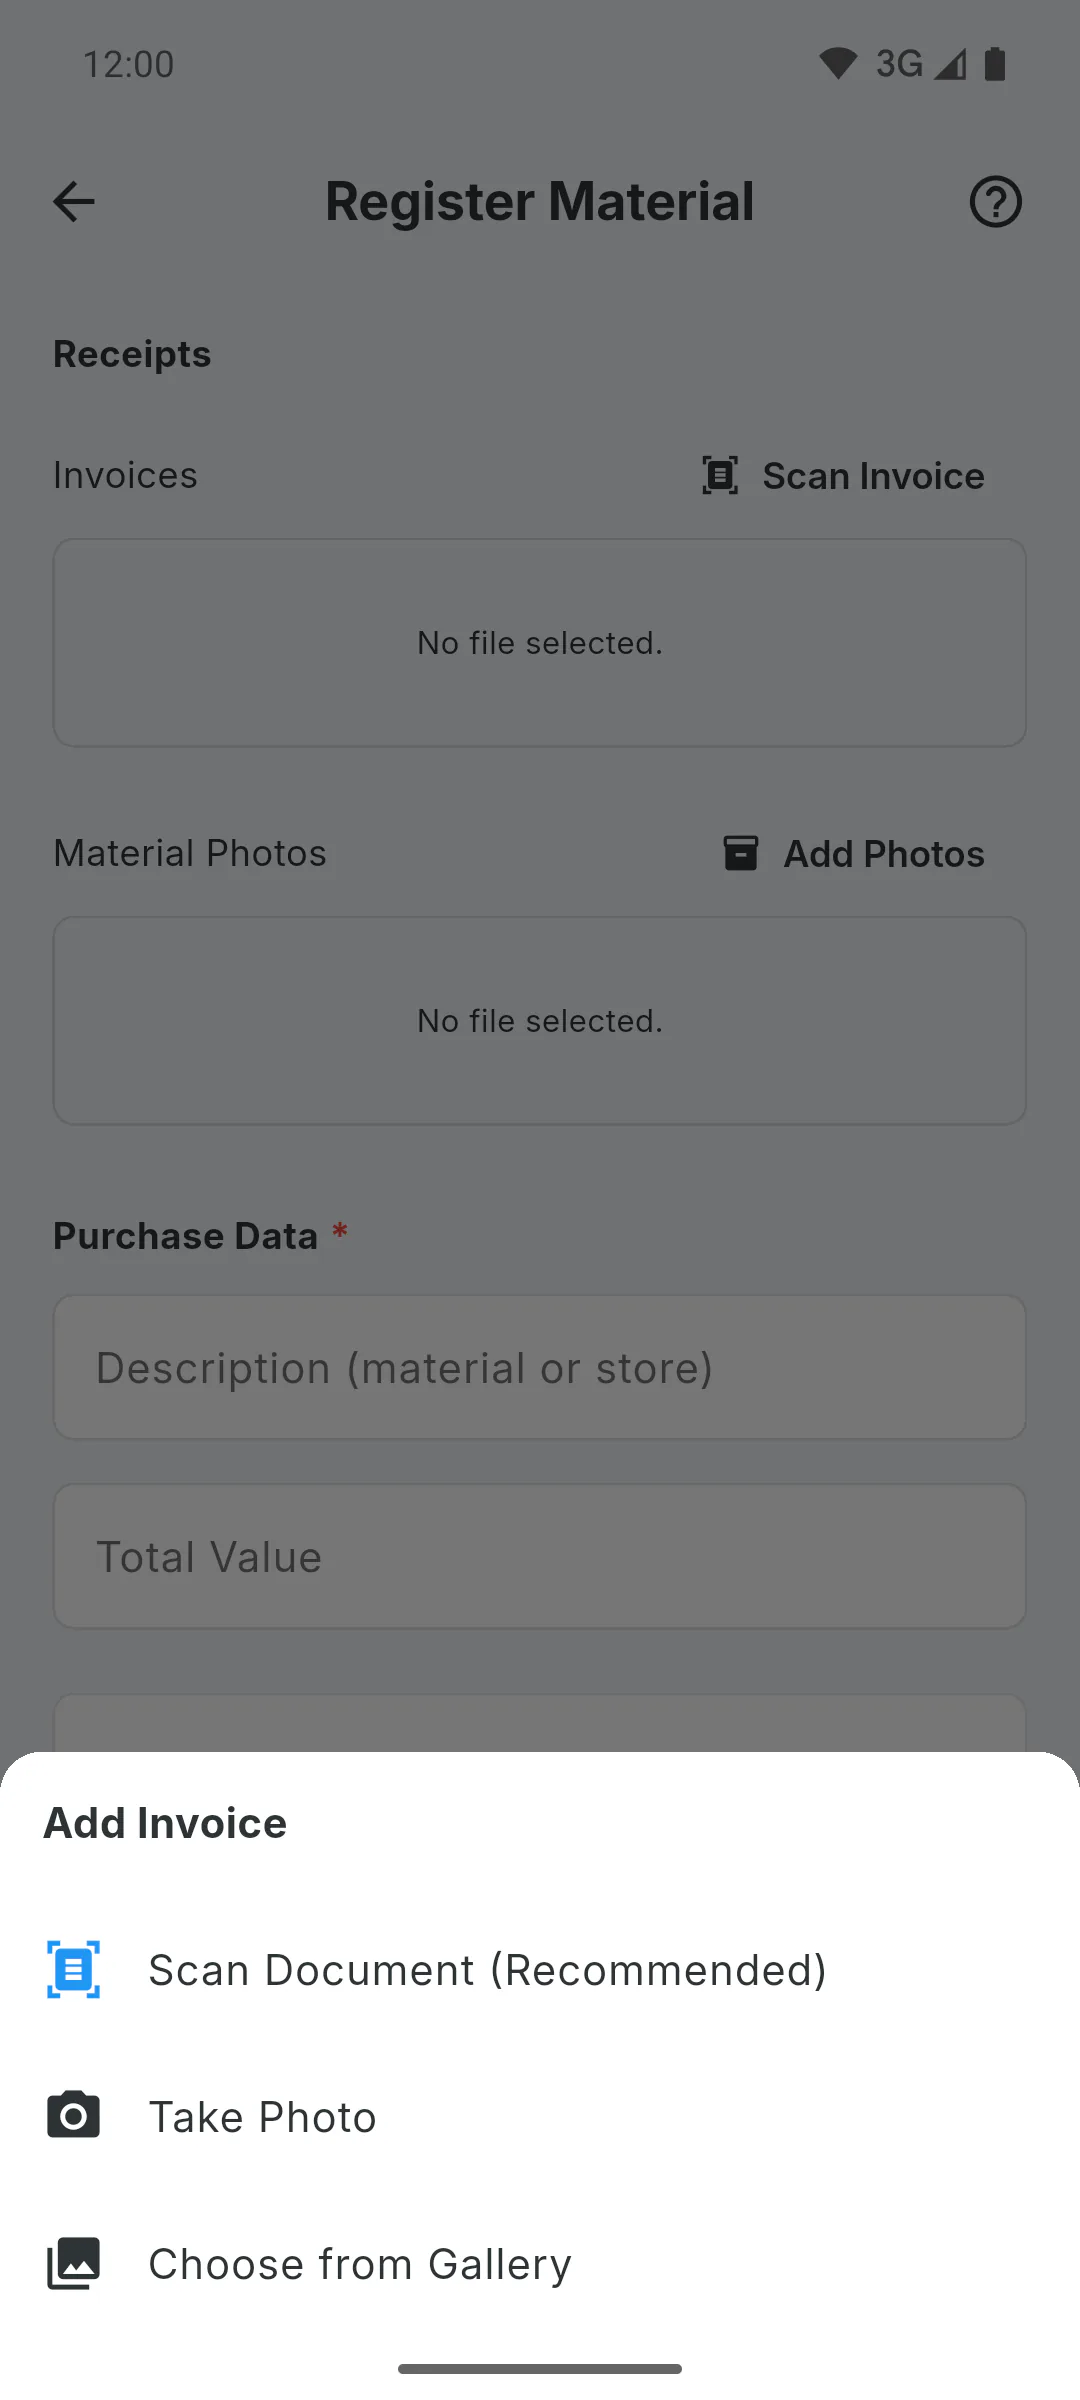
Under Invoices, tap Scan Invoice and choose:
- Scan Document (Recommended): opens the document scanner on your mobile, which takes several pages
- Take Photo or Choose from Gallery
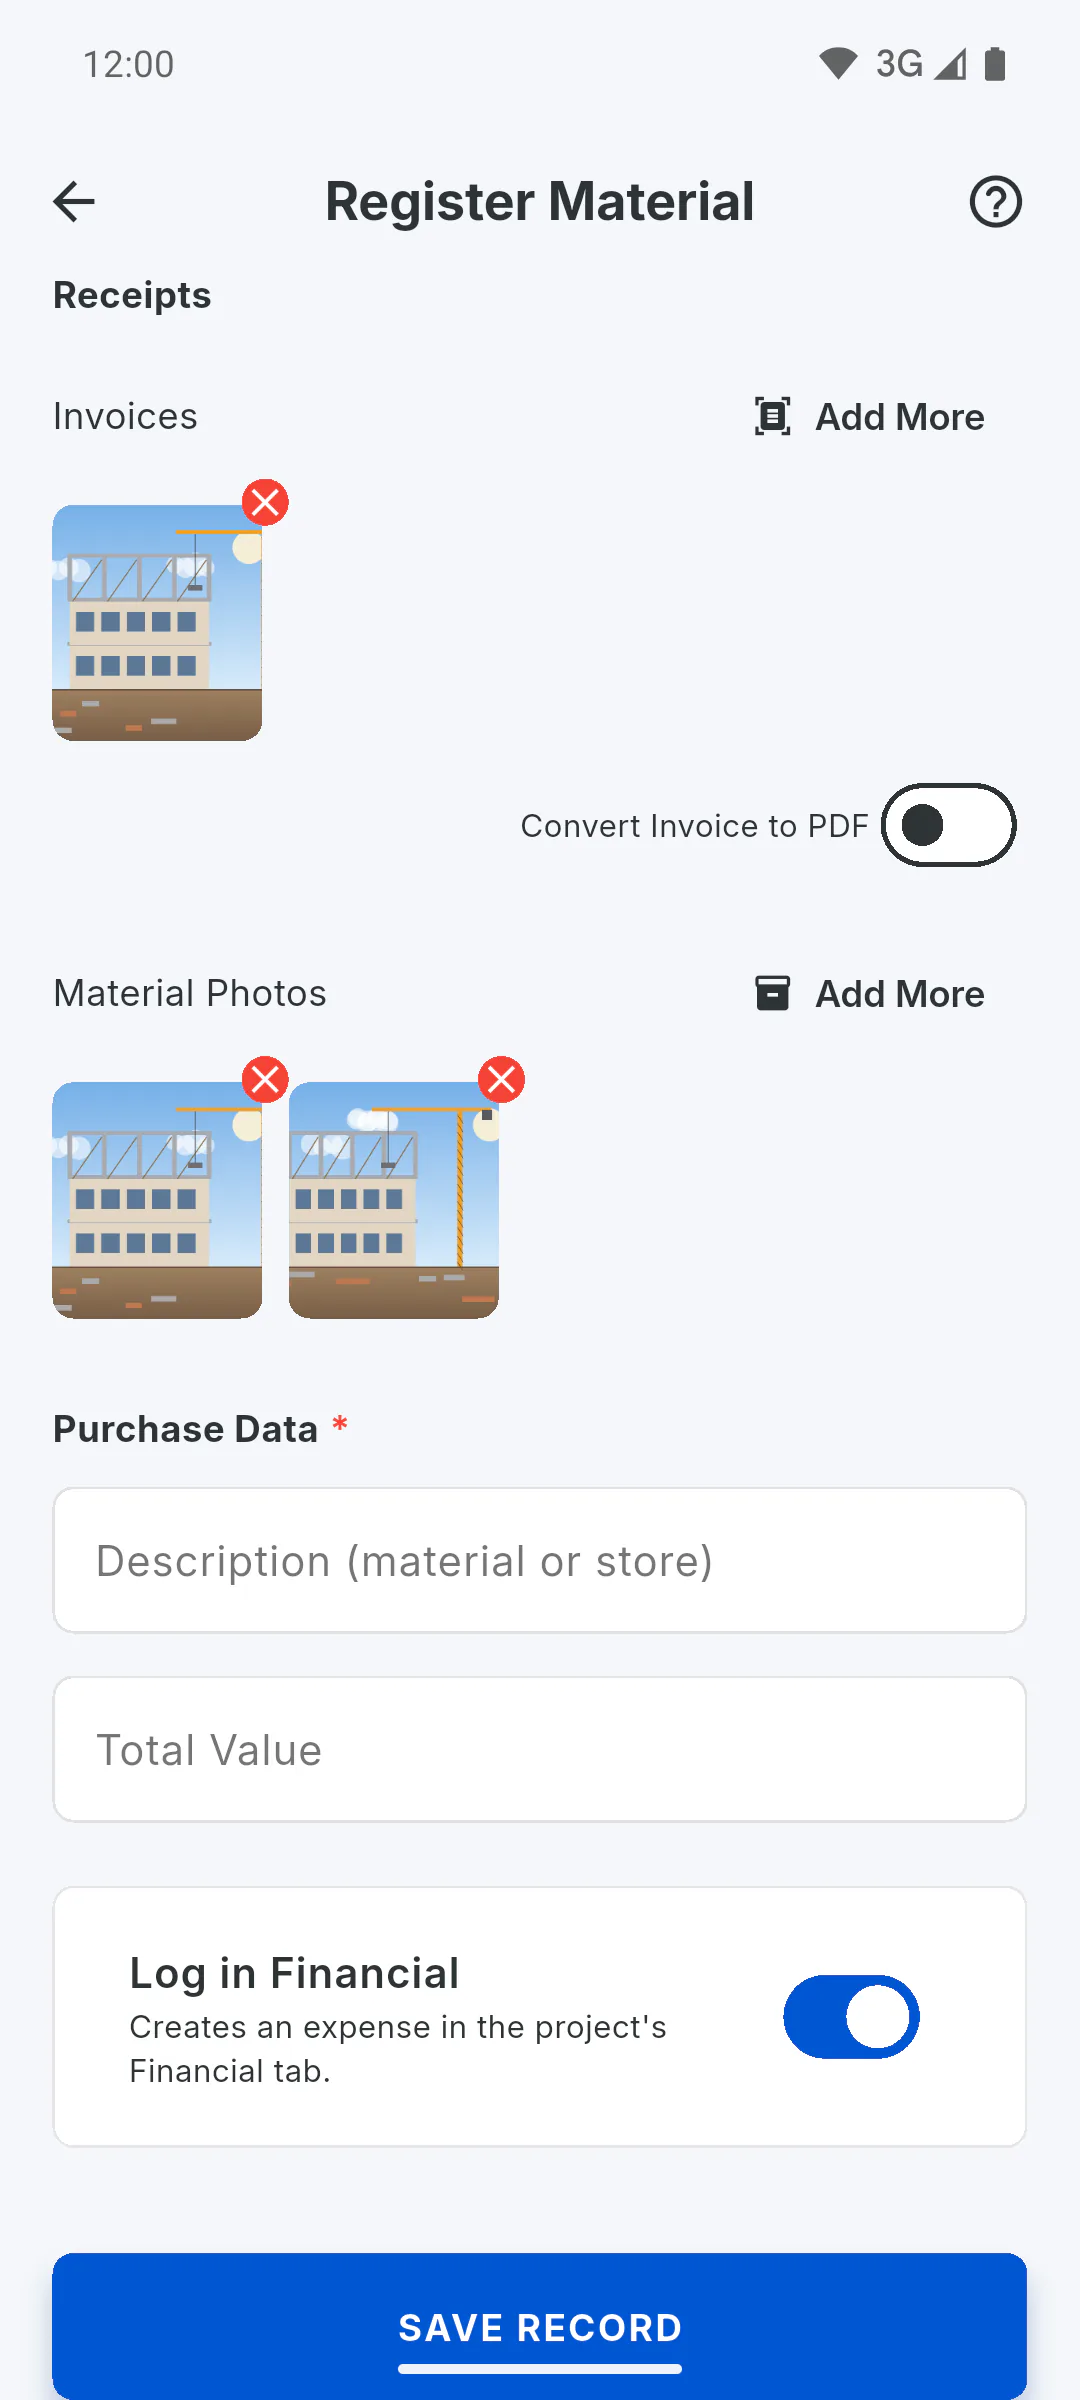
On a computer, the invoice comes from an image file. Once an invoice is attached, the Convert Invoice to PDF switch appears: turn it on to keep the invoice as a PDF.
Step 3: Photograph the material
Under Material Photos, tap Add Photos (once photos are attached, the button changes to Add More) and use Take Photo or Choose from Gallery (Multiple) to show what arrived on site. Photos are optional. To remove an image, tap the red x on its thumbnail.
Step 4: Fill in the purchase details
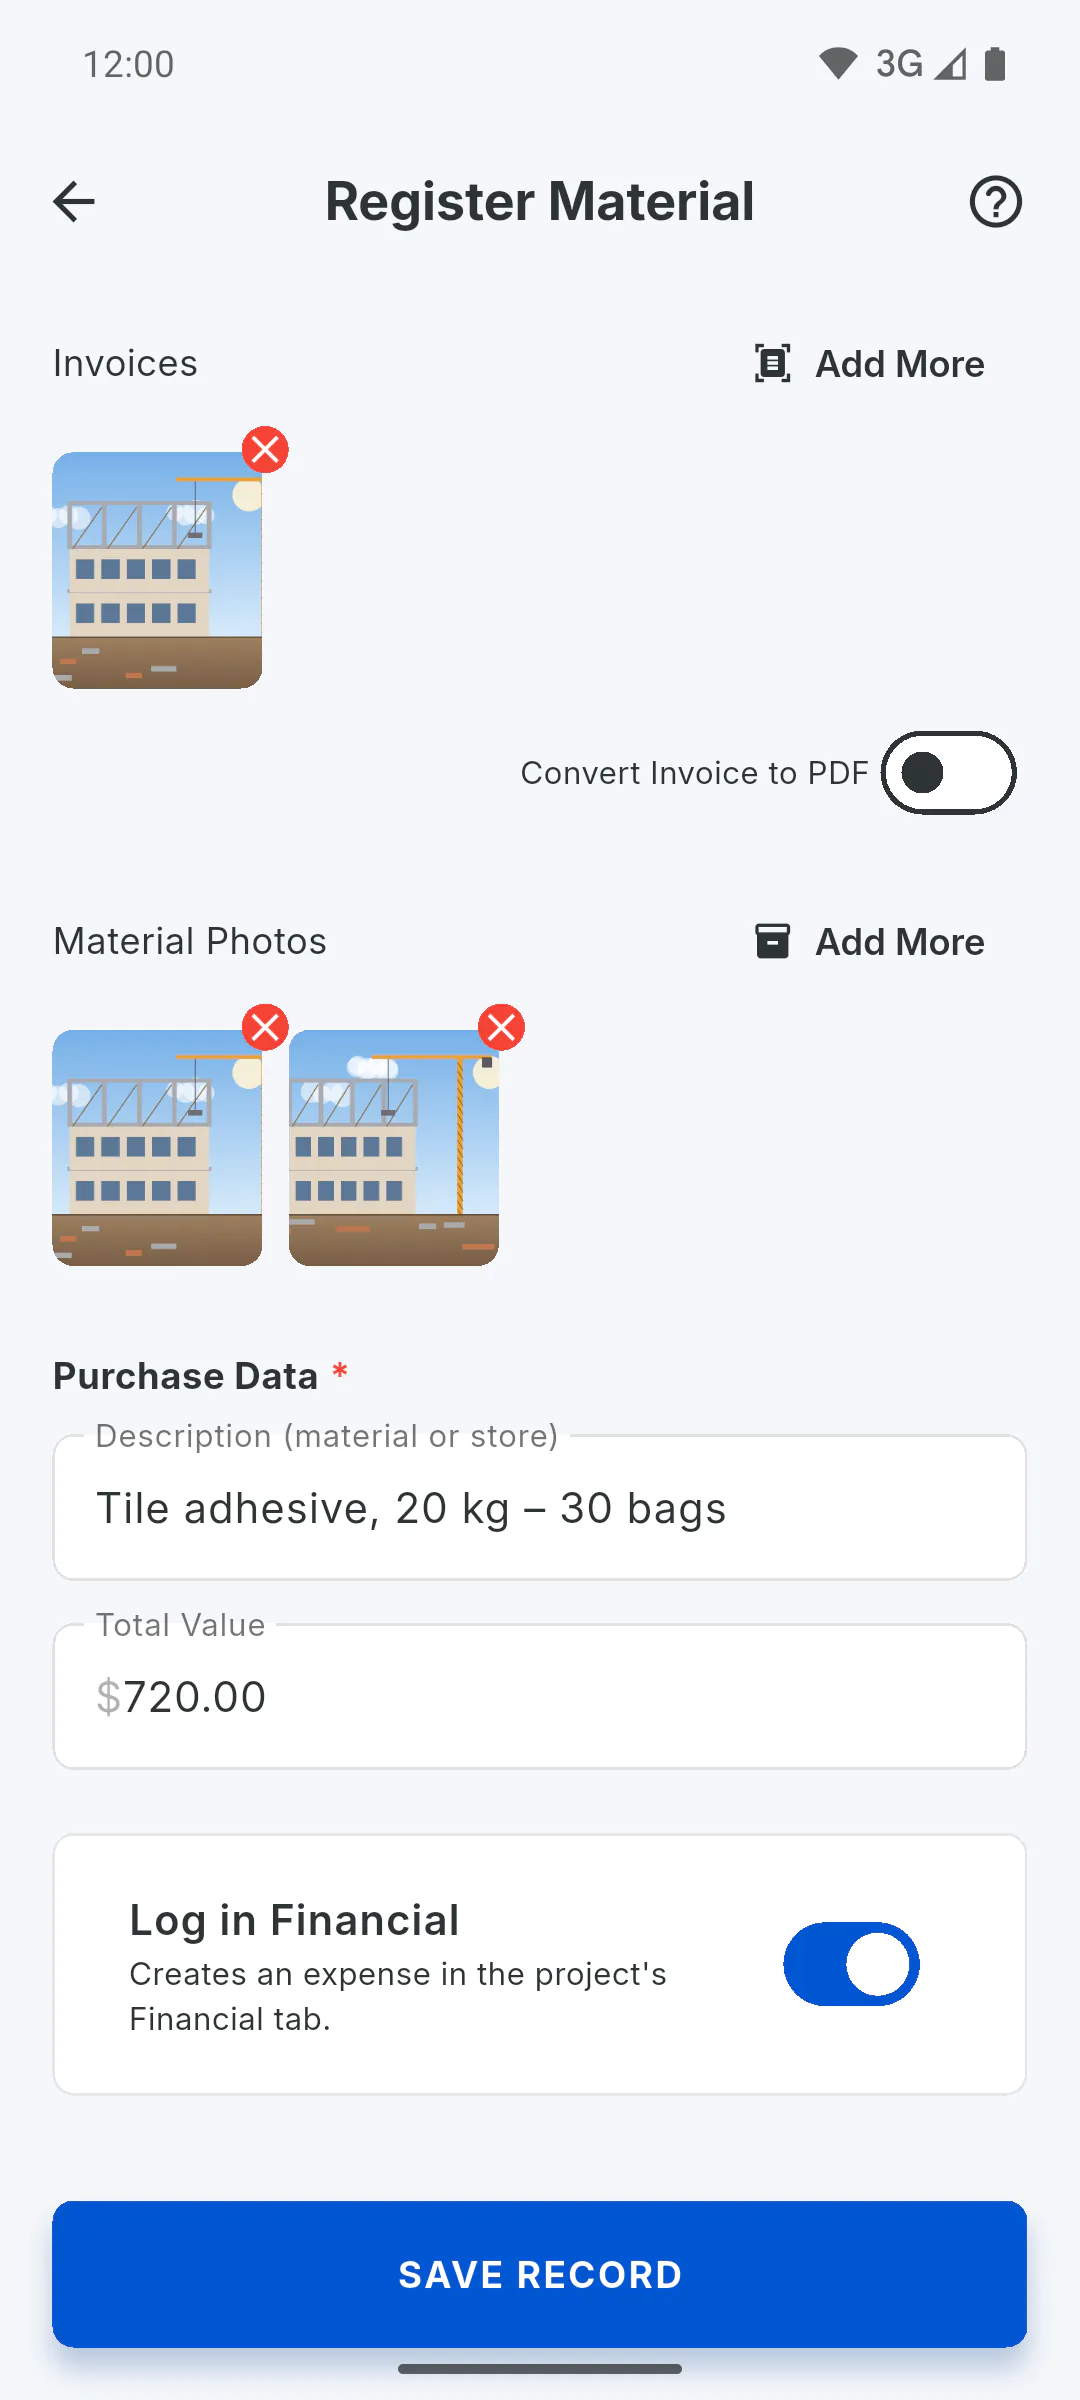
Under Purchase Data, fill in Description (material or store) with the material or the store (e.g. 50 bags of cement) and enter the Total Value, in the project's currency. Both are required and the value can't be zero.
Step 5: Add it to Financial
With Log in Financial on (it starts on), the app creates an expense in the project's Financial tab, already marked as paid, dated today, with the first invoice as the receipt.
- For an invited engineer or team member, the switch stays off, greyed out with a padlock, and shows Only the project owner can post entries to Financial. The purchase is still saved in Supplies. No expense is created.
- Tapping the locked switch opens a window showing your role on the project and who can use it.
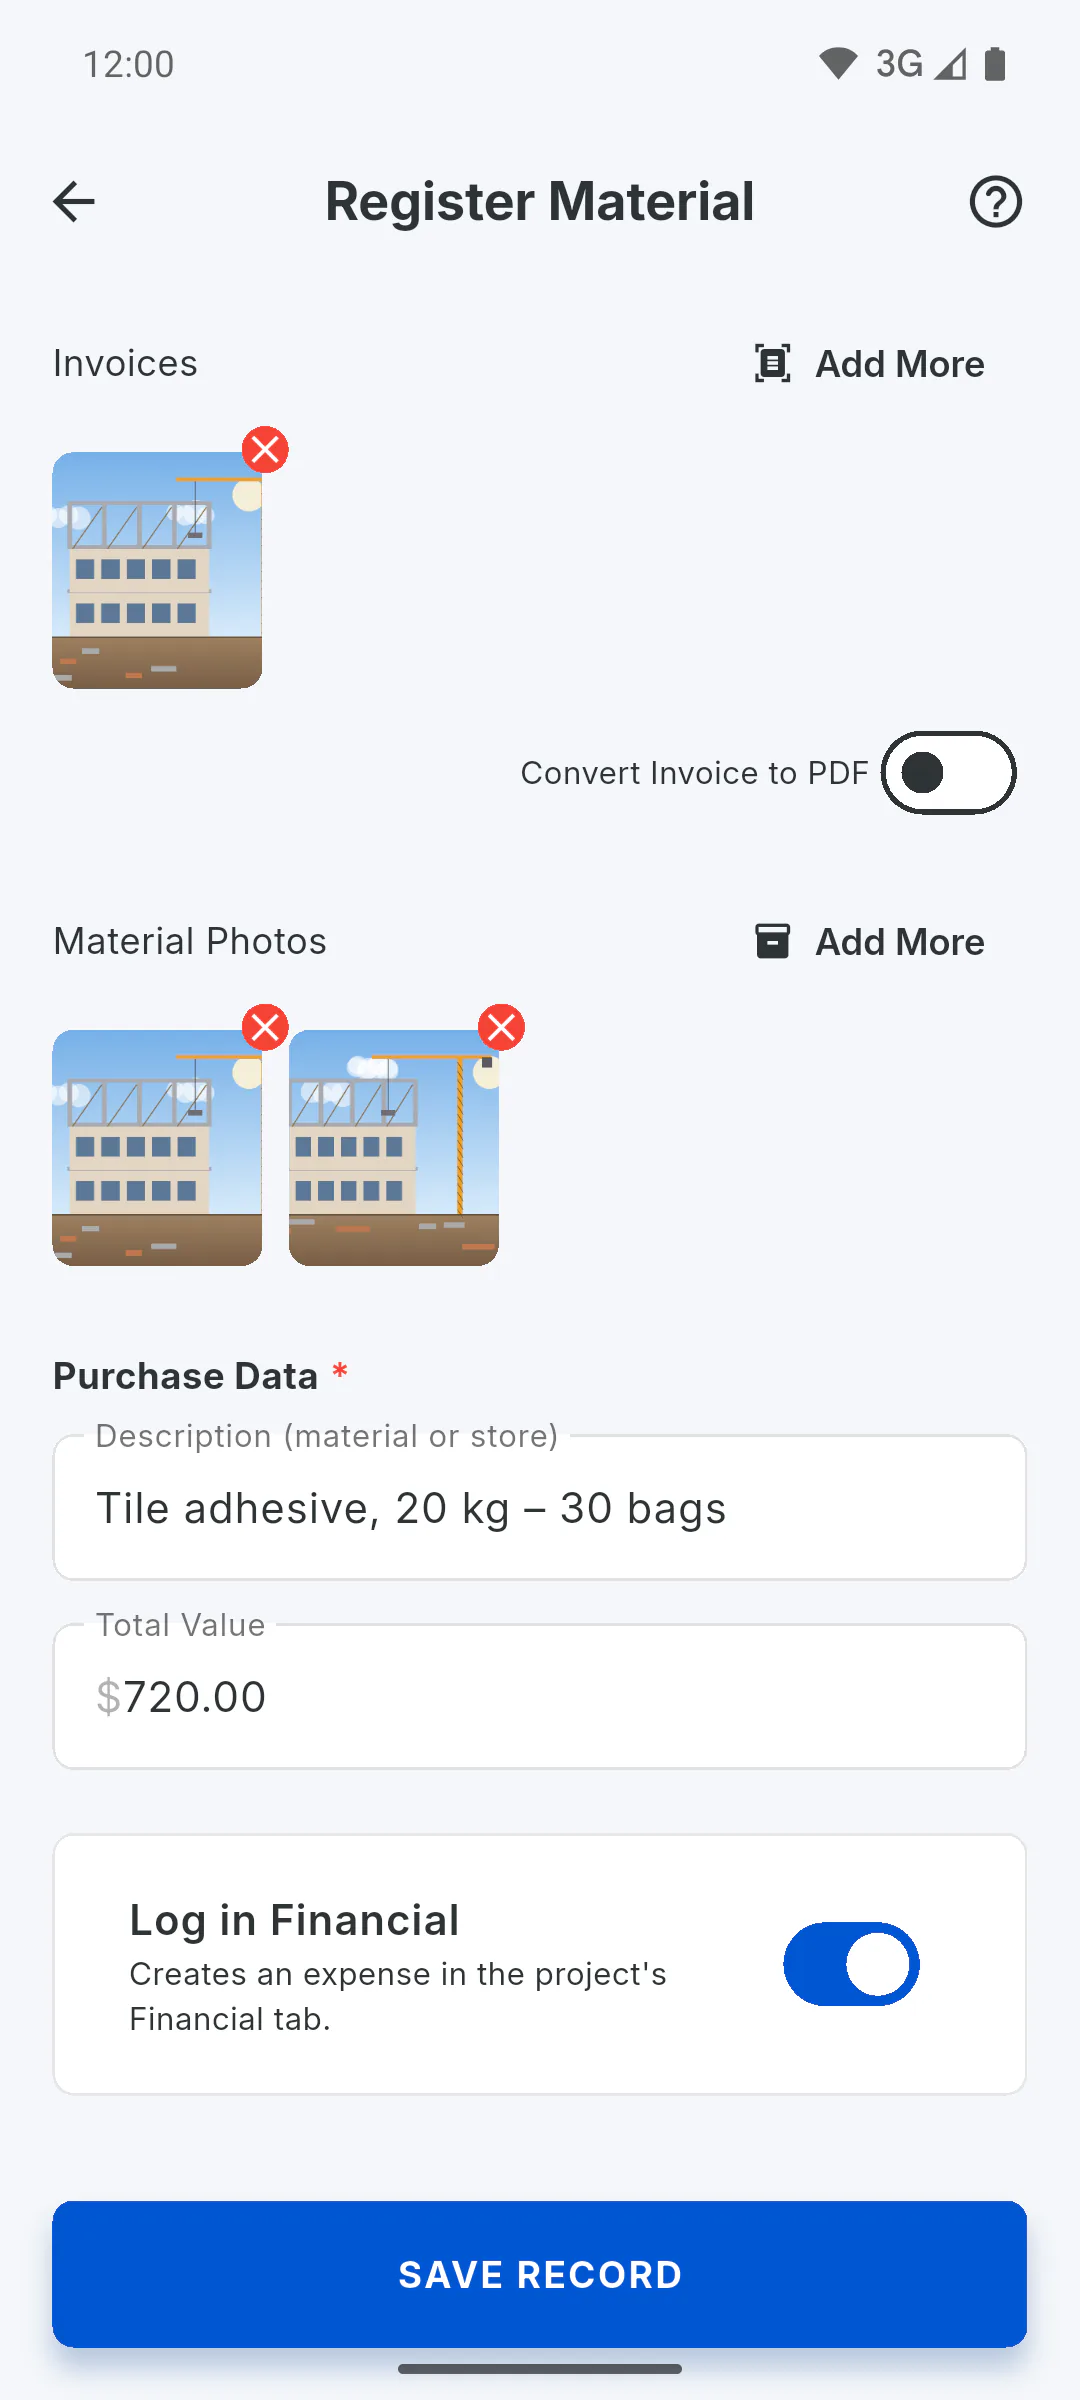
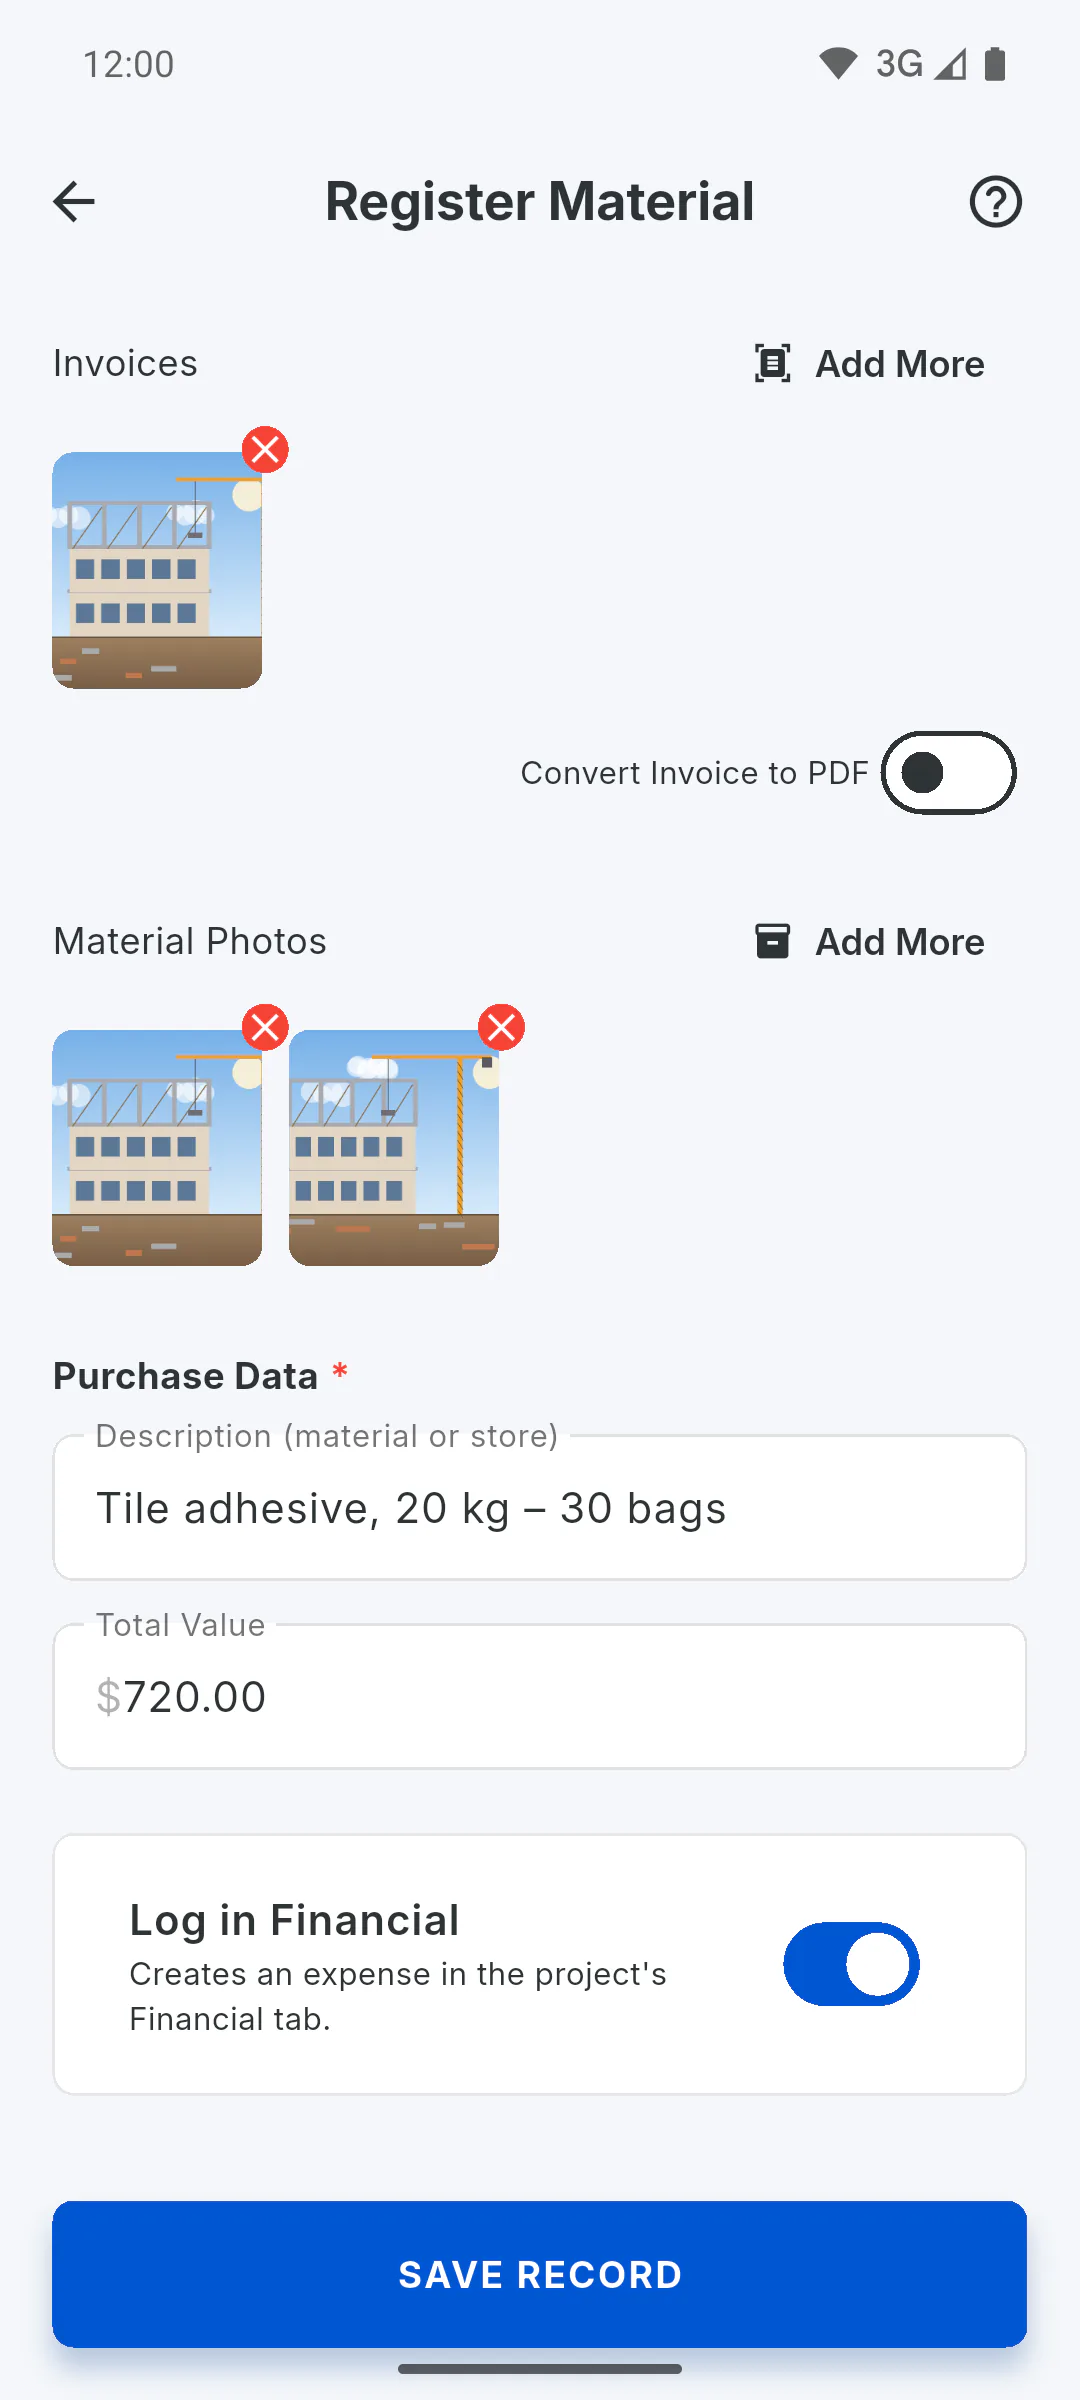
Step 6: Save the record
Tap Save Record. On a mobile, the upload keeps going in the background and you can keep using the app; if the Upload Error notification appears, the record was not saved. On a computer, wait for Sending files... to finish.
- Log purchases while online: if the upload fails, nothing is saved and you need to log it again
- Invoices and photos use your storage: How much storage I have
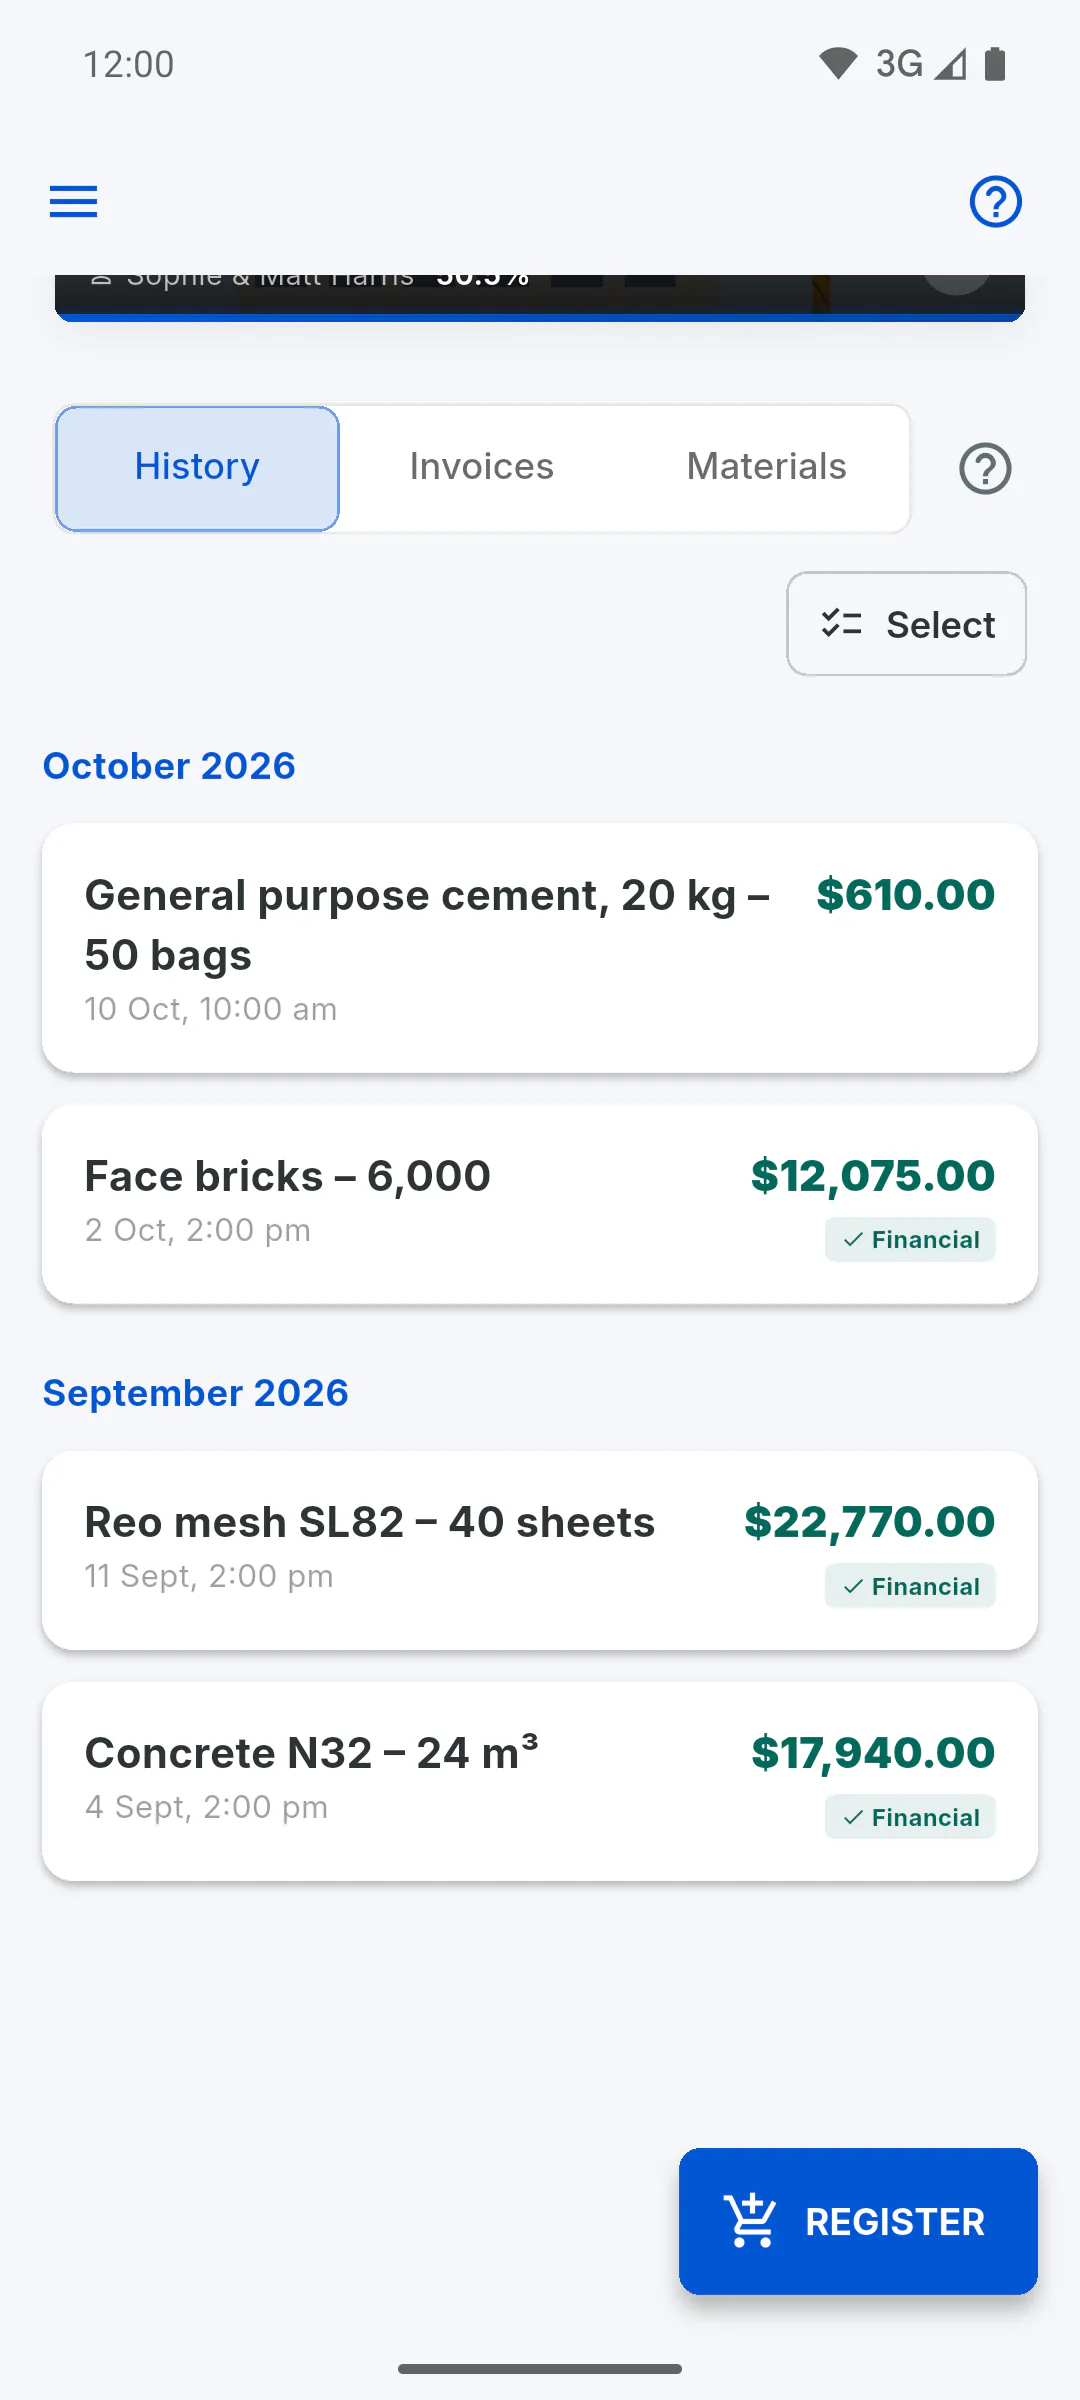
Step 7: Check it in the list
When the upload finishes, the purchase shows up in the History tab, grouped by month. The Financial tag means it became an expense. Anyone with the Team role sees the amount only on purchases they logged themselves; the others show a padlock instead. Records can't be edited: if something went wrong, delete it and log it again. How to view, delete and export invoices as a ZIP
How to log a purchase with its invoice in Supplies
Keep the invoice and photos of the material for every purchase on the project and, if you like, add the amount as an expense in Financial right away.
For managers and team members7 steps
Didn't find what you were looking for?
Chat with support on WhatsApp or raise a ticket in the app.